Tag Archives: vegetable gardening

It’s Fall, Plant Lettuce Now

Big Tex

When you are “fixing” to go to the Texas State Fair and see Big Tex, you know it’s fall in Texas and time to be planting cole crops and cool season greens.

My lettuce and spinach seeds are in the ground and I am waiting, waiting, waiting for them to germinate. Last year  Oak Leaf Lettuce and Red Sails provided a border for my perennial beds and salad for our meals; the perfect ornamental edible!

All winter long and up until June, we could pick  salads from the backyard. Lettuce being cold hardy  can withstand a light frost and  even lower temperatures without cover. (If temperatures, fall down into the 20’s, cover your lettuce.)

Salad Greens as a Border, Ornamental Edibles!

At the Demonstration Garden, we have enjoyed lettuce grown in our raised  beds.

Spring Lettuce in a Raised Bed

Lettuce does not need full sun and is best started in the fall in Dallas.  You can also buy transplants now at your favorite garden center.

“Leaf lettuce (often called loose-leaf lettuce) is perhaps the best adapted choice for our Texas climate. It forms loose rosettes of leaves that come in a range of colors from various shades of green to burgundy including speckled types. Leaves may be harvested individually or as with other lettuce types you can harvest entire plants at one time. Another option is to “mow” the plants back part way with scissors and then allow them to regrow for a later harvest.” (Quote from Texas Gardener)

Search for loose leaf varieties like Black Seeded Simpson, Red Sails, Oak Leaf, Green Ice, and Prize Leaf.  Try  Little Caesar for a Romaine type of lettuce and Buttercrunch for a sweet butter head type lettuce.

To read more about growing lettuce read: Lettuce From Seed To Harvest in Texas Gardener.

Before you go to the Texas State Fair, get out in your garden and plant to enjoy a long season of homegrown lettuce!

Ann
Outstanding At The Field-An Invitation

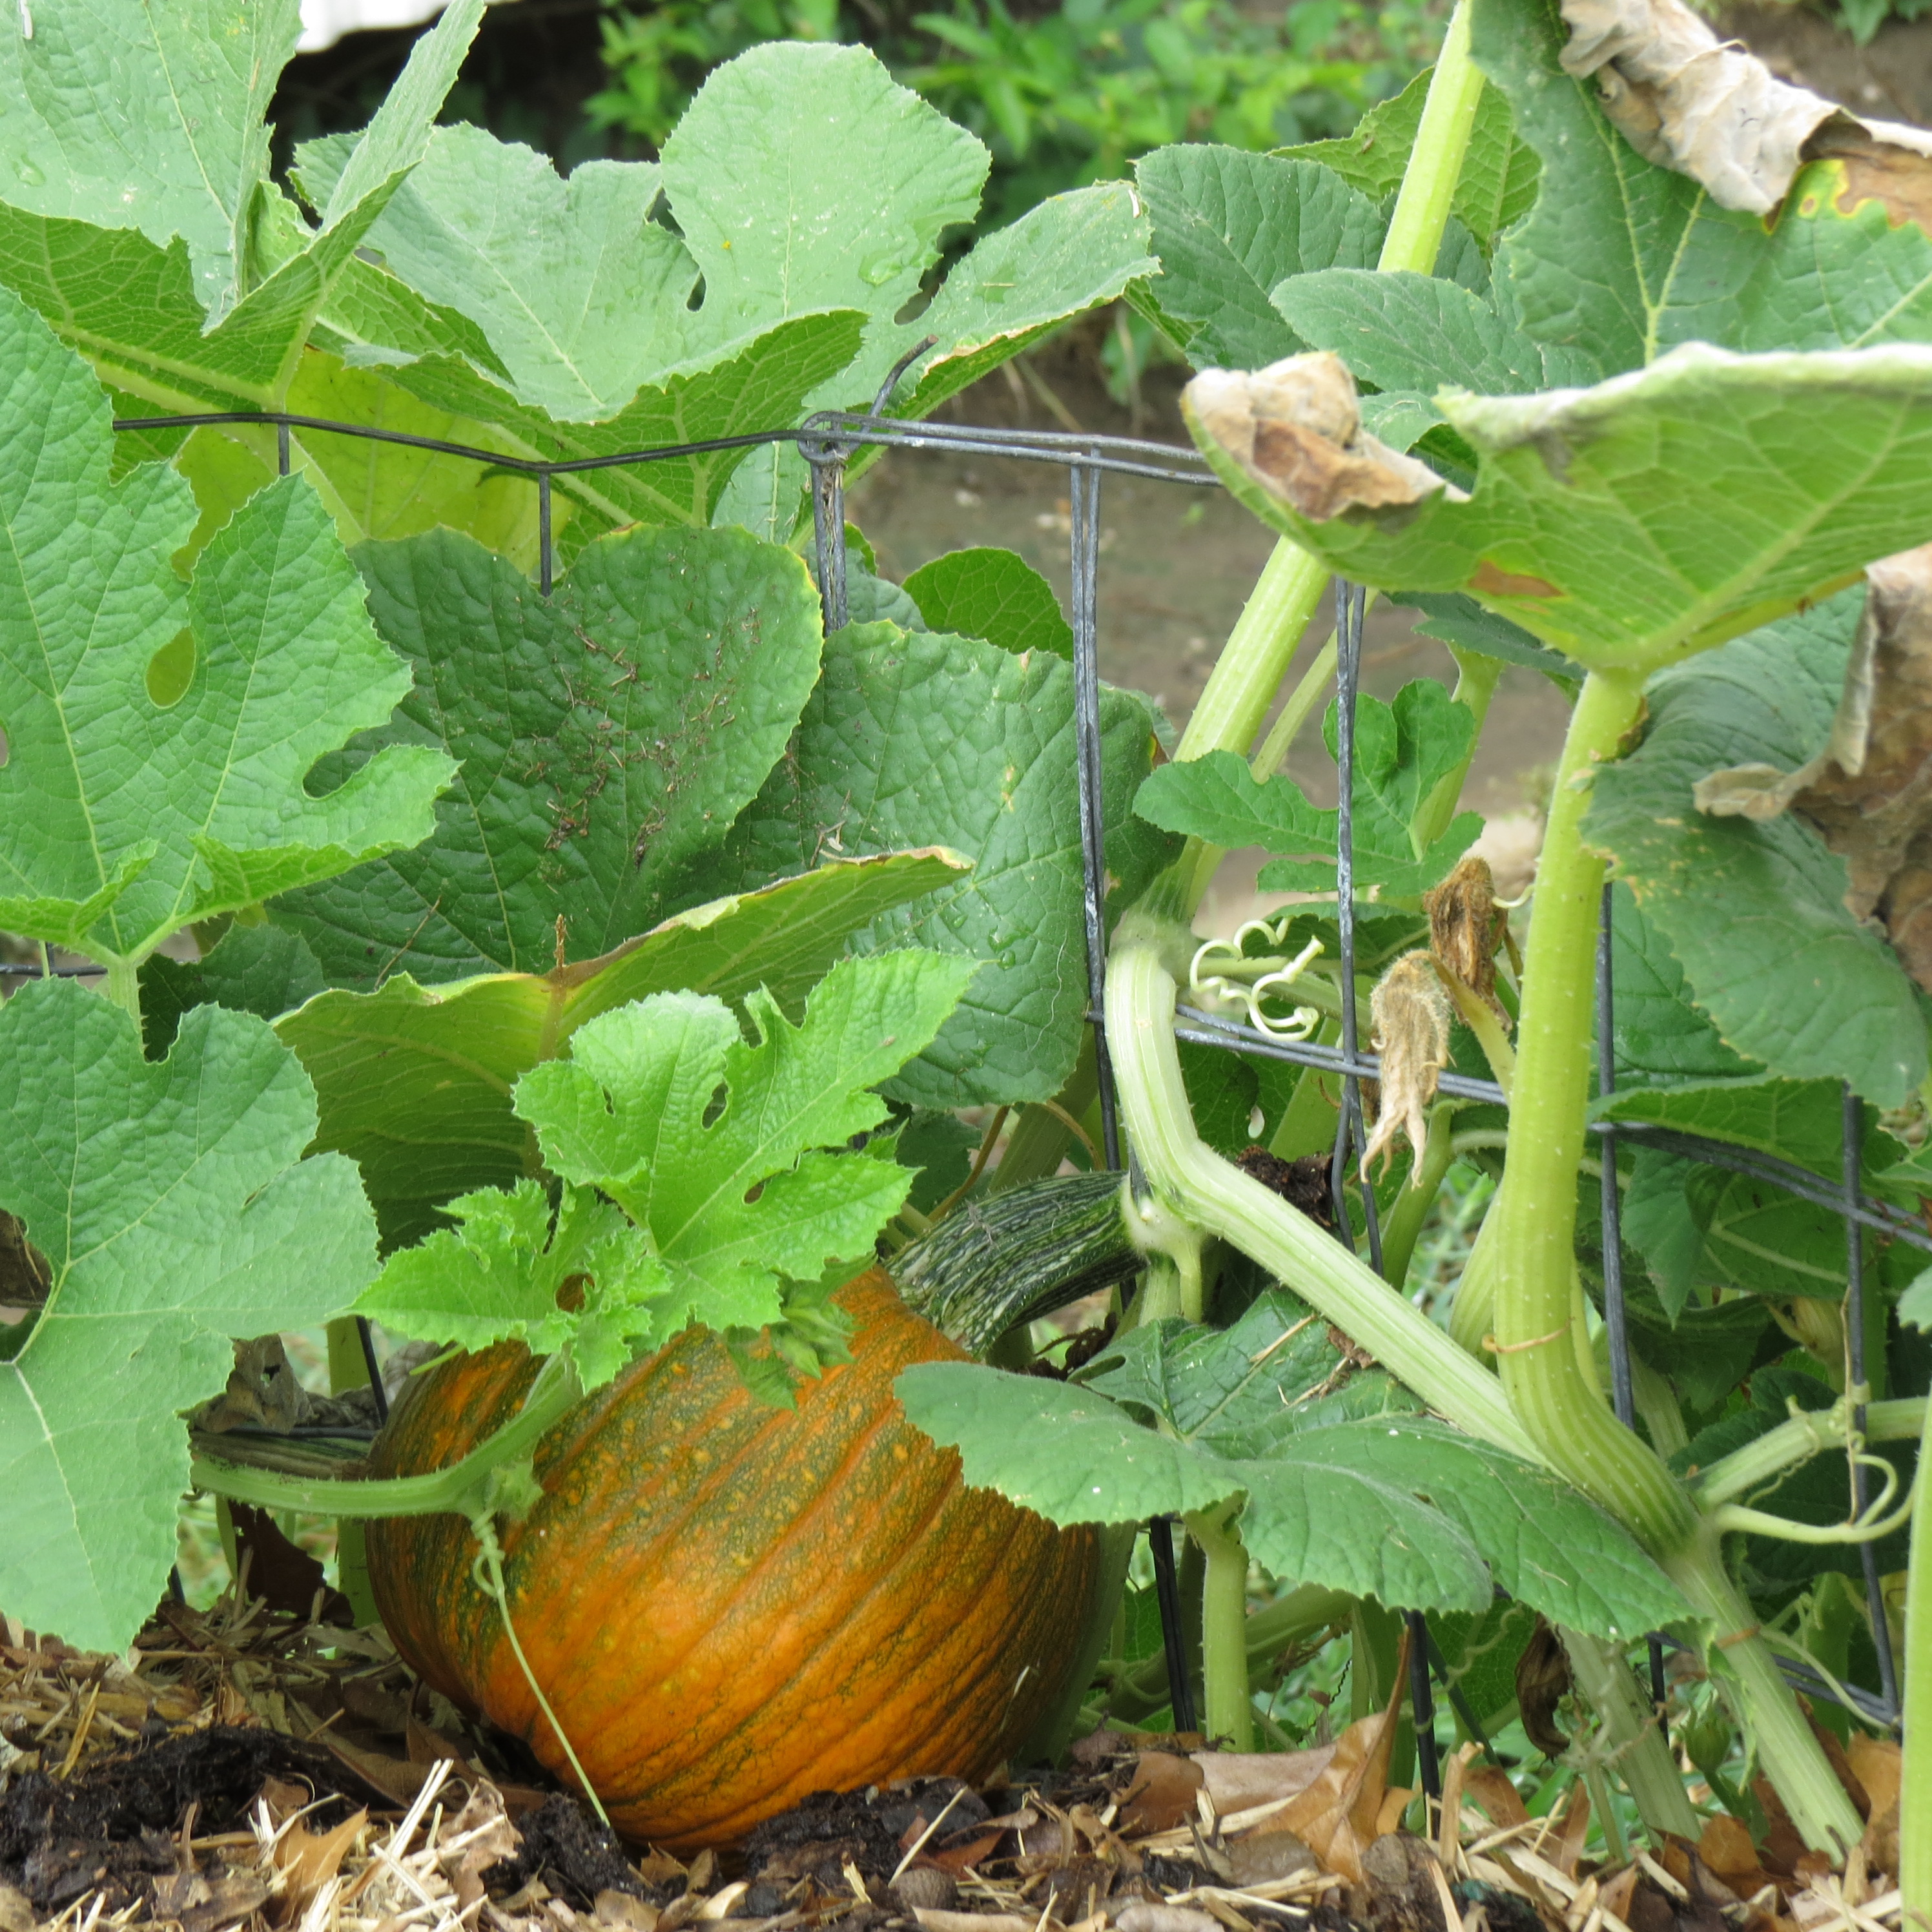
pumkin growing in the demo garden

Master Gardeners at the Joe Field Demonstration Garden invite you to…

“Outstanding at the Field”

Guests will enjoy a fall feast celebrating the harvest, the land, and the farmers that cultivate the food for our table.

Lunch will served on white tablecloths covering a long table

set within our lovely fall garden.

 Garden to Table Harvest Lunch

Mother’s Meatloaf with Piquant Sauce

Skillet Fried Corn

A “Mess of Peas” with Sweet-and-Spicy Chow-Chow

Roasted Butternut Squash Salad with Warm Cider Vinaigrette

Dixie Cornbread with Honey-Thyme Butter & Tomato Jam

Caramel Apple Layer Cake with Apple Cider Frosting

or

Layered Pumpkin Pie in a Jar

 and

“Growing and Grilling”

 A special presentation by Master Gardener Tim Allsup

(One-hour Education Credit for Master Gardeners)

11:00 a.m. – 12:30 p.m. Tuesday, October 29

 $15 per person

 Proceeds benefit educational tours for Dallas schoolchildren

Your reservation is your check for $15 made out to DCMG.  Checks must be received by October 15th.

If you would like to come, please email us at dallasgardenbuzz@gmail.com

 Enrollment is limited.

This event is open to all Master Gardeners, friends, and the public.

Fall Crops For Dallas Veggie Gardens

If you are feeling the heat, you may think of September as the end of summer but if you are outside ready to work in your veggie patch;  fall is on your mind.

At the Demonstration Garden on Joe Field Road, we are busy planting and preparing for fall.  Jim, as always, is way ahead of most of us and provides this useful fall planting guide : For our fall crop info click here.

Last week we planted seeds of  green and yellow bush beans and yellow squash.

Next up, seeds of beets, peas, carrots lettuce and radishes with broccoli, brussel sprouts, cabbage and cauliflower transplants.

Seeds for Fall Planting in Dallas Gardens

Seeds for Fall Planting in Dallas Gardens

Prepare your beds for fall planting:

  • First, decide what crops will produce through fall, pull the diseased and finished or  non producing vegetables. For instance, I will save jalepeno,  okra, basil, and one of my tomato plants.
  • Pull back the mulch or set it aside on a tarp or in a wheelbarrow and add compost to your vegetable bed.  It is important to remove the mulch for seed planting and so that you don’t incorporate it into the soil.
  • After adding and forking your compost into the soil, you are ready to sow seeds or add transplants.
  •  Add back the mulch around transplants only. When your seeds have sprouted and have their “true” leaves, you can gingerly add mulch to these plants.

Ann

Two More Fall Planting Resources:

TAMU Fall Planting Guide and NHG Guide

Cantaloupe Harvest

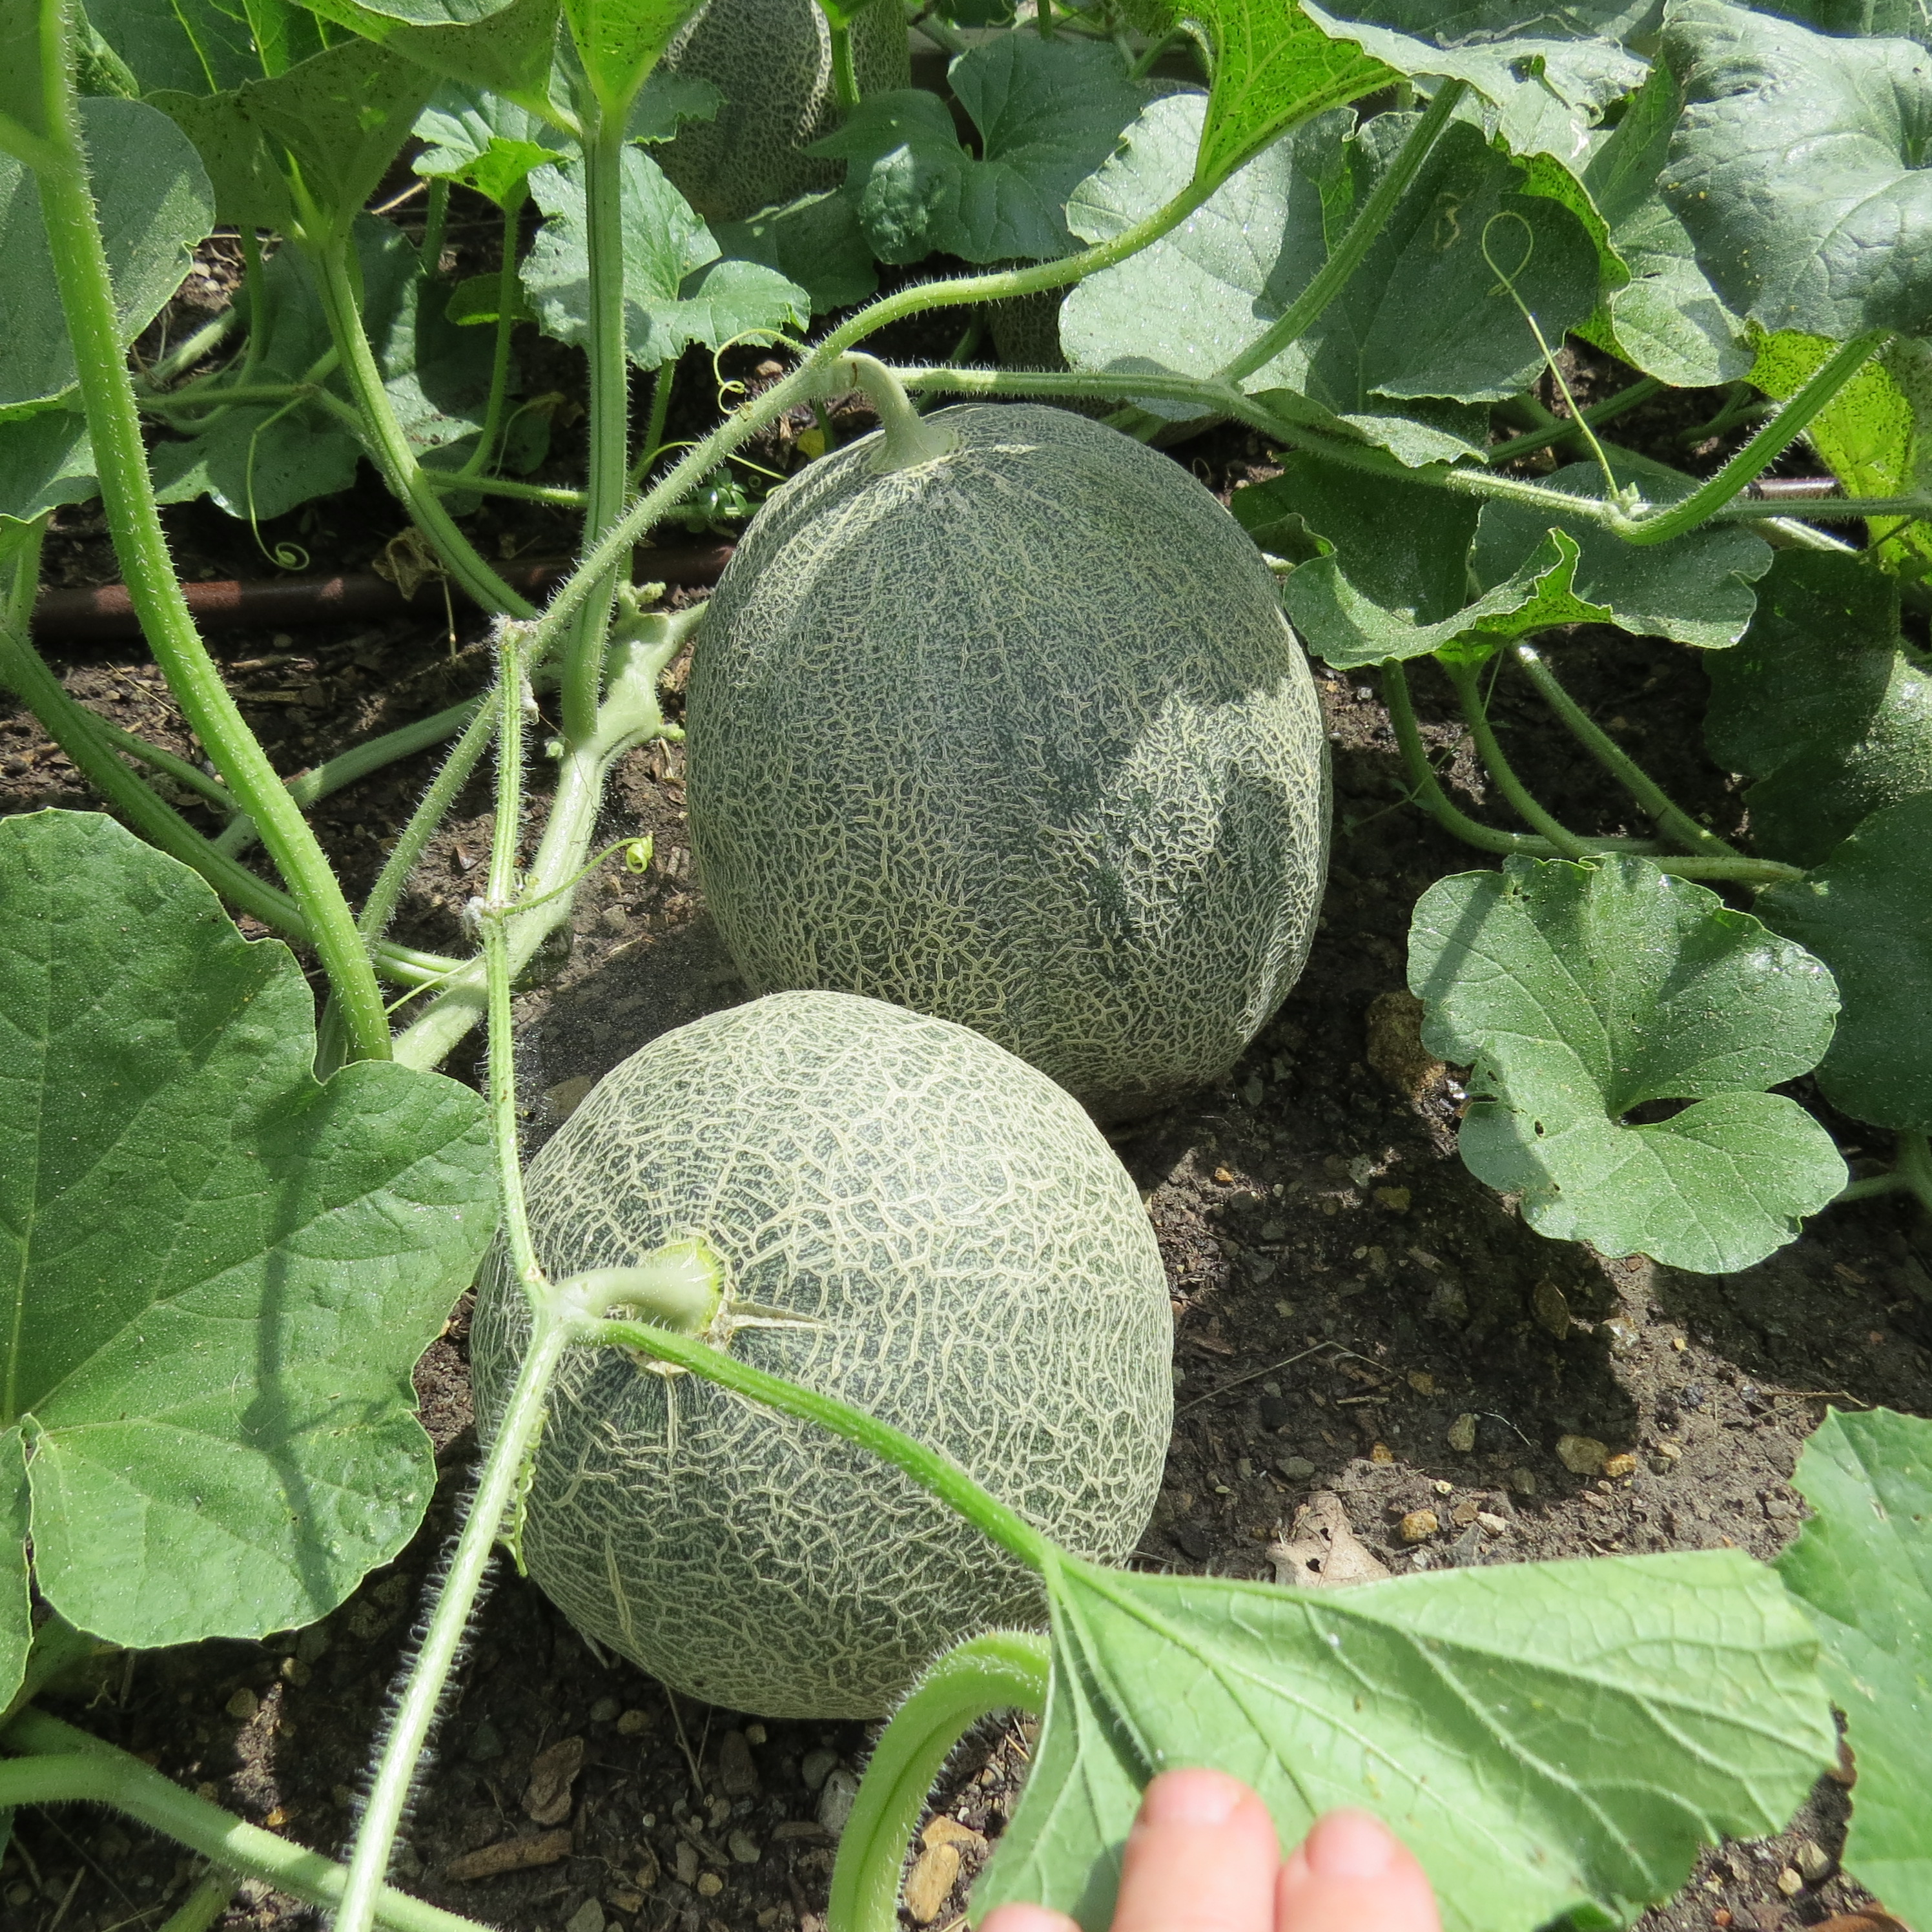
Most of us  believe you reap what you sow. We diligently follow  gardening advice and planting dates, prepare the soil, pray for rain, and then we hope!   This year we are enjoying a bounty of cantaloupes; 17 have been counted in one of our  raised beds.  Last year we had what Jim refers to as “insect activity” and not many cantaloupes.

Cantaloupe in the Garden

The variety we planted is Ambrosia.  If you will look on the right hand side of our blog, you will find our Garden Journal with all the details of our veggie gardening.

The Joys and sorrows of our garden experiment are recorded there.

The Cantaloupe was planted May 26th and will be eaten all through August.  When all the Cantaloupe is gone, Jim says we will be planting bush beans.

As summer wanes and we look forward to a drop in temperature, the gardeners at our Demonstration Garden are happy to  indulge in the sweetness of homegrown cantaloupe. More Fall gardening info right here.

Cantaloupe ripe and ready to eat

Ann

Pictures by Starla

For Aggie Horticulture Cantaloupe advice: click  here.

A Better Mouse Trap?

     Ralph Waldo Emerson wrote: “Build a better mouse trap and the world will beat a path to your door.”  However, if the Garden’s potato experiments are any indication, maybe those tried and true methods for growing potatoes really do work the best.  Perhaps sometimes there really isn’t a better mouse trap, but it’s still fun to experiment.

The Garden’s January 25, 2013 blog “One Potato, Two Potato, Hopefully More”  described several different methods of growing potatoes, including the old time “trench” method, last year’s “trash can” method, and this year’s “potato bin” method.  Guess which method produced the most and largest potatoes?  Yes, it was the trench method used by generations of farmers to grow potatoes.

As you can see by the pictures, the potatoes grown in trenches in the Garden’s raised bed were larger and many more were harvested.

Our Potatoes Grown Trench Style

The potatoes grown in this year’s newly constructive bin where slats could be added to the side of the bin and filled with soil as the potato plants grew, did well, but produced smaller and fewer potatoes than those grown in trenches.

Smaller and Fewer Potatoes

One reason for this, DCMG Jim Dempsey hypothesized, might have been that the potatoes grown in the raised beds in trenches were on a drip system, while those in the slatted bin received water only once a week.

Never one to give up easily (and who knows, someone may really invent a better mouse trap), Jim said that next year the slatted bin will be moved to a place where it too can be on the drip system and receive more water. The experiment continues………

Do you have your own methods for growing potatoes?  And how did your potatoes do this year?  Let us know.  We would love to hear from you.

Carolyn

Pictures by Starla

Tomato Grafting Part II

Purpose:  To improve tomato production, some say as much as 30% by grafting a tasty tomato onto a hybrid which is disease resistant

Materials Needed:

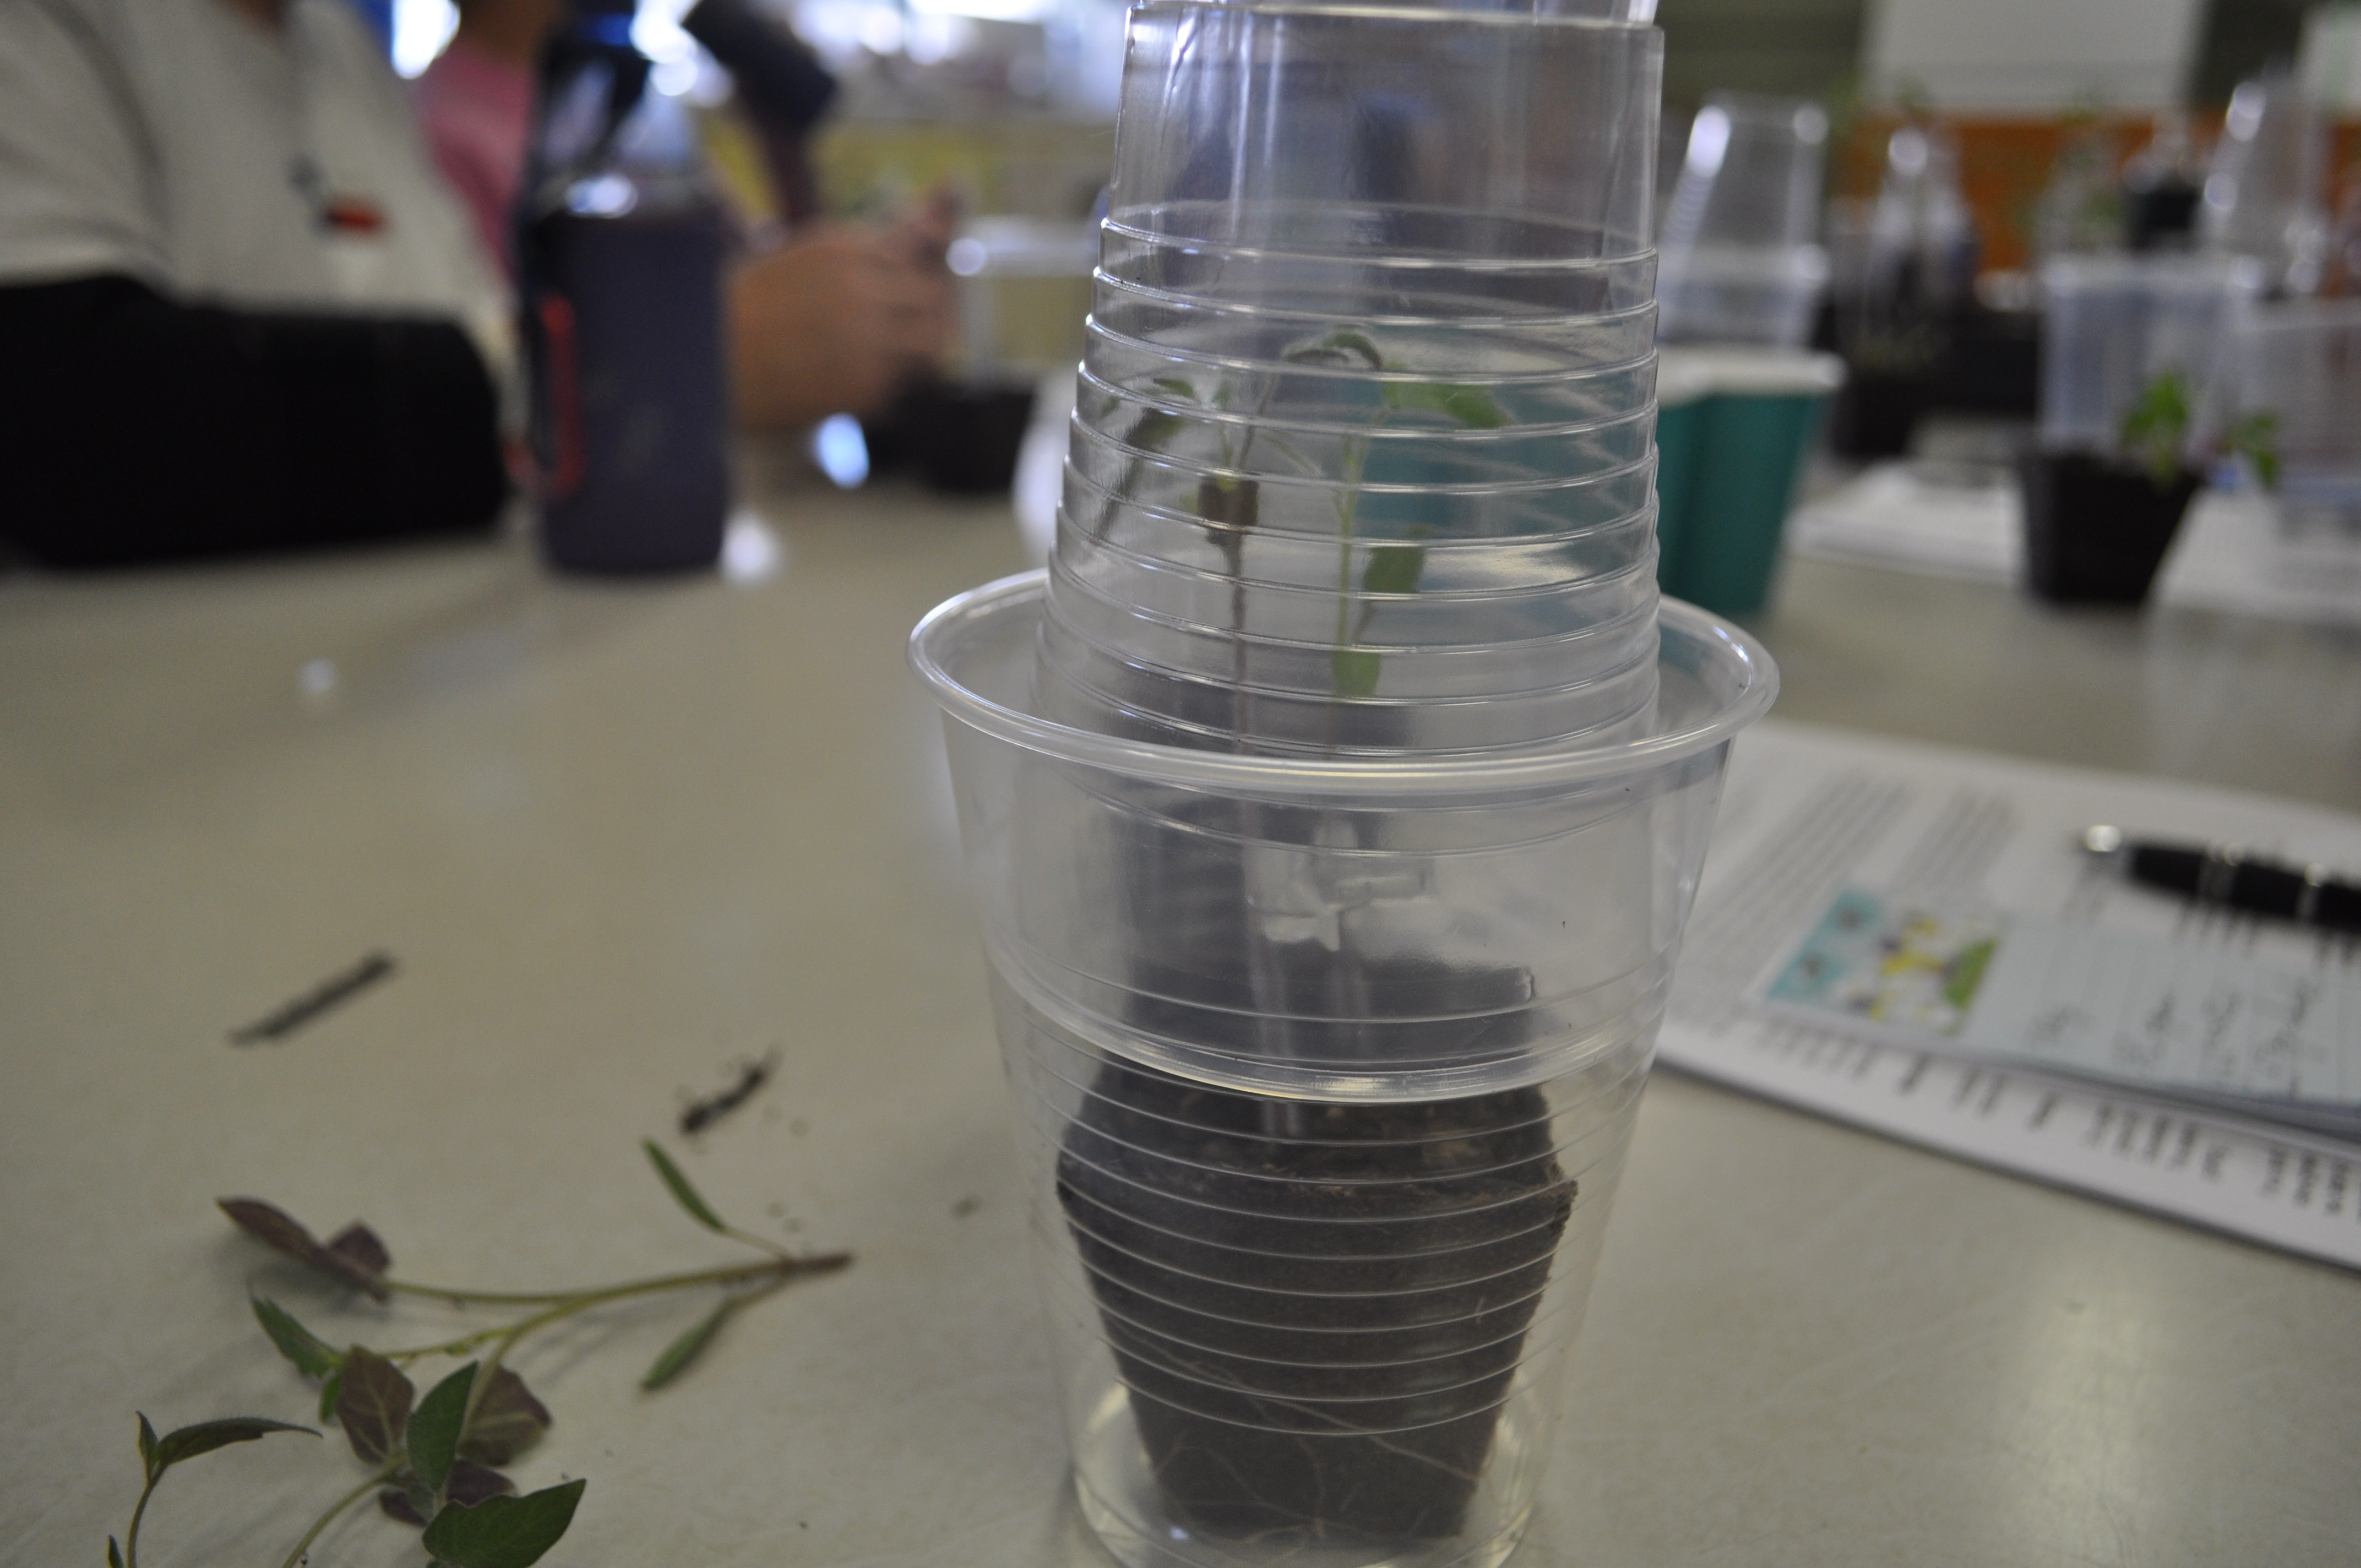
  • 2 clear plastic cups, one to fit inside the other to form the healing chamber
  • New Double edge razor blade-clean and sharp, snapped in half lengthwise while in paper cover
  • New Grafting clips-match the size of the clip to the size of your tomato stalk (Jim bought clips here)
  • Rootstock and scion seedlings of matching stem size(we used Celebrity as the rootstock and Brandywine as the scion or top)

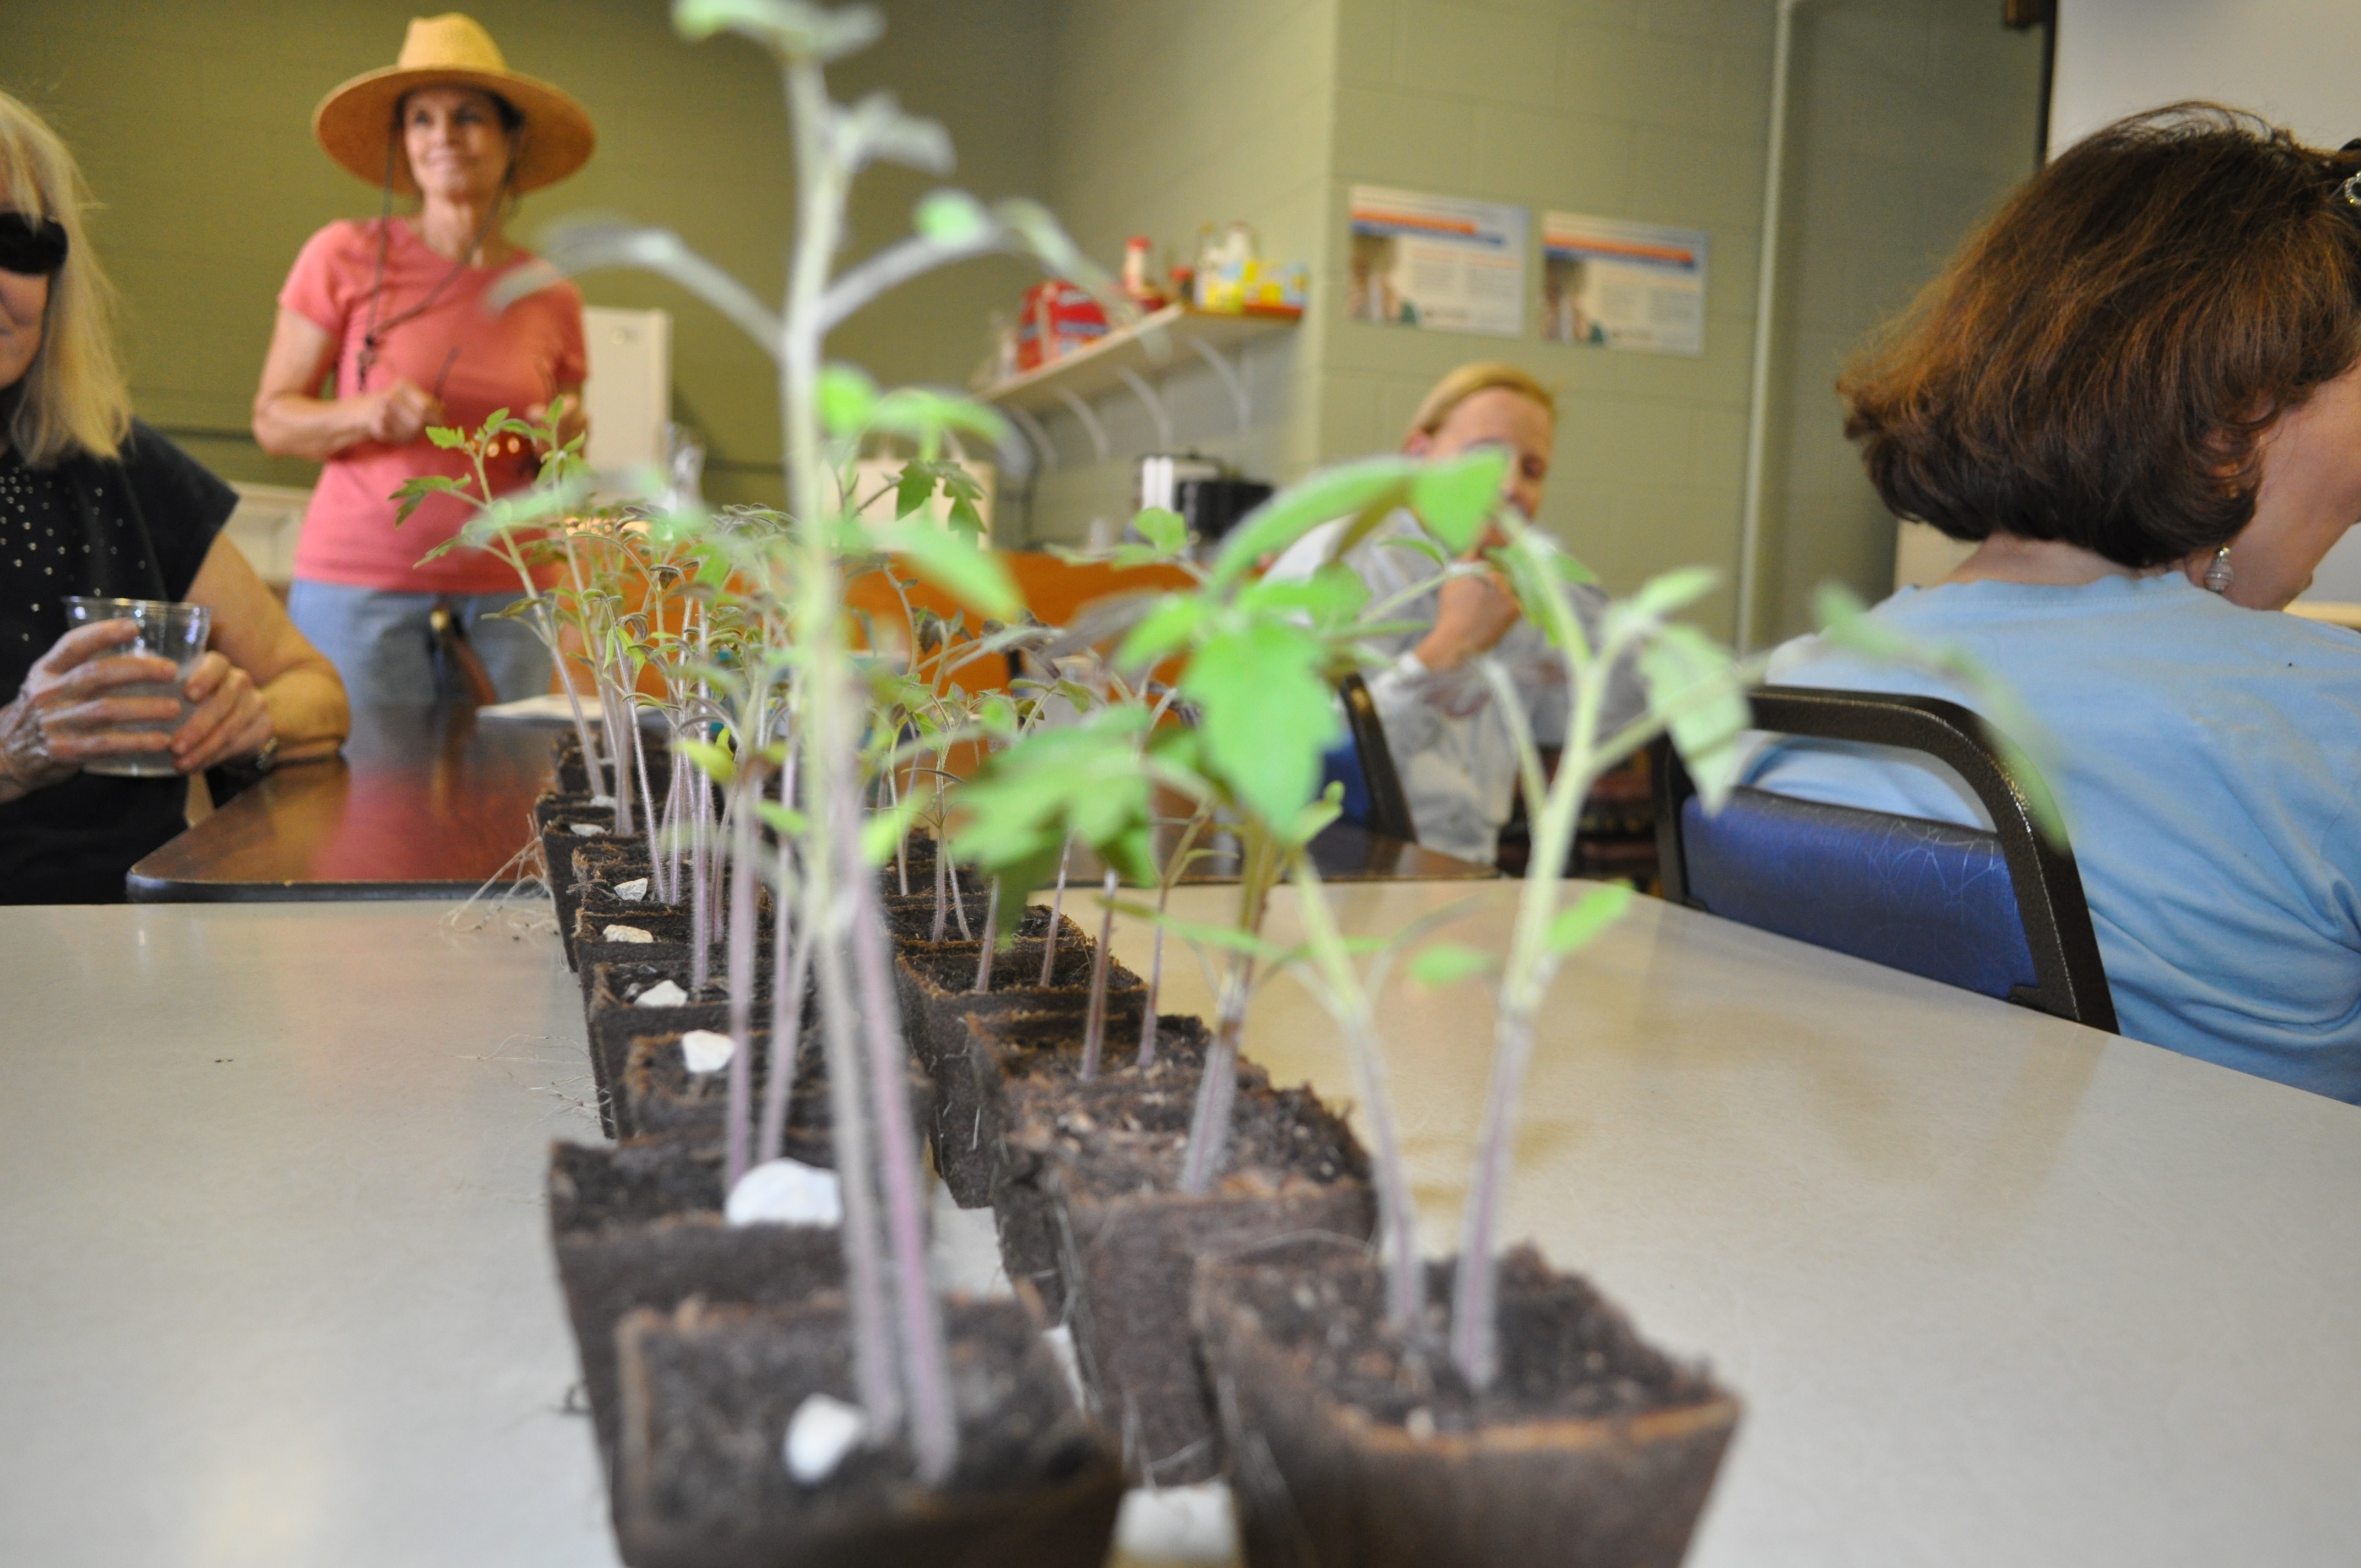
Water your plants the night before and pick a clean area indoors without direct sunlight and no fan or draft.  Tomato Seedlings Lined up for Grafting Select your seedlings. We grafted Brandywine tomatoes onto Celebrity.

Jim had 100% germination rate so we had to pick one seedling from each pot to use.  Look at the healthy roots coming out of the pot!

Tomato Seedling Ready to GraftJim suggested cutting the scion and rootstock straight across.  Remember you want matching stem size.Tomato GraftingPlace the grafting clip on the scion halfway over the cut stem, then join to the other stem so the cuts match up.

Silicon Clip on Cut Tomato Stalk

You will be able to see through the silicon clip to make sure the cut surfaces match up. Place your new grafted tomato plant in the bottom of a plastic cup, this will become the healing chamber.  Slide the smaller cup on top making sure it does not touch the leaves.

image

The plant should stay closed in the healing chamber for 3 days with no direct sunlight. Check the grafted tomato from outside.  If it wilts, open the chamber and mist or water the plant to raise the humidity level. Reclose the chamber.

4th Day-Open the healing chamber to see if the plant is moist.  Add water if needed and close.

5th Day-Make a small opening in the tunnel so some of the humidity can begin to escape.  Check frequently.  If plant wilts, close the tunnel back up, increase humidity by watering or misting and try ventilating the next day.

Don’t remove the clip. The  silicone clip will expand with the growth of the plant and eventually fall of by itself.

Let the plant grow indoors.  It will take 1-2 weeks longer to be ready to go outdoors to the tomato patch because it will have stopped growing during the healing process.

When transplanting, make the sure the graft union is above the soil line.

Thank you, Jim, for growing the plants and guiding us through the tomato grafting process!

Ann

Tomato Grafting Part 1

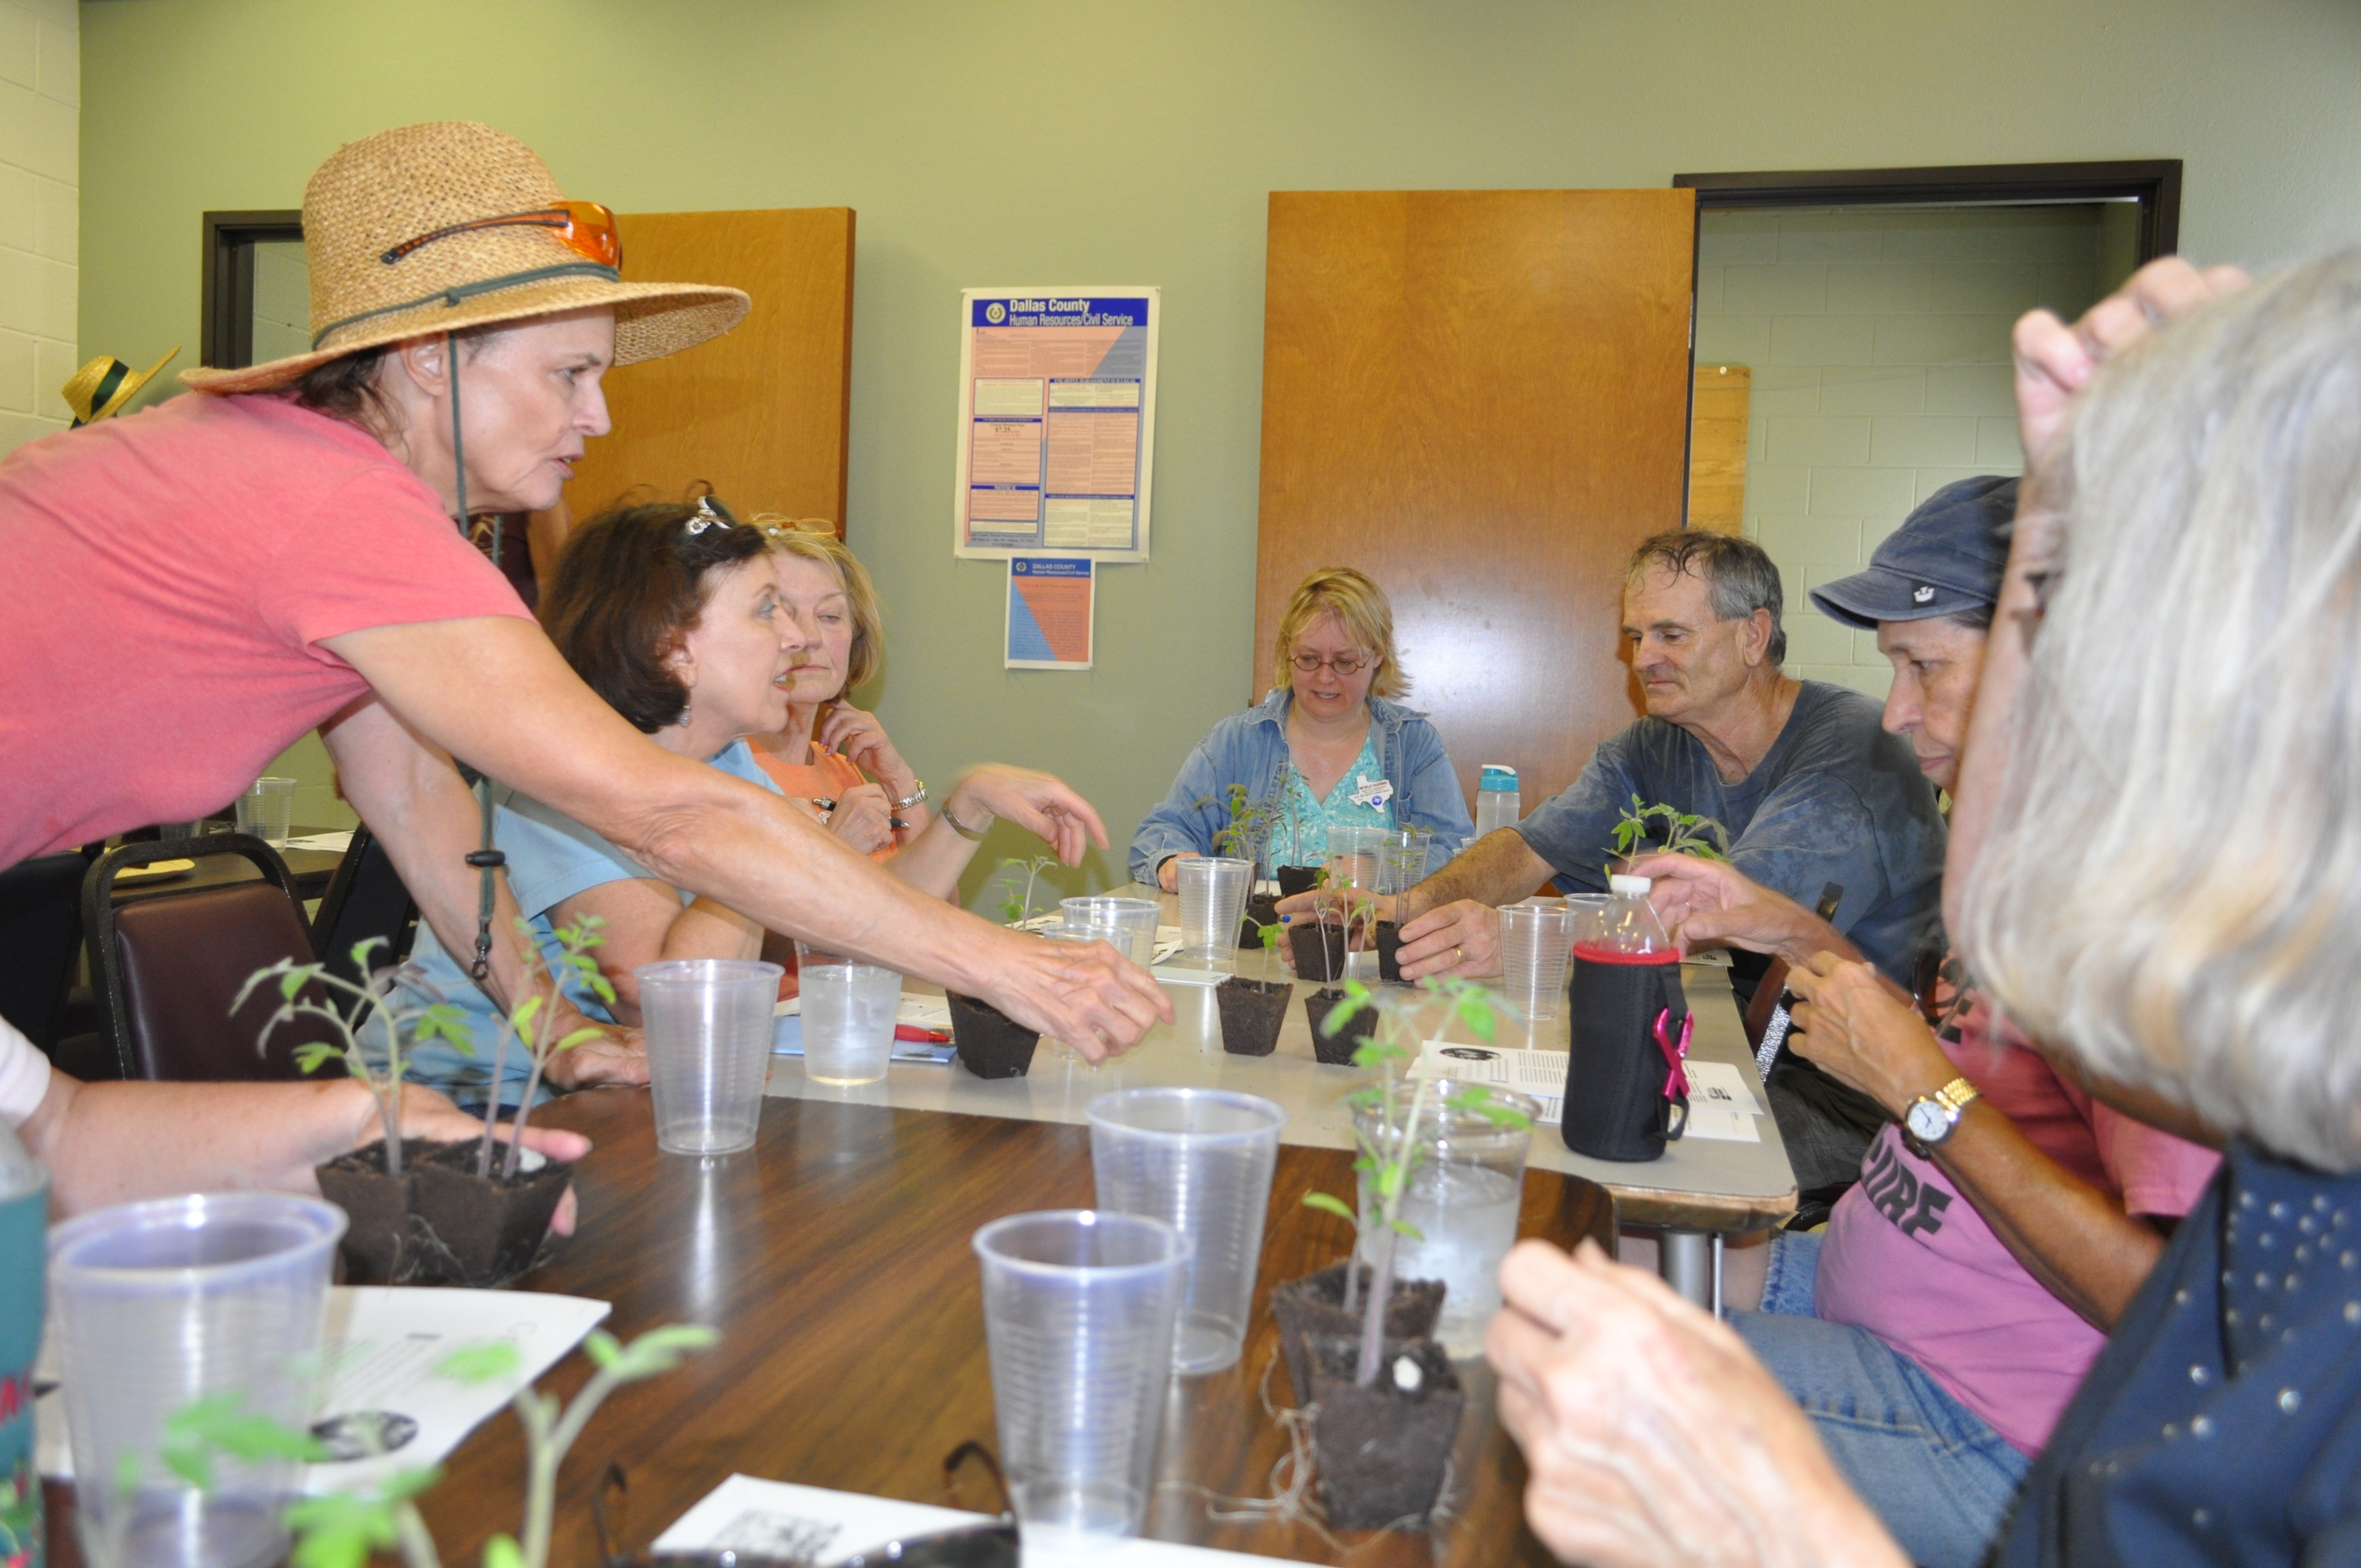
After working a few hours outside in our gardens we were treated to a  tomato grafting demonstration taught by Jim today.

Tomato Grafting Class at The Demonstration Garden

Tomorrow we will give step by step directions so you can tackle the concept of joining two different tomato varieties together to improve production in your fall garden.

Although it is hot, now is the time to think of  fall tomatoes.   For  information on fall tomato planting click here and refer back to tomato tips for more juicy tomato talk.

Soon you will be enjoying the fruits of your labor. Tomato Tart anyone?

Ann

Blackberry Class And Lunch In Our Blackberry Patch

Take the mystery out of growing blackberries. 

Come to the Earth- Kind ® WaterWise Demonstration Garden

at 2311 Joe Field Road

to hear Tim Allsup give an outdoor talk about how to grow ‘em and which varieties he likes, and how to prune ‘em! 

Date: Tuesday, June 4th                   Blackberries, Some Ripe                                                                    

Time: 11:00am-Noon

Place: 2311 Joe Field Road

Reservations: glamb@flash.net or sign up by leaving a comment on this blog.

Cost: $5.00 each person to be paid when you arrive for class 

Guests welcome, Master Gardeners will receive one hour education credit.

“Blackberry Lunch” 

Smoked Turkey, Mozzarella, and Blackberry Sandwiches 

Spinach Berry Salad with Blackberry Balsamic Vinaigrette 

Blackberry Lemonade

 Dessert Smorgasbord 

Blackberry Crumb Bars 

Fresh Blackberry Cake 

Blackberry Puffs 

Lemon Blackberry Swirl Pound Cake

Menu by Linda

Picture by Starla

Recipes will be included on our blog next week.


Spring Harvest

  Hooray for vegetable gardening  in Dallas  because it is  an all year feast  thanks to our mild winters. 

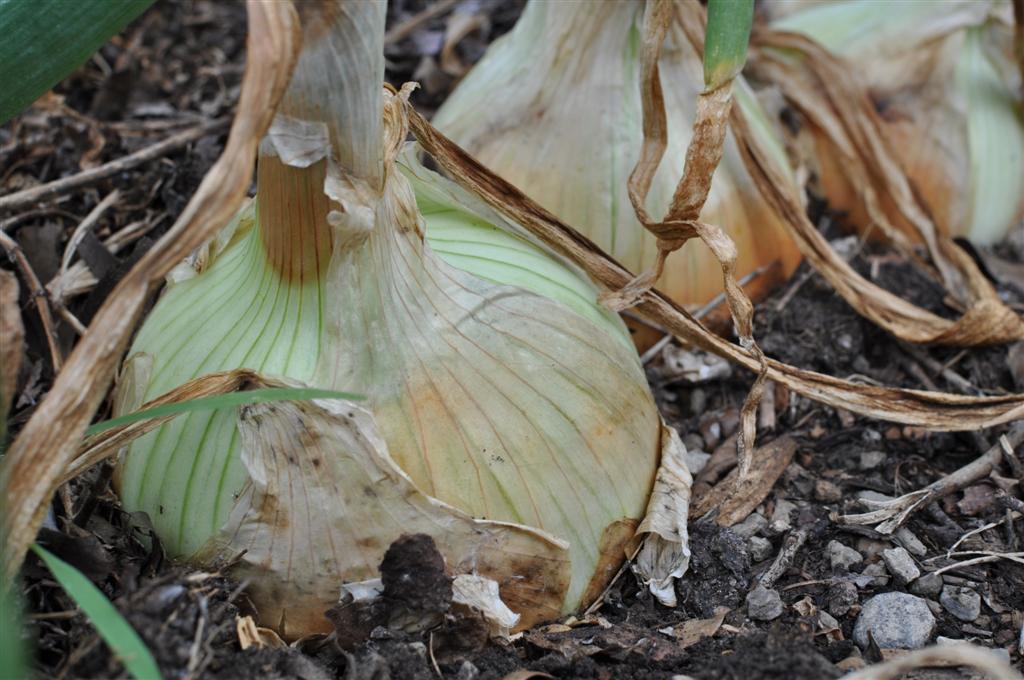
1015 Y Onions

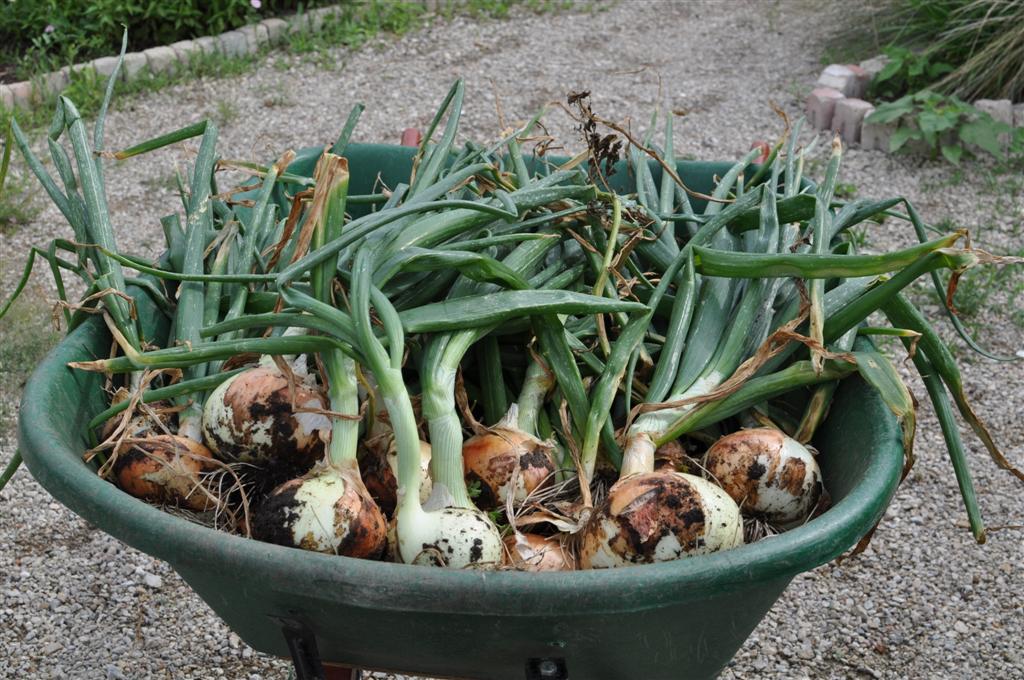
Dig back to the beginning of 2013:  in January  little onion sets, no bigger than a pencil, were planted.  Now  baseball size onions are ready for harvest

Wheelbarrow Of Onions

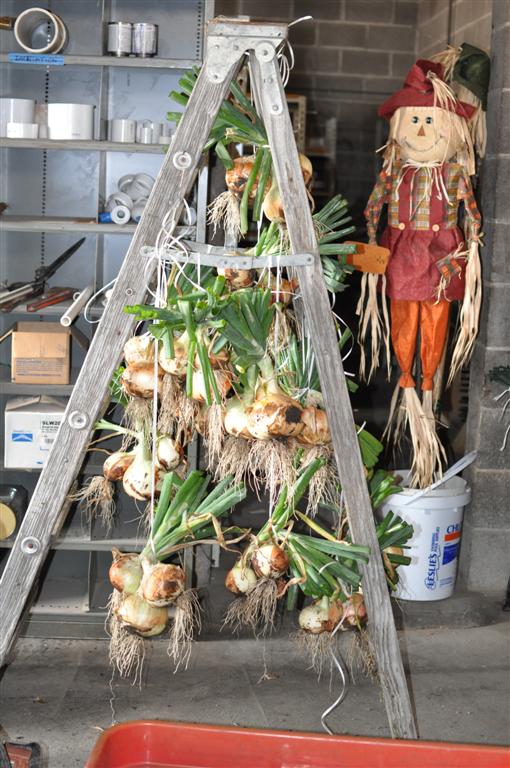
And ready for curing… and new recipes.

1015Y Onions Curing After Spring Harvest

This makes it possible to cook with each season’s bounty of homegrown vegetables all year.

 The Earth-Kind® WaterWise Demonstration Gardeners will be providing more farm to table recipes using our produce. More onion recipes are coming.

Dine with us by subscribing to our blog ! 

Ann

Learning In The Garden

Tuesday, April 7, the Denton County Master Gardener School came to Dallas to learn from the Dallas County Master Gardeners at The Earth-Kind® WaterWise Demonstration Garden on Joe Field Road.

Did you know blackberries have primocanes and  floricanes and perennial roots and biennial tops?

Tim Allsup and blackberry lessons

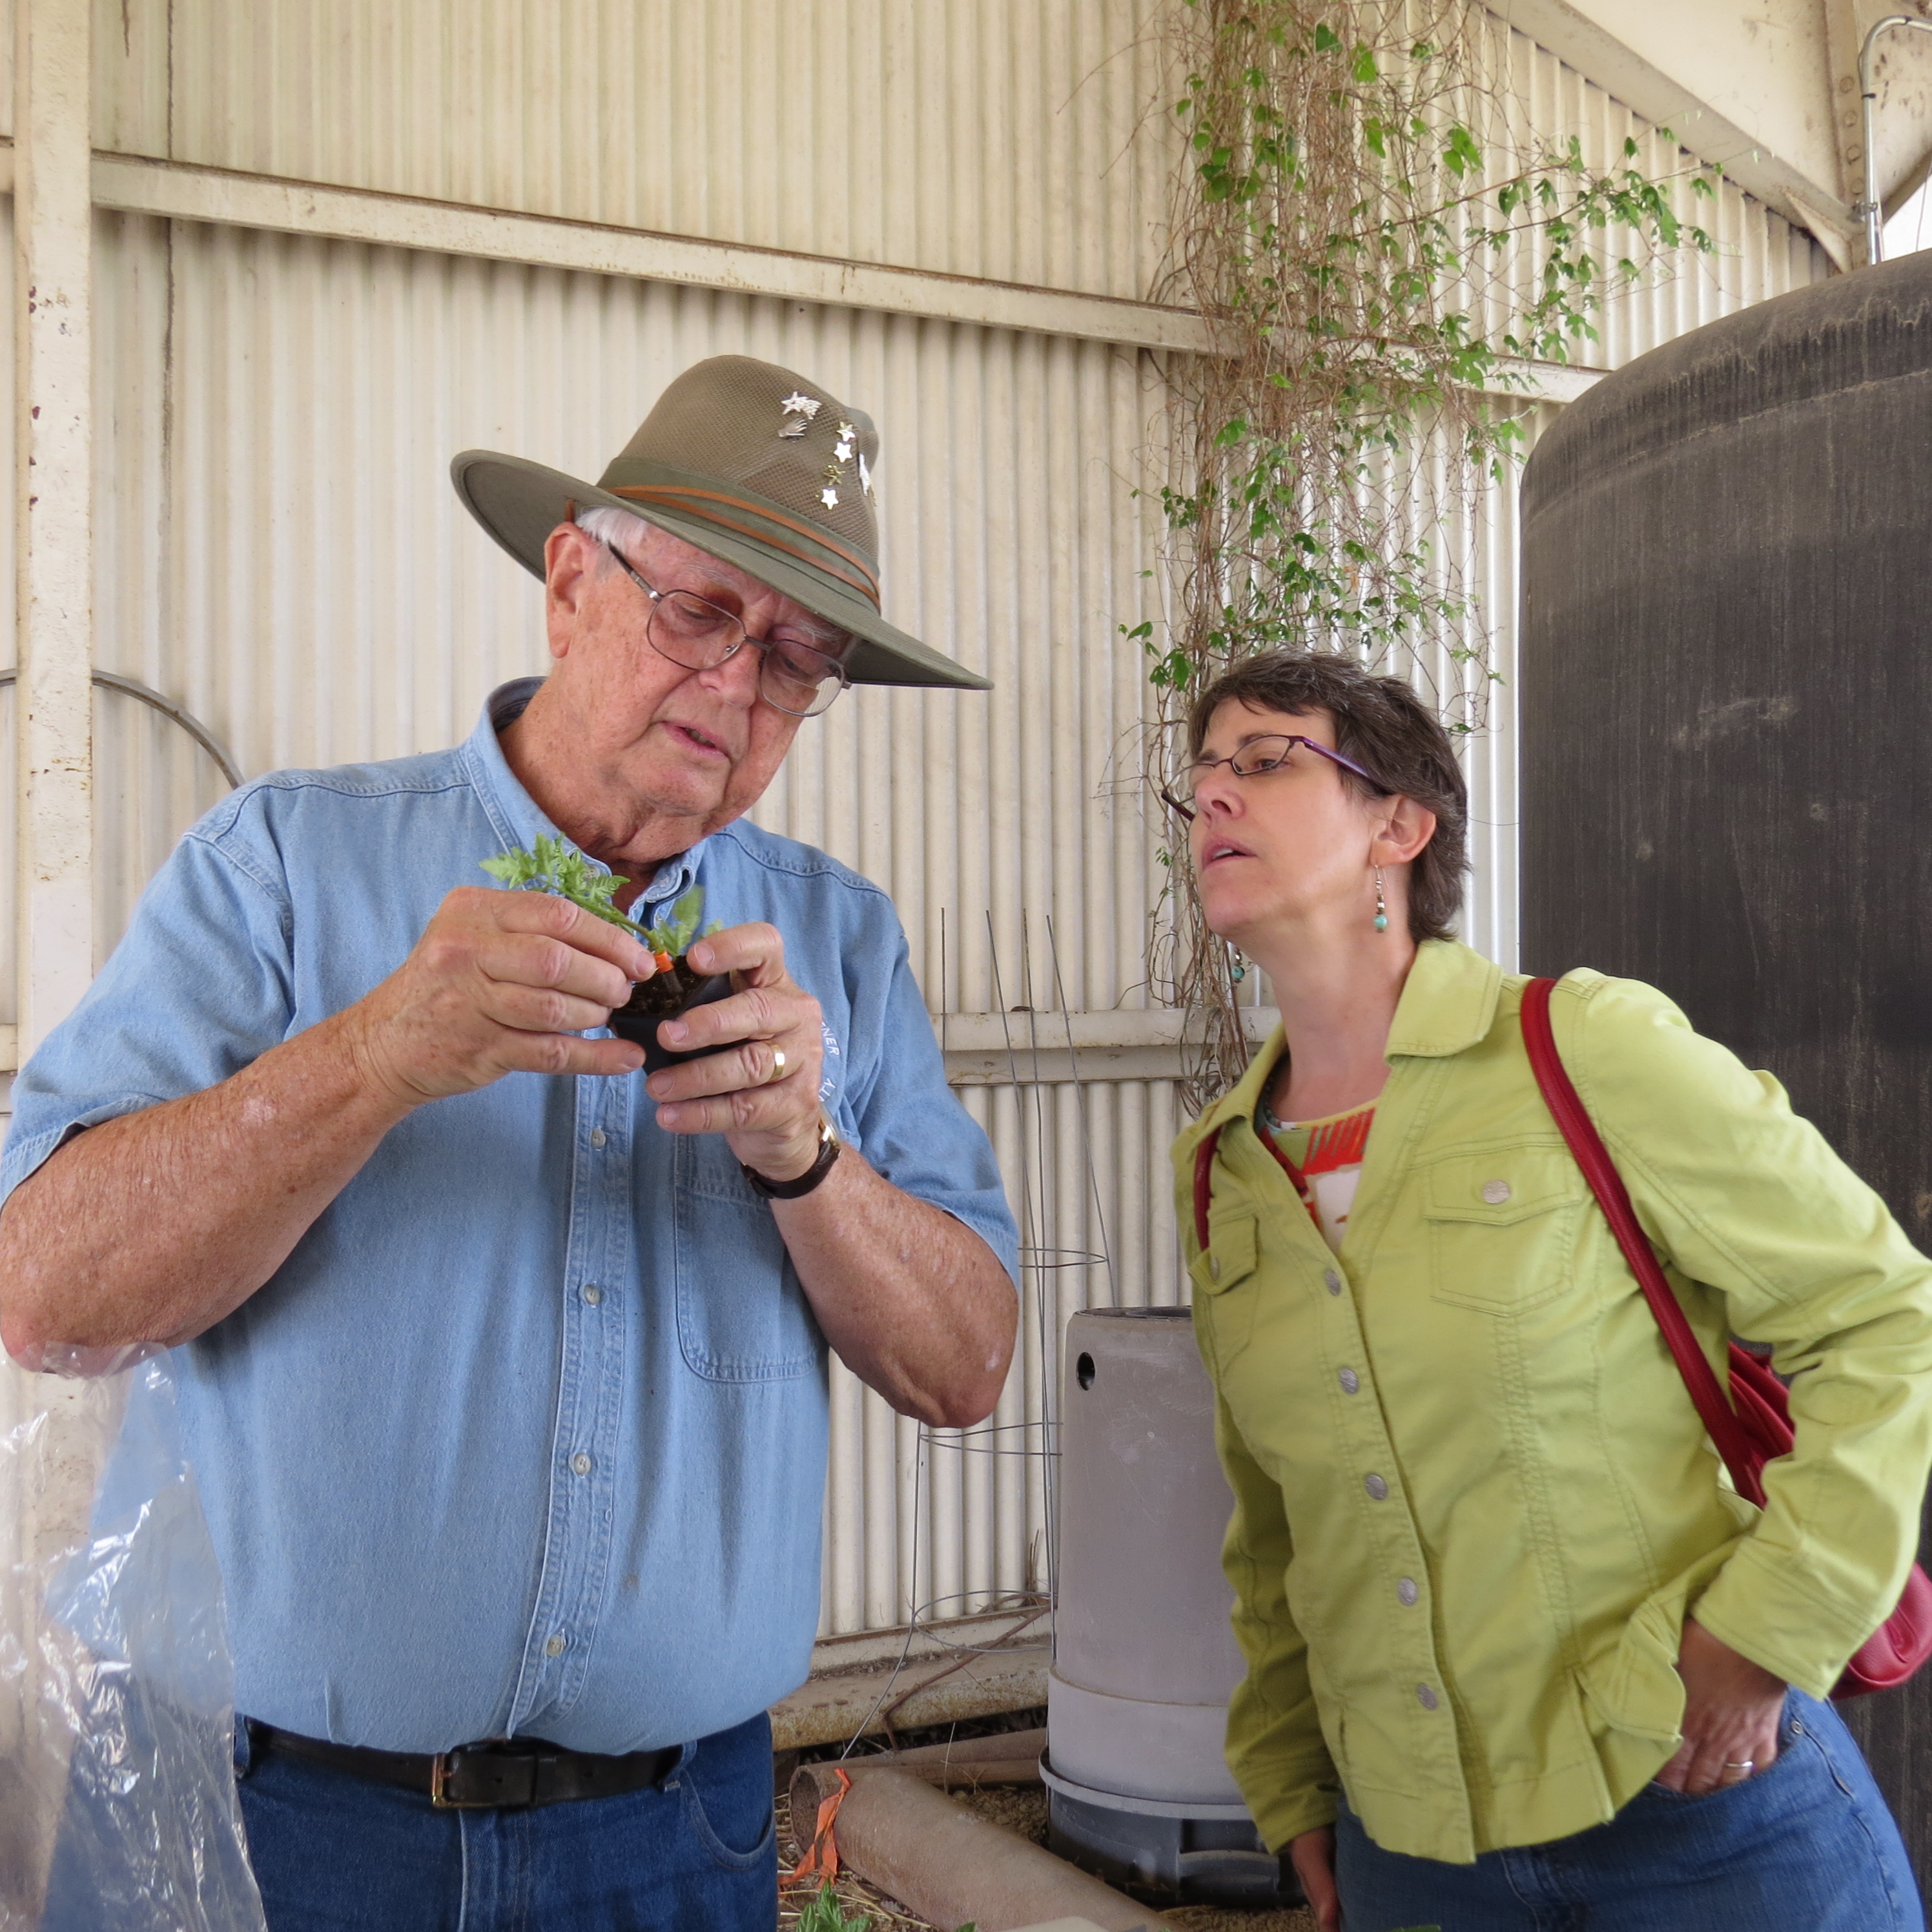
Have you ever grafted a Cherokee Purple Tomato onto a Celebrity Tomato?

Jim Teaching Tomato Grafting

Are you aware of the virtues of vermiculture?

Michele and Sue Teaching At The Dallas Demonstration Garden On Joe Field Road

We just can’t help it.  We love sharing  garden know- how with other gardeners.

Yearning to learn in the garden?  Future classes will be advertised on this blog.  Y’all come!

Ann

Pictures by Starla.