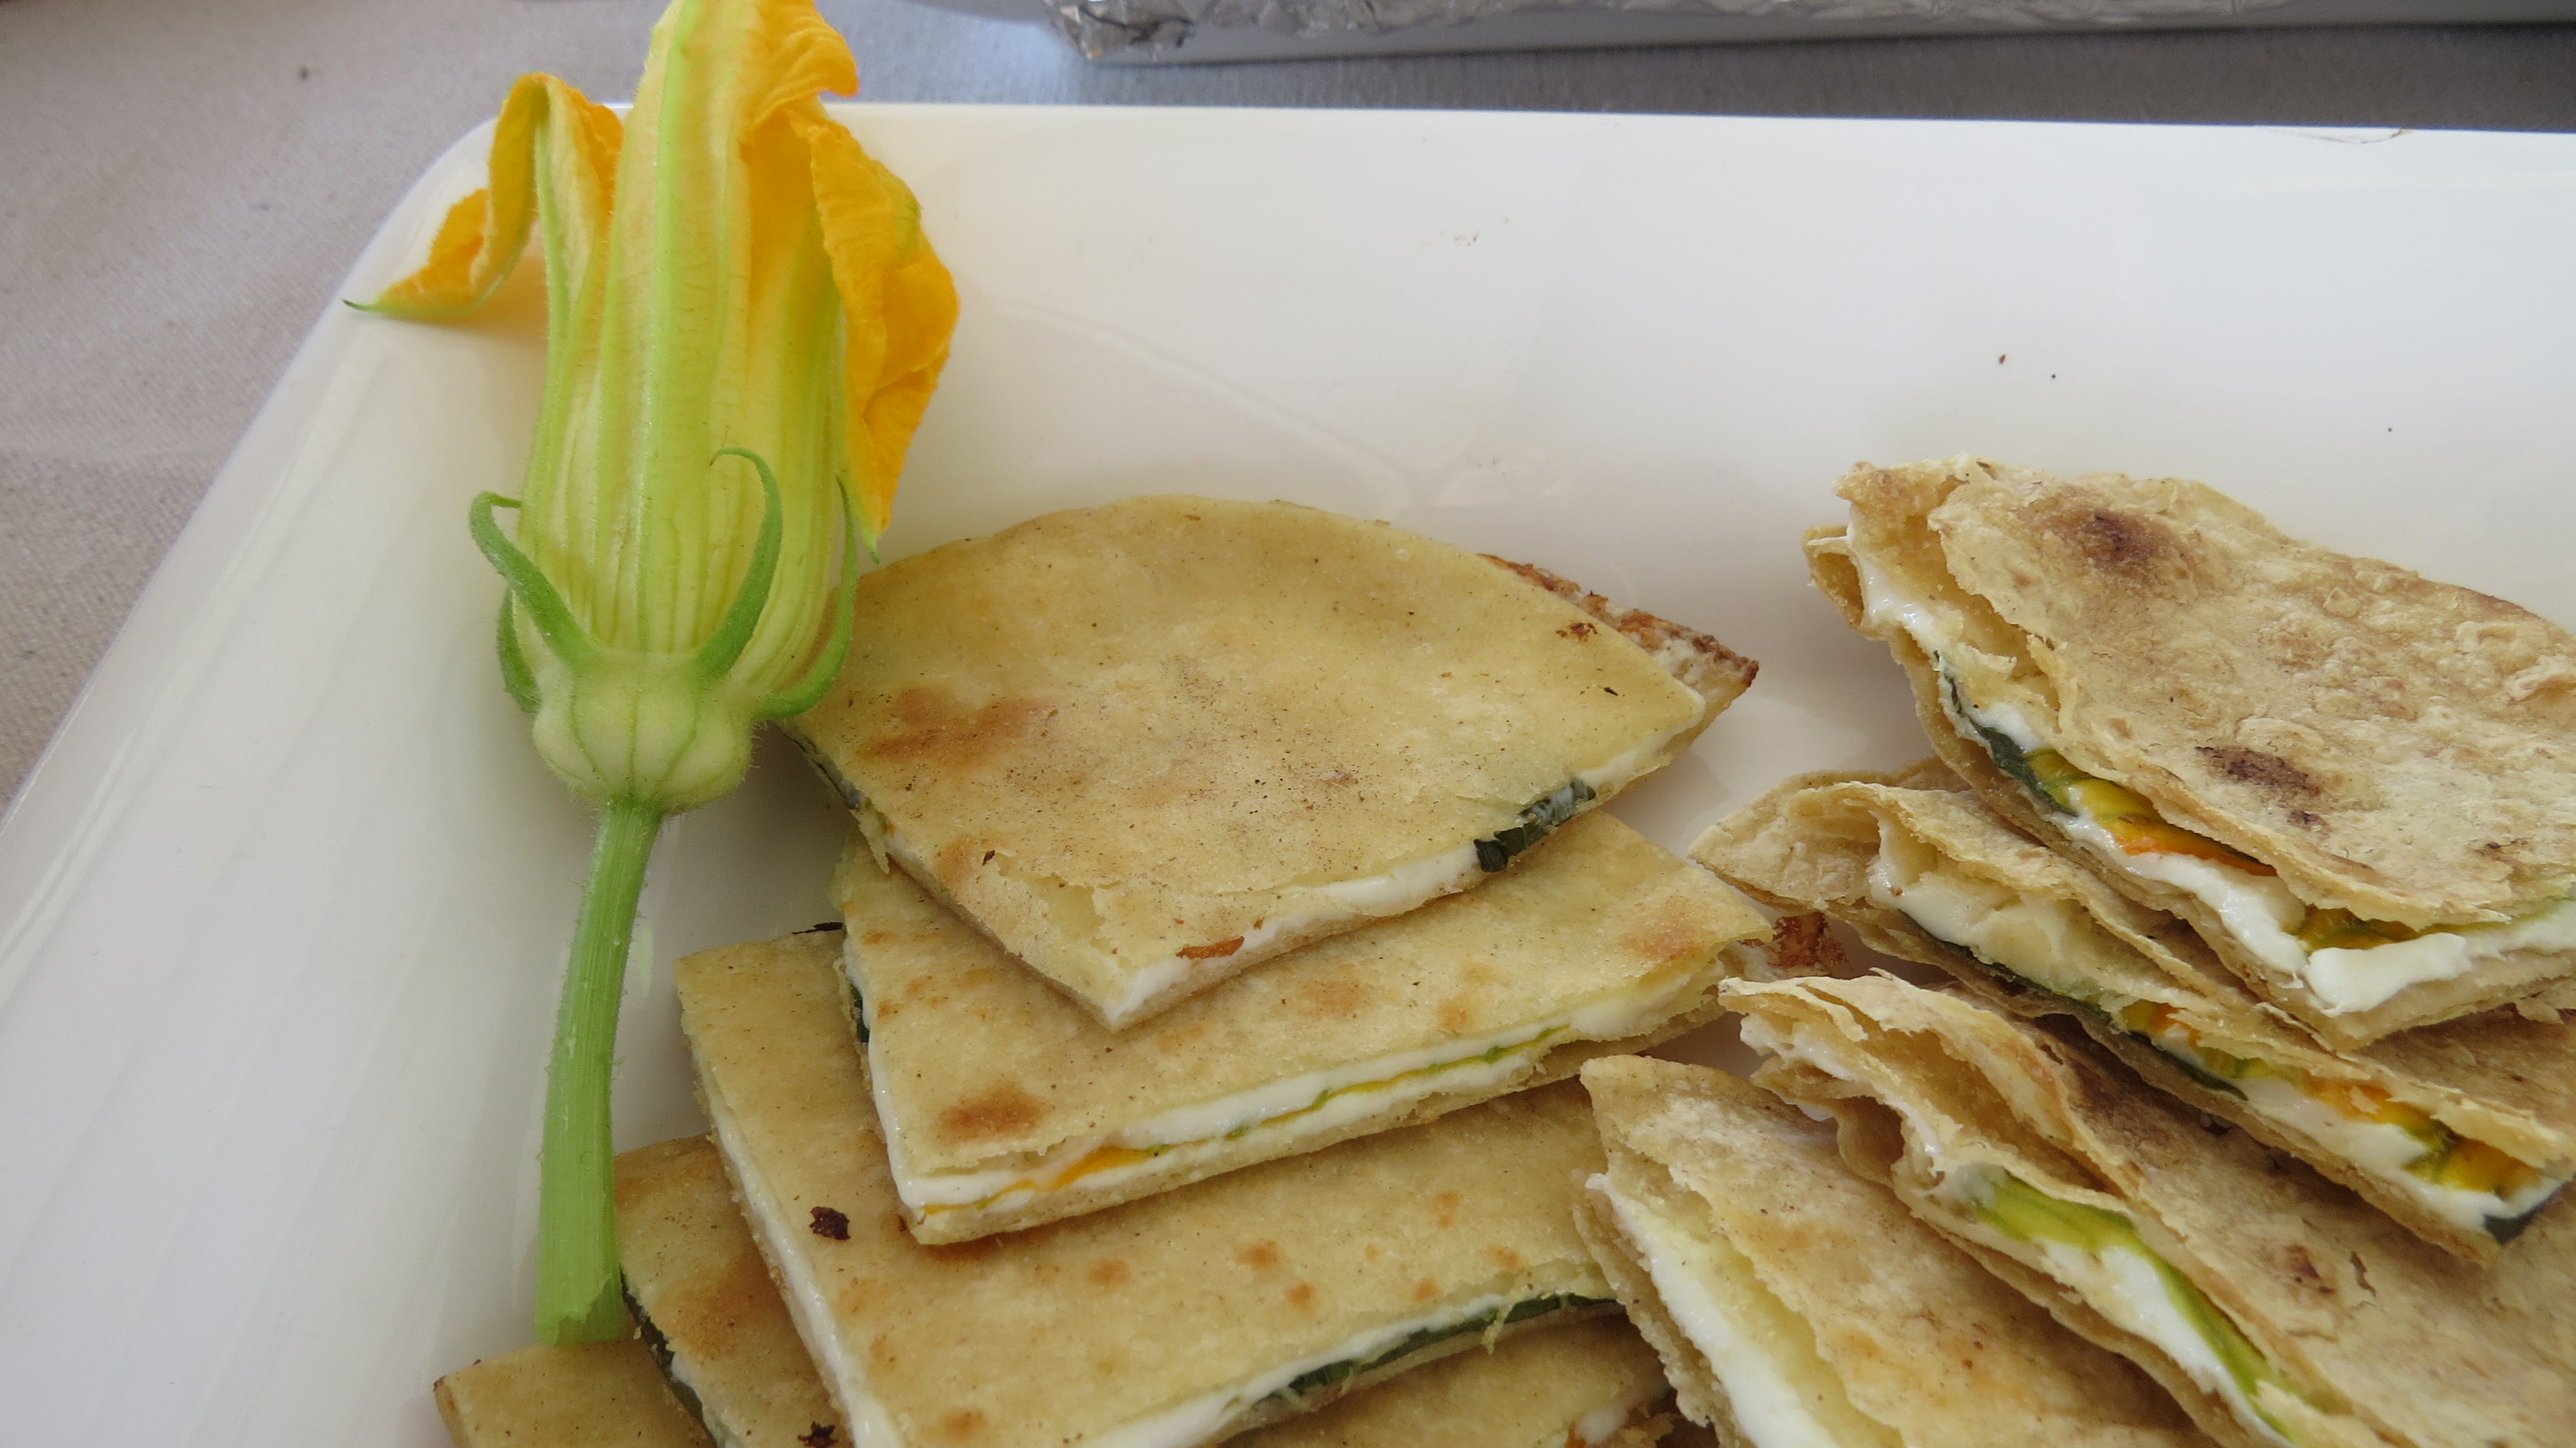
Squash Blossom Quesadillas
Ingredients:
Flores de Calabaza (squash blossoms)
Oaxaca cheese, shredded
Corn tortillas
Anaheim chiles, roasted, peeled, stemmed, and cut into ½-inch strips (optional)
Basil leaves (optional)
Butter
Directions
Prepare Flor de Calabaza Squash Blossoms:
Remove the woody stems. Pluck out the stamen/pistil from the inside of the squash
blossom (careful there might be bugs or bees inside).
Trim off the sepals (the small, wavy leaves that grow from the base of the blossoms).
Discard stems, stamen, and sepals. Gently rinse blossoms in cold water and place them on a paper towel to drain. At this point you may cut the base from the flower, open and lay it flat.
Make Quesadillas:
Place a dry griddle or cast-iron griddle over medium-high heat. Melt 1 tablespoon of butter on the griddle. Place a tortilla on the griddle and sprinkle with cheese. Add 2 to 3 squash blossoms, and roasted chile, if using, on slightly warmed tortilla. Or, place three or four basil leaves on top of the squash blossoms. Cover with tortilla. Cook until light golden, about 2 to 3 minutes or until cheese melts. Flip over and cook until golden brown.
Serve warm and, if desired, with salsa.

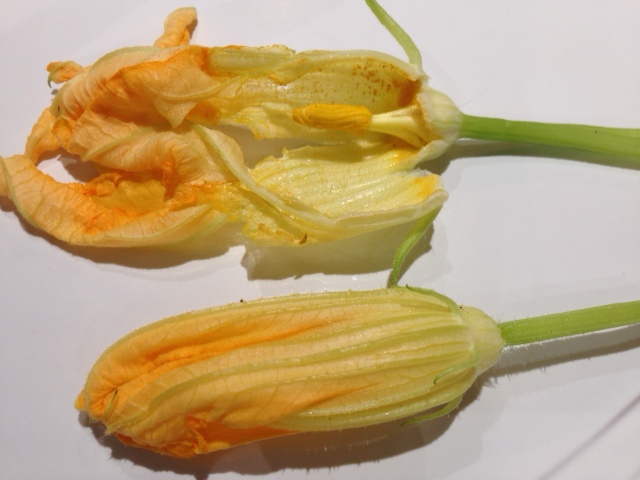
Above: Stuffed Squash Blossoms Ready to Fry
Fried Stuffed Zucchini Blossoms
Ingredients:
Batter
1 cup all-purpose flour
¼ teaspoon salt
1 ¼ cups club soda, as needed
16 zucchini or squash blossoms
½ cup ricotta
4 teaspoons finely chopped fresh basil
1 garlic clove, crushed through a press
Salt and freshly ground black pepper
Vegetable oil, for deep-frying
Directions:
- To make the batter, using a fork, stir the flour and salt in a bowl to combine. Gradually whisk in the club soda to make a batter-there should be a few lumps of flour. Let stand 10 minutes to thicken slightly.
- Using a small knife, cut a slit down the side of each zucchini blossom, and remove the pistil from inside each blossom. (If a blossom tears, don’t worry). Mix the ricotta, basil, and garlic in a small bowl and season with salt and pepper to taste. Using a small spoon (a demitasse spoon works well), insert a heaping spoonful of the ricotta mixture inside each blossom through the slit.(Rather than cutting a slit in the side, try a simpler approach; carefully open the blossom, remove the stamen with tweezers then “pipe” in ricotta filling – about two teaspoons. Gently twist to close and fry according to instructions).
Be sure that the cheese filling is completely enclosed by the blossom. Transfer the blossoms to a platter.
- Place a wire cake rack on a rimmed baking sheet. Pour enough oil into a large skillet to come halfway up the sides. Heat over high heat until the oil reaches 360 degrees F on a deep-frying thermometer. One at a time, holding the blossom by the stem, dip the blossom into the batter and remove, letting excess batter drip back into the bowl. There should be only a light coating of batter. Place in the oil and fry, turning once, until golden brown, about 2 minutes. Fry the blossoms in batches to avoid crowding them in the skillet. Using a wire skimmer, transfer the blossoms to the cake rack to drain. Serve hot.
Yield: Makes 16 blossoms

Shaved-Squash Salad with Tomatoes, Zucchini Blossoms,Ricotta and Thyme Oil
Baby zucchini and small yellow squash sliced on a mandoline add to the lovely,delicate nature of this colorful salad
Ingredients:
1 generous handful fresh thyme springs (about ¾ ounces)
½ cup extra-virgin olive oil
½ teaspoon finely grated lemon zest, plus 2 teaspoons fresh lemon juice
2 baby zucchini (3 ounces total), thinly shaved on a mandolin
4 small yellow crookneck squash (3 ounces total), thinly shaved on a mandoline
4 ounces mixed teardrop or cherry small tomatoes, cut in half crosswise (1 cup)
6 zucchini blossoms, halved or quartered if large
¼ cup fresh basil leaves, torn if large, plus more for sprinkling (optional)
Pinch of red-pepper flakes
¼ teaspoon coarse salt
Coarsely ground pepper
3 ounces fresh ricotta (1/3 cup)
Directions:
- Place thyme on a cutting board, and bruise with the dull edge of a knife. Place thyme and oil in a small saucepan. Cover and heat until small bubbles appear. Turn off heat, and steep thyme, covered 20 minutes. Discard sprigs, leaving loose thyme leaves in oil. Whisk together lemon zest and juice and 2 tablespoons thyme oil (reserve remaining oil for another use; it can be refrigerated up to 2 weeks).
- Combine half the dressing with the zucchini, squash, tomatoes, zucchini blossoms, basil, red-pepper flakes, and salt. Season with pepper, and toss. Divide the salad between 2 plates, and dot with half the ricotta. Top with remaining salad and remaining ricotta. Drizzle with remaining dressing, and sprinkle with basil.
Yield: Serves 2
Note: Squash blossoms can be replaced with a leafy green such as spinach.
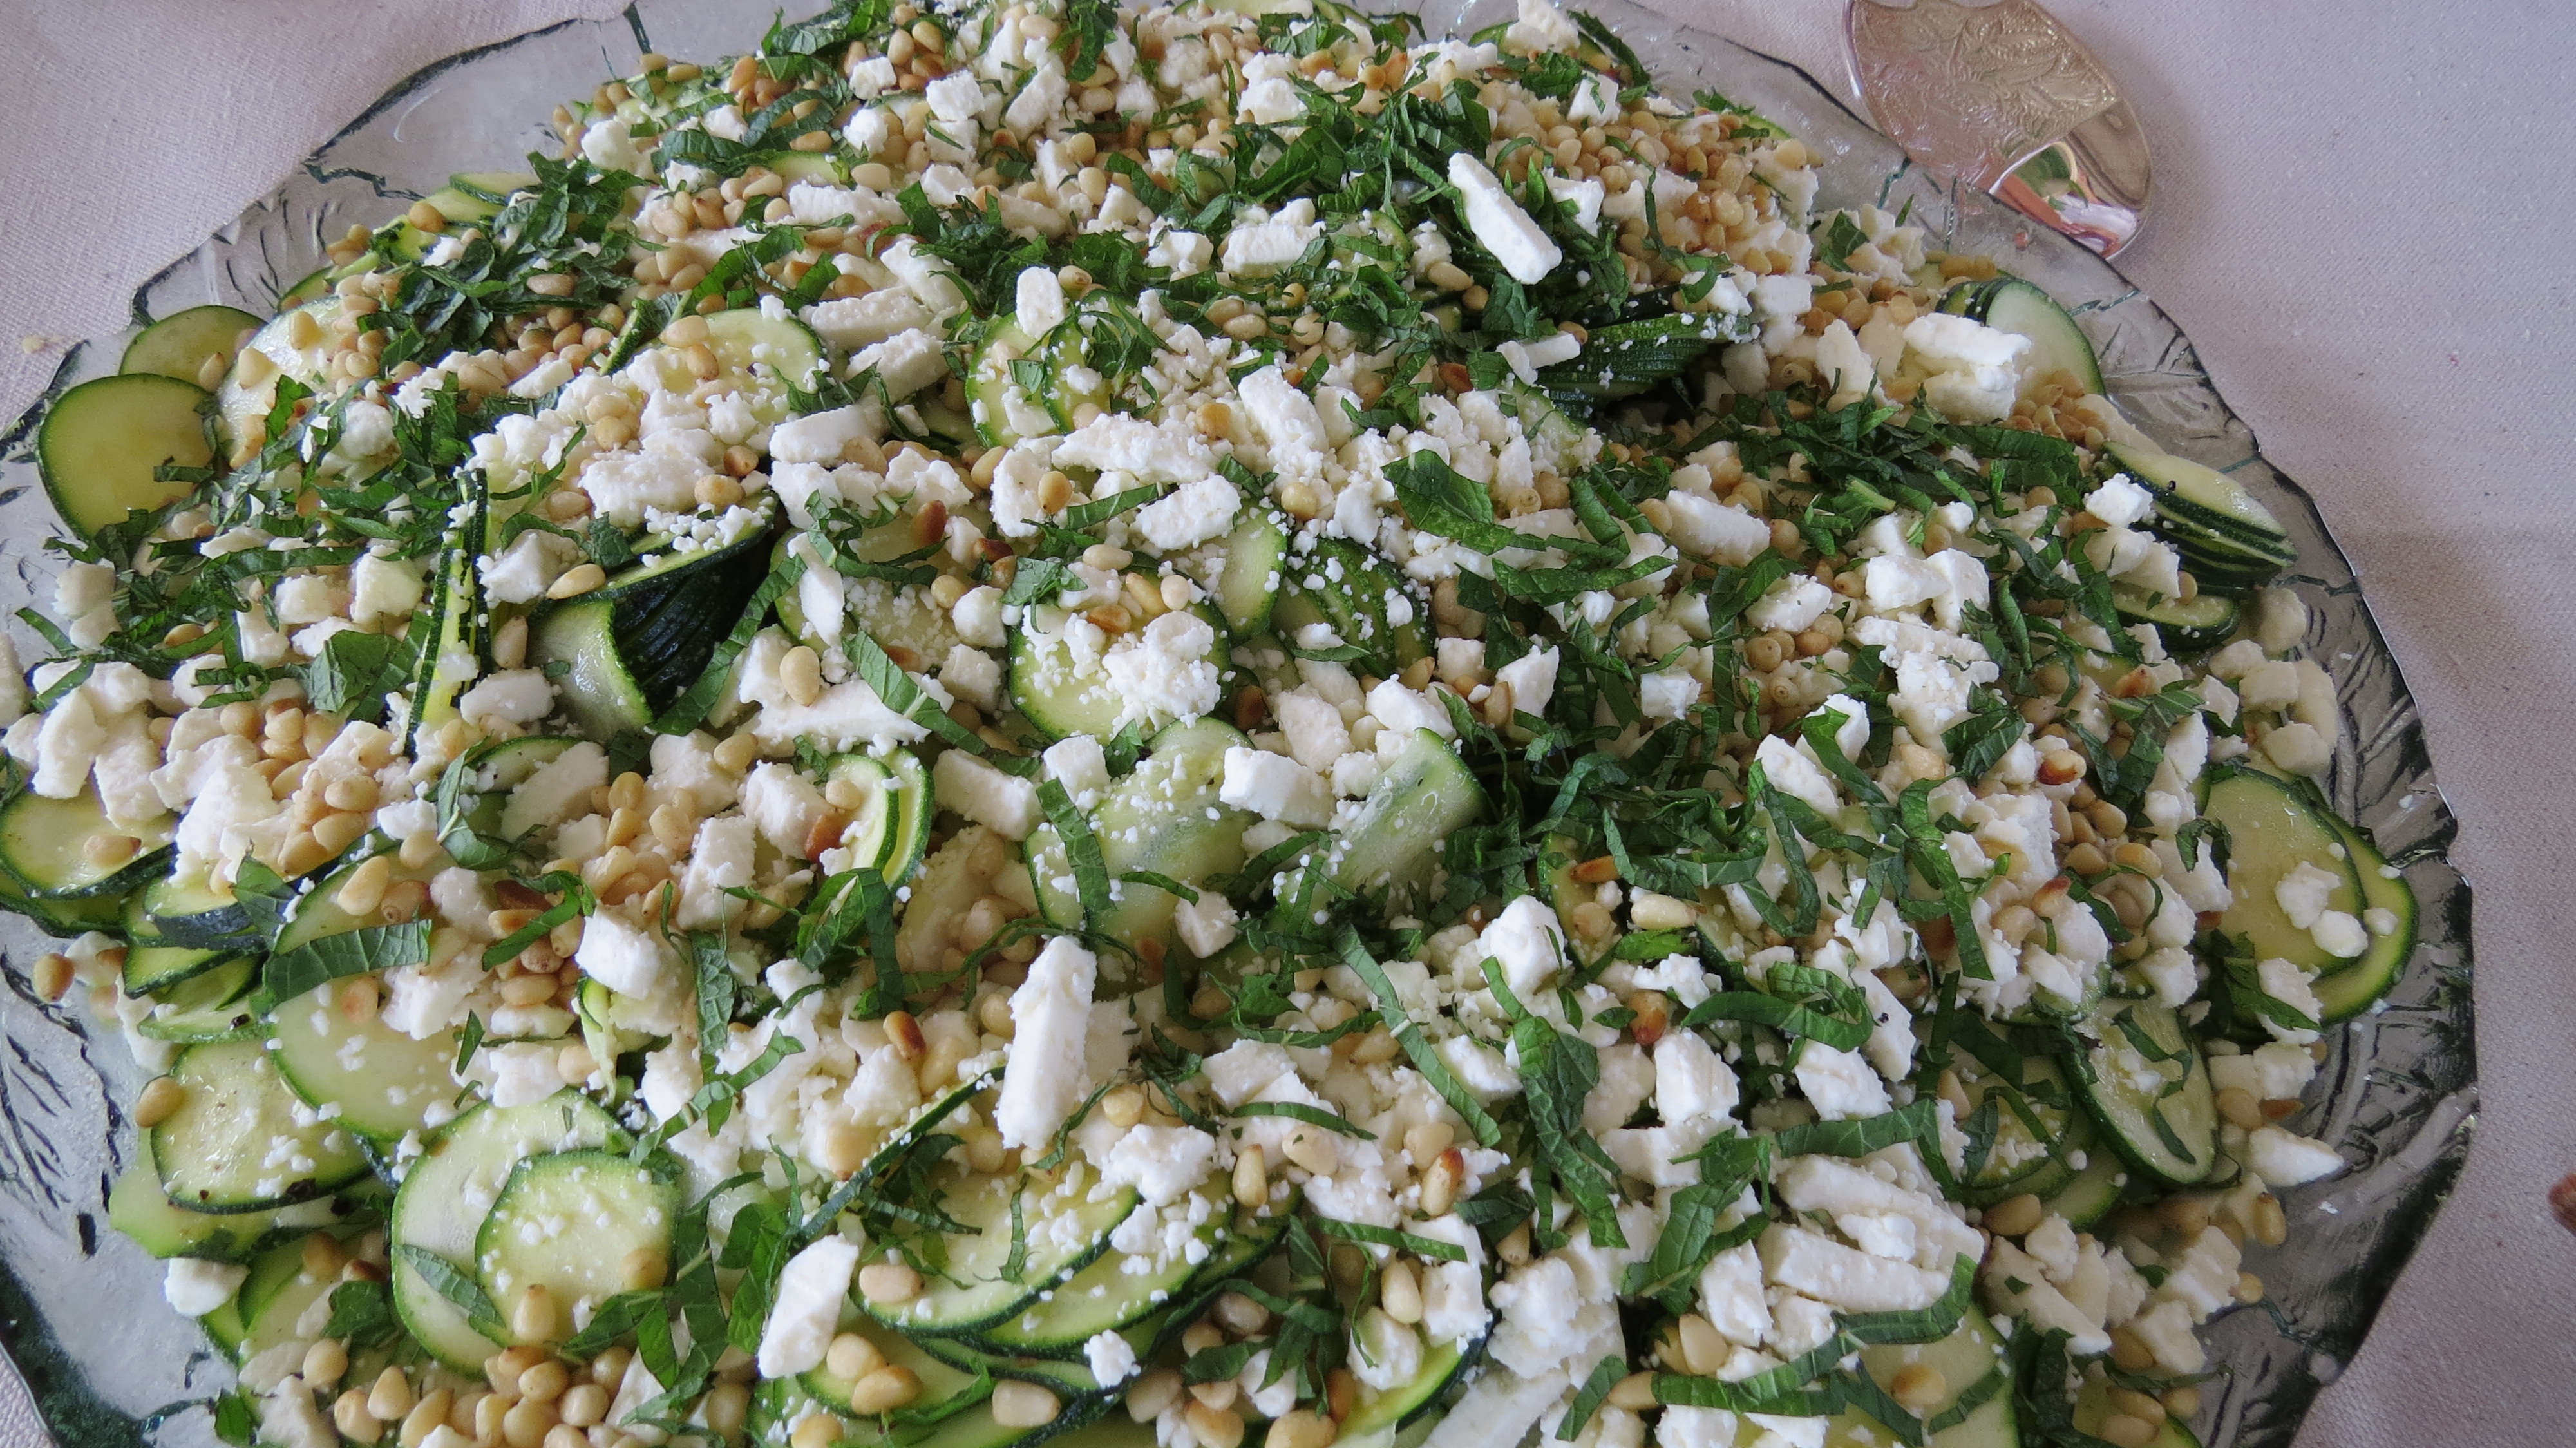
Zucchini Carpaccio
Ingredients:
5 medium zucchini, trimmed
Coarse kosher salt
Freshly ground black pepper
3 tablespoons fresh lemon juice
3 tablespoons extra-virgin olive oil
One cup French feta
½ cup lightly toasted pine nuts
2 tablespoon chopped fresh basil or mint
Directions:
- Using knife or mandoline slice, cut zucchini into paper-thin rounds.
- Arrange rounds, slightly overlapping, on a large platter. Sprinkle lightly with coarse salt and pepper.
- Whisk lemon juice and oil in a small bowl. Drizzle dressing evenly over zucchini.
- Drop small spoonful’s of cheese all over zucchini. Sprinkle with the pine nuts, basil or mint and serve.

Squash Blossom and Gruyere Soup with Stuffed Blossom Garnish
Ingredients:
For Soup:
About 1 lb. squash blossoms
1 small onion, diced
4 cloves garlic, minced
3 tablespoons butter
4 cups light vegetable or chicken stock
1 cup heavy cream
1 cup shredded gruyere cheese
Salt and freshly ground pepper to taste
For garnish:
6 large unblemished squash blossoms, prickly stems and interior pistils removed
1 cup ricotta cheese
¼ cup parmesan cheese, grated
A handful of chopped fresh herbs: basil, thyme, tarragon, sage, rosemary
¼ cup pine nuts, lightly toasted and coarsely chopped
Salt and freshly ground pepper
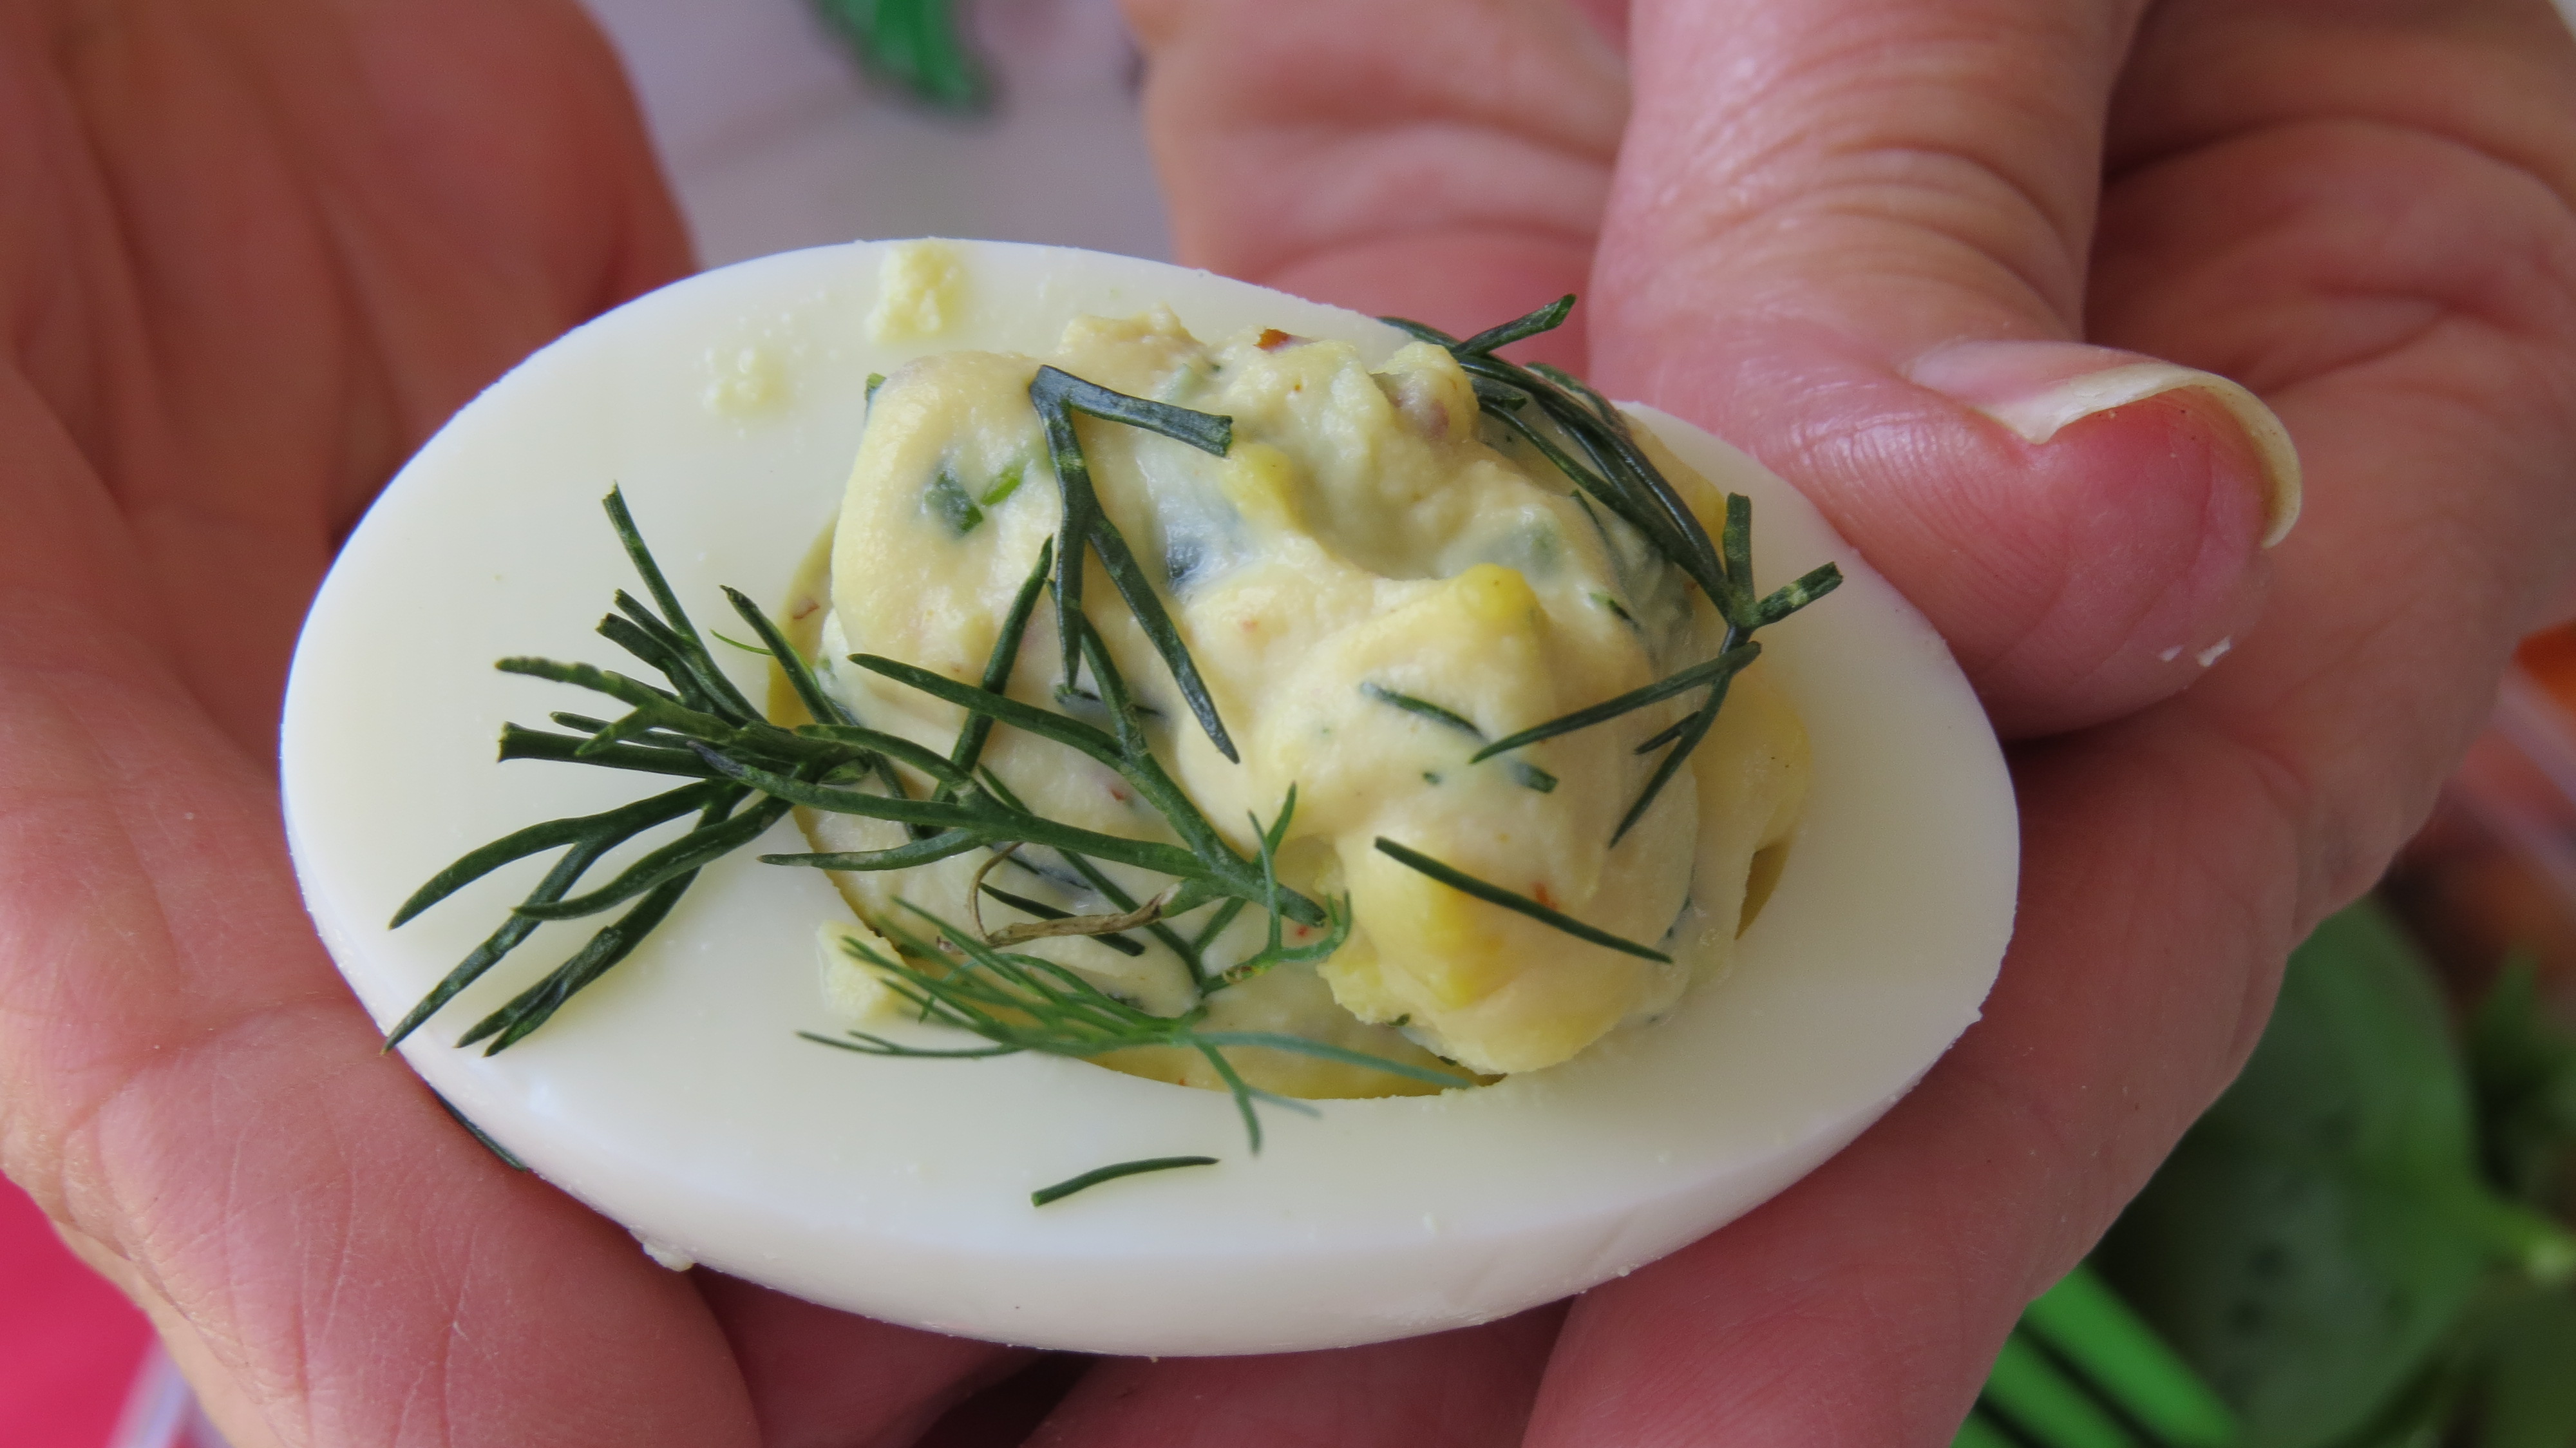
Chopped fresh herbs, for garnish
Directions:
- Prepare the blossoms by cutting off the prickly stems and removing the yellow pistils from inside each flower. Chop coarsely.
- In a large heavy pot, sauté the diced onion and garlic in the butter over medium heat until the onion is soft and translucent but has not started to brown. Stir in the chopped squash blossoms, and sauté for a minute or two until they wilt. Stir in the stock, and let simmer for about 20 minutes, until everything is soft.
- Puree the mixture, either by using an immersion blender or in batches in a blender. Return the soup to the pot and stir in the cream. Gradually add the gruyere cheese, stirring occasionally until completely melted. Season to taste with salt and pepper. Keep warm without boiling until ready to serve.
For garnish, combine the ricotta with the parmesan and herbs. Just before serving, stir in the pine nuts so they don’t get soggy. Season the mixture to taste, and stuff each of the reserved whole blossoms with a spoonful of the mixture. Float the blossoms on the soup and sprinkle with chopped fresh herbs.
Extra “processing” with an immersion blender, food processor or Vita Mix may be necessary to obtain a velvety smooth consistency.
Serve immediately.

Southwestern Squash Casserole
This one made it to our top ten list. Imagine, a casserole with saltine crackers in the filling being a family favorite.
Ingredients:
8 medium yellow squash, sliced
½ cup sour cream
3 tablespoons butter
1 cup shredded cheddar cheese
½ teaspoon salt
2 eggs, beaten
2 tablespoons chopped chives
6 slices bacon, crisp-fried, crumbled
1 (4-ounce) can chopped green chilies, drained
¼ cup chopped fresh cilantro
12 saltine crackers, crumbled
Paprika to taste
Directions:
1. Place the squash in a saucepan with water to cover. Cook over high heat until tender; drain well.
2. Combine with the sour cream, butter, cheese, salt, eggs, chives, bacon, green chilies, cilantro and crackers in a bowl, mixing well.
3. Spread evenly in a buttered baking dish. Sprinkle with paprika.
4. Bake at 350⁰ for 30 minutes or until lightly browned.
Yield: 8 servings
Linda
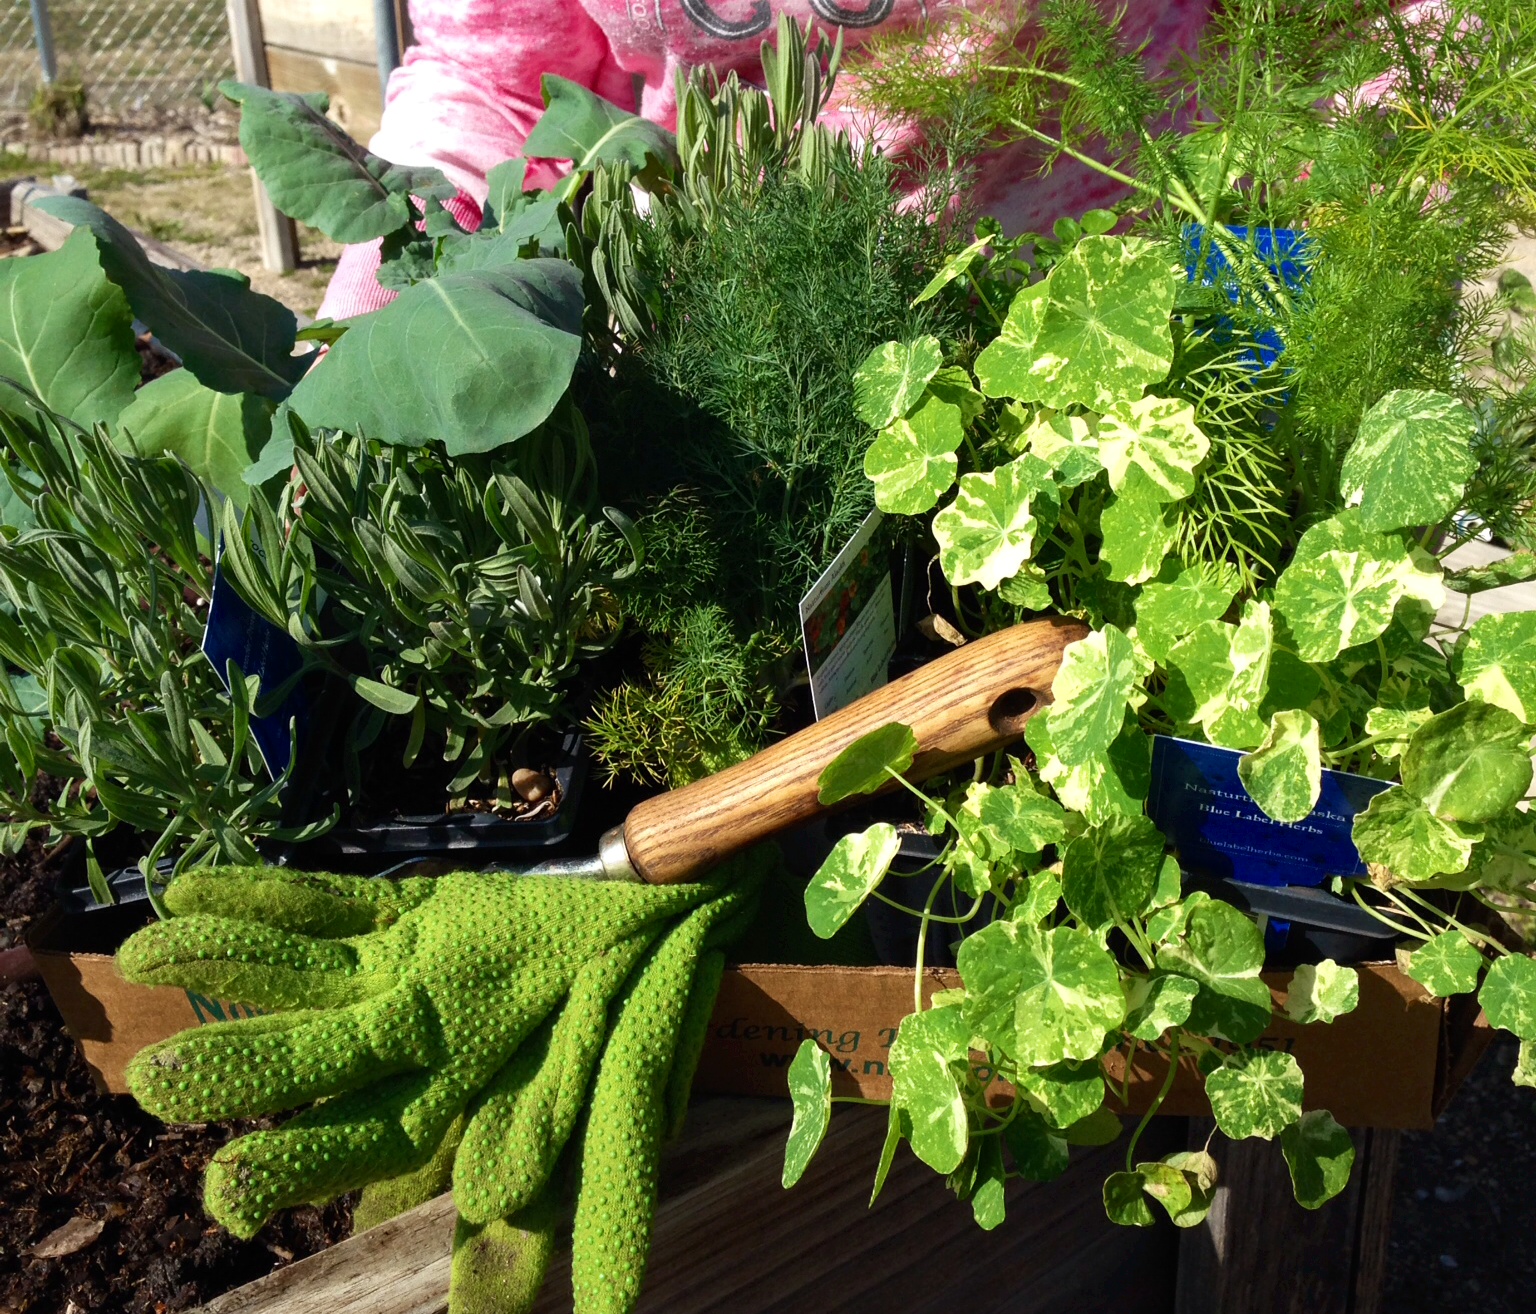
Pictures by Starla