We are going to be sharing many, many squash recipes from our SQUASH ME event yesterday. We had beautiful, lower temperature weather and a fabulous speaker who talked to us about the wide and inviting subject of squash. While you are waiting for a complete write up, we thought you might like a few of the recipes. Please also spend a little time reading about The Sex Life of Squash on the blog, Garden Betty to prepare for the scintillating squash info we will be presenting in the next few days.
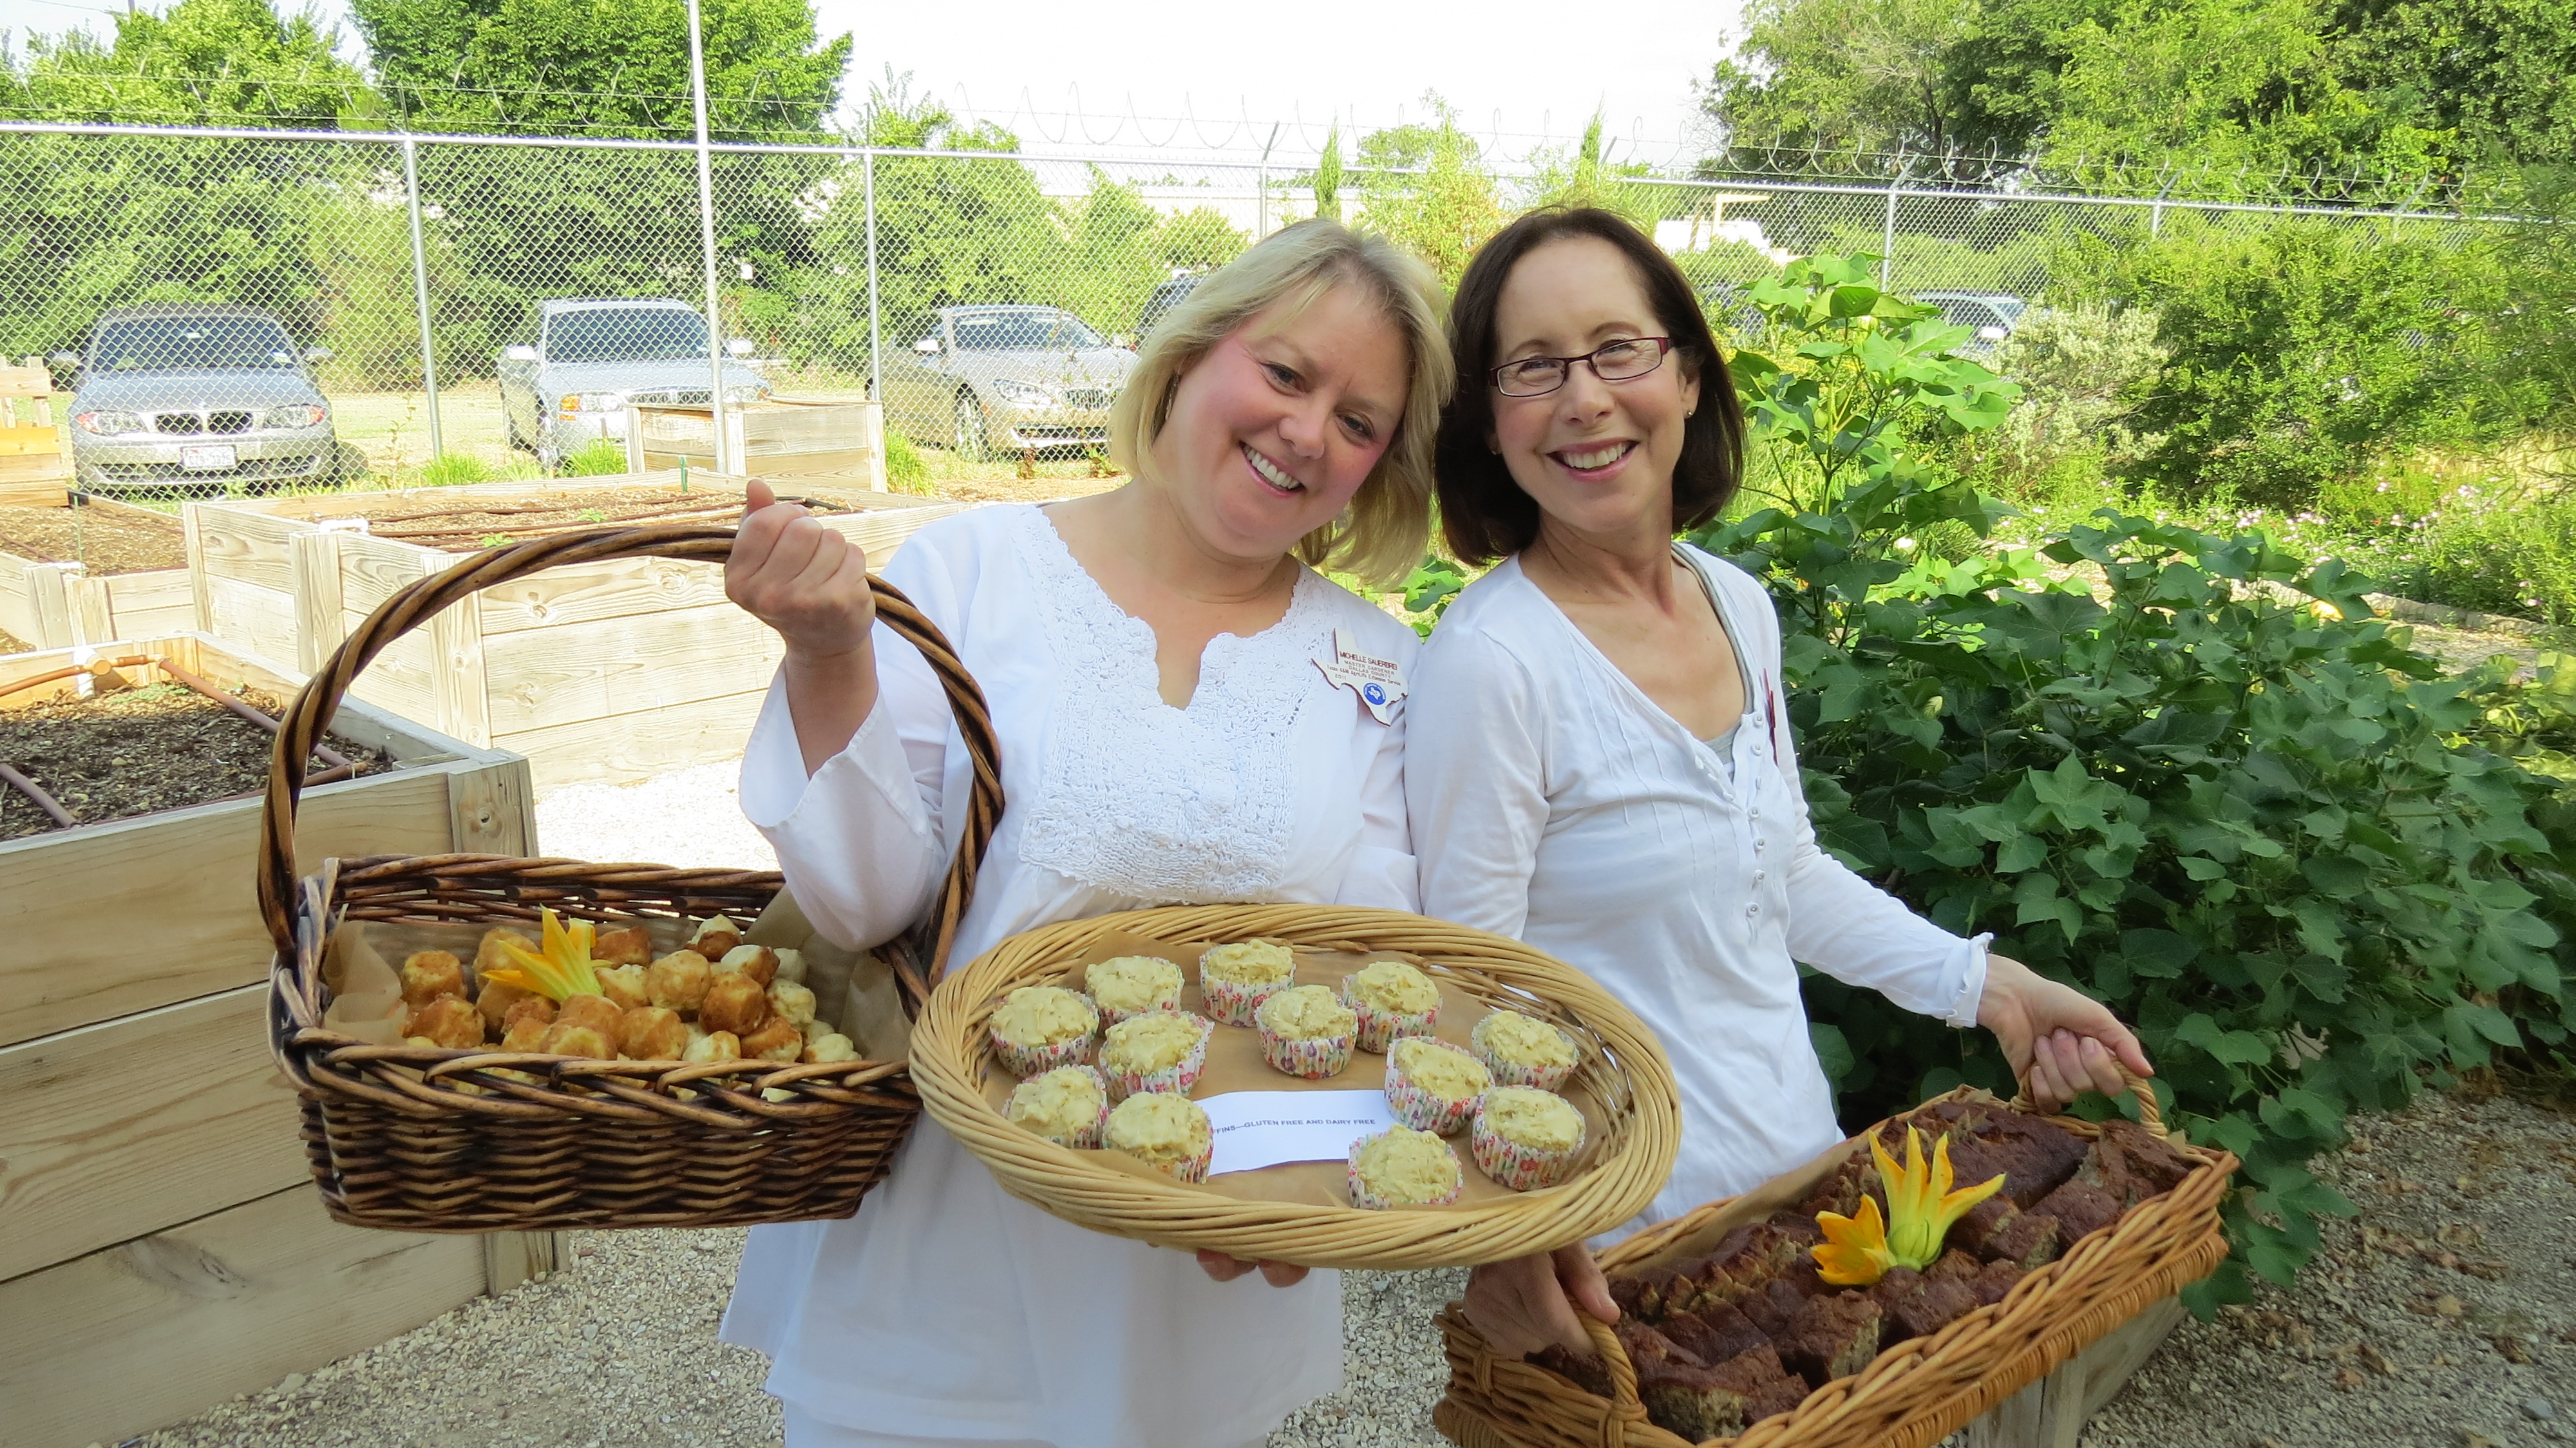
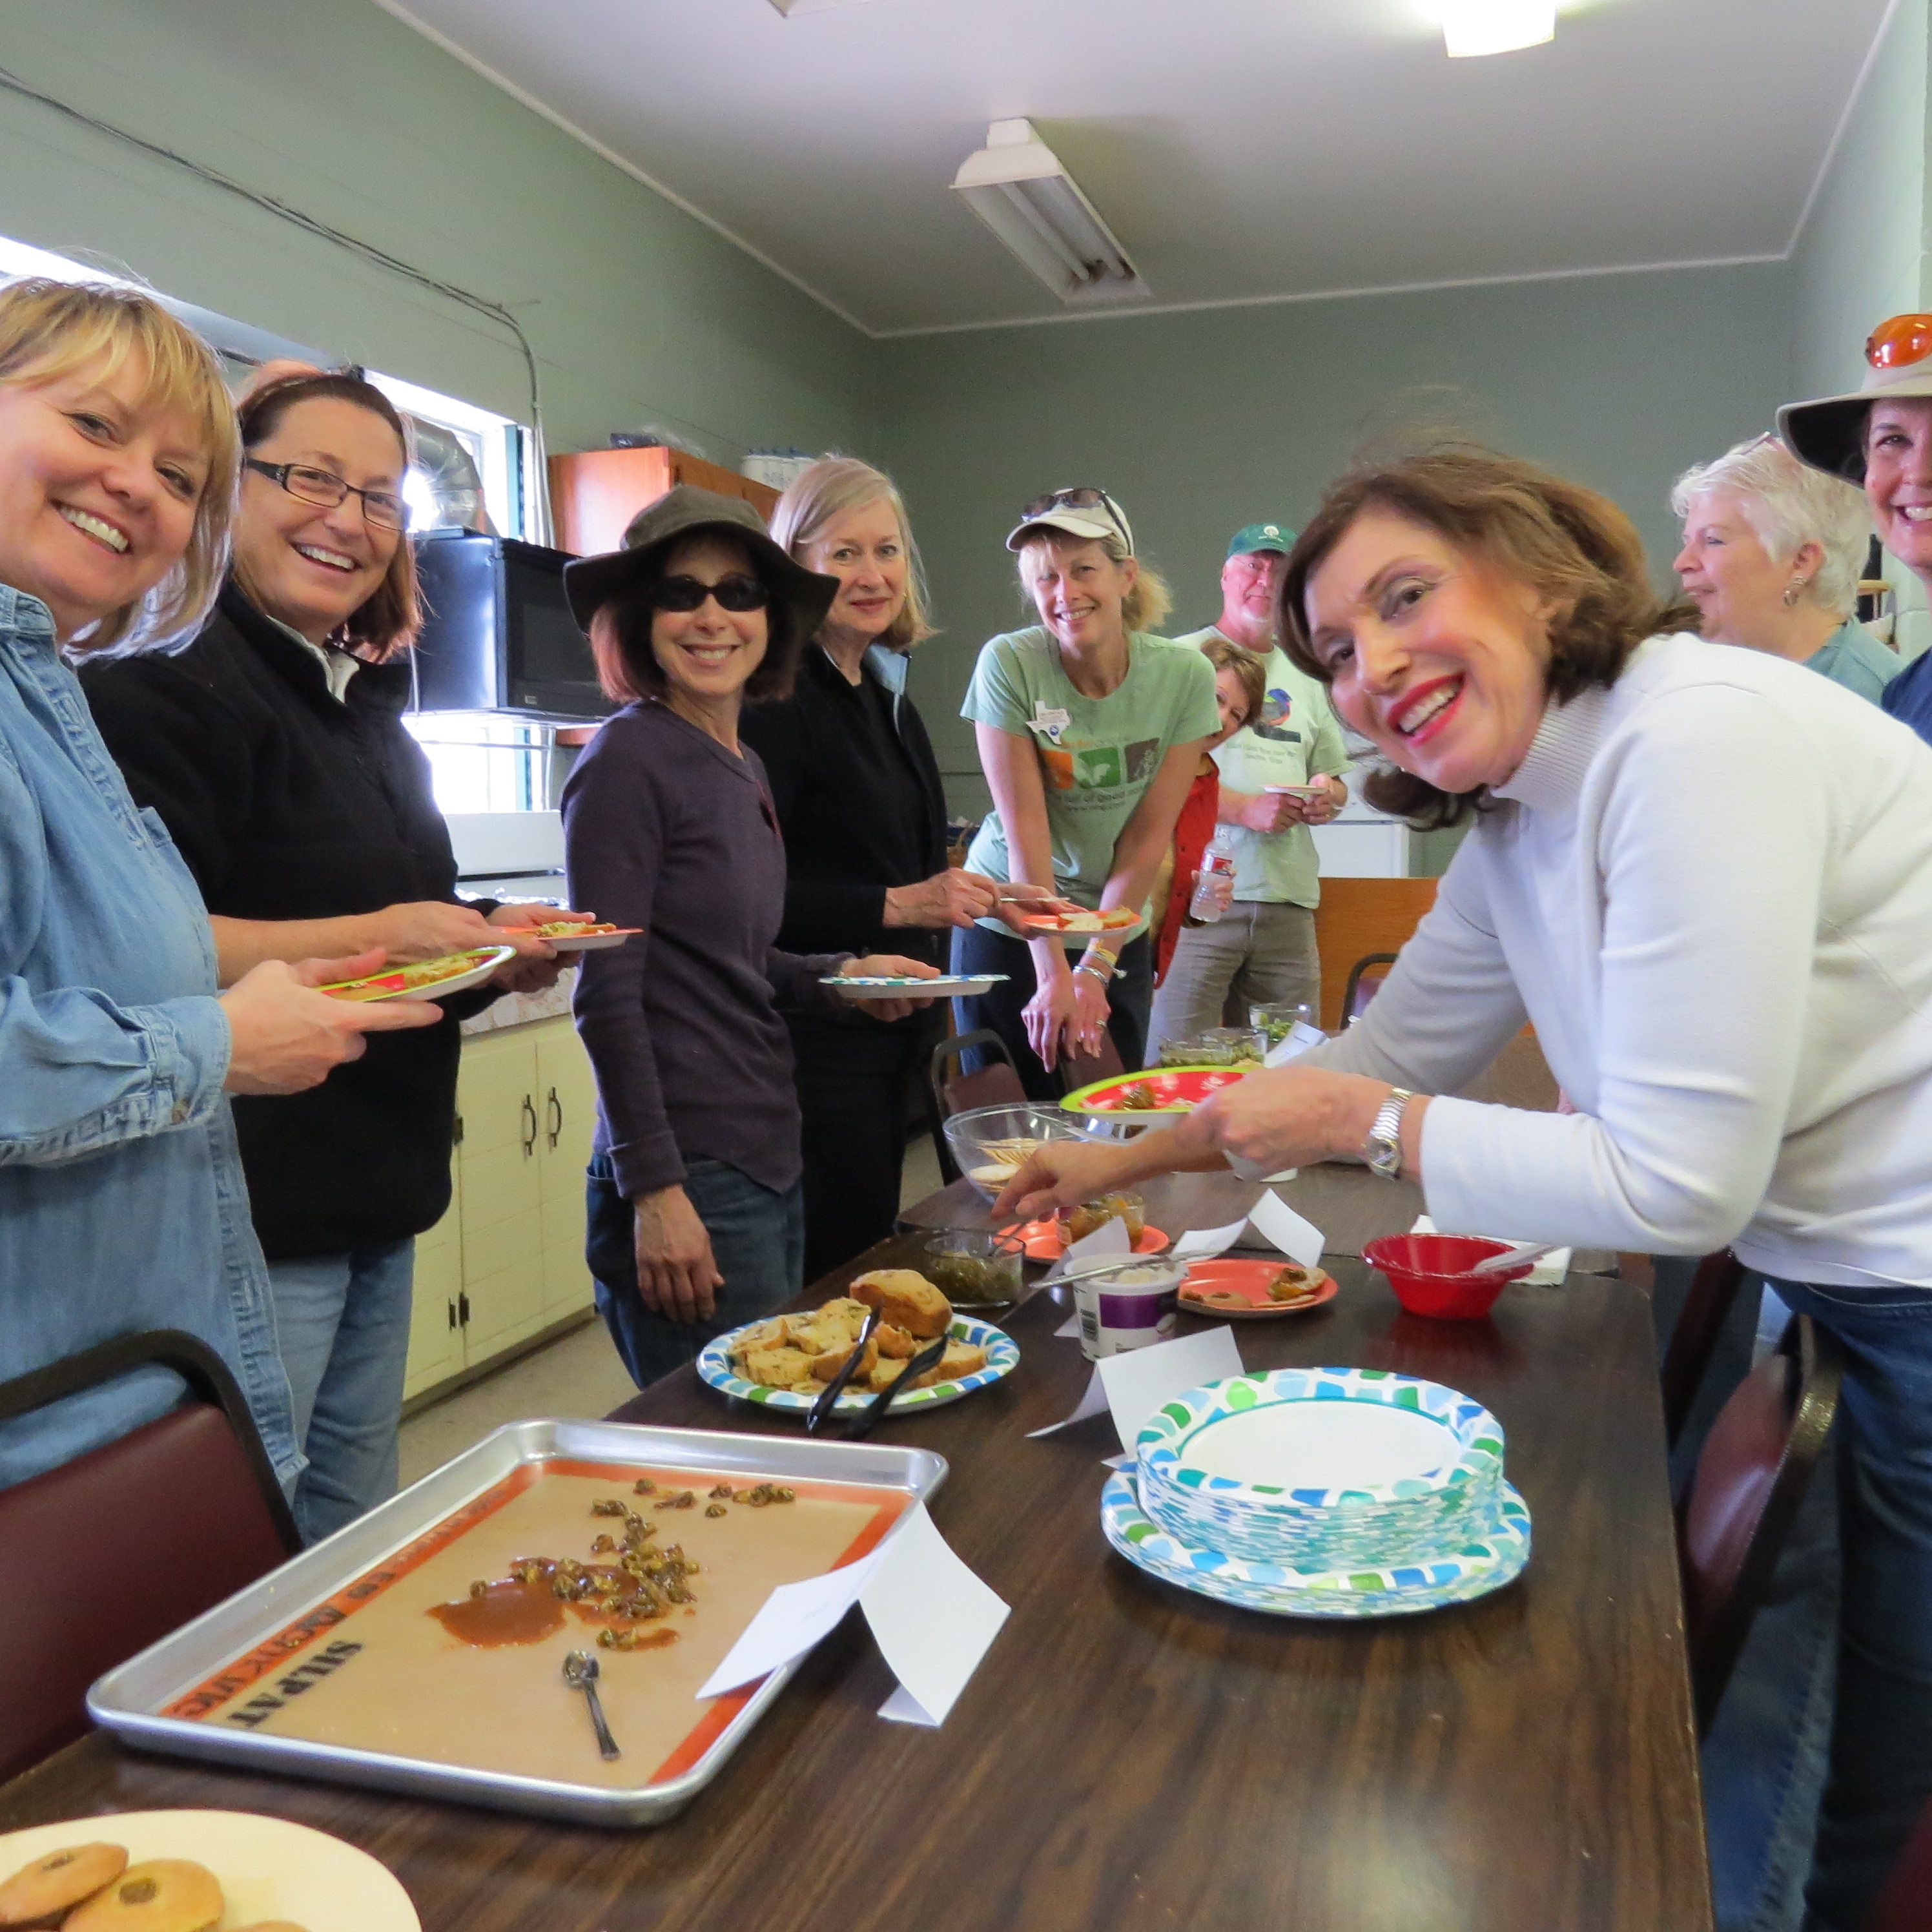
Michele and Sue Serving Squash Muffins with and without Gluten and Banana Zucchini Bread
Squash Muffins
Ingredients:
2 cups all-purpose flour
1 tablespoon baking powder
¼ teaspoon salt
2 tablespoons sugar
2/3 cup grated yellow squash
1 egg, beaten
¾ cup milk
2 tablespoons vegetable oil
Directions:
- Combine flour, baking powder, salt, sugar, and squash in large bowl; make a well in center of mixture. Combine egg, milk, and oil; add to dry ingredients, stirring just until moistened.
- Spoon batter into lightly greased muffin pans, filling two-thirds full. Bake at 350⁰ for 20 to 25 minutes. Remove muffins from pans immediately.
Yield: 1 dozen.
Banana-Zucchini Bread
Ingredients:
3 cups all-purpose flour
1 teaspoon baking soda
1 teaspoon salt
1 teaspoon ground cinnamon
½ teaspoon baking powder
1 cup vegetable oil
3 eggs
2 cups sugar
1 tablespoon vanilla extract
2 cups mashed bananas
2 cups unpeeled shredded zucchini
1 cup chopped pecans or walnuts
Directions:
- Combine flour, soda, salt, cinnamon, and baking powder in a mixing bowl, and set aside.
- Combine oil, eggs, sugar and vanilla extract in a large bowl; beat well. Stir in bananas and zucchini. Add flour mixture, stirring just until moistened. Stir in pecans.
- Pour batter into two greased and floured 8 ½- x 4 ½- x 3-inch loaf pans. Bake at
350⁰ for 1 hour or until a wooden pick inserted in center comes out clean. Cool in pans 10 minutes; remove from pans, and cool completely on wire racks.
Yield: 2 loaves.

Chocolate-Zucchini Cake
Ingredients:
½ cup plus 1 tablespoon butter, melted
2 cups sugar
3 (1-ounce) squares unsweetened chocolate, melted and cooled
3 eggs
½ cup milk
2 teaspoons grated orange rind
2 teaspoons vanilla extract
2 cups coarsely grated unpeeled zucchini
2 ½ cups flour
2 ½ teaspoons baking powder
1 ½ teaspoons baking soda
½ teaspoon salt
1 teaspoon ground cinnamon
2 tablespoons powdered sugar
½ teaspoon ground cinnamon
Whole fresh strawberries (optional)
Directions:
- Cream butter; gradually add 2 cups sugar, beating until light and fluffy. Beat in chocolate. Add eggs, one at a time, beating well after each addition. Beat in milk, orange rind, vanilla, and zucchini.
- Combine flour, baking powder, soda, salt, and 1 teaspoon cinnamon; add to creamed mixture, mixing well. Pour batter into a greased and floured 10-inch Bundt pan. Bake at 350⁰ for 1 hour or until a wooden pick inserted in center comes out clean. Cool cake in pan 10 to 15 minutes; remove from pan, and place on a wire rack.
- Combine powdered sugar and ½ teaspoon cinnamon; sift over warm cake. Cool completely. Fill center of cake with strawberries, if desired.
Yield: one 10-inch cake.
Ann
Recipes by Linda
Pictures by Starla