Green tomatoes are usually seen at the beginning and the end of tomato season. Sometimes they get harvested at the beginning when you just can’t wait another minute to have a tomato, and when the weatherman announces the first frost of the year, the rest of the harvest comes inside in a hurry.
If it’s been a good year, that leaves you with lots of tart green balls; some may continue to ripen, but they usually don’t have the depth of flavor and sweetness of those that finish on the vine. But it’s a pity to compost all that hard work and potential goodness. So what do you do?

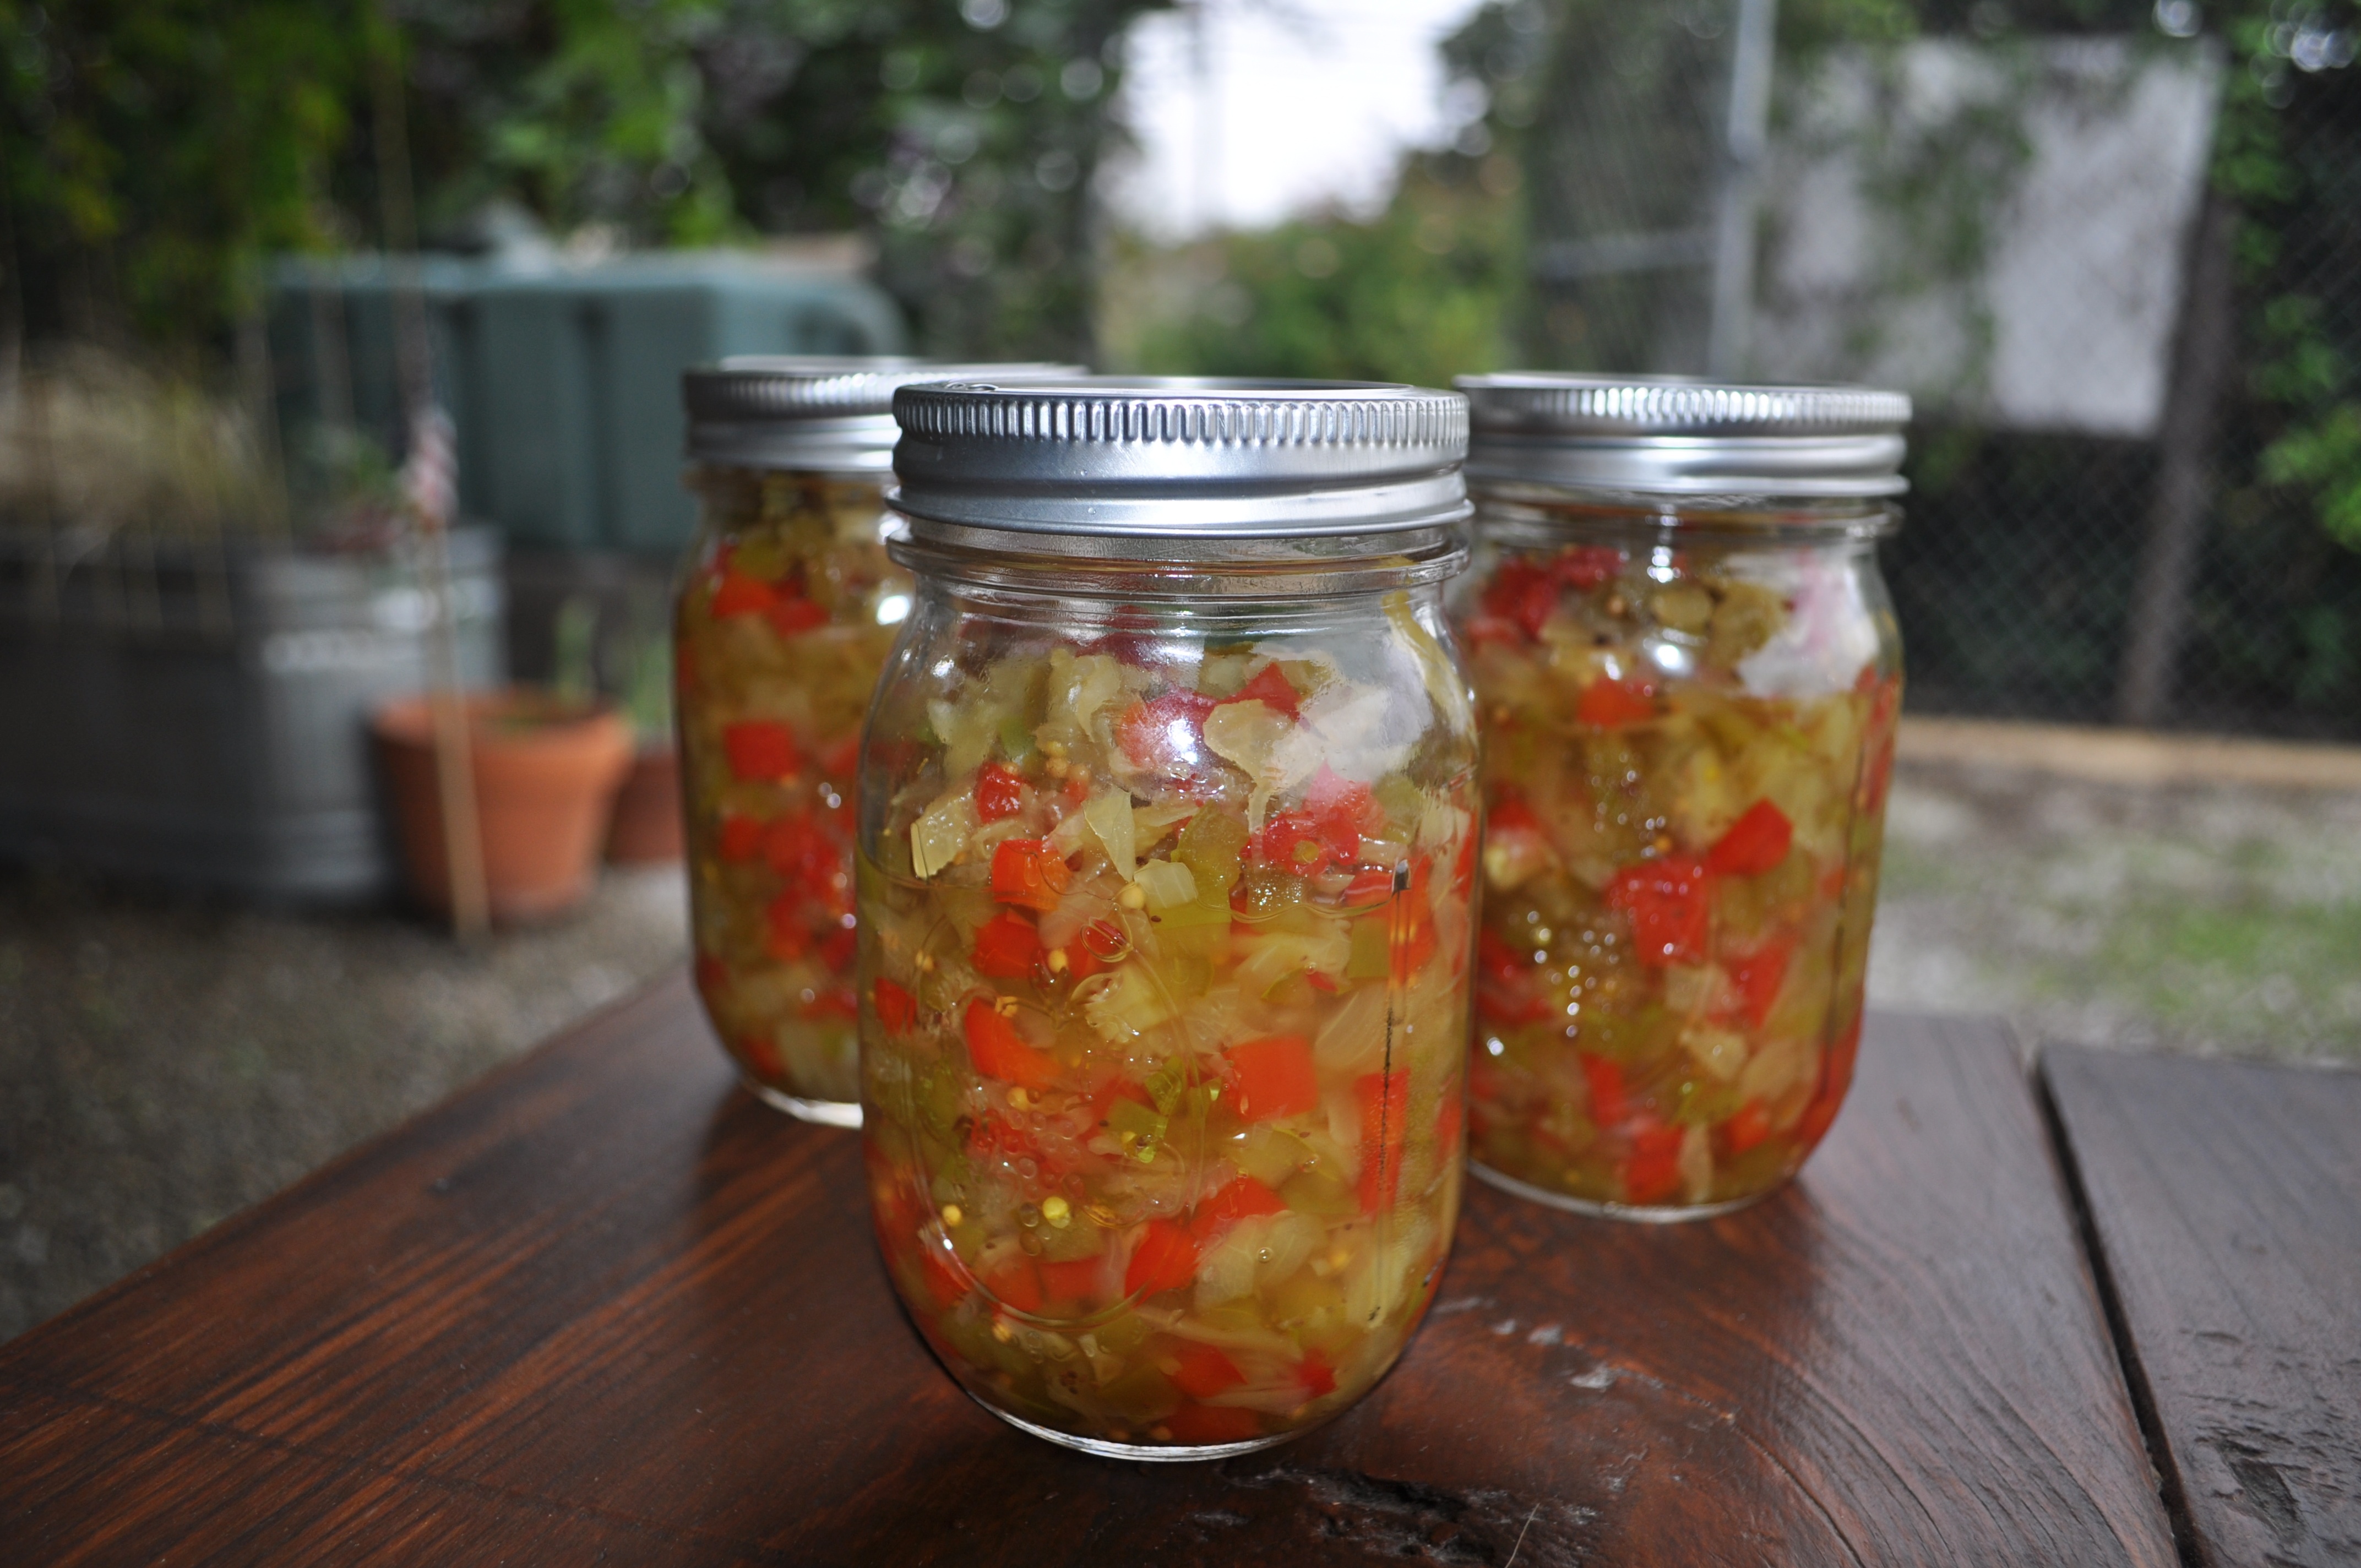
Above: 13 cups of green tomatoes were harvested for Green Tomato Recipes. The ripe tomatoes were eaten.
This primer will hopefully help you better understand your green harvest and give you some ideas – along with some recipes – to help you use it all up deliciously! Green tomatoes are tart and hard. If you have green cherry tomatoes, you may even find them a little bitter (I think that’s from the greater amount of skin to pulp than you have on a larger tomato.) To mellow the flavor of the tomato, you could cut, dice or slice it (you want to expose the interior), salt it, cover it and let it sit overnight in the refrigerator. The next day (or the day after that) when you go to use it, drain and rinse it, and it will still be tart, but it won’t turn your face inside out. Green tomatoes can be substituted reasonably easily in recipes that call for:
- tart apple
- lemon
- kumquat
- tamarind
- fresh cranberries
Cherry green tomatoes would work especially well as substitutes for kumquats and cranberries if the shape is important. So if you already have a recipe you enjoy that uses one of these ingredients, go ahead and substitute green tomatoes for it! Below is a list of flavors that would complement green tomatoes, if you enjoy improvising:
- almonds
- walnuts
- hazelnut
- coconut
- coconut cream
- sesame oil
- balsamic vinegar
- tea
- vanilla
- rose water
- ginger
- sugar (brown, white)
- thyme
- rosemary
- coriander
- allspice
- cardamom
- cloves
- cinnamon
- nutmeg
- mustard
- caraway
- bay leaf
- chile pepper
- garlic
- onion
- bitter greens
- corn
- butter
- cheese (ricotta, parmesean, cream)
- chicken
- turkey
- duck
- beef
- game (venison)
A flavor combination:
- beef + coconut milk + green tomato
Other recipe ideas:
- cornbread with green tomatoes and jalapenos
- almond thumbprint cookies with candied green tomatoes (or green tomato jam)
- coconut pie/tart crust with a green tomato filling
- green tomato jam and coconut milk in your favorite vanilla ice cream recipe (substitute the coconut milk for some or all of the milk and cream)
- dehydrate and powder the tomatoes to add to any recipe for a little extra tartness
- added to soups or stews
- the classic: fried green tomatoes!
The following recipes were designed for a small batch of green cherry tomatoes, where 1 cup weighed approximately 5 ounces.

Above: Green Tomato Recipe Sampling at The Demonstration Garden
If your tomatoes are full-sized, you may choose to dice or slice them, and in addition, you have the option of peeling the skins to reduce the acidity, and some of the bitterness.
Hungry for Lila Rose’s Green Tomato Recipes? Click Here.
Lila Rose
Pictures by Starla