Tag Archives: garden recipe

The Case for Cilantro

Ina Garten (aka the Barefoot Contessa) says she despises it.  Others say the taste reminds them of dirty dishwater.  Some claim a soapy taste when they chew on it.  How could it be, then, that guacamole wouldn’t make it to a true “TexMex” table without a hefty amount of cilantro mixed in?  And salsa without cilantro?  Not in TEXAS! While there are clearly two sides, the “lovers” and the “haters”, consider these facts before arriving at your own verdict.

 History

Cilantro, Coriandrum sativum, a member of the Apiaceae (Umbelliferae) family has been cultivated as a medicinal and culinary herb for more than three thousand years.  Mentioned first in Egyptian papyri and the Bible, Spanish conquistadors introduced cilantro to Mexico and South America where it quickly became associated with that cuisine.  Also known as Chinese parsley, the herb has a long history in Chinese medicine and cuisine.  One of the ancient uses was as an aphrodisiac.

Cilantro Growing in Raised Bed, Demonstration Garden Joe Field Rd, Dallas

Growing It

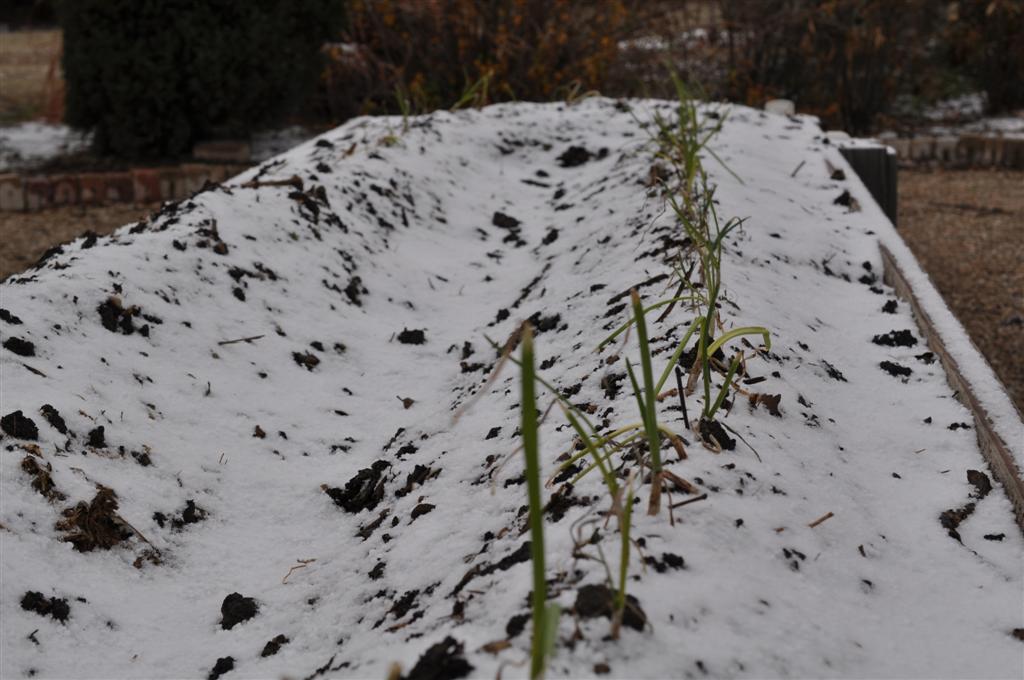
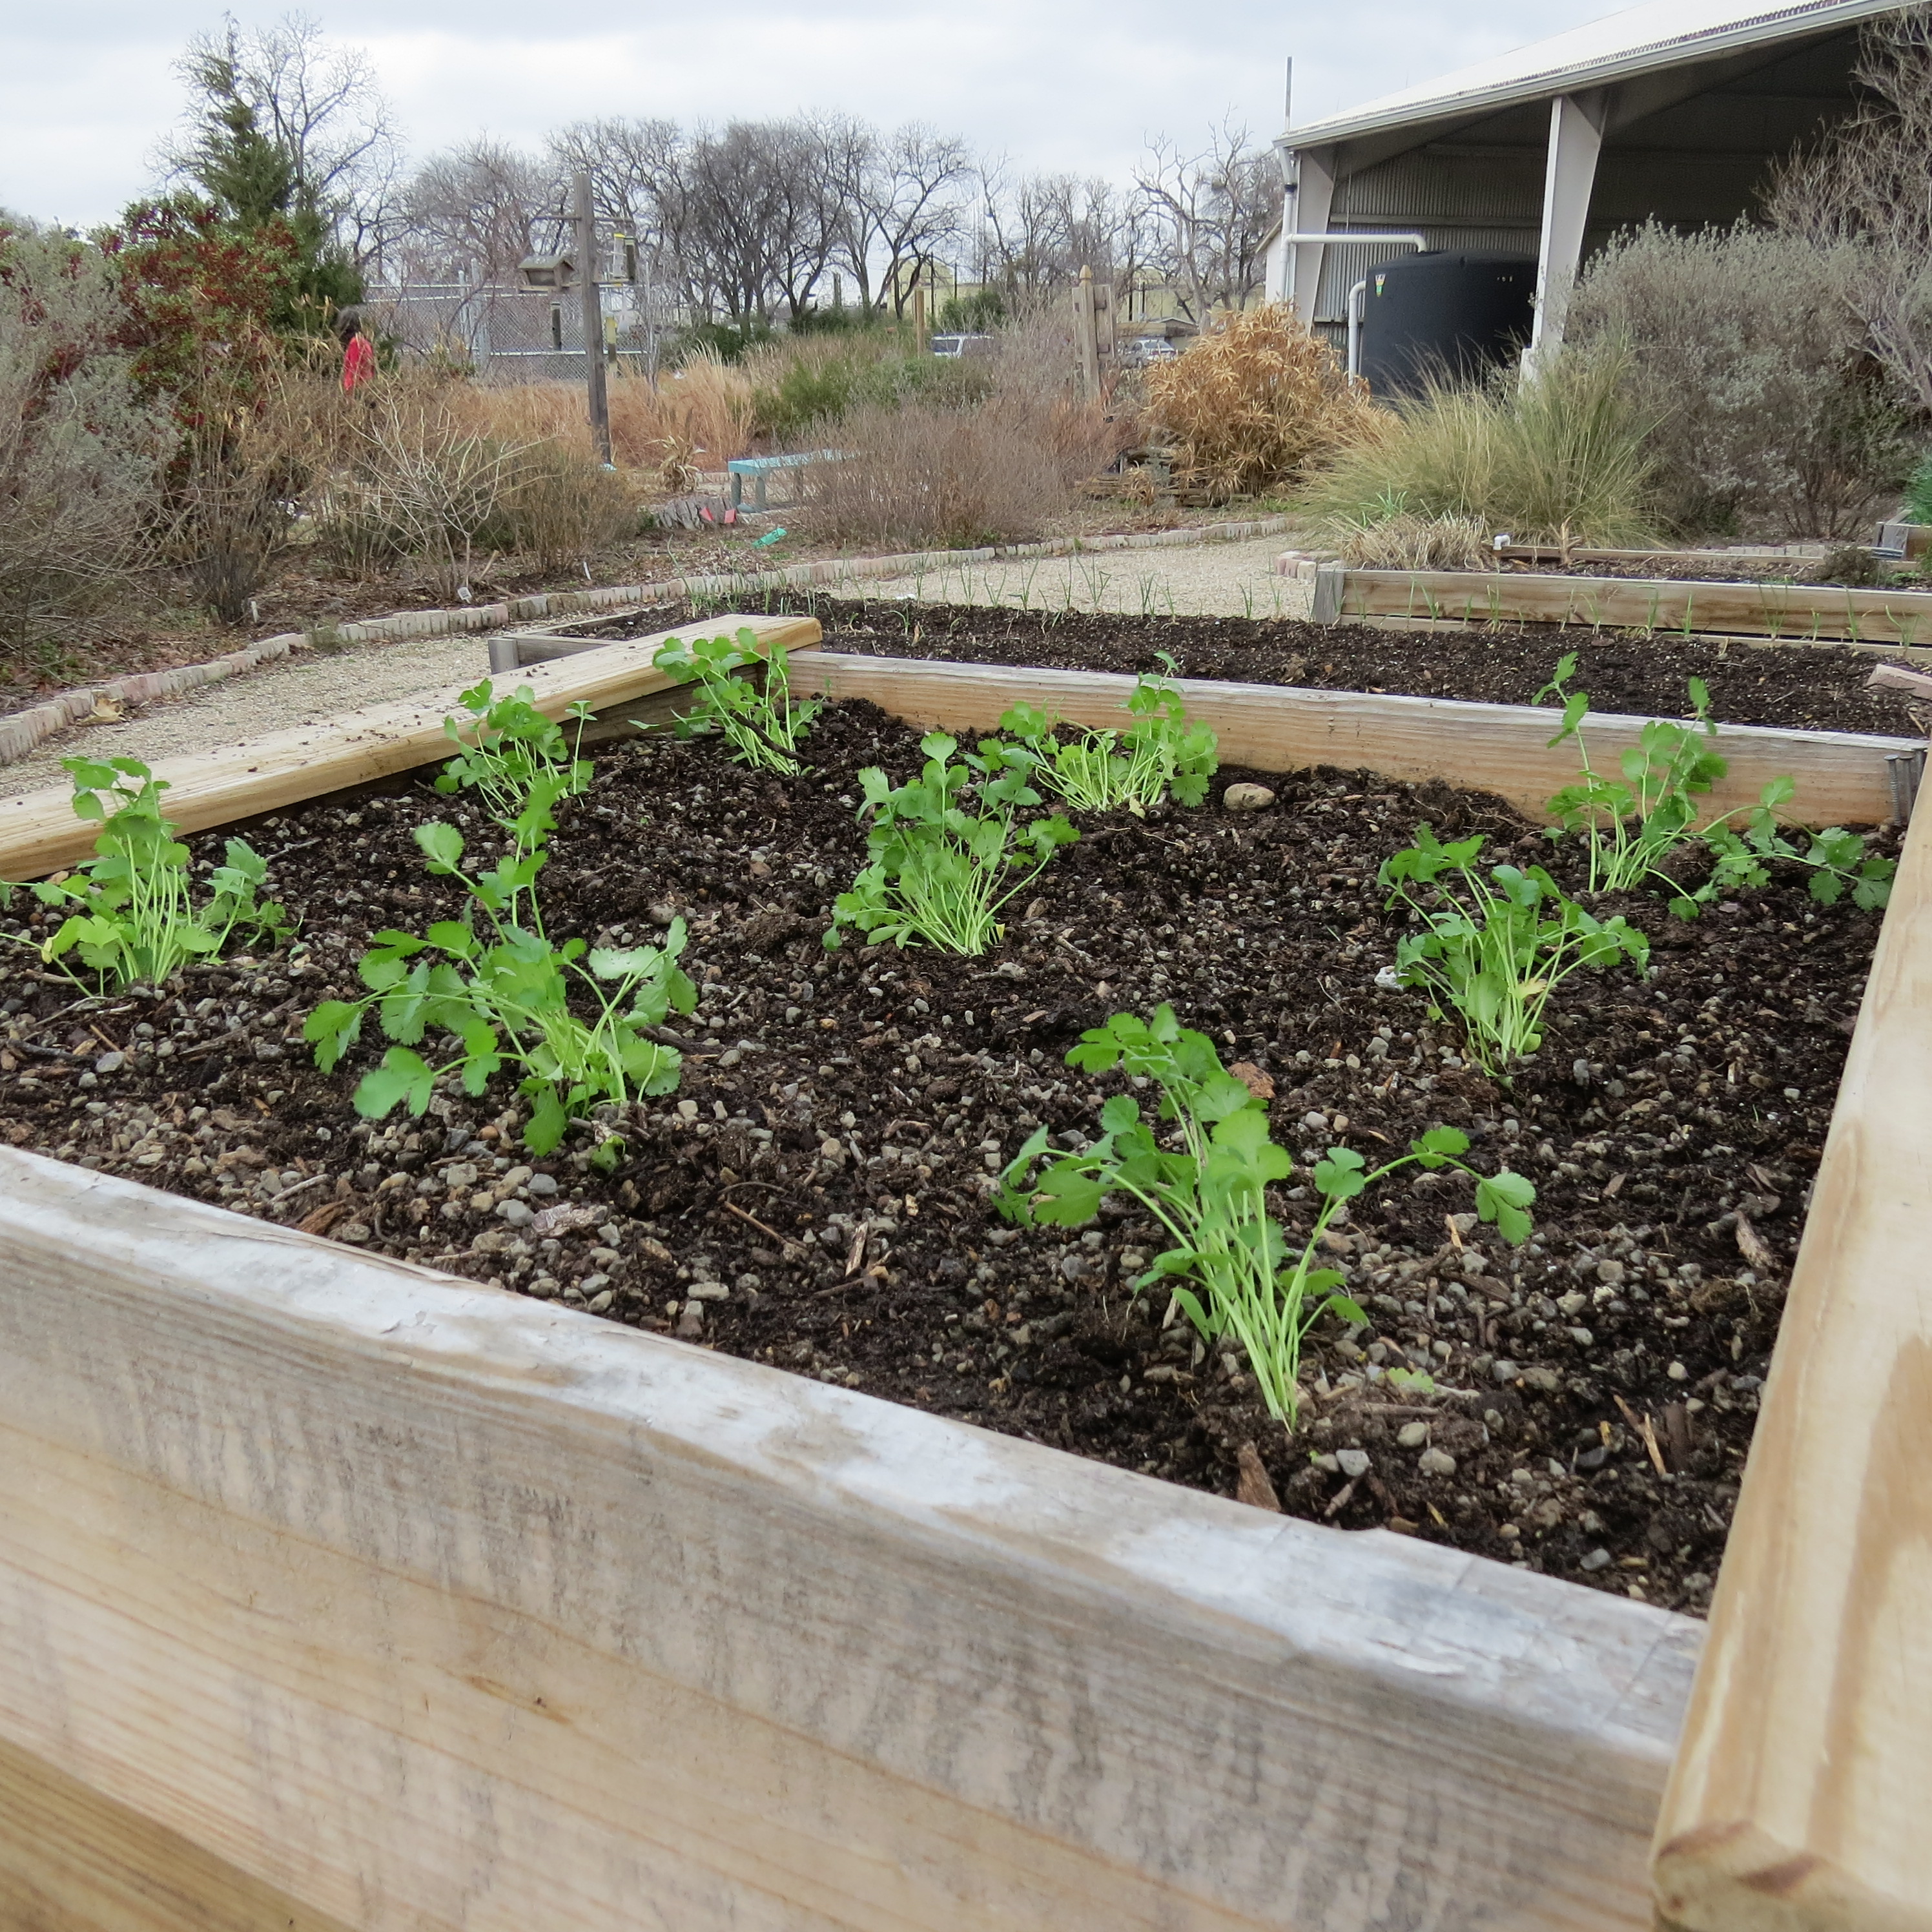
Cilantro likes loose, rich, well-draining soil.  Sow seeds in the fall ½” deep, thin seedlings to 1 foot apart.  Plant seeds again in February to give your cilantro time to grow before it gets too hot. If you can find it,  choose variety “Long Standing” for its excellent flavor, improved leafiness and, as the name infers, its slow-to-bolt quality. 

Cilantro  needs full sun and occasional watering if the weather is dry.  Transplants can be put in the ground anytime throughout the fall and winter.  A succession of crops will help your cilantro last longer.  To harvest cilantro, cut the stems down to the ground, a small section at a time.  When cilantro gets ready to flower, it sends up leaves that are lacier and smaller.  The seeds of the cilantro plant are known as coriander.   An aromatic spice, try using coriander in sweets, cakes, breads, and to flavor liqueurs.

Cooking With Cilantro

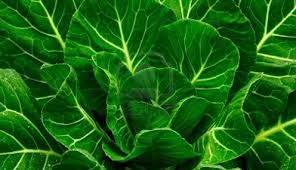
Every part of the plant is edible.  Cilantro’s  flat and gently serrated dark green leaves, resembling Italian parsley, are best used when the plant is about 6 inches high, and they must always be used fresh.  Toss them into almost any salad.  You can use cilantro anytime you would use parsley.  Make a pesto out of it just as would basil and freeze it for future use.  Store a bunch of cilantro for about a week in the refrigerator in a jar of water loosely covered with a plastic bag.  (Remember to change the water every few days.) 

Enjoy It 

The flowers make an attractive bouquet or addition to other garden flowers for cut arrangements.   Use it to settle the stomach and encourage good digestion.  Or do as the Chinese, use it in a “love potion” which they believed led to a long life.   While true, its unique aroma and pungence often demand an acquired taste, once you acquire the taste for it cilantro can be addicting!  Finally, just be thankful that when summer tomatoes and peppers are beginning to ripen  and cilantro may no longer be found in the garden, a quick trip to the grocery always keeps it within reach.   Case solved!

Linda

Note:  Over the next few weeks we will be sharing some of our favorite “cilantro” recipes with you.

Soups And Cornbread With Veggies

Broccoli Cornbread

Broccoli Veggie Cornbread 

½ stick butter or margarine, melted

2 eggs, slightly beaten

1 pkg Jiffy Cornbread Mix

½ pkg (10 oz) frozen chopped broccoli, cooked (about 1 cup)

½ cup small curd cottage cheese

½ cup canned creamed corn

Grated onion or chopped green onion, if desired 

Preheat oven to 350 degrees. Chop cooked broccoli a bit smaller. In a large bowl melt butter in microwave. Add chopped broccoli, cottage cheese, corn, onion and beaten eggs. Mix till combined. Stir in cornbread mix.

Pour into greased 8 x 8 Pyrex for thicker squares or 7 x 11 Pyrex for less thick squares. Bake about 35 minutes or until toothpick in center comes out clean. 

Patti,Dallas County Master Gardener Class 2012

 Spicy Refried Bean Soup

1 can (15oz) fat-free, spicy refried beans

1 can (15 oz) whole kernel corn, drained

1 can (15 oz) black beans, rinsed and drained

1 can (14.5 oz) vegetable broth

2 cans (10oz) Rotel tomatoes with green chilies

1 cup water

Mix all ingredients in a large pan.  Heat on medium until it comes to a boil.

 Reduce heat and simmer 8-10 minutes.  Serve with tortilla chips.

Makes 2 quarts.  Less than 120 calories per 8oz. serving.

“Heat” can be adjusted by using less Rotel tomatoes

Sarah, 2006

Mediterranean Lentil Ragoût

Olive oil cooking spray

1 large onion, finely chopped

5 cloves garlic finely minced

1 jalapeño pepper, finely minced

1 large fennel bulb, sliced thin

1 (28 ounce) can diced tomatoes

1 1/2 cups orange juice

1 1/3 cups lentils, picked over and rinsed

1 Tablespoon dried basil

1 Tablespoon dried oregano

1/4 cup tomato paste

1/3 cup mint leaves, chopped, divided use

6 cups cooked rice, quinoa or bulgur

Parmesan cheese (optional)

1. spray a heavy skillet with cooking spray; place over low heat and sauté onion, garlic, jalapeño and fennel, stirring occasionally, until soft, about 5 minutes. (if vegetables start to stick or brown, cover skillet.)

2. Add tomatoes, orange juice, lentils, basil, oregano and tomato paste. Increase heat and bring to a boil.  Reduce heat, cover and simmer for 40 to 50 minutes, or until lentils are tender. (add up to 1/2 cup water or orange juice if ragout gets too thick.)

3. Stir in mint leaves, reserving 2 tablespoons for garnish.  Serve lentil stew over rice, quinoa or bulgur. Garnish with Parmesan cheese, if using, and remaining chopped mint.

Serves 6, approximately 449 calories per serving

Recipe from The Phytopia Cookbook by Barbara Gollman and Kim Pierce


Homegrown, Veggies, Fruits and Herbs

I have a visual image of Master Gardener and nutritionist Barbara Gollman at Kroger: Red hair flying, trim figure running behind a cart, zipping down the frozen food isle flinging packs of frozen veggies into the cart for one of her wonderful soups. 

Barbara, Dallas County Master Gardener Teaches Value of Vegetables

Barbara intrigued a large group of Master Gardeners Tuesday with her talk on the nutritional benefit of vegetables, fruits, and herbs.  Turns out that Mom was correct when she urged us to eat our vegetables.  Carrots, oranges, sweet potatoes, and other fruits and vegetables are full of phytochemicals, substances in plants that have the potential to slow aging, boost immunity, prevent disease, and strengthen our hearts and circulation. 

Cabbage, Broccoli Field Road, Dallas, Texas

Barbara suggests that we eat watermelon and tomatoes, plants that are packed with lycopene, a nutrient which helps prevent macular degeneration.  Pinto beans are rich in fiber, which can prevent cancer and heart disease, and flavonoids, which can curb the oxidation of LDL cholesterol and prevent blood clotting.  Cruciferous vegetables like broccoli and cabbage are high in calcium.  Nuts are filled with Vitamin E, one of the most potent fat-soluble antioxidants. Berries, greens, winter squash—-well, you get the idea.  

Barbara said that new research has shown the health benefits of herbs. Who knew? Turns out that 1 teaspoon of oregano = ¾ cup of brussel sprouts in antioxidants.  

Barbara dries her herbs in the microwave after her husband’s reaction to using his closet as an herb drying rack. Remove the leaves from the stems of the herbs and spread on paper towels.  Put two paper towels on top of the herbs.  Pop in the microwave and zap for one minute.  (If the leaves are charred, try again and use a shorter amount of time. If the leaves aren’t crisp, microwave longer in 15-second increments.)  Remove from the microwave and air dry on the kitchen counter for a few days.  Store in a labeled glass jar.  

Are home grown vegetables better for you than those found in the grocery? Barbara says some research showed up to a 15 percent increase in nutrients in homegrown and organic vegetables.  Some other studies didn’t find an increase in nutrients. 

Many thanks go to Barbara for her research and common sense approach to healthy eating.  Let’s just put it this way: on the way home I stopped at Whole Foods and bought spinach, broccoli, and almonds for dinner.   

Elizabeth

Recipes served in the class will follow.

Arugula-Pear-Blue Cheese Salad

Arugula, Pears, Pecans, Blue Cheese For Salad

1/4 cup plus 2 Tbsp peach or pear preserves

1/2 cup Champagne vinegar

1 shallot, sliced

2 tsp. Dijon mustard

1/2 tsp salt

1/4 tsp freshly ground pepper 

1/2 cup olive oil 

8 cups loosely packed arugula

2 Bartlett pears, cut into 6 wedges each

4 oz. blue cheese, crumbled

1/4 cup chopped toasted walnuts or pecans 

Process 1/4 cup preserves and next 5 ingredients in a food processor 30 seconds to 1 minute or until smooth.  With processor running, pour oil through food chute in a slow steady stream, processing until smooth.  Transfer to a 2-cup measuring cup or small bowl, and stir in remaining 2 Tbsp peach preserves. 

Place arugula in a large serving bowl.  Top with pears, blue cheese, and pecans.  Drizzle with vinaigrette. 

Elizabeth  From Southern Living Magazine 

Vegetable Planting in January

1015Y  Texas SuperSweet Onions planted January 8, At The Demonstration Garden

Brrr…it has been cold in Dallas, Texas since our snowy Christmas day.  My thoughts have not been about digging  in the garden.  Sitting by the fireplace with a hot cup of tea and garden catalogs spread at my feet seem right for January.

The gardening calendar has other thoughts.   Potatoes and onions are ready to be planted now!  Jim and Hans  planted our onion sets last week.  Jim likes to get an early start on onions and plants them just as soon as he can find them in Dallas garden centers. 

 To grow fist size onions, you need to select the right variety, plant between January 1st and February 15th, and maintain optimum moisture and fertility. We like the  famous 1015Y  Texas SuperSweet.  Other recommendations from Texas A&M include :  Bermuda, Southern Belle, White Granex, Yellow Granex and Burgundy.

Plant your onion sets about 4 inches apart in raised furrows.  Keep them moist not wet.  At the Demonstration Garden we  add  compost to provide the nutrients onions crave. 

And what’s the payoff for getting outside in January  to plant onions?   Remember the sweet and savory onion tarts we made last May! 

Ann

Next week we will be plant potatoes, and seeds of beets, lettuce, carrots, and radishes.

Eat Your Greens!

Collard GreensAfter my transplant from Connecticut to the Dallas area twenty-eight years ago, I’ve tip-toed around the Southern idea of cooked “greens”, but other than cooking kale occasionally never really developed an interest.  However, in a recent search for a non-dairy source of calcium for aging bones, I found that greens such as collards are a great source of this mineral as well as other complementary vitamins K and A.  Collards are one of the cruciferous vegetables in addition to the better known and more consumed broccoli, kale, and cabbage.  These greens have great cholesterol-lowering, anti-cancer, antioxidant, and anti-inflammatory benefits. 

Good for your heart, good for your bones, now how to make them good to eat!  I found a great cookbook called Greens Glorious Greens! by Johnna Albi and Catherine Walthers with great information, specific preparation and cooking directions, and great recipes for over thirty of these leafy greens—from arugula to wild greens such as chicory and dandelion.

These authors, as well as Whole Foods website, the world’s healthiest foods ,call collards a nutritional goldmine.  But one more obstacle before plunging into my exploration of greens—my Dallas-born husband who dislikes cooked greens.  So with a promise of corn muffins and BBQ chicken, I made the following recipe, which is adapted from Greens Glorious Greens! 

Collard Greens and Caramelized Onions 

12 ounces Collard greens (about 6-7 cups chopped)

1 Tablespoon extra virgin olive oil

1 large onion, thinly sliced

3 cloves garlic, minced

1-1/2 teaspoon agave nectar (or 2 tsp of sugar), for caramelizing the onions

salt to taste 

Chopped GreensWash collards, remove stalks, and cut leaves in half.  Stack 5 to 6 leaves together and slice into ¼ inch strips.  Set aside. 

In large, deep skillet (or cast-iron pan) heat olive oil, add onions, and sauté for 15 minutes.  Add agave (or sugar) to onion and continue to stir for 2 to 3 minute.  Add garlic and sauté for another 2-3 minutes. 

While the onions are cooking, bring 3 cups of water to a boil in a 12-inch skillet with a lid.  Add collards, cover, and cook at a good boil for 8 to 10 minutes, stirring occasionally.  The greens are bright green, but tender, when ready.  Drain in colander. 

Stir greens into onions and garlic.  Season with salt and cook for 2 to 3 minutes until heated through, Serves 3 to 4.

Adapted from Greens Glorious Greens, page 118. 

A great new vegetable recipe to add to my collection, and—yes—my husband did eat all his greens. 

Jean

Apple-Sage Tarte Tatin

A rustic and comforting dessert.

6 Granny Smith’s apples, peeled, cored, sliced into 8 wedges

1 Tablespoon fresh lemon juice

3/4 cup firmly packed light brown sugar

6 tablespoons unsalted butter

3/4 cup granulated sugar

3 tablespoons minced sage leaves

 Pillsbury Refrigerated Pie Dough

Garnish:  fresh sage leaves; lightly sweetened whipped cream optional

Apple-Sage Tart Cooking In Iron Skillet

Preheat oven to 425°.

Put apples, lemon juice, and brown sugar in a large bowl and toss to mix; set aside.  Melt butter in a 9-10 inch cast iron skillet or other heavy, oven-safe skillet and stir in granulated sugar.  Cook over medium high heat, stirring, until mixture turns * pale golden.  Add apple mixture and cook, tossing occasionally to coat apples, for 5 minutes.  Add sage leaves and cook 5 minutes more, stirring occasionally.  Set aside while you roll out the dough.

On a lightly floured surface, roll out the dough to about 10 inch circle for a 9 inch skillet or an 11 inch circle for a 10 inch skillet, lifting dough and turning to prevent sticking to the surface.  Fold the dough in half or quarters and place it over the apples in the skillet.  Unfold the dough, tuck the overhang under the edge of the dough into the skillet and cut 4 slits in a circle at the center of the dough.  Bake 20 minutes until the crust is deep golden.

Using heavy oven mitts, remove skillet from oven and shake lightly to dislodge any stuck apples.  Place a a serving platter over the pan and, gripping the pan and plate lightly together, flip the tart over onto the platter.  Let stand a few minutes before serving or serve at room temperature.  do not refrigerate.  Garnish with a few fresh sage leaves, and serve plain or with whipped cream.

Apple-Sage Tarte Tatin With Sweeetened Whip Cream and Sage Garnish

8 servings.

 *Be sure to only let the mixture get a “pale golden color”.  You really have to watch closely to keep it from getting too brown.

Recipe and Pictures from Linda, adapted from DESSERTS FROM AN HERB GARDEN

Poached Pears With Sage-Honey Glaze

Finish a heavy meal with a lighter touch.

Poached Pear Dessert With Sage-Honey Glaze

6 cups water

3/4 cup granulated sugar

1 tablespoon fresh lemon juice

4 pears, preferably bosc or d’Anjou

1/3 cup honey

2 tablespoons chopped sage leaves

Garnish: sage leaves, heavy cream optional

In a dutch oven or large saucepan, stir together water, sugar, and lemon juice. Bring to a a simmer.

Meanwhile, peel pears and halve them, leaving the stem intact on one half. Working from the bottom, insert an apple corer or melon baller to remove cores.

Gently place pears in sugar syrup and cook, uncovered, at a steady simmer.  Cooking time may be anywhere from 8 minutes to 30 minutes, depending on the pears’ ripeness; pears are done when they are tender and a paring knife can be inserted easily.

Meanwhile combine honey and sage leaves in a small saucepan an bring them just to a simmer over medium-low heat.  Remove from heat and let stand until pears are done.

When pears are done, remove them with a slotted spoon, draining them well, to a large plate, flat sides down.  Reheat sage honey if needed to make it liquid enough to brush onto pears;strain out sage leaves.  Brush honey over each pear (don’t brush the flat sides).  Arrange on serving plates with the stem half of each pear propped on the other half.

Serve pears garnished with sage leaves; drizzle with a little cream if desired.

Recipe and photo by Linda, adapted from DESSERTS FROM AN HERB GARDEN

Cheddar Cheese and Sage Biscuits

Throw a log on the fire and enjoy these “cheesy” biscuits with your favorite bowl of soup.  Makes about 16.

Sage From Linda's Garden

4 cups all-purpose flour, plus more for work surface

4 teaspoons baking powder

1 teaspoon baking soda

1 teaspoon salt

1 teaspoon sugar

1/2 teaspoon paprika

1 cup (2 sticks) chilled unsalted butter, cut into small pieces

3 cups grated cheddar cheese (9 ounces)

2/3 cup finely sliced fresh sage leaves

2 cups buttermilk

1 large egg, lightly beaten

1 tablespoon heavy cream

Preheat oven to 375° F. In a medium bowl whisk together flour, baking powder, baking soda, salt, sugar, and paprika.  Using a pastry blender or two knives, cut in butter until mixture resembles coarse crumbs.  Stir in cheese and sage. Add buttermilk, stir with a fork until mixture just comes together to form a sticky dough. On a lightly floured work surface, with floured hands, pat dough into a 1-inch thick round.

Using a 2 1/2 inch biscuit or cookie cutter, cut out biscuits as close together as possible, dipping cutter into flour each time to prevent sticking. transfer biscuits to a baking sheet.

In a small bowl, stir together egg and cream.  Lightly brush the top of each biscuit with egg wash. Bake until golden brown rotating baking sheet halfway through, 20 to 30 minutes. Transfer to a wire rack. Serve warm or at room temperature.

Recipe and photo by Linda, adapted from  NEW ENGLAND OPEN HOUSE.

Bushels Of Butternuts

Even the name—butternut—brings fall to mind.  Nature brings us such end of the season treats in November.  The queen of winter squash hides hers in a soft beige overcoat, revealing the rich, orange-yellow flesh when cut.

Butternut Squash Growing In Our Garden With Unfortunate Mildew On Leaves

Jim, our vegetable expert at the garden, has harvested bushels of lovely butternuts.  He planted the exuberant vines in the heat of the summer, with harvest plans for November. All squash are types of gourds.  Butternuts should be harvested when firm, well shaped, and heavy for their size.  Unlike their thin-skinned summer cousins, winter squash have a hard tough shell.  Butternuts can be stored for several months in a cool, dark place. 

Of course, the fun is deciding how to serve butternuts.  Soup? Such a lovely, rich addition to the Thanksgiving table.  Roasted? Add a bit of fresh ginger and butter. Or enjoy its sweet, slightly nutty flavor in filled pastas, spicy curries, or stews. 

Butternut–and other winter squash like acorn, pumpkin, and Hubbard–are a nutritional bonanza. They are rich in Vitamin A (beta-carotene), fiber, folate (folic acid) and potassium.

Butternut Squash Harvested From Our Garden Atop A Store Bought Pumkin

So don’t pass up these lovely winter squash for your Thanksgiving table.   You might try my daughter Molly’s favorite: Butternut Squash Soup.

Butternut Squash Soup 

1 Tbs olive oil

5 oz. pancetta, cut into small dice

1 yellow onion, chopped

1 tsp sugar

1 tsp minced garlic

1 sprig fresh sage leaves

3 ¼  cups low-sodium chicken broth

3  cups butternut squash, peeled, seeded, and cut into 1 ½ inch chunks

 1 ½ Tbs. Marsala wine

Salt and pepper to taste

¼ cup heavy cream

Lightly whipped cream for garnish

¼ cup hazelnuts, toasted and chopped 

In a stockpot over medium-low heat, warm the olive oil.  Add the pancetta and cook, stirring occasionally, until lightly crisp, 5-7 minutes.  Transfer to a paper towel-lined plate; reserve the oil in the pot.

Add the onion and sugar to the pot and cook, stirring occasionally, until the onion is tender and slightly caramelized, 8-10 minutes. Add the garlic and sage sprig and cook, stirring, for 1 minute.  Add the broth and squash and simmer, covered, until the squash is tender, 20-25 minutes.  Remove the sage sprig and discard.  Add the Marsala and season with salt and white pepper.  Simmer for 3 minutes, and then remove the pot from the heat.

Puree the soup in a blender until smooth, then whisk in the cream.  Ladle the soup into warmed bowls.  Garnish with the pancetta, a dollop of whipped cream, and hazelnuts.

Adapted from a Williams-Sonoma recipe 

Elizabeth