Let’s face it. Shrubs can be boring. We all have the house in our neighborhood with green “meatballs” or “meatloaves” arranged haphazardly along the foundation. Throw a line of pruned green along the edge of your house and you’re done. Right?
Shrubs are like clarinets and flutes in the high school band; they provide the structure for all the other components of the landscape—or musicians. If you think of your landscape as a grouping of upright trees for a canopy, lawns for flooring, and annuals and perennials for bling, the careful choice of shrubs is essential.
How do you use shrubs in a landscape? Shrubs can provide many functions:
- screen unsightly views or strong winds
- break a landscape into outdoor spaces
- serve as a background for a garden accent
- give scale and unity
- provide beauty from foliage, flowers, or contrasting foliage.
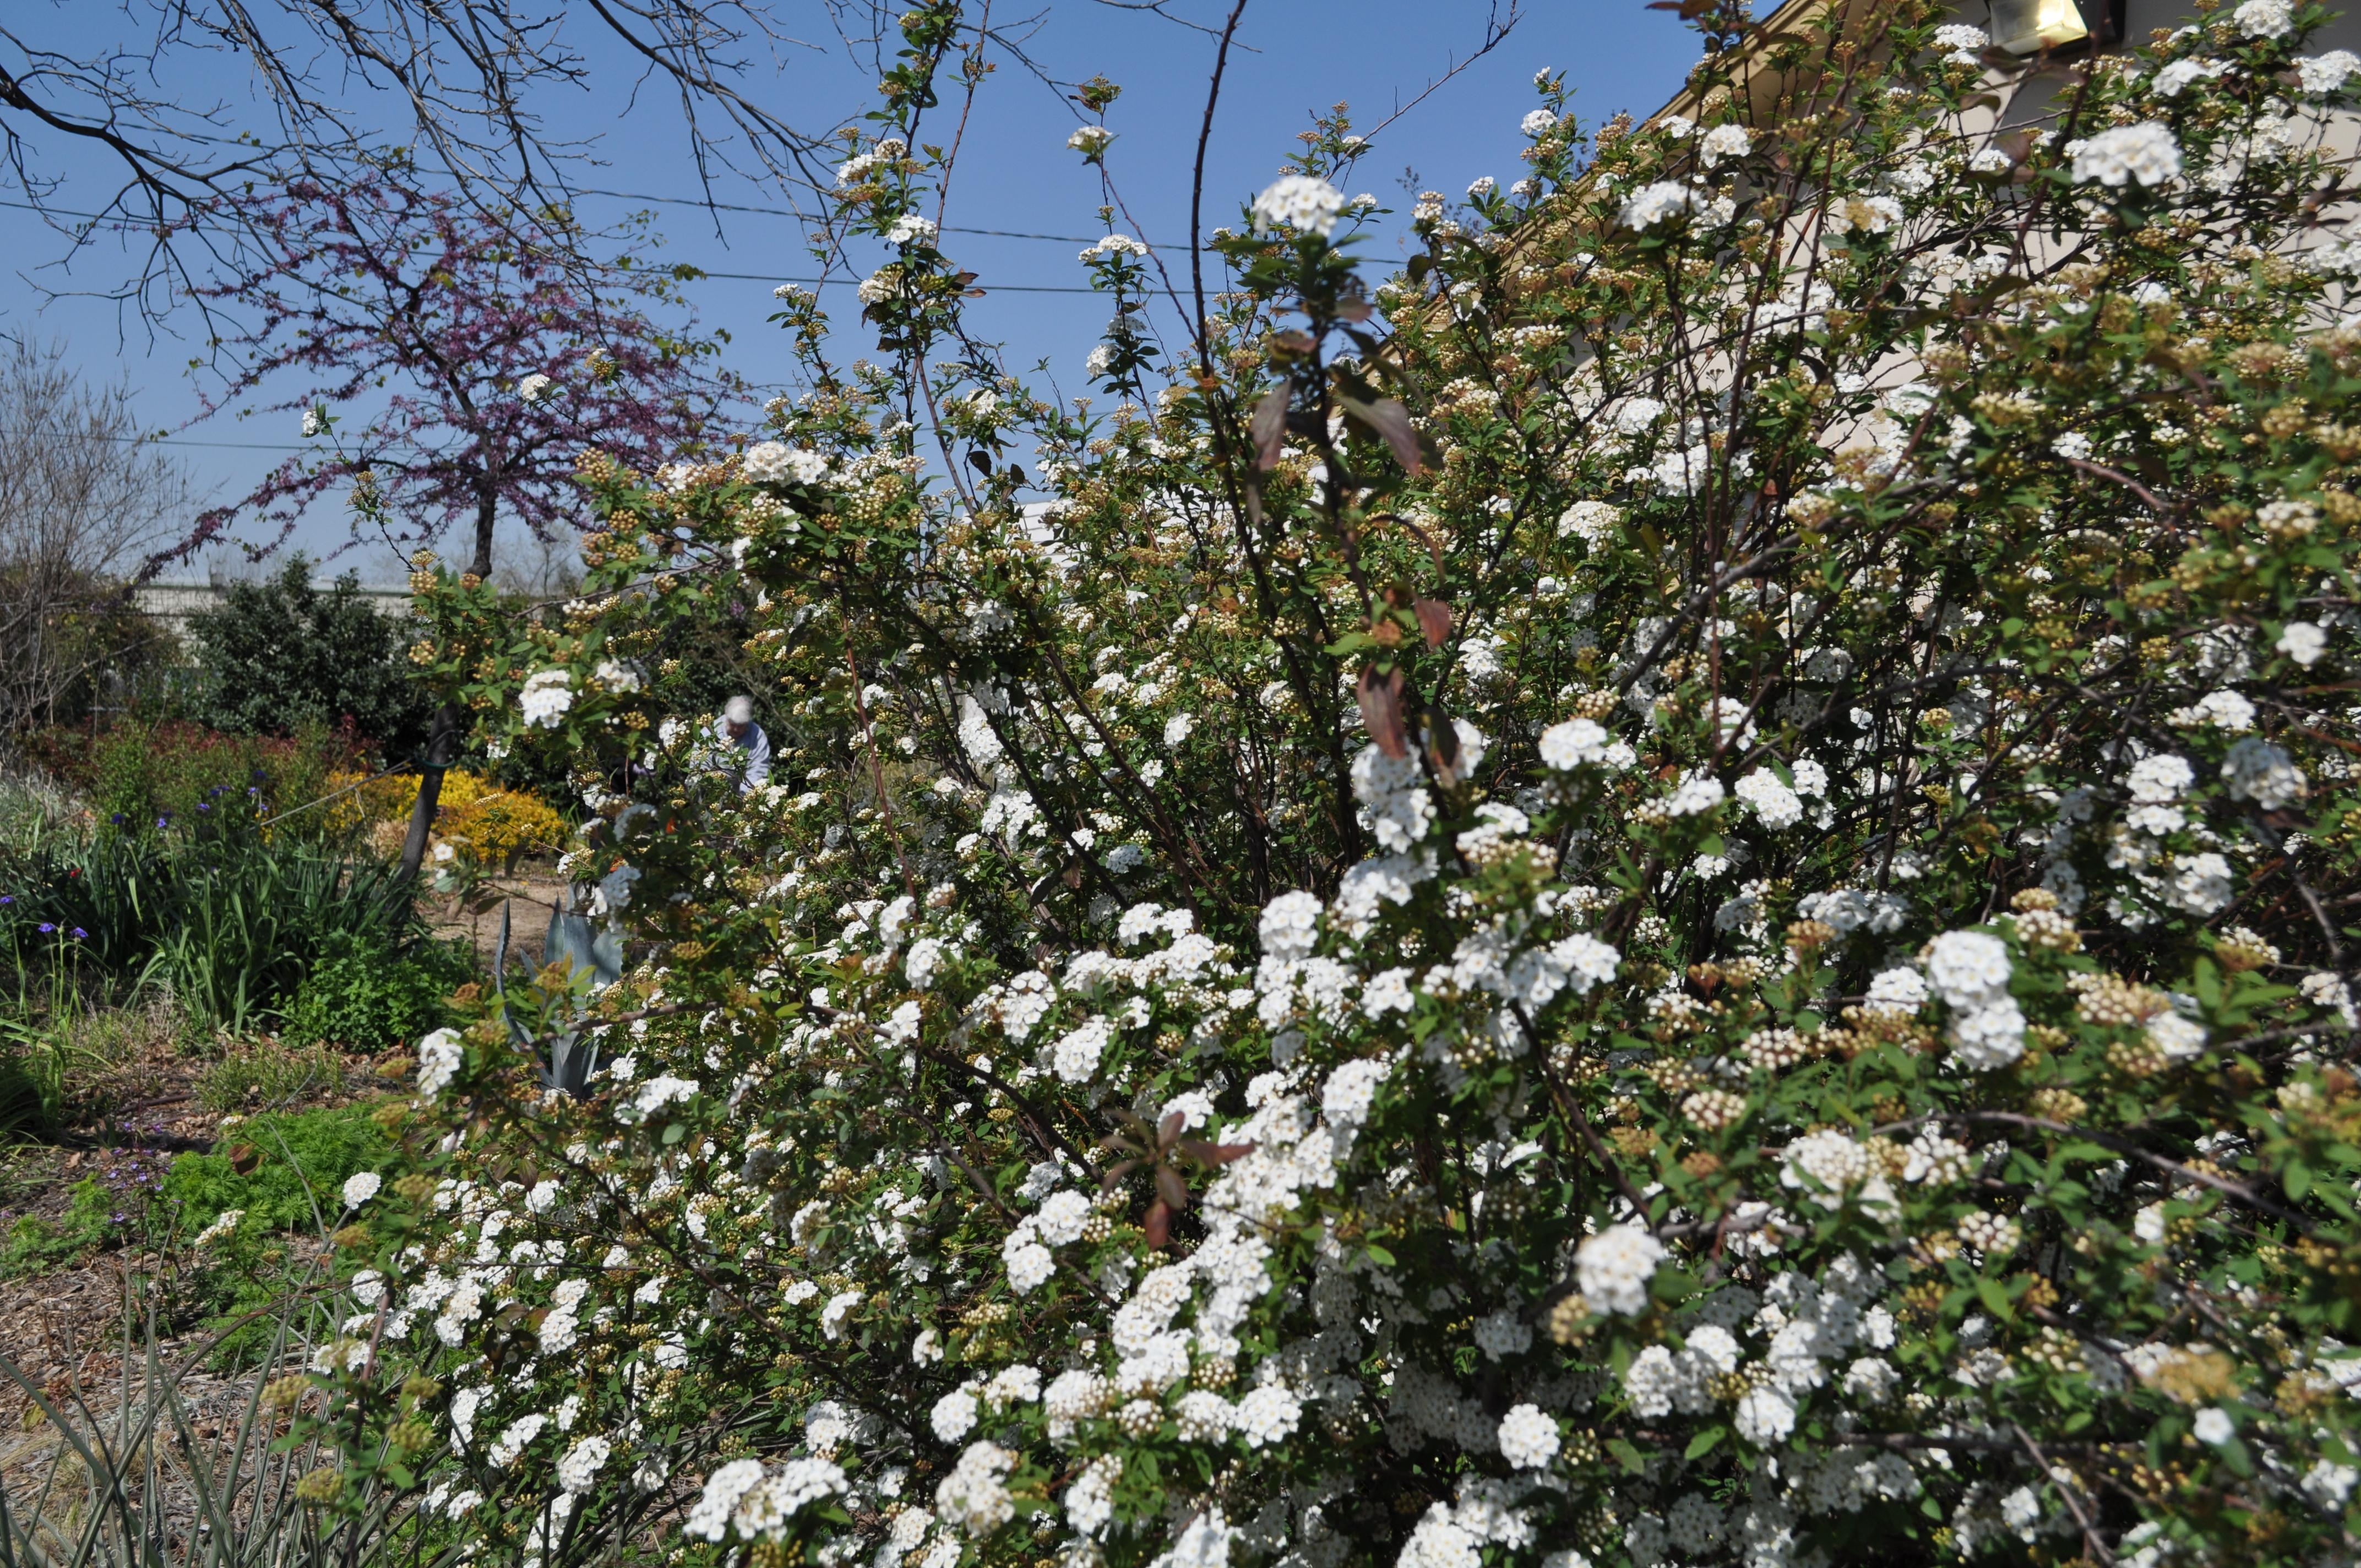
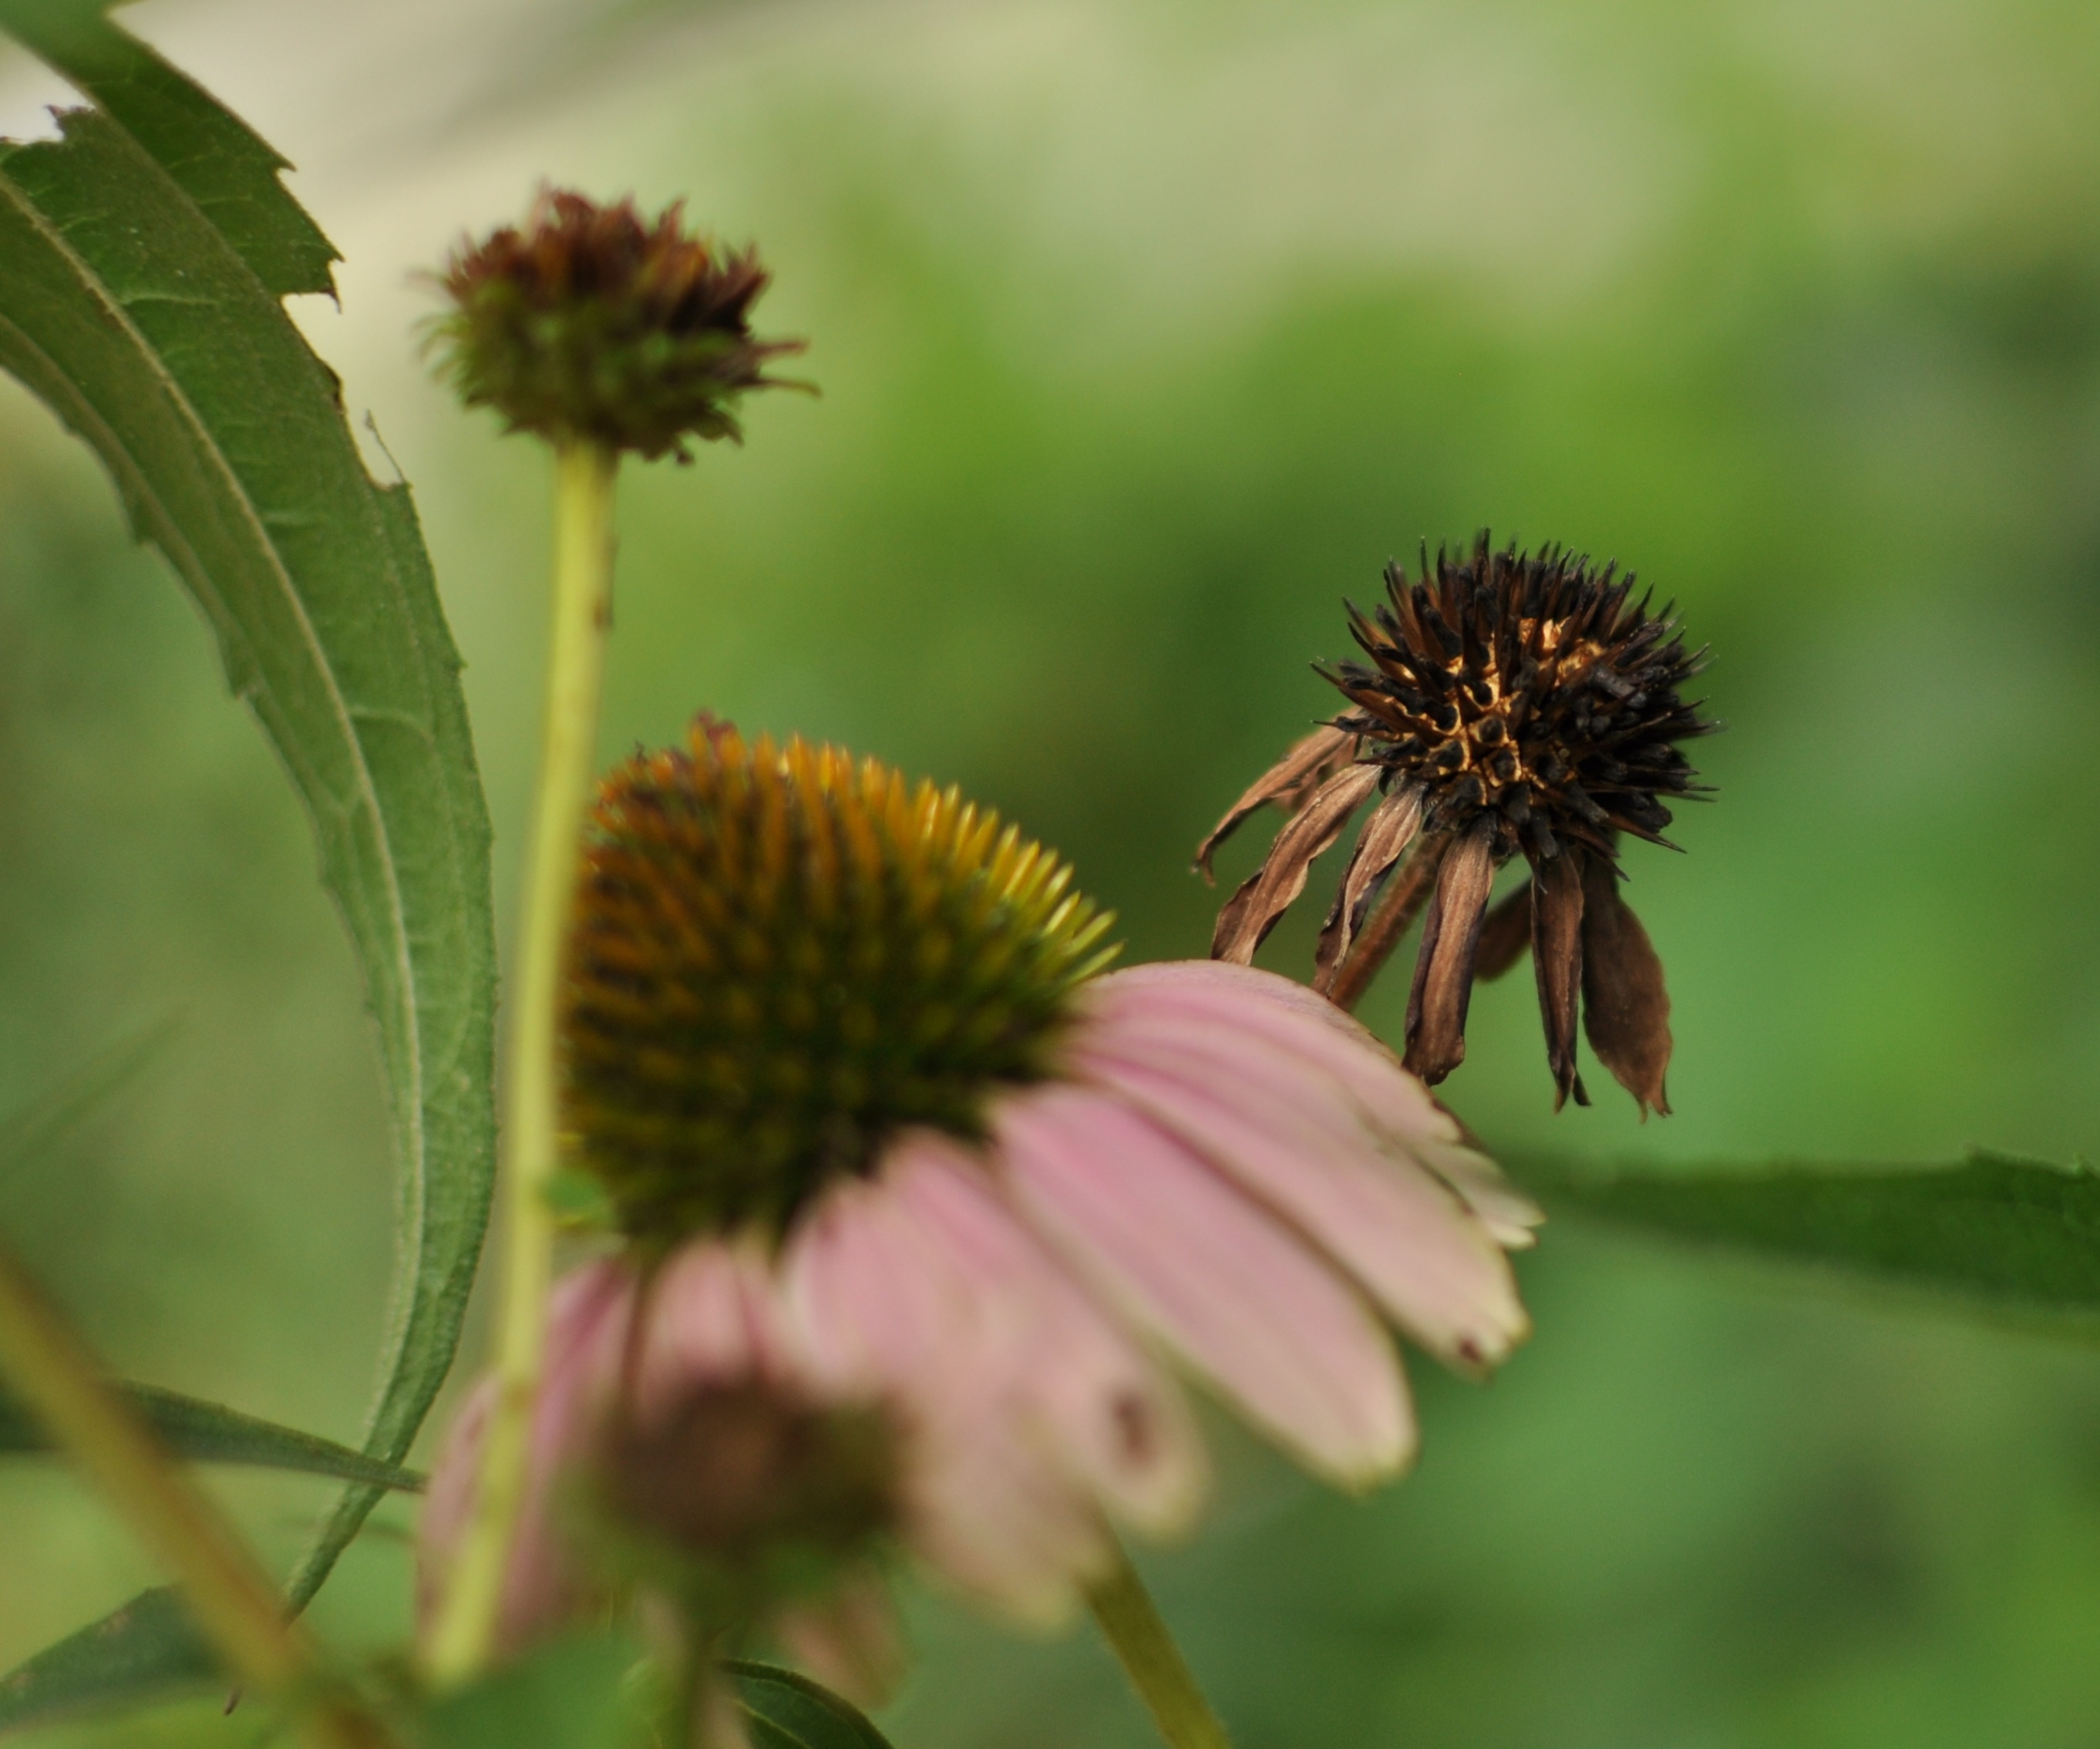
Shrubs at the Demonstration Garden include blooming Spirea and Abelia in the background
Choose shrubs based on their mature size. My neighbor planted holly as a foundation planting several years ago. The shrubs are now 10’ x 10’—you can guess where this is going—and she has cut large rectangles in the middle of the hedge, following the outline of the windows. This look has not been featured on HGTV. Read the label on your shrub purchase. Many shrubs now come in smaller sizes, perfect for one-story homes and compact landscapes.
Some shrubs want sun, some shade, and some don’t care. Oh, that kids were that easy. Cast iron plants are a staple in deep shade. Dwarf yaupon holly is dependable in full sun to part sun; in deep shade they will survive, but not grow.
Don’t go crazy on the number of shrub species for your landscape. Limit yourself to five or six varieties for the front yard, more for the back yard. Group shrubs to contrast foliage textures or colors.
Mike and I often duck into a local sports bar/fried oyster and fish restaurant. While Mike is eager to settle down with a plate of catfish and the football game, I often want to linger in the carefully planned landscape of shrubs. Situated in Dallas’ blowtorch west sun by a six-lane major street, the shrubs give patrons a Gulf of Mexico beach feel. Wax myrtles and Texas sage screen the parking lot from heavy traffic. Horsetail and nandina line the sidewalk. Large palms flourish in the heat as foundation plantings. Oh, did I mention the food’s great, too?
Elizabeth