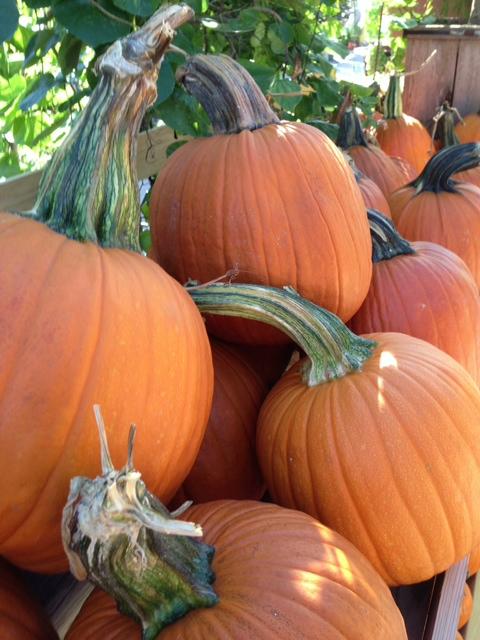
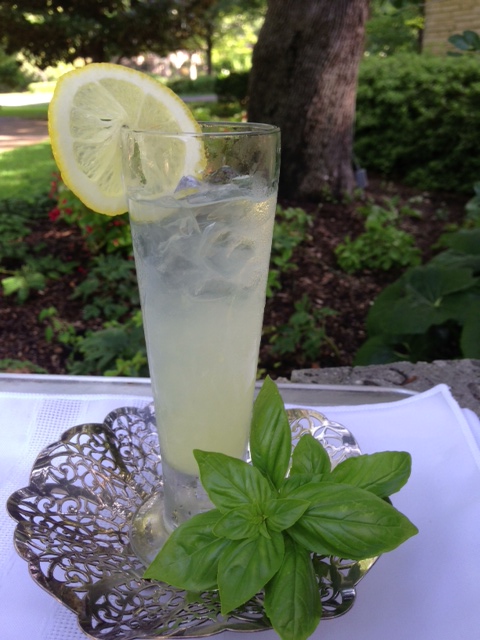
Finish your Labor Day supper with this flavorful treat and your guests will have sweet dreams.
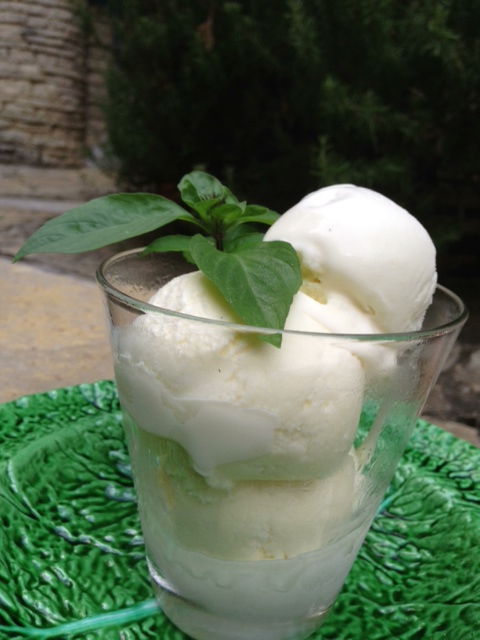
Cinnamon Basil Ice Cream

Ingredients:
2 ½ cups whole milk, plus an additional 2 tablespoons if needed, or substitute low-fat
(2%) milk for a slightly less rich ice cream
1 ½ cups heavy cream
8 4-inch sprigs cinnamon basil and ½ cinnamon stick, or 6 4-inch sprigs sweet basil and
1 ½ cinnamon sticks
¼ vanilla bean, split and scraped, or ½ teaspoon vanilla extract
8 large egg yolks
1 cup plus 2 tablespoons sugar
Directions:
1. Infuse the cream. Pour the milk and cream into a 2-quart saucepan and bring it to a boil over medium-high heat. Add the basil, cinnamon stick, and vanilla bean if using, push them under the surface of the liquid with a spoon, and immediately remove the pan from the heat. Cover the pan and steep for 20 minutes. Strain the liquid through a fine sieve into a large liquid measuring cup, pressing down firmly on the herbs to extract all the liquid from the leaves. Add fresh milk if needed to measure 4 cups. Return the infused cream to the saucepan.
2. Egg yolks. Put the egg yolks in a medium stainless-steel mixing bowl and float that bowl in a larger bowl half full of hot tap water. Whisk the yolks until they are lukewarm, 90 to 100 degrees F (it will take less than 1 minute), then lift the bowl out of the water.
3. Ice cream base. Add the sugar to the infused cream and bring it back to a boil over medium-high heat. The instant the cream comes to a rolling boil and rises in the pan, lift it off the heat. With the whisk in one hand and the saucepan in the other, pour the boiling cream into the egg yolk as you whisk constantly but gently. Don’t whisk rapidly or you will cool the custard before the yolks have a chance to set. Continue to stir the custard with the whisk for 1 minute. At this point it should be fully cooked. An instant-read thermometer set in the custard should register 170 degrees to 180 degrees F. It will coat a teaspoon, but it will become much thicker when it cools. (If for some reason the custard did not get hot enough to thicken, you can place the bowl on top of a saucepan of boiling water and stir it with a rubber spatula until it reaches 170 degrees F. Do not overheat the custard or it will curdle). Whisk the sauce rapidly for 30 seconds to cool it, then pour it through a fine sieve. If using vanilla extract, add it now. Refrigerate this custard base until thoroughly chilled. Freeze in an ice cream maker according to the manufacturer’s directions. Make 1 ½ quarts.
Adapted from” The Herb Farm Cookbook”
More Cinnamon Basil recipes to savor: Cinnamon Basil Swirl Cake and Cinnamon Basil Chicken.
————————————————————————————————————-
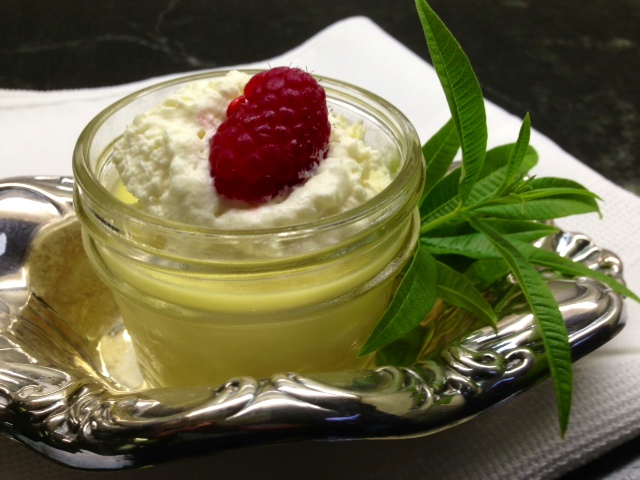
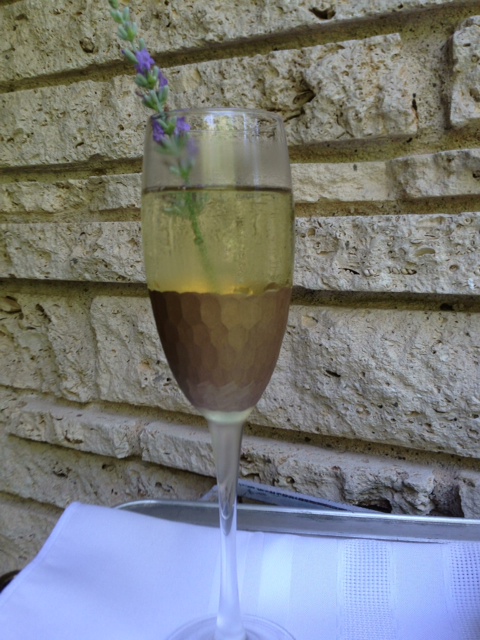
Lovely and fragrant Lemon Verbena gives a nice lift to these rich, silky lemon custards.

Lemon Custards with Lemon Verbena
Ingredients:
1 cup water
14 2- to 2 ½-inch-long fresh or dried lemon verbena leaves (optional)
10 2 x ½-inch strips lemon peel (yellow part only)
6 tablespoons sugar
1 ½ cups whipping cream
6 large egg yolks
2 teaspoons fresh lemon juice
Directions:
Preheat oven to 325 degrees F. Combine first three ingredients in medium saucepan. Boil until mixture is reduced to ½ cup, about 4 minutes. Add sugar; simmer until mixture is reduced to 1/3 cup, about 3 minutes. Stir in cream. Whisk yolks to blend in medium bowl. Gradually whisk in hot cream mixture. Whisk in lemon juice.
Strain custard through sieve into 4-cup measuring cup. Divide among six 2-cup ramekins or soufflé dishes. Cover ramekins with foil. Place ramekins in a 13 x 9 z 2-inch metal baking pan. Add enough hot water to pan to come halfway up sides of ramekins.
Bake custards until just set, about 45 minutes. Remove pan from oven; let custards cool in water in pan. Transfer ramekins to refrigerator. Chill at least 4 hours or overnight. Serve chilled. Garnish with flavored whipped cream topped with a raspberry or blackberry.
Yield: Serves 6
(This is a very rich custard that you may want to divide into smaller quantities)
Adapted from Bon Appetit
Linda

 Lisa picked pomegranates from a neighbor’s tree; after asking permission. Imagine they didn’t want the fruit! Should we share a jar of our pomegranate jelly with them?
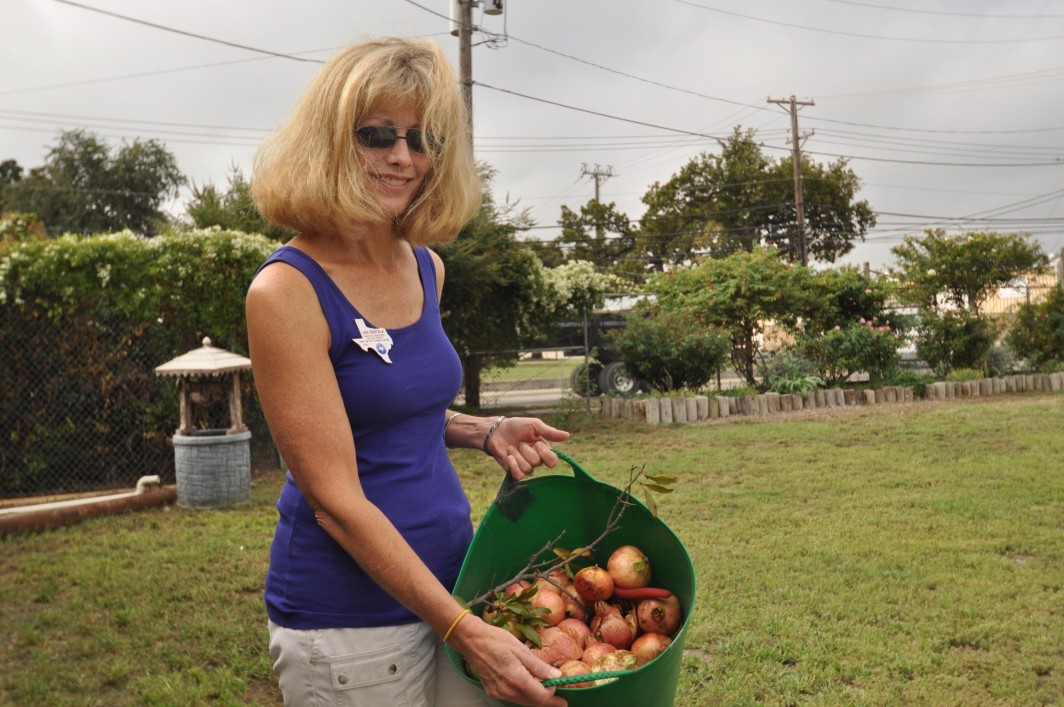 If you would like to buy a jar of pomegranate jelly made from Sarah’s recipe and these pomegranates, come to our Dallas County Master Gardener meeting on Thursday, October 24th at 11:30 am at the Farmer’s Branch Rec Center. All welcome!