Roasted Butternut Squash Salad with Warm Cider Vinaigrette

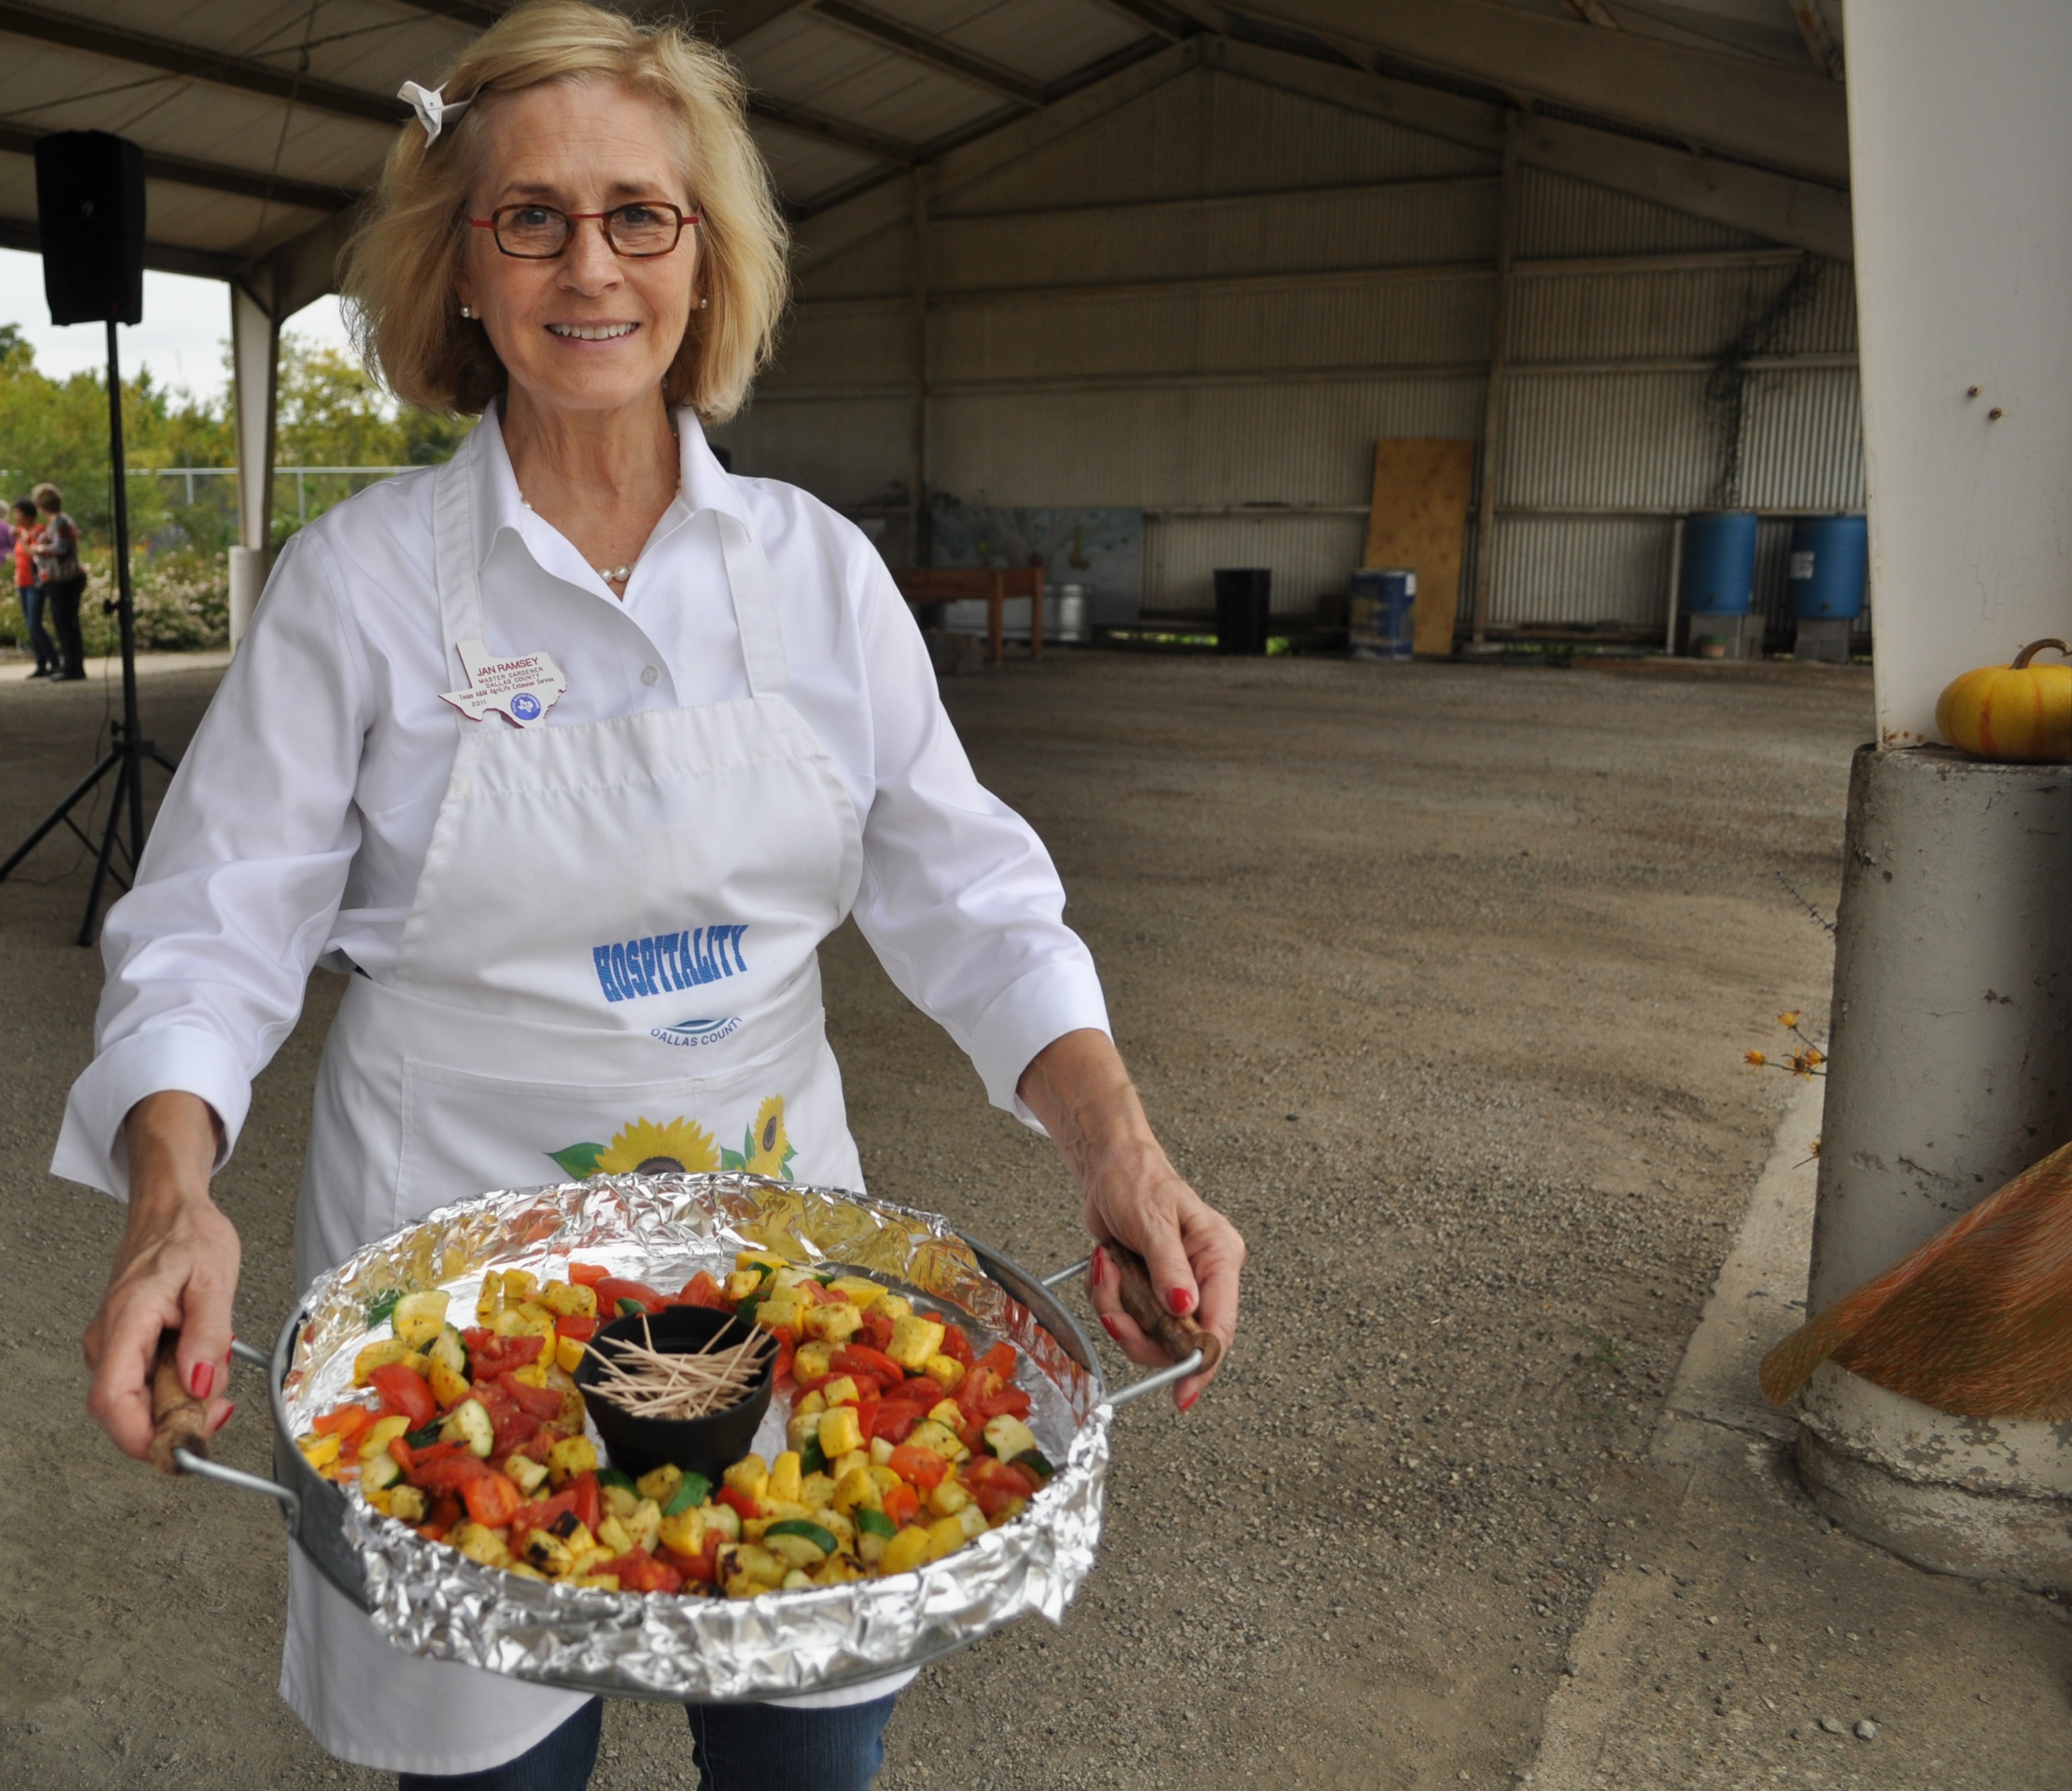
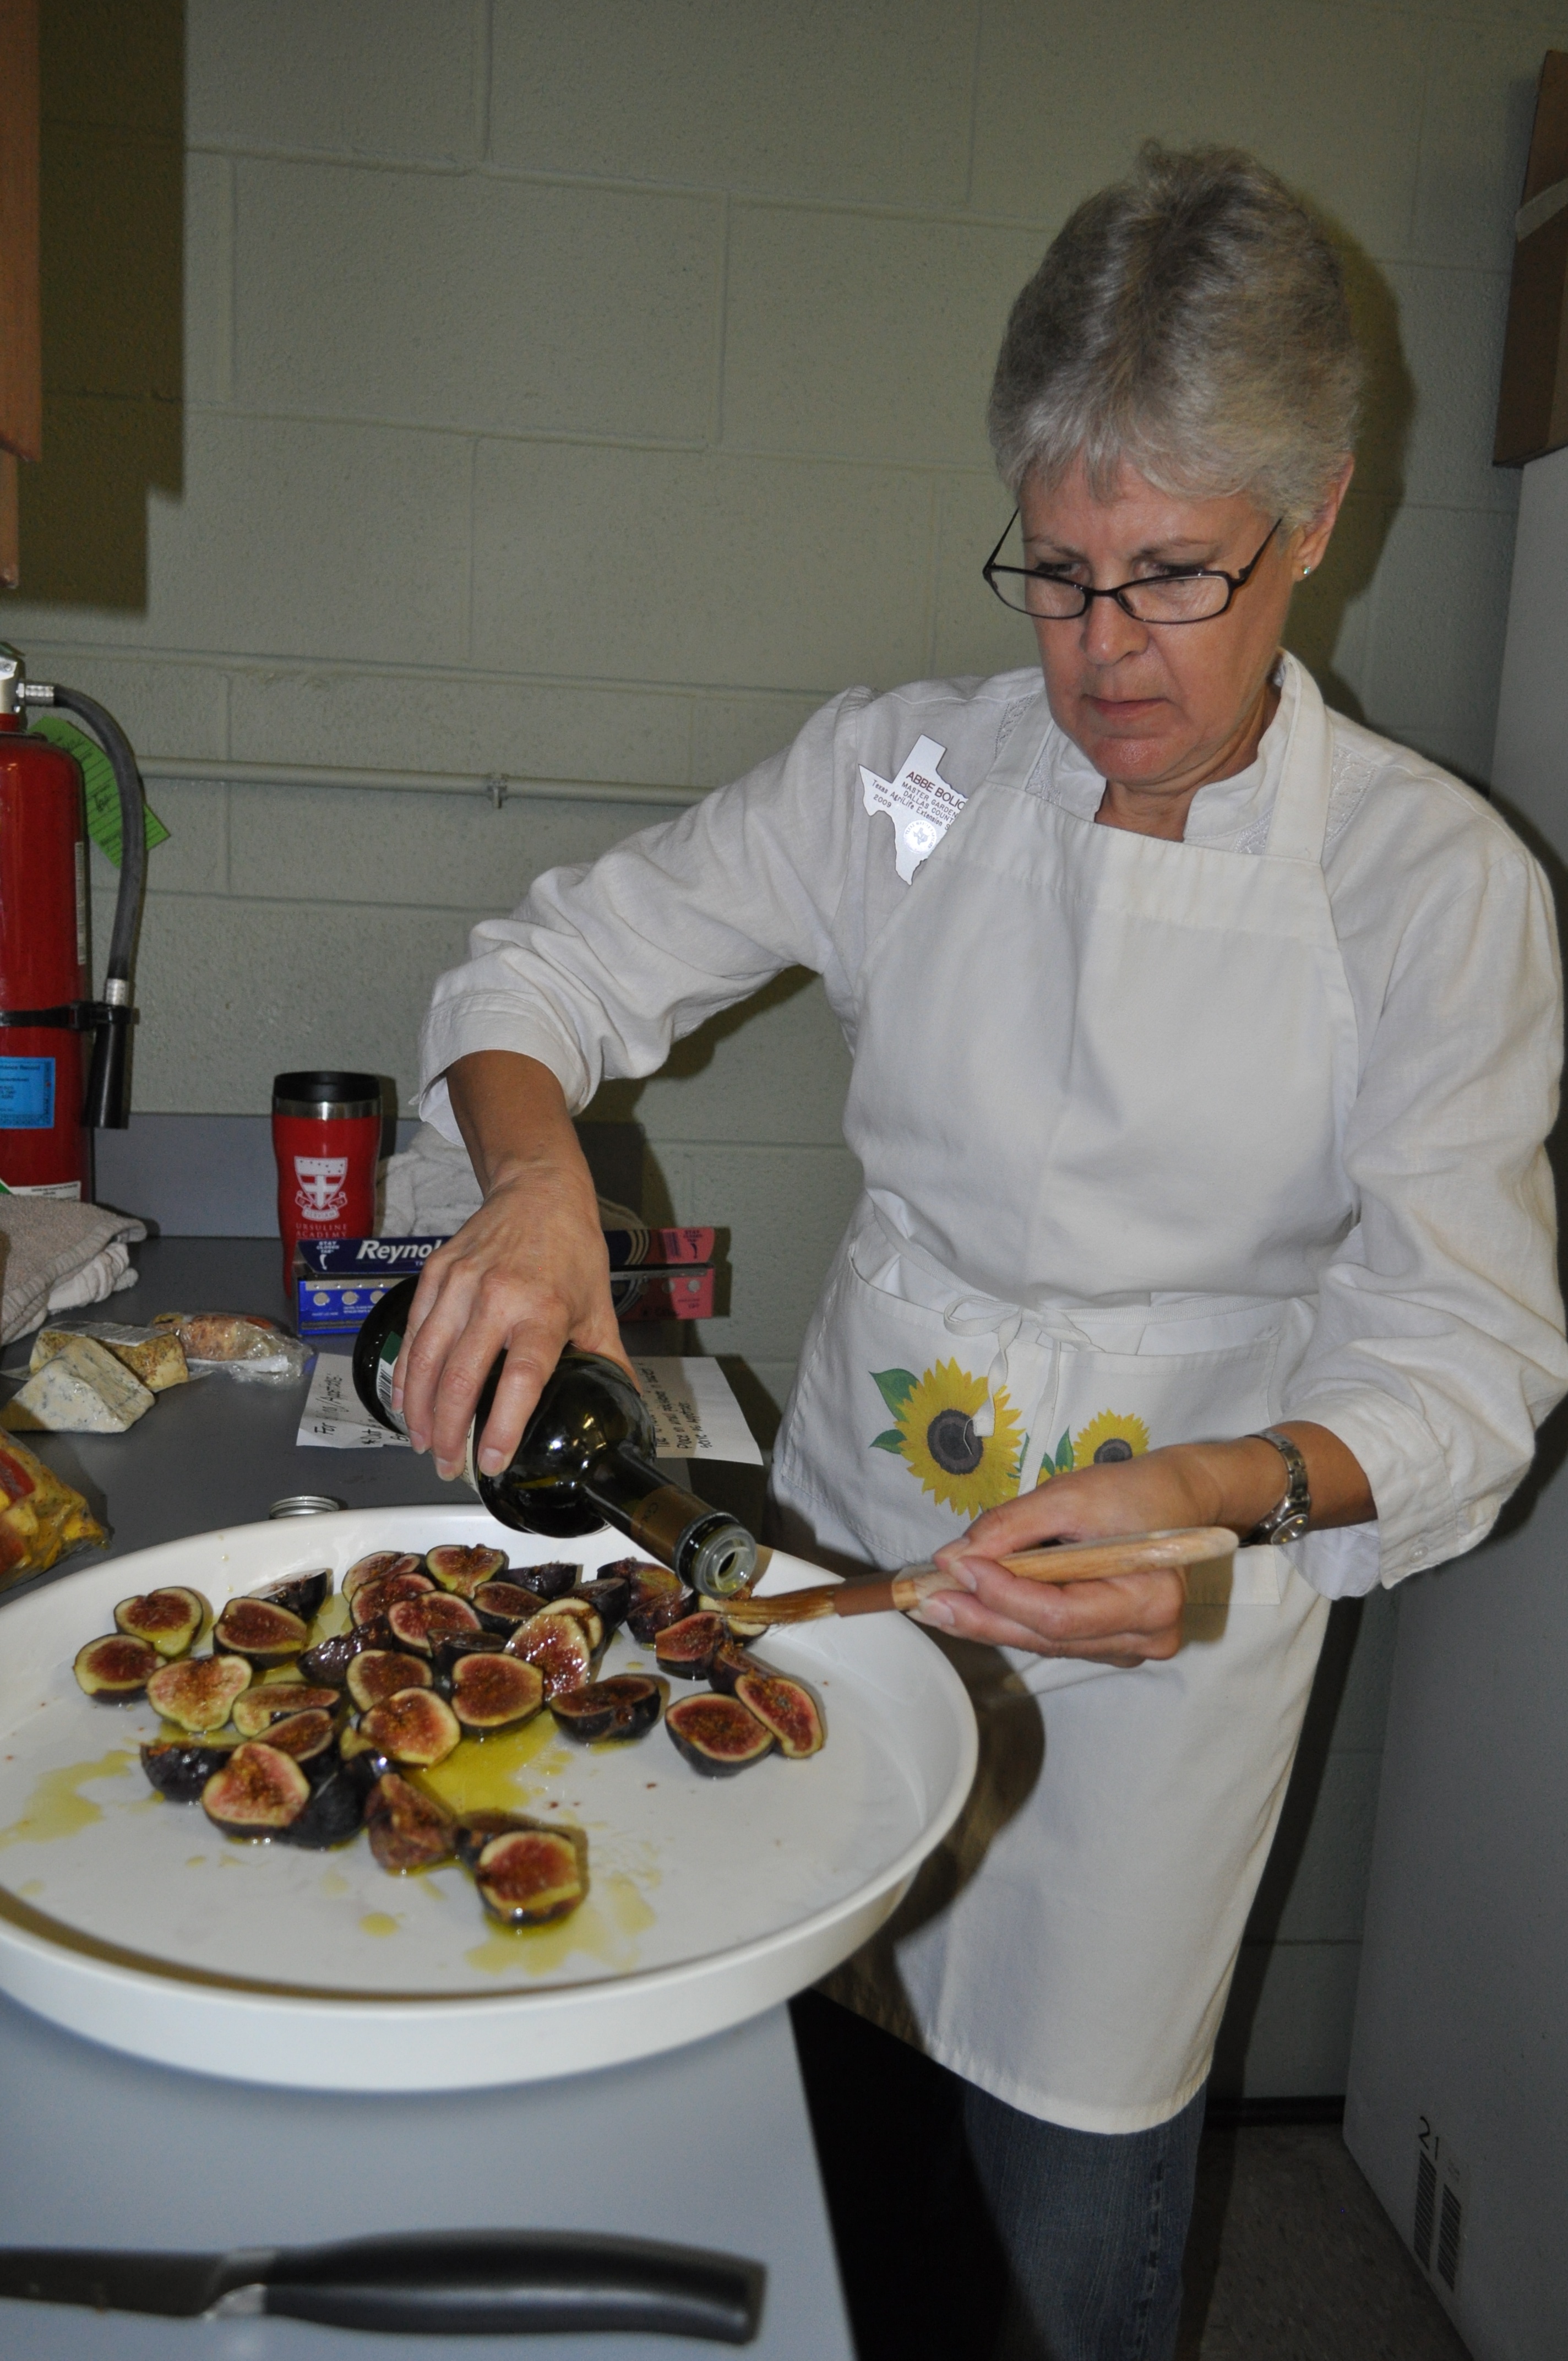
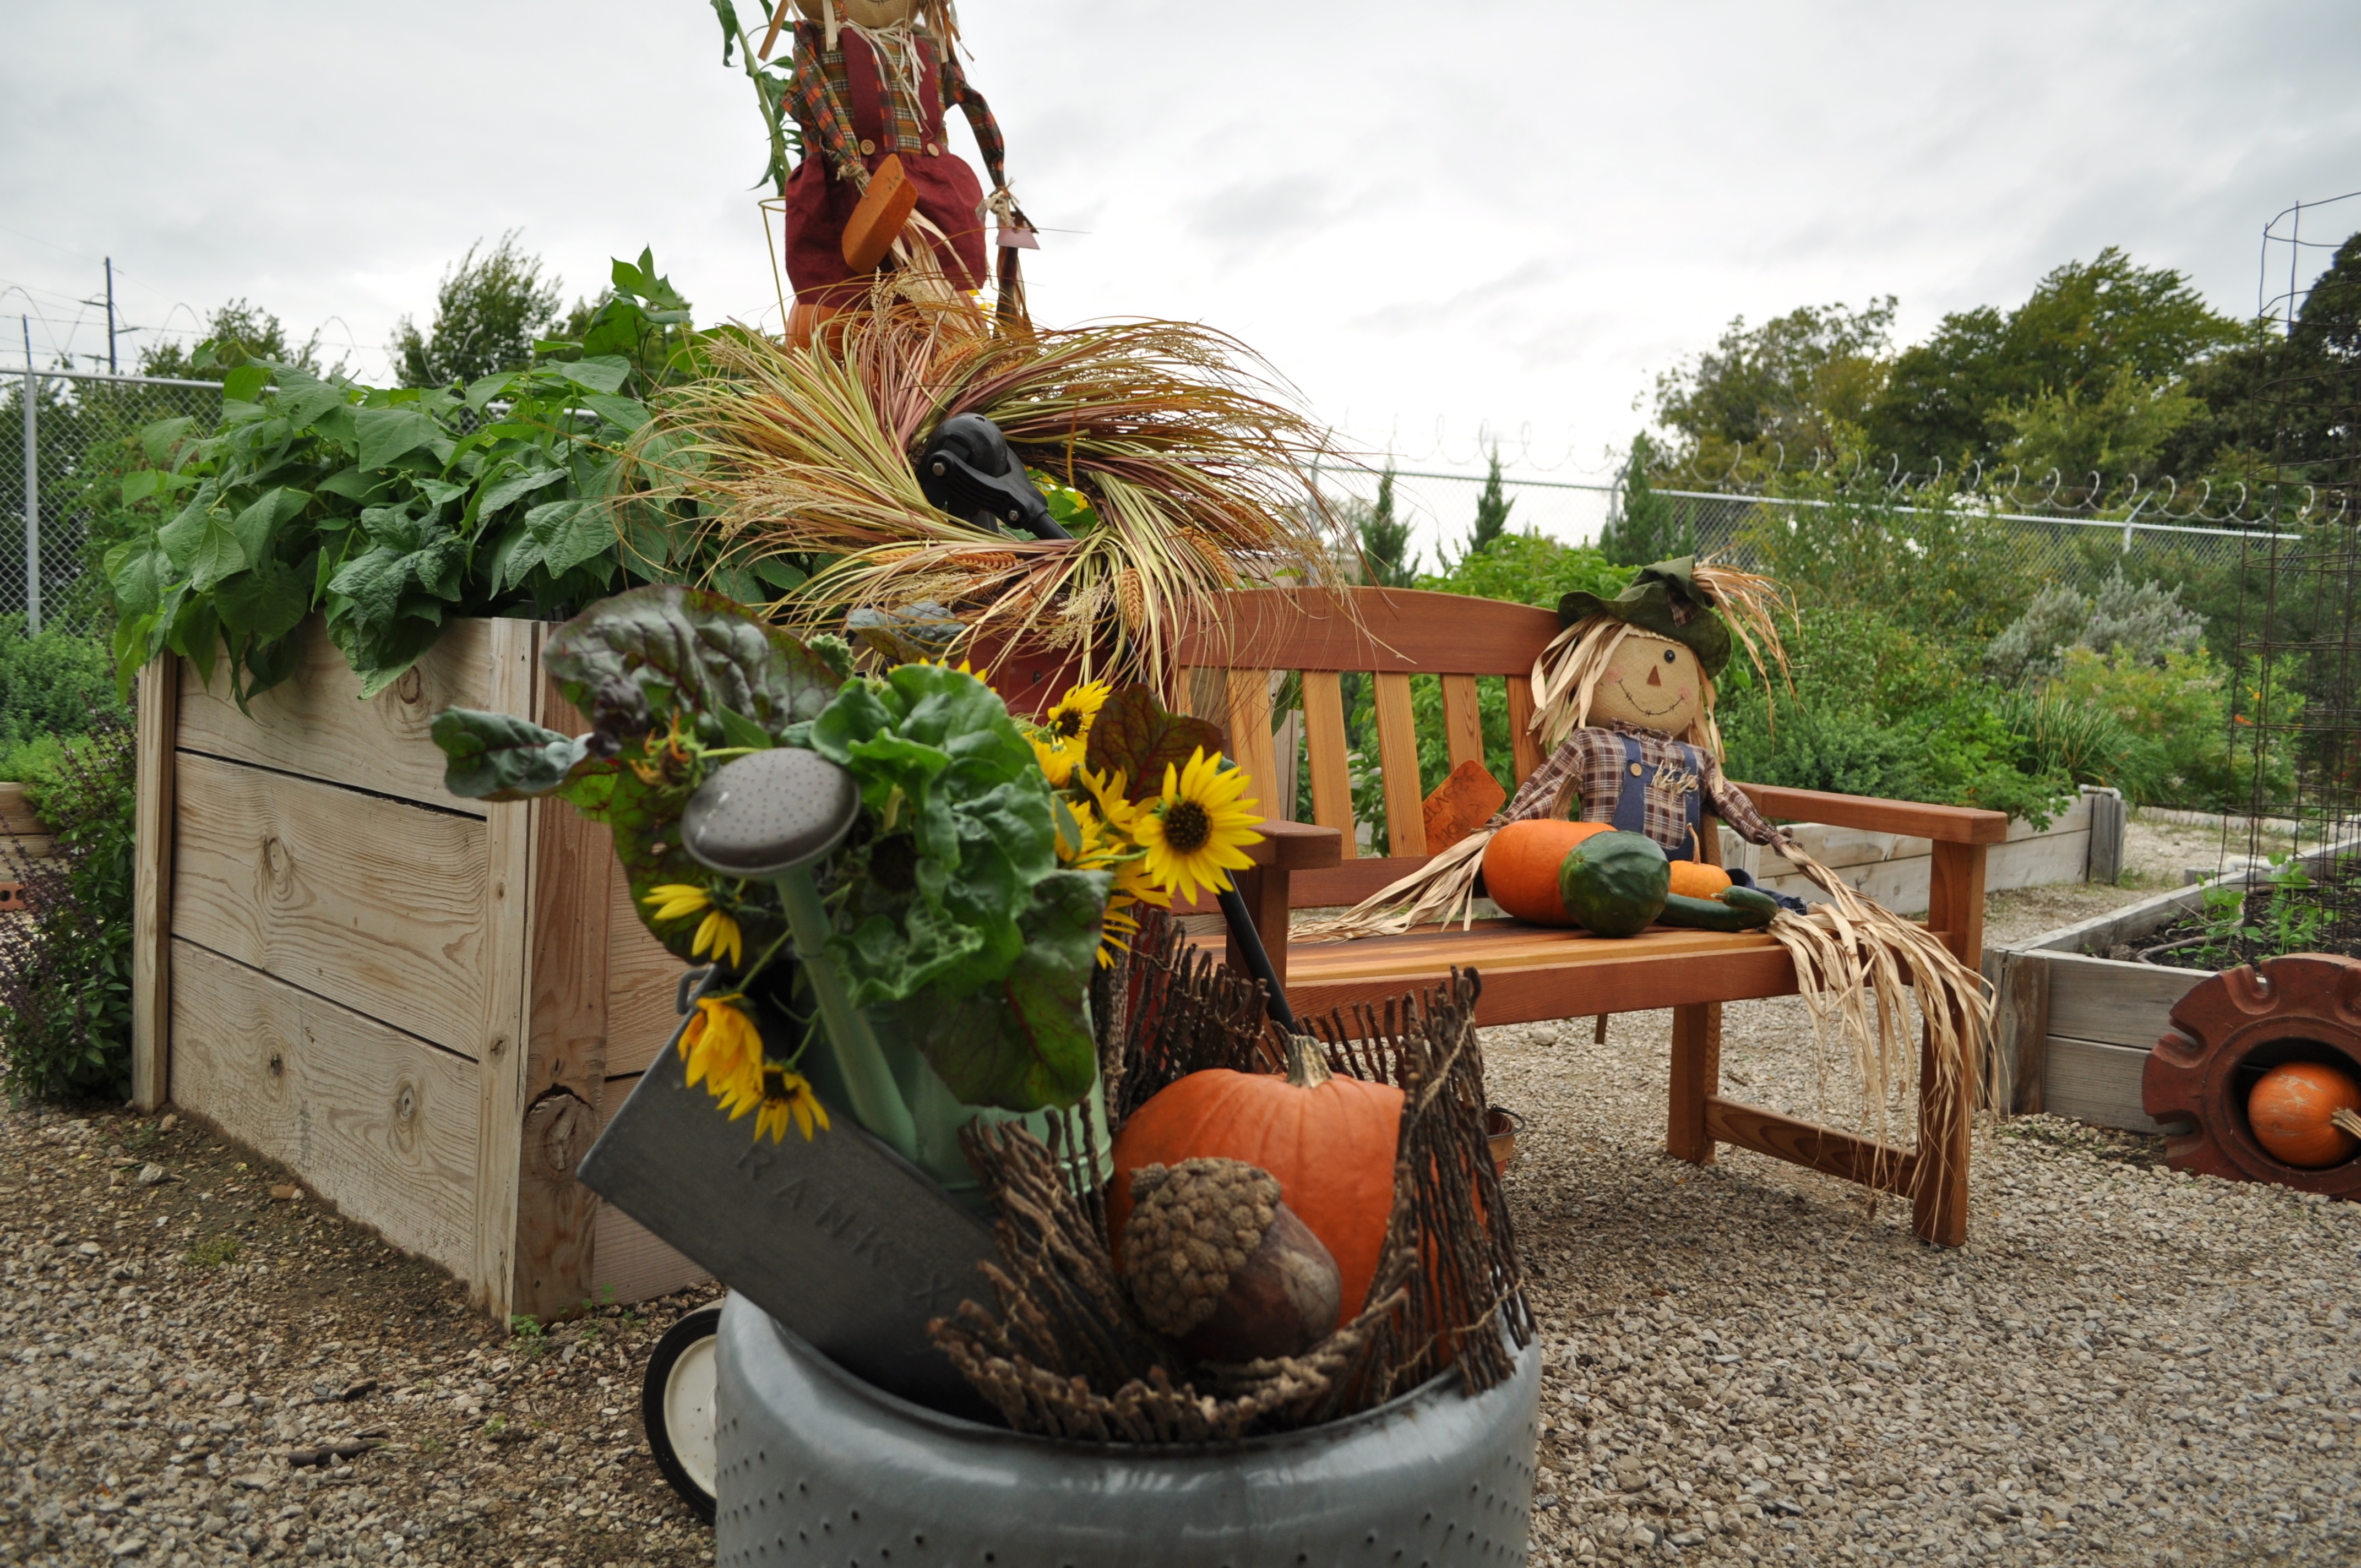
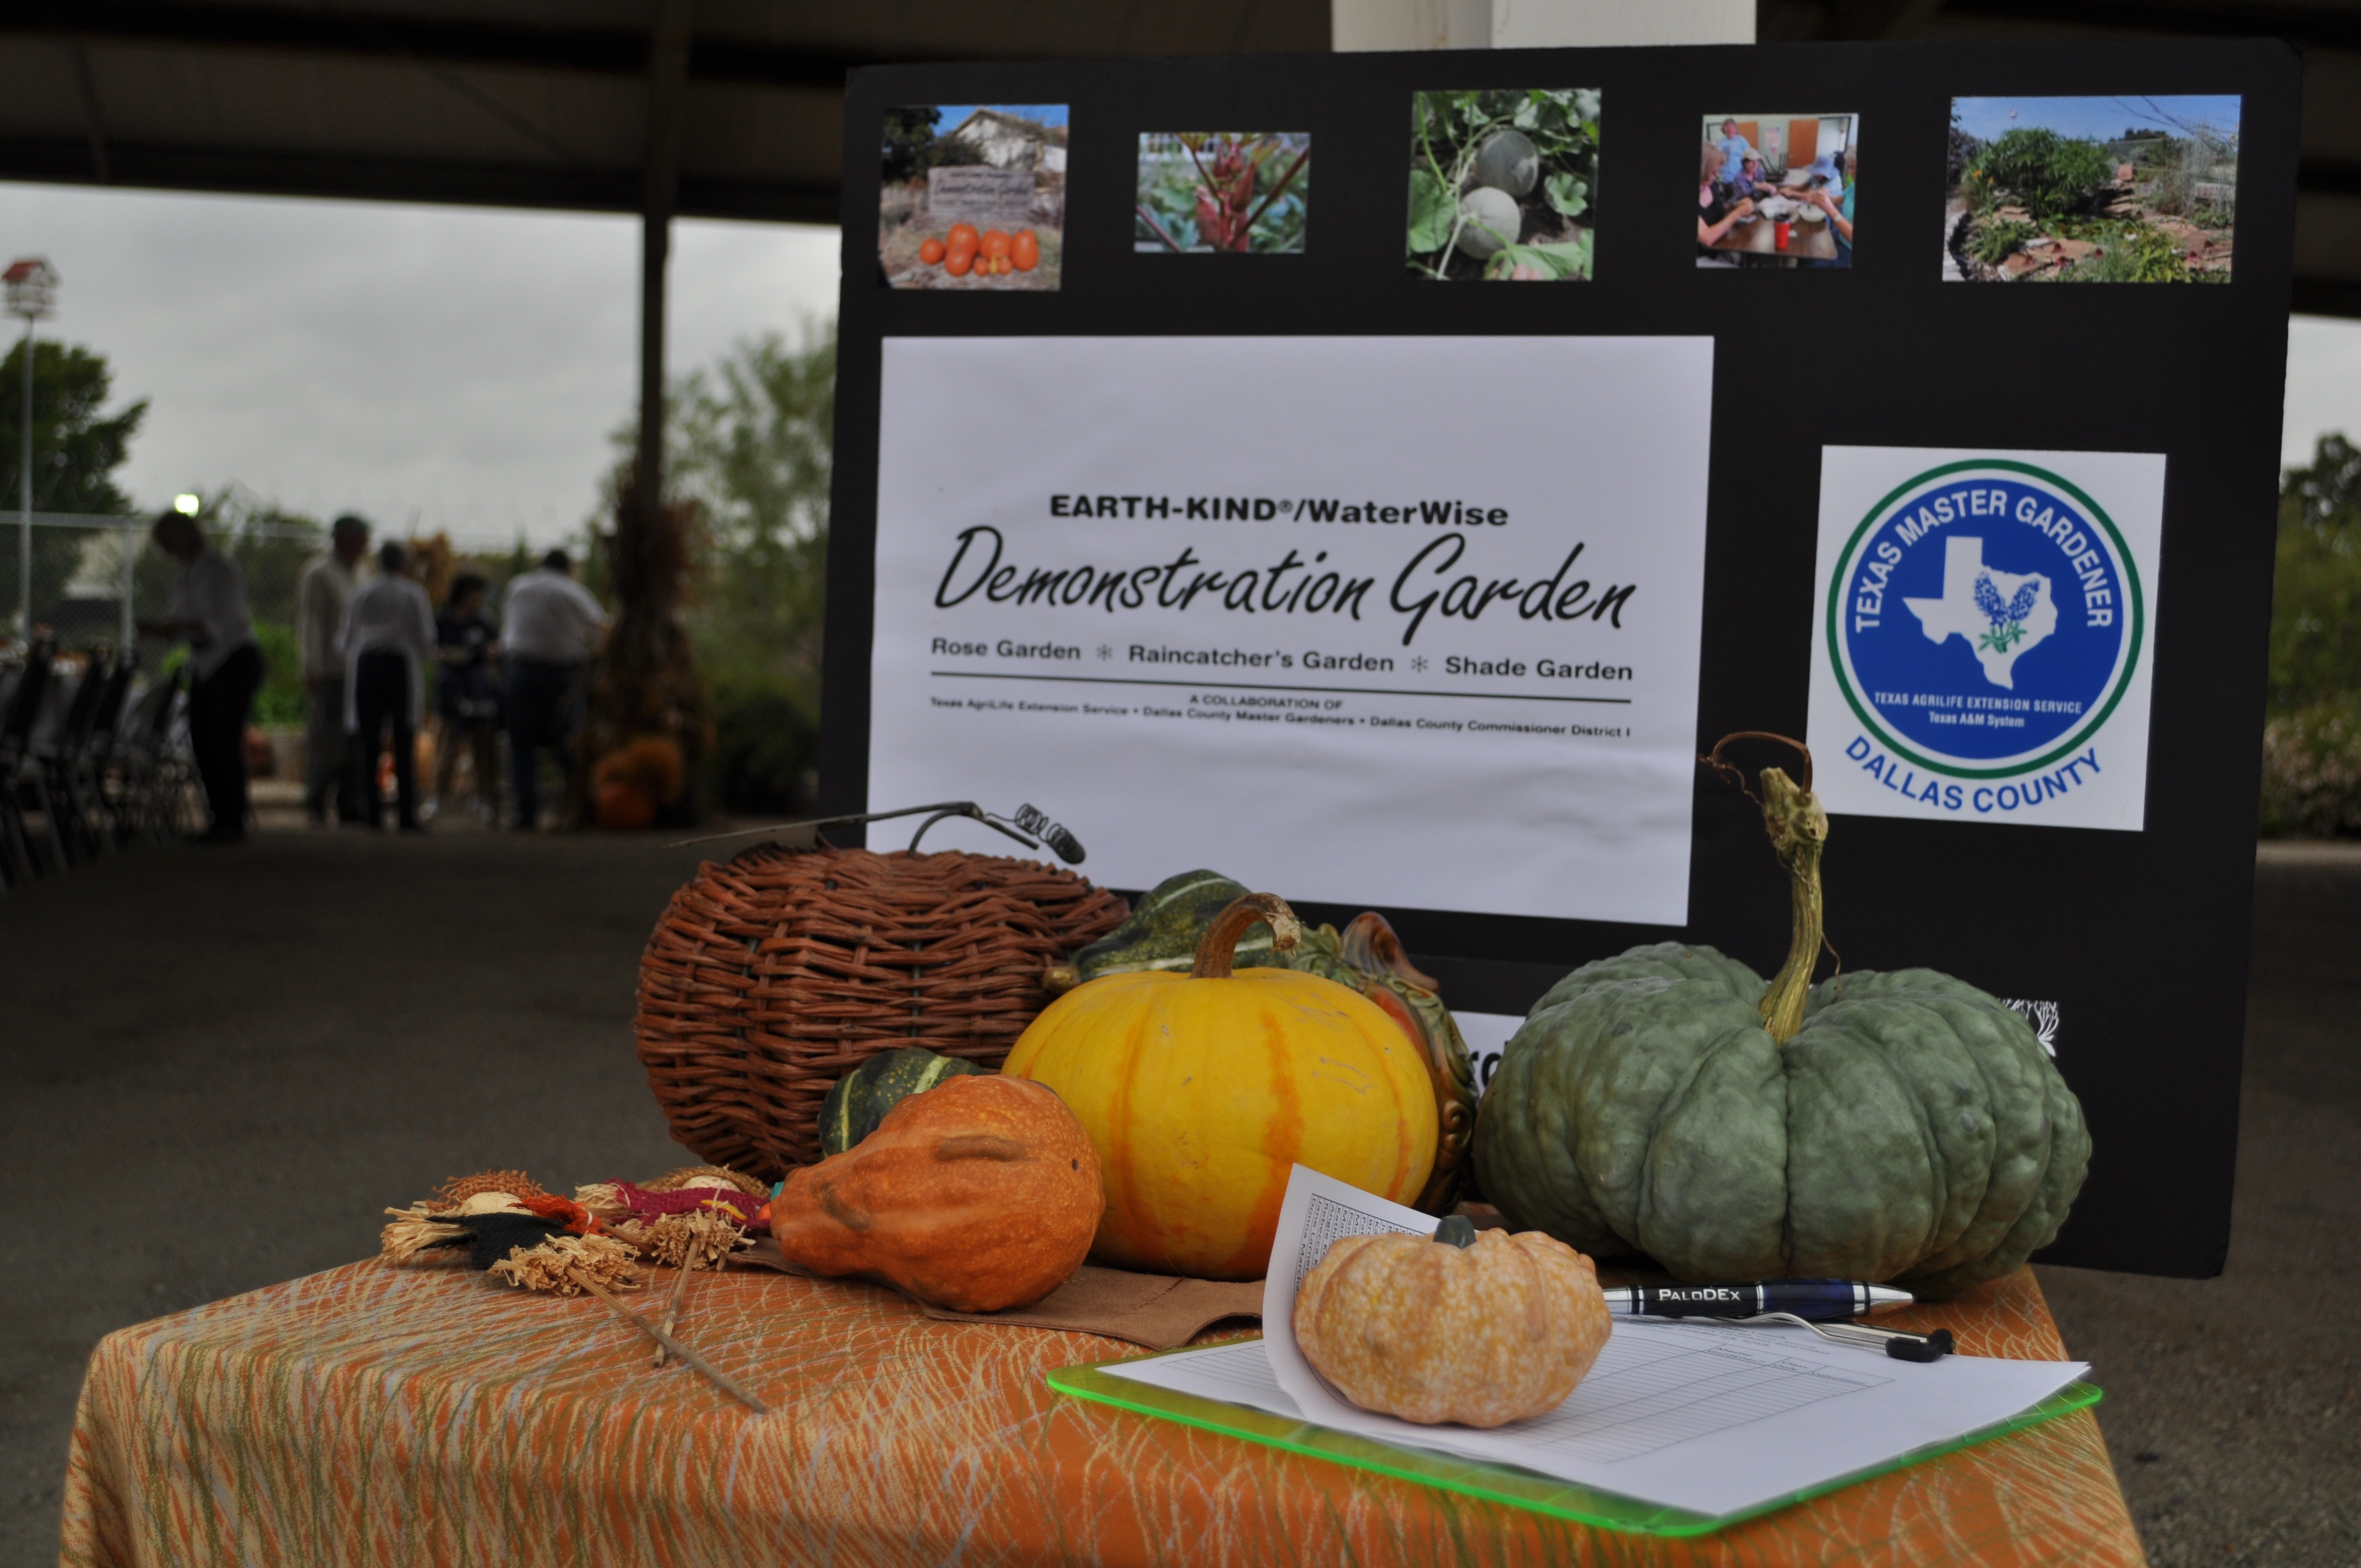
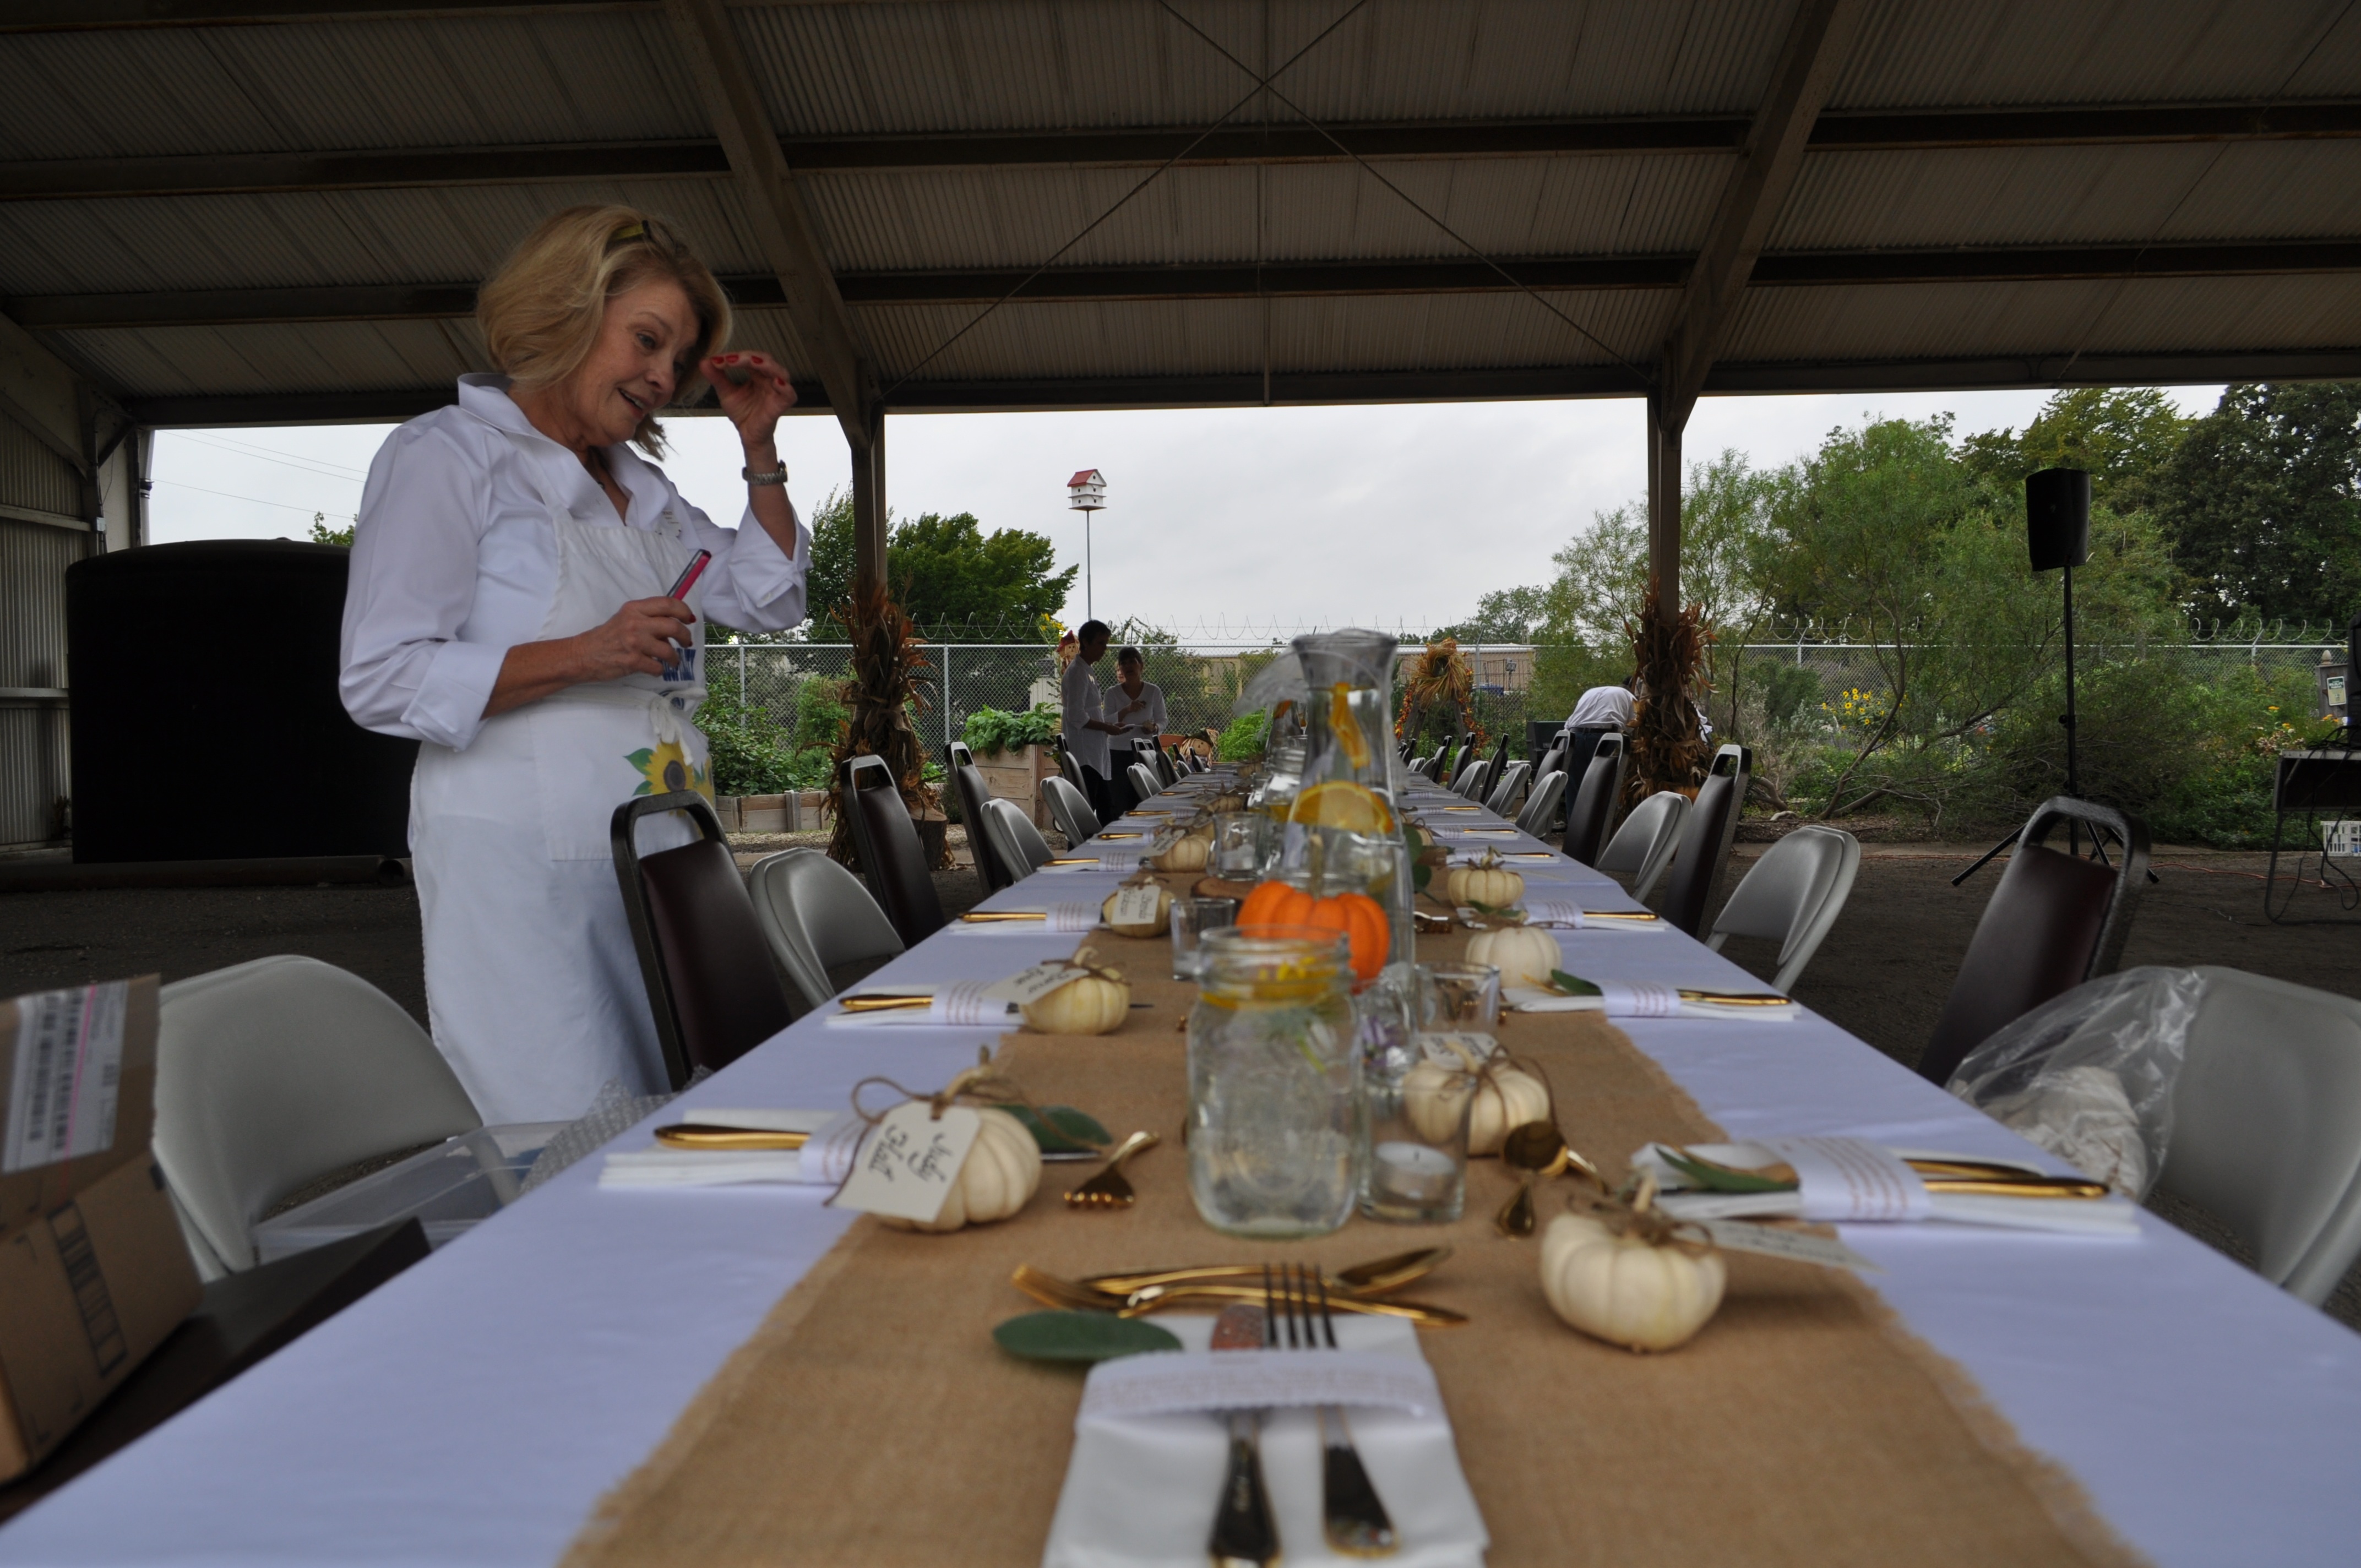
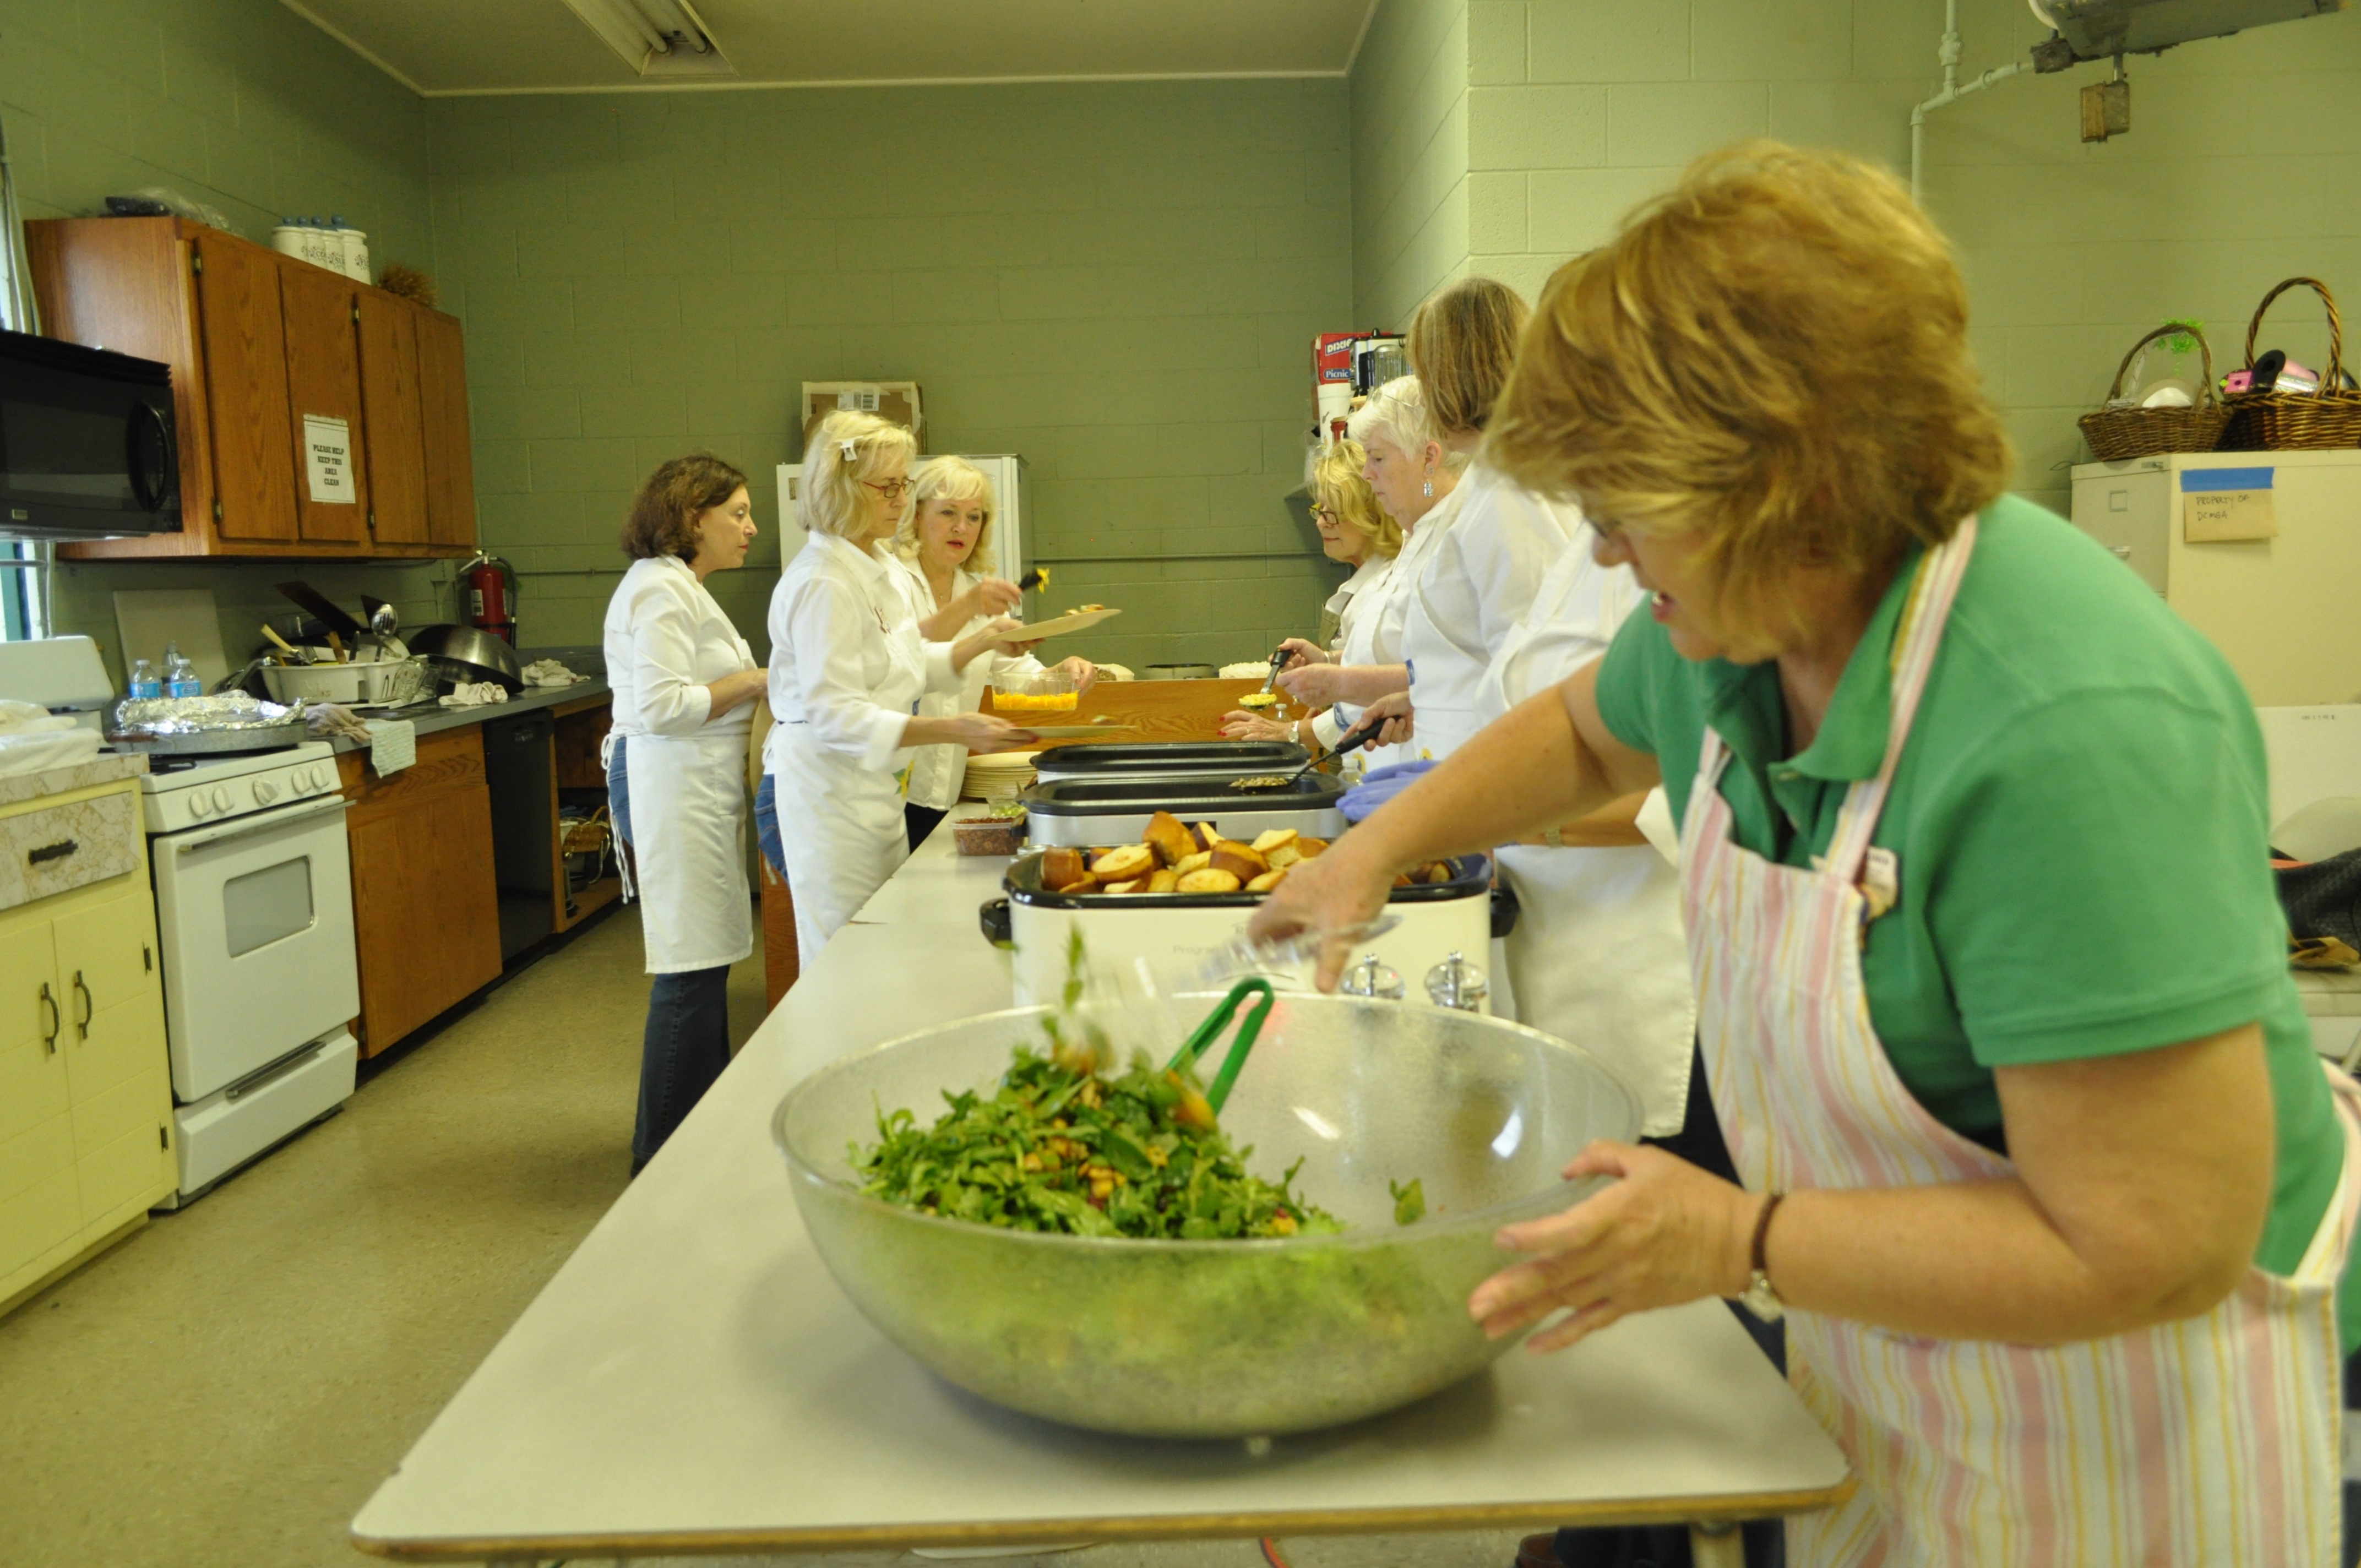
Last Tuesday, you would have found Dallas County Master Gardeners on Joe Field Road busy preparing our first and (will be repeated) ” farm to table” lunch.

image

Craving just the right salad for your own fall feast? Here is our recipe for roasted butternut squash salad with the,oh so good, warm vinaigrette.

Ingredients:

1 (1 ½-pound) butternut squash, peeled and ¾-inch diced

Good olive oil

1 tablespoon pure maple syrup

Kosher salt and freshly ground black pepper

3 tablespoons dried cranberries

¾ cup apple cider or apple juice

2 tablespoons cider vinegar

2 tablespoons minced shallots

2 teaspoons Dijon mustard

4 ounces baby arugula, washed and spun dry

¼ cup walnut halves, lightly toasted

¾ cup freshly grated Parmesan cheese

image

Directions:

1. Preheat the oven to 400 degrees.

2. Place the squash on a sheet pan.  Add 2 tablespoon olive oil, the maple syrup, 1 teaspoon salt and ½ teaspoon pepper and toss.

3. Roast the squash for 15 to 20 minutes, turning once, until tender.  Add the cranberries to the pan for the last 5 minutes.

4. While the squash is roasting, combine the apple cider, vinegar, and shallots in a small saucepan and bring to a boil over medium-high heat.  Cook for 6 to 8 minutes, until the cider is reduced to about ¼ cup.  Off the heat, whisk in the mustard, ½ cup olive oil, 1 teaspoon salt and ½ teaspoon pepper.

5. Place the arugula in a large salad bowl and add the roasted squash mixture, the walnuts, and the grated Parmesan.  Spoon just enough vinaigrette over the salad to moisten, and toss well.  Sprinkle with salt and pepper and serve immediately.

Yield: 4 to 6 servings Adapted from Barefoot Contessa

Linda

Another Sign of Fall

Many people associate the arrival of fall by the appearance of red, gold, and yellow leaves on trees or seeing groups of pumpkins suddenly pop up on people’s front porches.  However for those of us who have native trees/shrubs, fall also means seeing the clusters of purple berries on our American Beautyberry.

Callicarpa americana

Callicarpa americana

American Beautyberry grows best in partial sun and often used as an understory tree.  Found growing wild in East Texas thickets, this deciduous, 4-6 foot shrub or small tree has small, unspectacular greenish-white flowers in the spring, but is known for its showy clusters of purple berries in the fall.

It prefers moist soils but can be grown in the sun with supplemental watering; and it is tolerant of various soil types.  Aggie-Horticulture suggests pruning its long, arching branches back by 1/2 in the winter if a more compact shrub is desired.  Most Beautyberries have purple berry clusters; however there is a white-berried variety, C. americana var. lactea.  The Demonstration Garden grows a Mexican variety called Callicarpa acuminate ‘Texas Maroon”  which has maroon berries.

Callicarpa acuminate ‘Texas Maroon”

Callicarpa acuminate ‘Texas Maroon”

There is some controversy about whether the berries are toxic to humans.  Several sites say that unripe berries should never be eaten.  Native Americans used the roots of Beautyberry as a diuretic, the leaves for dropsy, and a tea made from the roots and berries for colic.  The leaves and roots were used in sweat baths for the treatment of malaria, rheumatism and fevers.  The leaves themselves can be rubbed on the skin as an external mosquito repellent.  Some sites however, including Aggie-Horticulture  say that jelly made from ripe Beautyberries is excellent.  However, as with many plants that are foraged from the wild, “diner beware.”

There is no controversy however that ripe Beautyberries are one of wildlife’s favorite foods.  In my own yard, I only able to enjoy seeing the ripe purple berries for about a week before the mockingbirds have eaten every berry off of my large tree.  Green Dean, who writes about foraging for wild edibles, reports that the Beautyberry is a squirrel’s version of take out.  Other birds that enjoy eating the berries are robins, catbirds, cardinals, mockingbirds, brown thrashers, and finches.

So, if you want a shrub/small tree that will provide fall color and feed the wildlife (and perhaps you too), think about planting an American Beautyberry.  You won’t be disappointed.

Carolyn

A Mess of Peas with Spicy Chow Chow

A “Mess of Peas”

imageIngredients:

1 quart water

1 (8- to 10-ounce) smoked ham hock

8 cups fresh field peas

4 to 6 hot peppers in vinegar, drained

1 teaspoon sugar

1 teaspoon salt

1 teaspoon pepper

Directions:

1. Bring 1 quart water and smoked ham hock to a boil in a large Dutch oven over medium-high heat.  Reduce heat to low, and simmer 30 minutes.

2. Stir in peas and remaining ingredients; cover and simmer 25 to 30 minutes or until peas are done.

Yield: 10 to 12 servings

ChowChow

image

Ingredients:

5 green bell peppers

5 red bell peppers

2 large green tomatoes

2 large onions

½ small cabbage

¼ cup pickling salt

3 cups sugar

2 cups white vinegar (5% acidity)

1 cup water

1 tablespoon mustard seeds

1 ½ teaspoons celery seeds

¾ teaspoon turmeric

Directions:

1. Chop first 5 ingredients.

2. Stir together chopped vegetables and salt in a large Dutch oven.  Cover and chill 8 hours.  Rinse and drain; return mixture to Dutch oven.  Stir in sugar and remaining ingredients.  Bring to a boil; reduce heat, and simmer 3 minutes.

3. Pack hot mixture into hot jars, filling to ½ inch from top.  Remove air bubbles; wipe jar rims.  Cover at once with metal lids, and screw on bands.

4. Process in boiling-water bath 15 minutes.

Yield: 5 ½ pints

Linda

Southern Corn Bread with Tomato Jam

Here’s a “how to” on transforming basic buttermilk cornbread into something divine. Spread it with amazingly delicious Tomato Jam prepared by Sarah and Jackie or Honey-Thyme Butter with the thyme added straight from our garden.

image

Ingredients: 2 tablespoon vegetable shortening or bacon drippings 1 ½ cups Aunt JEMIMA Enriched White Corn Meal 3 tablespoons all-purpose flour 1 teaspoon salt 1 teaspoon baking soda 2 cups buttermilk 1 egg Directions: 1. Preheat oven to 450 degrees. 2. Place shortening or drippings in a 9-inch skillet with ovenproof handle or 8-inch square baking pan. 3. Place in oven about 3 minutes.  Skillet will be very hot when shortening is melted. 4. While skillet is heating, in large bowl combine corn meal, flour, salt and baking soda; add buttermilk and egg, mixing well. 5. Pour batter into hot prepared skillet. 6. Bake 22 to 25 minutes or until surface cracks and edges are light golden brown and pull away from side of pan. Yield: 8 servings Variation: Muffins – Pour corn bread batter into well-greased muffin cups.  Bake in preheated 425 degrees oven 15 to 18 minutes, light golden brown. Yield: 12 muffins Tomato Jam image Ingredients: 5 pounds tomatoes,finely chopped 3 ½ cups sugar 8 tablespoons lime juice 2 teaspoons freshly grated ginger 1 teaspoon cinnamon ½ teaspoon ground cloves 1 tablespoon salt 1 tablespoon red chili flakes Directions: 1. Combine all ingredients in a large, non-reactive pot.  Bring to a boil and then reduce temperature to a simmer.  Stirring regularly, simmer the jam until it reduces to a sticky, jammy mess.  This will take between 1 to 1 ½ hours, depending on how high you keep your heat. 2.  When the jam has cooked down sufficiently, remove from heat and fill jars, leaving ¼ inch of head space.  Wipe rims, apply lids and twist on rings.  Process in a boiling water canner for 20 minutes. 3.  When time is up, remove jars from water bath and allow them to cool.  When jars are cool enough to handle, test seals.  Store jars in a cool, dark place for up to one year. Yield: 3 – 5 pints, depending on tomatoes and how much you cook it down. Linda

Harvest Lunch Grilled Vegetables

image

Grilling these fresh vegetables couldn’t be easier!

Ingredients:

Fresh vegetables of your choice (zucchini, onions, tomatoes, yellow squash, red peppers, and green peppers)

Olive oil

1 (1 ounce) packet dry Italian dressing mix

Directions:

1.  Wash and dry all your vegetables.  Cut into large bite-size pieces.

2.  Take two pieces of heavy-duty aluminum foil that are each about 20” long.

Lay one on top of the other perpendicularly, so that they make an “X”.

3.  Fold up all the edges so that you create a little “bowl” shape.

4.  Place chopped vegetables in the aluminum foil bowl and spread them out.  Try to have just a single layer of vegetables, if possible; or make 2 or 3 “bowls” so that all the vegetables are evenly cooked.

5.  Drizzle the vegetables with olive oil (just a couple of tablespoons, depending on how many vegetables you use) and pour the powdered dressing mix on top of the vegetables.  Mix all together until the vegetables are evenly covered with oil and dressing mix.

6.  Place the foil bowl of vegetables on a grill on medium heat.  Grill for 10-15 minutes

(depending on how “crunchy” you like them to be), stirring occasionally to make sure they are all cooking evenly.

7.  Remove from grill when finished and enjoy!

Linda

Grilled Figs with Thyme Honey and Gorgonzola Toasts

image

In his book, The Herbfarm Cookbook, Jerry Traunfeld says that “in summer and autumn when fresh figs are readily available, they become ambrosial when grilled and drizzled with honey infused with thyme.  Serve them as an appetizer before dinner or a fruit-and-cheese course to end the meal.

Ingredients: 

  • ¼ cup mild or medium-strength honey, such as clover or blackberry
  • 6 3-inch sprigs fresh English thyme or lemon thyme
  • 12 large ripe figs
  • 2 teaspoons extra-virgin olive oil, plus more for brushing
  • 2 teaspoons fresh thyme leaves
  • 1 best-quality artisan-style baguette
  • 6 ounces Gorgonzola cheese, at room temperature

image Directions:  1.  Thyme honey.  Bring the honey to a simmer in a small saucepan and add the thyme sprigs.  Let sit off the heat for 15 minutes or more while grilling the figs and bread. image 2.  Grilling the figs.  Start a charcoal fire in an outdoor grill or preheat a gas grill.  (I used a stove top grill pan and it worked fine).  Cut the figs in half and toss them in a small bowl with 2 teaspoons olive oil and the thyme leaves.  Adjust the grill rack 4 inches from the fire.  When the charcoal is ashed over and glowing or the gas grill is medium-hot, grill the figs quickly until they are heated through but not collapsed, 1 to 2 minutes on each side.  Transfer them to a platter.

3.  Toasts.  Cut 24 ½-inch-thick slices from the bread and brush both sides lightly with olive oil.  Toast the bread on both sides on the grill away from direct heat.  Spread the cheese on the toasts and top them with the figs.

4.  Serving.  Remove the thyme sprigs from the honey with a fork and discard them, then drizzle the warm thyme honey over the figs and toasts.  Serve at once.

Yield:  8 to 12 servings (These can also be grilled inside on a stove top grill pan;  fun to prepare in front of your guests).

Note: We simplified the recipe somewhat by serving the grilled figs spread with Gorgonzola cheese then drizzled with honey. We eliminated the “toasts” because of our full menu.

Linda

Celebrating Our Harvest Lunch

imageThere is an old hymn that begins with the words “Come, ye thankful people come, Raise the song of harvest home!”  Yesterday at the Joe Field Demonstration Garden as we gathered around the harvest table, our spirits were indeed lifted with gratitude and thanks.

It was an especially joyful experience for our team of volunteers to serve over 46 guests the foods that had been gathered and prepared by our own hands.  For weeks we had planned every detail of the day and watching it unfold was a testament to the hard work of everyone involved.

Here is a closer look at the recipes, the setting and decor that made the day so special for a lovely group of Master Gardeners and their friends.

image

Will we host a similar event in the spring?  Stay posted – we’re as”busy as bees” at the Demonstration Garden!

image

Linda

Harvest Lunch and Mother’s Meat Loaf

 Yesterday was a day to savor: Our Harvest Lunch and “Farm to Table” talk by Tim on how we grow our veggies. The Harvest Lunch was all about how to enjoy them!

image

We had 46 guests and 20 Dallas County Master Gardener as cooks and servers.

If you weren’t able to come, please look through our pictures and recipes over the next few days and imagine you were there!

image

Linda shared her family recipe for meat loaf.  The servers ate beforehand to make sure everything was perfect and yes, it was.

image

One day Linda Alexander and Karan Edgemon were having a quick lunch together.  Each looked at the other and said, “well, what are you fixing for dinner tonight?” Surprisingly, they both replied with “Mother’s Meat Loaf”.  In talking further they realized that the recipes were very similar, only a few small differences.  So, this recipe is a combination of those two recipes:

Karan’s Meat Loaf and Linda’s Piquant Sauce for the top.  Like good friends, they compliment each other!

Mother’s Meat Loaf

Ingredients:

1½ pounds lean ground beef

1 cup soft bread crumbs

1 medium onion, chopped

1 ½ teaspoons salt

¼ teaspoon pepper

1 egg, lightly beaten

½ cup tomato sauce

Piquant Sauce

1. Combine ground beef, breadcrumbs, chopped onion, salt, pepper, beaten egg, and tomato sauce in a large bowl; stir well.  Shape meat mixture into a 12- x 7-inch loaf; place in a 13- x 9- x 2-inch baking pan. Pour Piquant Sauce over top of loaf.

2. Bake at 350 degrees for 1 hour and 15 minutes. Baste with sauce while baking.

3. Transfer meat loaf to a serving platter.  Garnish with sauce from pan, sliced green onions, and grated cheddar cheese.

Yield: 6 to 8 servings

Piquant Sauce

Ingredients:

¾ cup firmly packed brown sugar

¾ cup catsup

1½ teaspoons dry mustard

¾ teaspoon Worcestershire sauce

Directions:

Combine all ingredients in a small bowl, stirring well.

Yield: About 1 ¼ cups

Linda

Fall Seed Sowing For Spring Flowering

There is so much possibility in a seed, except if you leave your seeds sitting on a counter, or in the garage, or in your imagination.

Poppy seeds should be planted now. At the Demonstration Garden ours flourished  in the less tended, driest soil. Poppy advice from the Dallas Morning News here.

may 7 2013 068 (Large)

And don’t forget to sow Bluebonnet seeds.   You may recall  we promised to prompt you to plant  Bluebonnets.

Bluebonnets April  2013 013 (Large)

larkspur-Aggie HortLikewise Larkspur seed should be planted now.

Oh dear, some of my dried Larkspur stalks from last spring are still sitting in my garage with viable seed.  This is a reminder to me as well!

Time is of the essence.

Ann

Pumpkin Cheese Ball

A “sure to delight” treat for festive gatherings.

Pumpkin Cheese Ball

 Ingredients:

2 (8-ounce) blocks extra-sharp Cheddar cheese, shredded

1 (8-ounce) package cream cheese, softened

1 (8-ounce) container chive-and-onion cream cheese, softened

2 teaspoons paprika

½ teaspoon ground red pepper

1 broccoli stalk

Red and green apple wedges

Directions:

1. Combine first 5 ingredients in a medium bowl until blended.  Cover and chill 4 hours or until mixture is firm enough to be shaped.

2.  Shape mixture into a ball to resemble a pumpkin.  Smooth entire outer surface with a frosting spatula or table knife.  Make vertical grooves in ball, if desired, using fingertips.

3. Cut florets from broccoli stalk, and reserve for another use.  Cut stalk to resemble a pumpkin stem, and press into top of cheese ball.  Serve cheese ball with apple wedges.

Yield:  Makes 16 Appetizer Servings

*Note: To make ahead, wrap cheese ball in plastic wrap without stalk, and store in refrigerator up to 2 days.  Attach stalk before serving.

Linda

Adapted from Southern Living Annual Recipes