It’s Spring and Plant Sales Are Coming!

April 2, 2019

Over and under and in and out, Roseanne and her volunteer band of planters are busily preparing for the upcoming plant sale at Texas Discovery Gardens.  They could still use some help in the mornings  and be sure to ready your list and make your way to the plant sale April 13 and 14th, (April 12th for members).

I just added a new Shrub to mine !

Texas Discovery Garden Greenhouse

Under the tables, so to speak at TDG!

I spy Mangave ‘Pineapple Express’.

Kerria japonica is the perfect blooming shrub for shade to part sun.

Tig Thompson and pots!

The Raincatcher’s Garden plant sale is April 25th. More information about what we have to sell will be coming your way in the next few weeks. Good prices, home-grown selections!

Putting on plant sales is a lot of work. Thanks to all the volunteers who share their plants through the spring plant sales and thanks to our audience who support our endeavors. It is a labor of love to find new homes for our plants.

Starla Willis


Grow and Graze Salad Garden Recipes II


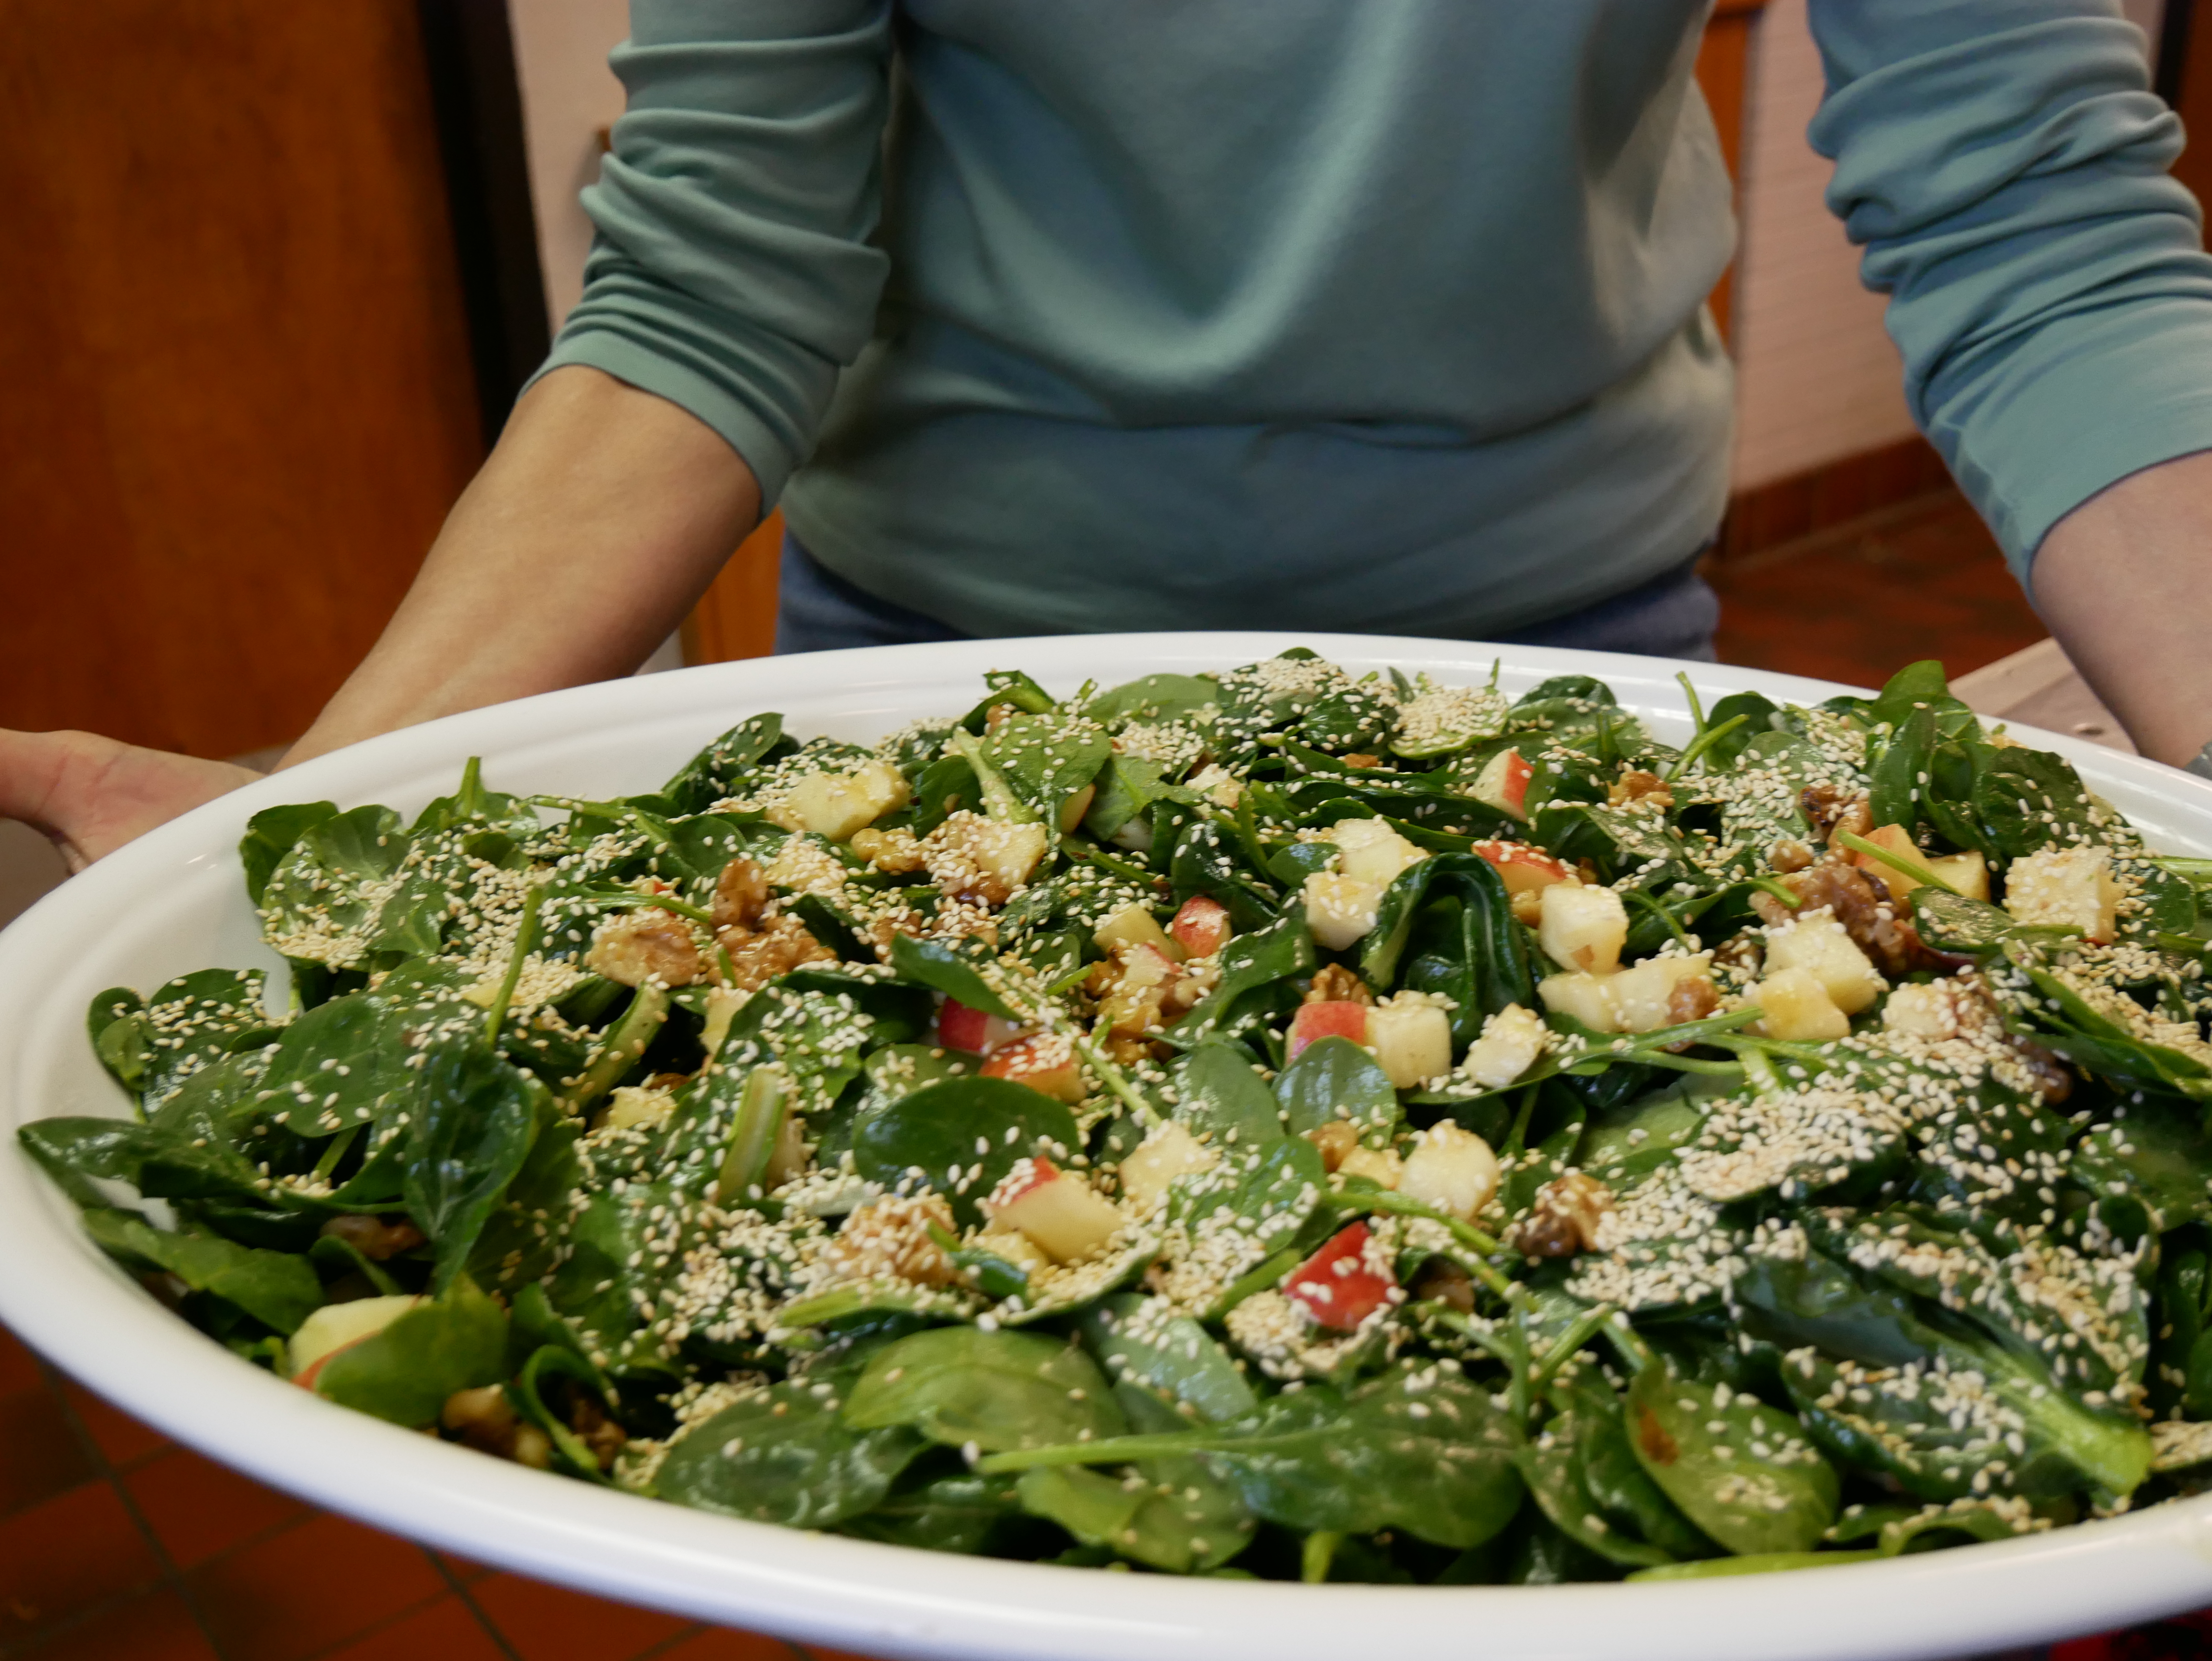
See and taste The Grow and Graze Centerpiece of salad greens and to the left is our table-top appetizer featuring the peppery taste of Wasabi Arugula.

“Kick Up the Heat” Spread

Ingredients

¼ cup Wasabi Arugula, chopped

1-2 cloves garlic, finely chopped

1 cup sour cream

1 (8 ounce) package cream cheese, softened

1 teaspoon fresh grated ginger, optional

Dash of sea salt

Assorted crackers

Directions

In a medium bowl, whip all ingredients together until smooth. Spread over crackers. Serve immediately or refrigerate for a few days.

Beth cooking dandelion salad for our guests.

Dandelion Salad

Ingredients

6 ounces young dandelion leaves, tough stems and base ends removed*

2 tablespoons blanched hazelnuts (filberts), coarsely chopped (optional)

3 ounces thick-cut sliced slab bacon, cut crosswise into pieces ½ inch wide

1 ½ tablespoons sherry vinegar or red wine vinegar

2-3 tablespoons olive oil

Salt and freshly ground coarse pepper to taste

Directions

Pick over the dandelion leaves, tearing the larger ones in half. Place in a wooden salad bowl. Add the hazelnuts, if using.

In a small frying pan over high heat, fry the bacon until crisp and its fat has been rendered, about 1 minutes. Using a slotted spoon, transfer the bacon to the bowl holding the dandelions, leaving the fat in the pan.

Return the pan to high heat, add the vinegar, and swirl the pan or stir with a wooden spoon to pick up the sediment on the bottom.

Pour in as much additional oil as will be necessary to dress the salad, swirl once to heat a little, and then pour the contents of the pan over the salad. Season with salt and pepper, toss, and serve immediately.

Yield: Serves 6

*If dandelion leaves are not available, the outer dark green leaves of curly endive or spinach may be substituted.

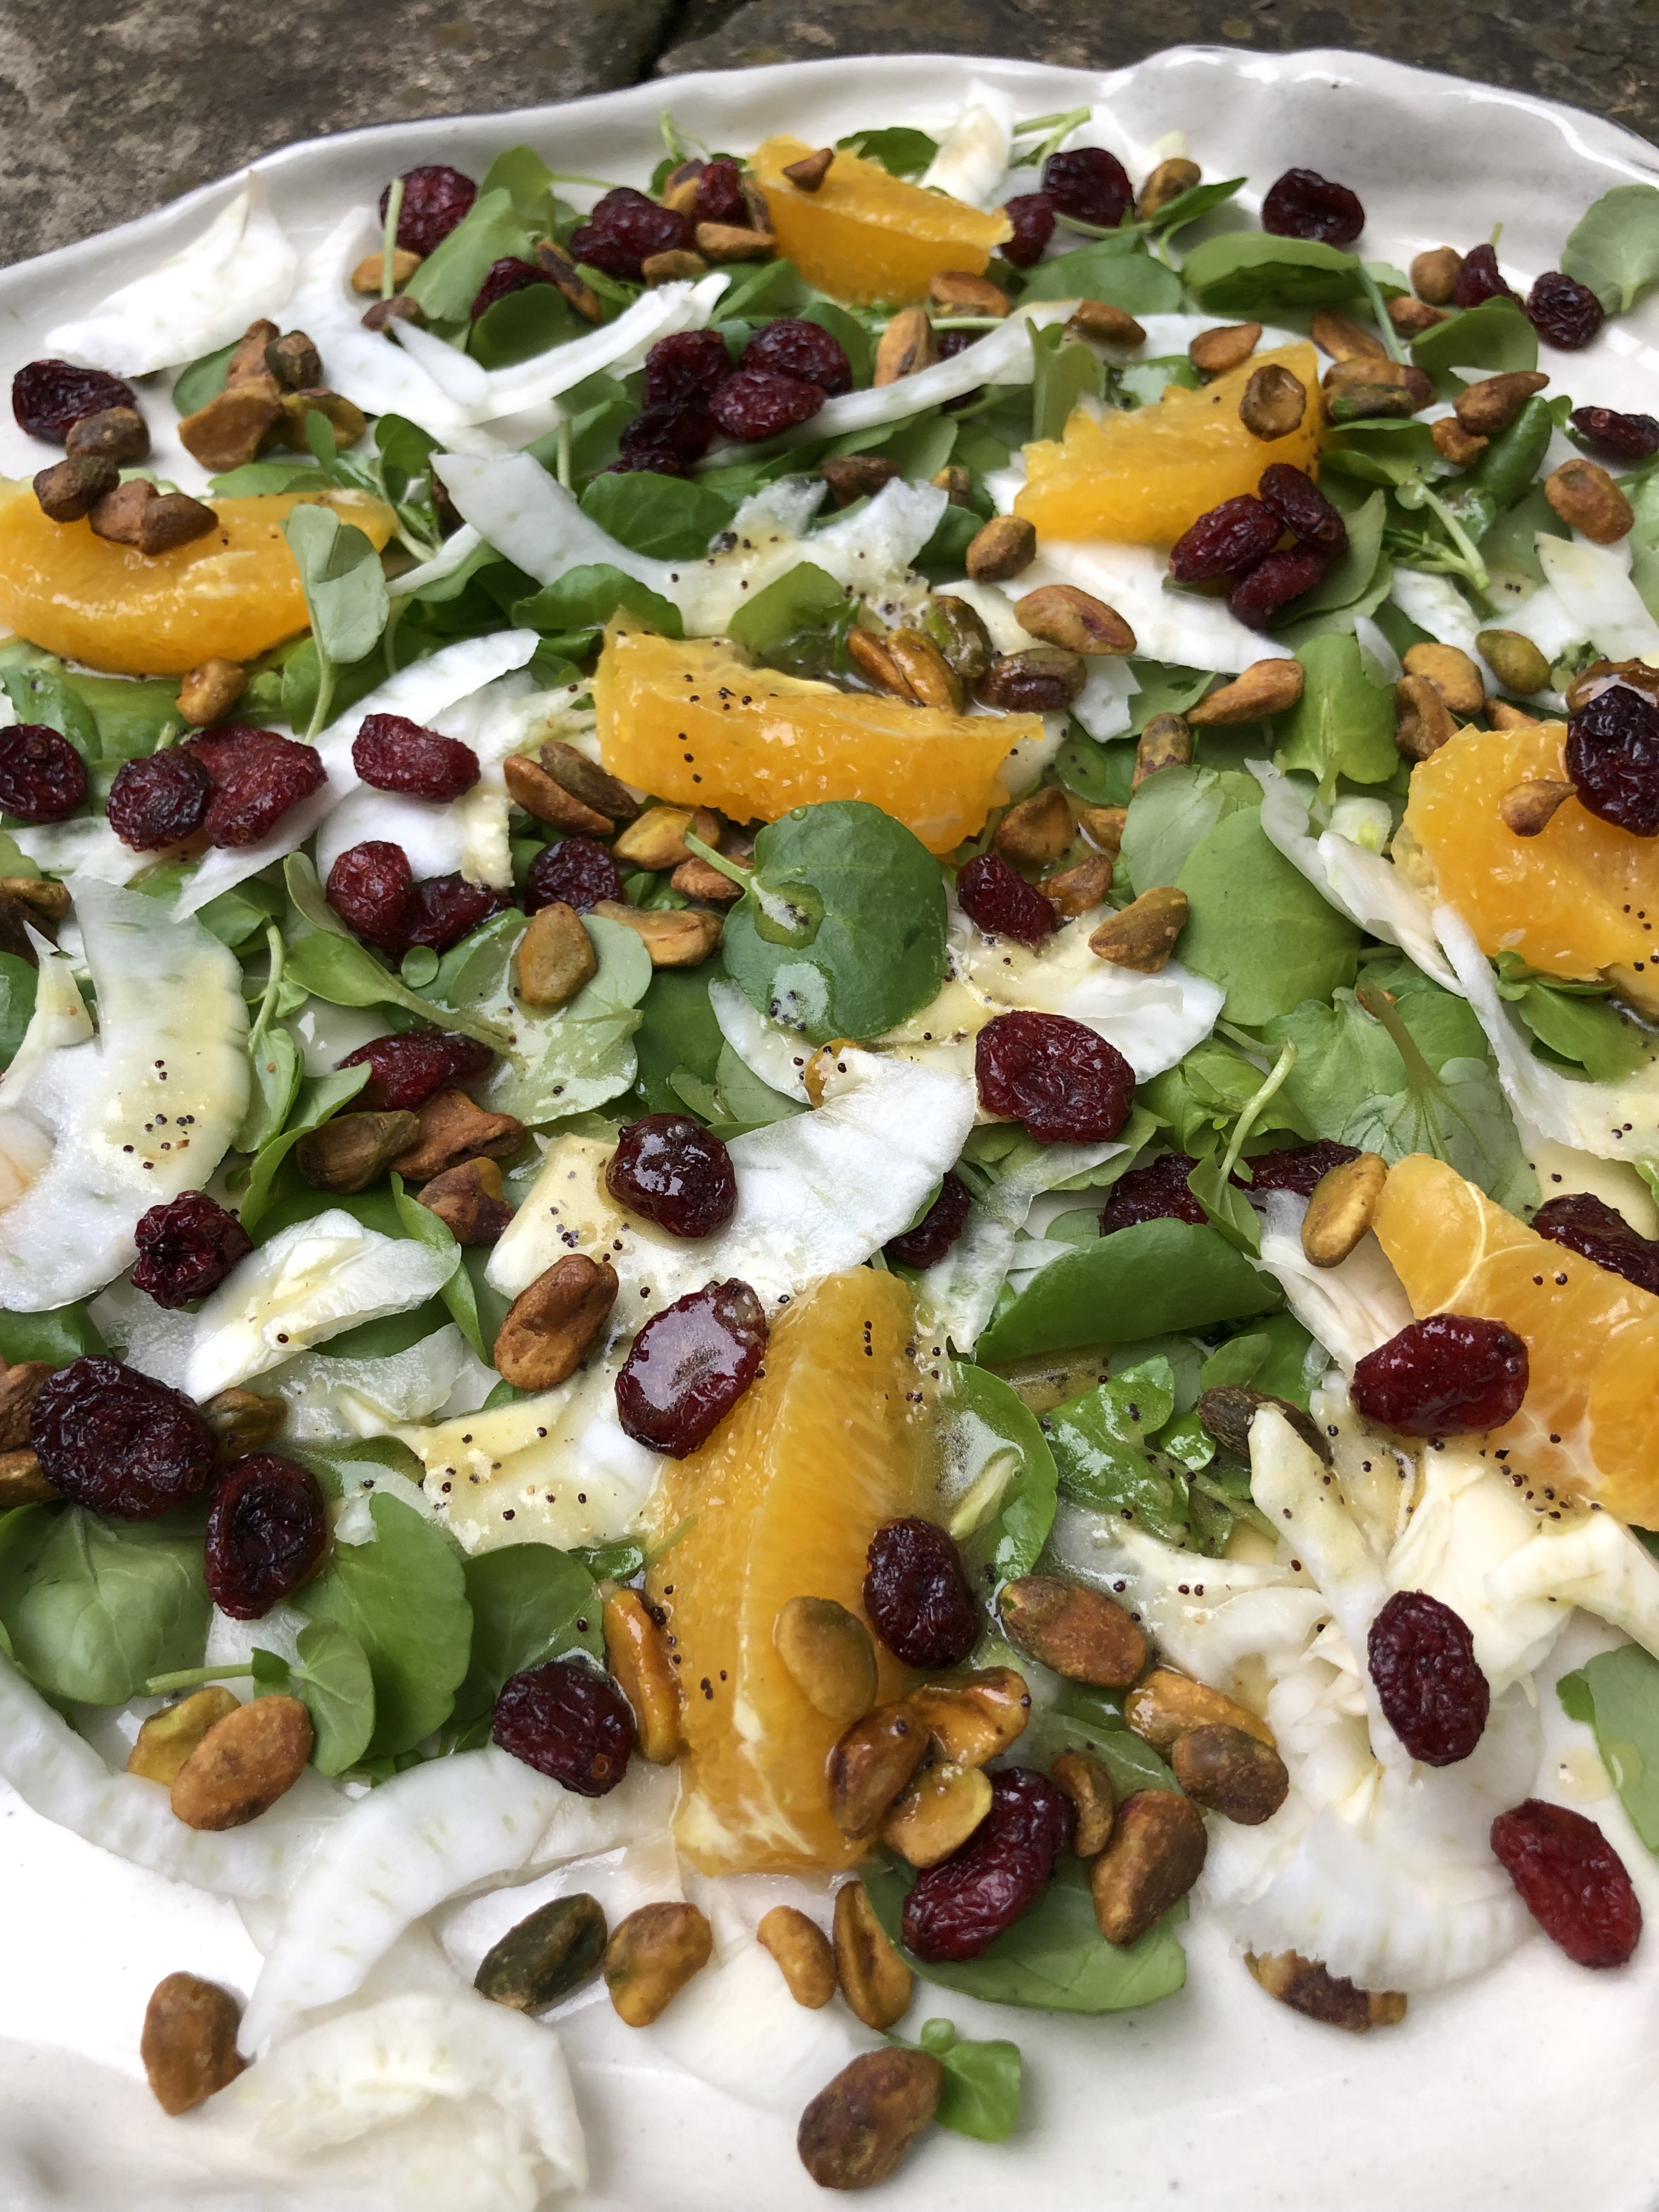
After tasting a smorgasbord of color, flavors, shapes and textures, attendees indulged their sweet tooth with a few garden-inspired desserts:

Blue Ribbon Carrot Cake and Chocolate Beet Cake with Beet Cream Cheese Frosting

Blue Ribbon Carrot Cake

Ingredients

2 cups all-purpose flour

2 teaspoons soda

½ teaspoon salt

2 teaspoons ground cinnamon

3 eggs, well beaten

¾ cup vegetable oil

¾ cup buttermilk

2 cups sugar

2 teaspoons vanilla extract

1 (8-ounce) can crushed pineapple, drained

2 cups grated carrots

1 (3 ½-ounce) can flaked coconut

1 cup chopped walnuts

Buttermilk Glaze

Orange-Cream Cheese Frosting

Directions

Combine flour, soda, salt, and cinnamon; set aside.

Combine eggs, oil, buttermilk, sugar, and vanilla; beat until smooth.  Stir in flour mixture, pineapple, carrots, coconut, and chopped walnuts.  Pour batter into 2 greased and floured 9-inch round cake pans.

Bake at 350˚F for 35 to 40 minutes or until a wooden pick inserted in center comes out clean.  Immediately spread Buttermilk Glaze evenly over layers.  Cool in pans 15 minutes; remove from pans, and let cool completely.

Spread Orange-Cream Cheese Frosting between layers and on top and side of cake.  Store cake in refrigerator.

Yield:  One 2-layer cake

Buttermilk Glaze

Ingredients

1 cup sugar

½ teaspoon soda

½ cup buttermilk

½ cup butter

1 tablespoon light corn syrup

1 teaspoon vanilla extract

Directions

Combine sugar, soda, buttermilk, butter, and corn syrup in a Dutch oven.  Bring to a boil; cook 4 minutes, stirring often.  Remove from heat, and stir in vanilla.  Yield: about 1 ½ cups.

Orange-Cream Cheese Frosting

Ingredients

½ cup butter, softened

1 (8-ounce) package cream cheese, softened

1 teaspoon vanilla extract

2 cups sifted powdered sugar

1 teaspoon grated orange rind

1 teaspoon orange juice

Directions

Combine butter and cream cheese, beating until light and fluffy.  Add vanilla, powdered sugar, rind, and juice; beat until smooth.  Yield:  enough for one 2-layer cake.

Chocolate Beet Cake with Beet Cream Cheese Frosting

Ingredients

For the cake

2 medium beets, unpeeled but trimmed of their greens

1 teaspoon vegetable oil

6 ounces (¾ cup) unsalted butter, softened, plus more for greasing the pans

1 cup packed brown sugar

¾ cup granulated sugar

2 large eggs

1 teaspoon pure vanilla extract

2 cups all-purpose flour, plus more for dusting the pans

⅔ cup unsweetened natural cocoa powder

1 teaspoon baking soda

½ teaspoon baking powder

1 teaspoon salt

1 ¼ cups buttermilk

For the frosting

1 cup (2 sticks) unsalted butter, softened

8 ounces cream cheese, softened

4 to 5 cups powdered sugar, sifted

2 tablespoons finely grated beets, mashed with a fork

1 teaspoon pure vanilla extract or scrapings of one vanilla bean pod

1-2 teaspoons milk, depending on desired consistency

½ teaspoon fresh lemon juice

Pinch of salt

Directions

Place a rack in the center and upper third of the oven.  Preheat oven to 375˚F.

Thoroughly wash beets under running water, and trim their leaves, leaving about ½ inch of stem.  Place clean beets in a piece of foil.  Drizzle with just a bit of vegetable oil.  Seal up foil.  Place on a baking sheet in the oven.  Roast until beets are tender when pierced with a knife, about 1 hour.

Remove the beets from the oven.  Open the foil and allow beets to cool completely.  Beets will be easy to peel (just using a paring knife) once completely cooled.

Using a box grater, grate the peeled beets on the finest grating plane.  Measure ¾ cup of grated beets for the cake and 2 tablespoons for the frosting.  Set aside.

Reduce the oven temperature to 350˚.  Use butter to grease two 8 or 9-inch round baking pans.  Trace a piece of parchment paper so it is the same size as the bottom of the cake pan.  Cut it out and place inside the cake pan.  Butter the parchment paper.  Add a dusting of flour to coat the pan.  Set pans aside while you prepare the cake.

In the bowl of an electric stand mixer, fitted with a paddle attachment, cream together butter and sugars.  Beat on medium speed until pale and fluffy, about 3 to 5 minutes.  Beat in eggs, one at a time, for one minute after each addition.  Stop the mixer and scrape down the sides of the bowl as necessary.  Once eggs are incorporated, beat in beets and vanilla extract until thoroughly combined.

In a medium bowl, whisk together flour, cocoa powder, baking soda, baking powder, and salt.

Add half of the dry ingredients to the butter and egg mixture.  Beating on low speed, slowly add the buttermilk.  Once just incorporated, add the other half of the dry ingredients.  Beat on medium speed until milk and dry ingredients are just incorporated.  Try not to overmix the batter.  Bowl can be removed from the mixer and mixture folded with a spatula to finish incorporating ingredients.  Cake batter will be on the thick side…not pourable.

Divide the batter between the two prepared cake pans.  Bake for 23 to 25 minutes (for a 9-inch pan) or 30 to 32 minutes (for an 8-inch pan).  Cake is done when a skewer inserted in the center comes out clean.  Remove cakes from the oven and allow to rest for 10 minutes.  Invert cakes onto a cooling rack to cool completely before frosting and assembling the cake.

To make the frosting

In the bowl of an electric stand mixer, fitted with a paddle attachment, beat cream cheese for 30 seconds, until pliable and smooth.  Add the butter and beat for another 30 seconds, until well combined.  Stop the mixer and scrape down the bowl as necessary.  Beat in the beets.  Add the powdered sugar, vanilla extract, milk, lemon juice, and salt.  Beat on medium speed until smooth and silky   Refrigerate the frosting for 30 minutes before frosting the cooled cakes.

To assemble the cake

Place one layer of cake on a cake stand or cake plate.  Top with a generous amount of pink frosting.  Spread evenly.  Place the other cake on top of the frosting.  Top with frosting.  Work frosting onto the sides of the cake.  You will have extra frosting left over.  Refrigerate for an hour before serving (it will make cake easier to slice).  Cake will last, well wrapped in the refrigerator, for up to 4 days.

Yield:  Makes one 8 or 9-inch layer cake

Linda Alexander

Pictures by Starla Willis and Linda Alexander
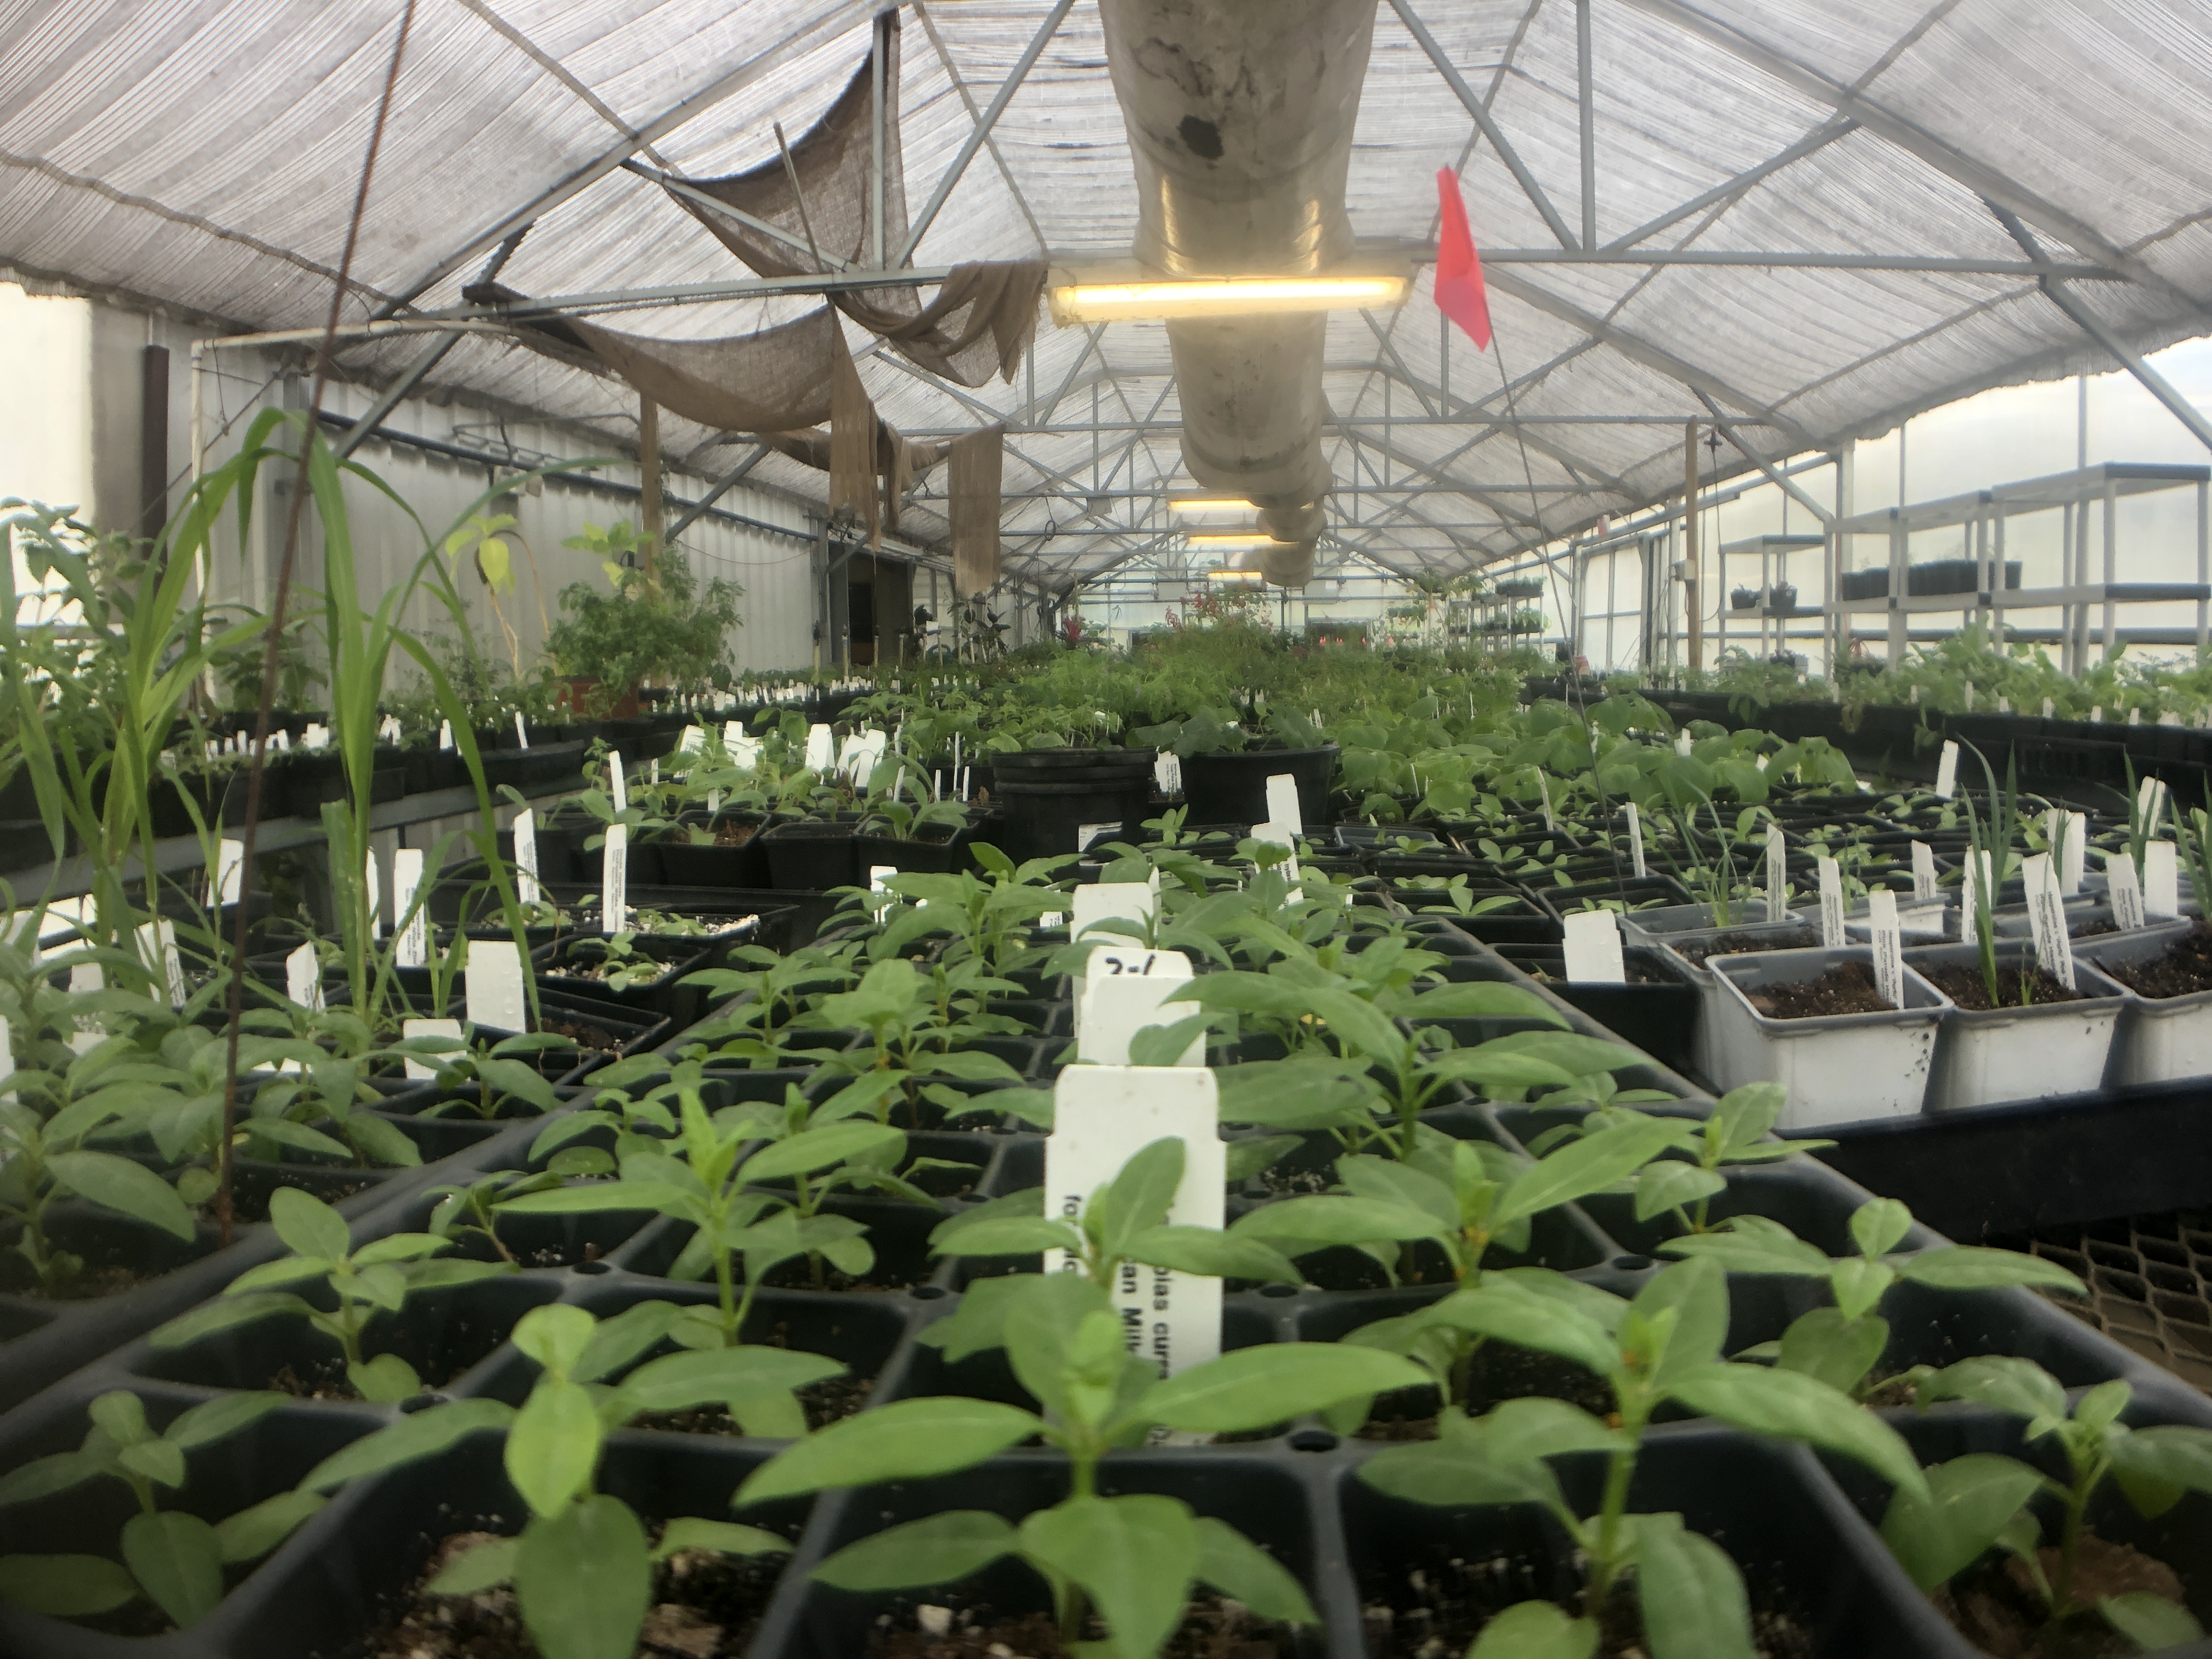
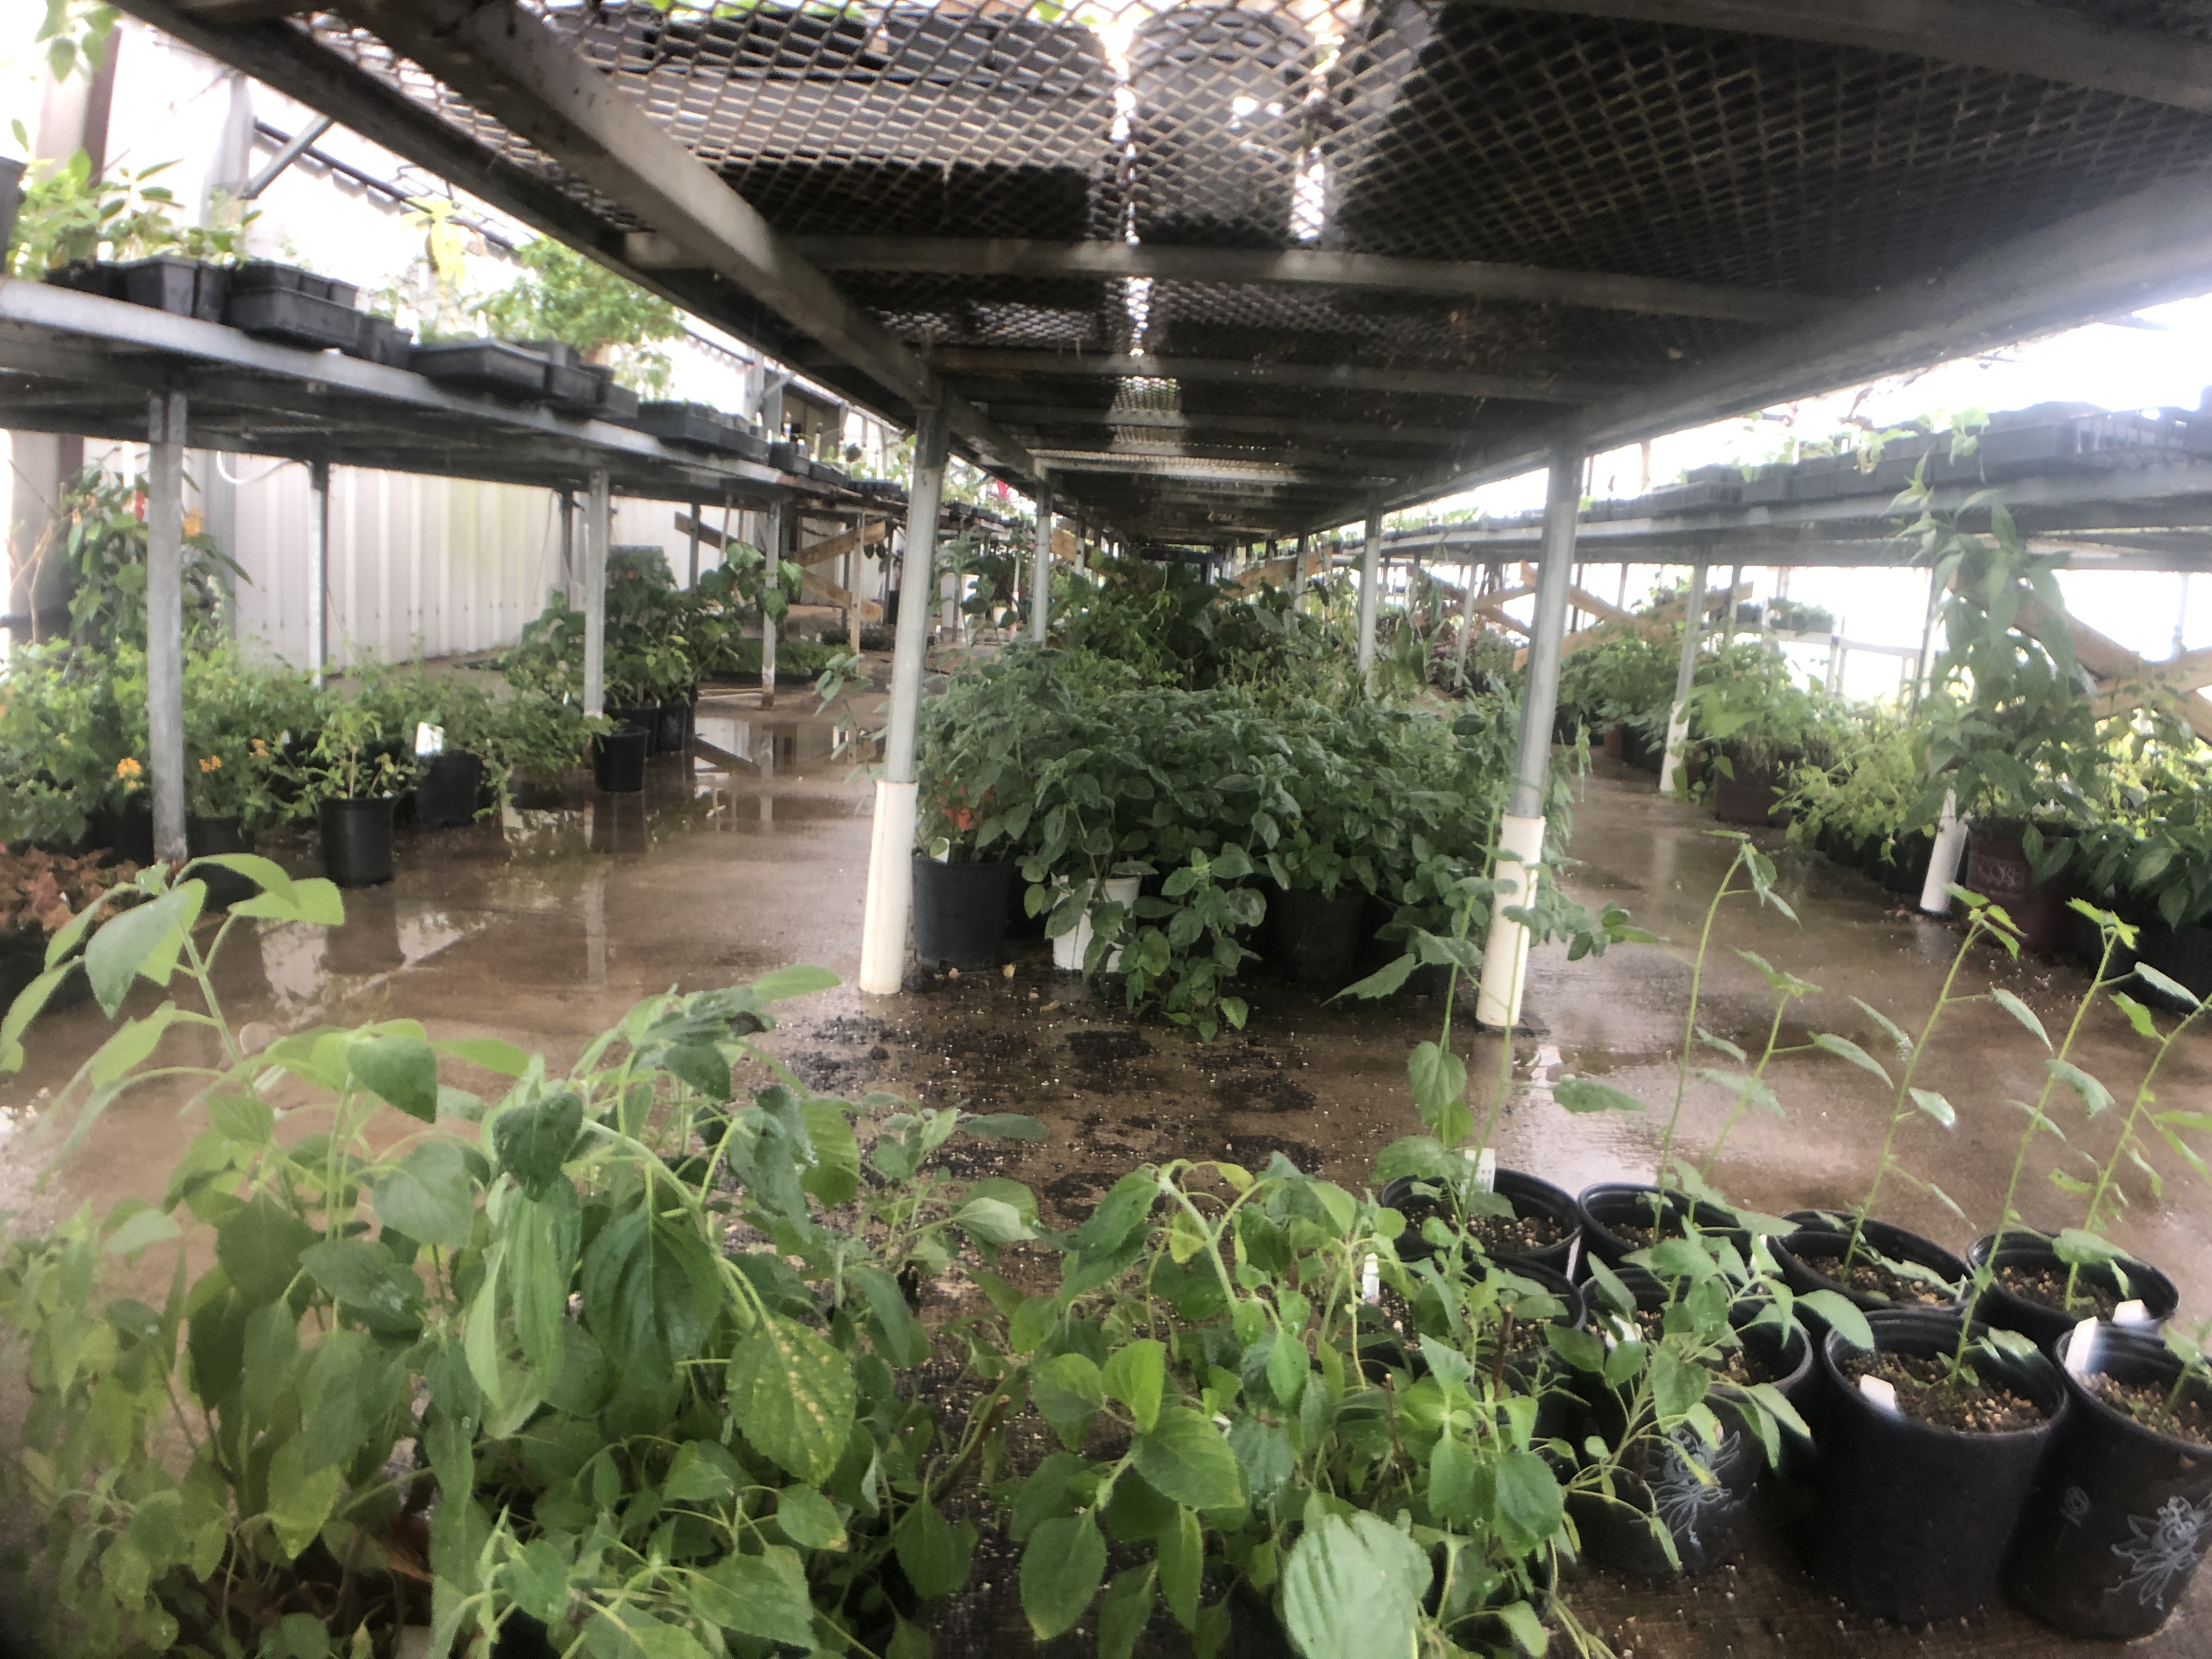


Grow and Graze Salad Gardens Lecture and Recipes

Our Salad Gardens Program last Tuesday, March 19th included everything from easy-to follow directions for growing a tasty variety of salad lettuces, herbs, and edible flowers to a buffet brimming with a variety of salads that stirred the senses.

Some useful tips to help us get started were:

*Locate garden near a source of water

*Use compost for drainage and nutrients

*Use mulch to help retain moisture

*Use deep, infrequent watering

For a healthy foundation…start with good soil:

*Remove weeds, rock, debris

*If needed, order a soil test from Texas A&M

*Need 8-12 inches of loose tillable soil

*Ideal pH is 6.5 – 7.0 (DFW = 7.2)

*Do not work soil when it is wet

*Consider raised bed with special soil mix to start

*Build a compost pile

Growing salad greens:

*Greens include lettuce, herbs, salad greens and leafy green vegetables such as cabbage, collards, kale, mustard, spinach and Swiss chard

*Most greens are cool-season crops and must be grown in the early spring or fall in Texas. Some greens, especially kale, will withstand temperature below freezing and can be grown all winter. And, even in our hot Texas summer climate there are partially shaded spots to grow certain greens.

*Greens grow best in a well-drained soil with lots of organic matter. They prefer full sunlight but will tolerate partial shade.

*The soil should be worked at least 8 to 10 inches deep in the early spring when it is dry enough not to stick to garden tools. Break up large clods and remove trash and weeds. Work the soil into beds about 4 inches high. Add compost or organic matter before digging the soil.

*Greens grow best when given plenty of fertilizer. Adequate nitrogen is needed to develop the dark green leaf color. Before planting the seeds, apply a general garden fertilizer such as 10-10-10 at the rate of 2 to 3 pounds per 100 square feet. Mix fertilizer into the soil about 3 inches.

When shopping for seeds or transplants, consider the limitless possibilities for filling your garden with a variety of leafy greens. Rich in vitamins and folic acid, salad gardens provide both nutrition and fiber. Our mother’s admonition to “eat your greens” really was good advice.

Edible Garden tour after lecture and lunch

Here are a few of the crowd-pleasing salads our lunch guests enjoyed:

Mixed Green Salad with Nasturtiums and Raspberry Vinaigrette Raspberry Vinaigrette

To lend intrigue to a salad of mixed greens, toss in a handful of peppery nasturtium blossoms.

Ingredients

¼ cup raspberries

2 tablespoons freshly squeezed lemon juice

2 tablespoons raspberry or red-wine vinegar

½ teaspoon sugar

6 tablespoons olive oil

Salt and freshly ground black pepper

Directions

Using a wooden spoon, push raspberries through a handheld wire strainer to puree.

In a medium bowl, whisk together 2 tablespoons raspberry puree, lemon juice, vinegar, and sugar.

In a slow but steady stream, whisk in olive oil until emulsified.  Season with salt and pepper.

Vinaigrette can be made 1 day in advance and stored in an airtight container in the refrigerator.

Yield:  Makes about ¾ cup

Adapted from Martha Stewart

Salad:

6 large handfuls of mixed greens, including wild rocket arugula, herb salad mix, etc.

6 nasturtium blossoms

Toss mixed greens with the vinaigrette.  Strew the blossoms over and serve immediately.  (Options:  may also toss with fresh blueberries or raspberries)

Fresh Spinach and Tatsoi Salad with Orange Curry Dressing

A “dressy” and inviting way to serve spinach. The addition of tatsoi gives it textural interest.

Ingredients

For the dressing

1 cup apple cider vinegar

2 tablespoons (heaping) orange marmalade

2 teaspoon curry powder

½ cup sugar

2 teaspoons dry mustard

2 teaspoons salt

1 teaspoon freshly ground pepper

½ teaspoon Tabasco sauce

1 ¾ cups vegetable oil

For the salad

4 bunches fresh spinach, trimmed

2 cups tatsoi leaves, optional

6 apples (red and green), chopped

2 cups golden raisins

1 ¾ cups walnut halves, lightly toasted

6 green onions, chopped

¼ cup sesame seed, toasted

1 pound bacon, chopped, crisp-fried, crumbled (optional)

Directions

Combine the vinegar, marmalade, curry powder, sugar, mustard, salt, pepper and Tabasco sauce in a blender container.

Add the oil in a fine stream, processing constantly at high speed until thickened.

Let stand at room temperature for 2 hours.  Chill, covered in the refrigerator until serving time.

Arrange equal amounts of the spinach and tatsoi on 12 salad plates or one large platter.  Drizzle with the dressing.

Sprinkle each serving or the platter with the apples, raisins, walnuts, green onions, sesame seeds and bacon bits.

Serve immediately.

Yield:  12 servings

Orange Fennel Watercress Salad with Lemon Ginger Poppyseed Dressing

Ingredients

2 large navel oranges

3-4 ounces baby watercress

½ medium fennel bulb cored and thinly sliced crosswise

¼ cup dried cranberries

¼ cup salted roasted pistachios

½ cup cutting celery, lightly chopped, for garnish (optional)

Lemon Ginger Poppyseed Dressing

Directions

Using a sharp knife, cut about ¼ to ½ inch from the top and bottom of the orange to expose the flesh. Place the fruit on one of its flat ends and cut down to remove the skin and the white pith. Rotate and repeat, working your way around the fruit until the orange fruit is completely exposed. Slice, dice or cut between the flesh and the white membrane to create orange segments.

Place most of the watercress (reserve a small amount) on a large serving plate or platter. Top with sliced fennel, oranges, dried cranberries and pistachios. Drizzle with the Lemon Ginger Dressing. Sprinkle reserved watercress and cutting celery over the salad.

Yield: Serves 4

Linda Alexander

Pictures by Starla Willis

Now we understand why Peter Rabbit ignored his mother’s warning and stole under that garden fence for a quick sampling of both lettuce and danger. We hope you enjoy your salad garden adventures as much as he did.


A March Day in The Raincatcher’s Garden

March 13, 2019

Three minutes of your time, please. Have you ever seen such motivation, such verve. Our gardeners, Syann, Sue, and Dorothy are in the garden under umbrellas pouring out plans from our vegetable garden.

And then, what are strawberry spinach seeds and what’s the best method for starting them?

Thank you everyone; the gardeners, the videographer, the greenhouse personnel, those who weed, those who work in the compost area, all of you who make Raincatcher’s what it is even on a rainy day. You inspire me.

Ann Lamb

video by Starla Willis

More about strawberry spinach seeds here.

Grow and Graze, Lecture and Lunch March 19

March 19, 2019

Tatsoi seeds were sown in January. Look at it now!

Have you ever grown Tatsoi? If not, you may want to give it a try. Our Salad Gardens class on March 19th will introduce you to this sassy little Asian green that delivers a unique flavor experience. Following the class, join us for lunch at the salad garden buffet where Tatsoi will be one of our “featured” greens.

After lunch, take a stroll through our edible landscape where you’ll find Tatsoi growing in abundance around the bay laurel tree. Our volunteers have become big fans of this small, spoon-shaped green that can be succession planted from spring through fall. We’re now referring to it as one of our edible garden “super stars”.

The sign up deadline for our Grow and Graze lunch on March 19 has been extended to March 15th. Please sign up here on eventbrite. We have 10 or so reservations for the lunch available but will need all reservations by March 15.

Mustard greens, sorrel, swiss chard, kale and parsley grown in The Edible Landscape at The Raincatcher’s Garden

(Reservations are not needed if you plan to attend the class only.)

Linda Alexander

What We Saw at The Dallas Arboretuem After the Freeze

March 6, 2019

Starla and I walked the grounds of the beautiful Dallas Arboretum yesterday and found everything to be as lush as ever.

As Dave Forehand says in the video, the tender vegetables were covered with frost cloth.

Pansies like these ‘Rebelina Blue & Yellow” glowed, undaunted by our cold snap.

Blooming narcissus, hyacinths, and tulips scoffed at our cold weather.

Here’s one particularly cheerful daffodil.

and more smiling in the sun.

This tulip in the trial garden aptly named ‘Hot Honey Rag’ is  on my list for next year’s planting.

The pond froze, see the ice? We promise, it’s there.

We also saw Forsythia ‘Show Off™’ waiting to bloom

and Spring Bouquet Viburnums against a backdrop of Coral Bark Japanese Maples.

The cold weather didn’t bother this Robin

or a squirrel feasting on the Arboretum’s preferred mulch, chopped pecan shells.(I have always been envious of the Arboretum’s use of chopped pecan shell mulch and I guess the squirrels are too.)

Dallas Blooms will be open through April 7th. This year’s festival features a larger-than-life, picnic scene topiary comprised of a  40’x40’ picnic blanket, a vase of flowers, a picnic basket with pie and a giant picnic ant. The frost cover  will be discarded tomorrow. Life is truly a picnic especially when you are at The Dallas Arboretum.

Ann Lamb

Photos by Ann and Starla Willis

Dallas Blooms information here.


Quince, An Antidote to the Grey Days of Winter

In the dead of winter, shopping for flowering quince seemed like a good idea. Like most gardeners, I was familiar with Texas Scarlet and it’s lipstick pink blooms.

Texas Scarlet, Chaenomeles japonica ‘Texas Scarlet’.

They had been blooming beautifully along the Katy Trail since early February.

There are many  varieties of flowering quince with colors ranging from red to light pink, white, orange, and apricot. For instance, ‘Orange Storm’, ‘Scarlet Storm’ and ‘Pink Storm’, marketed as the Double Take™ series grow 3-4 feet in height and  4-5 feet in width and have big, vibrant colored, double flowers. The  flowers were pretty but no longer looked like the quince I knew.  So then  I looked at ‘Crimson and Gold’ Flowering Quince. It was too red for me.

Finally,  I chose this one:

Chaenomeles japonica ‘Chojuraki’

What do you think about my selection?

Ann Lamb


Flowering quince is probably suitable for your garden if you have sunshine. Read about it on Texas SmartScape.

If you have heard of Tree Quince, (Cydonia oblonga), you’ll know it produces a yellow pome fruit similar to a pear.  Information about the fruit, quince, can be found here.

Some of the flowering quince shrubs (Chaenomeles japonica)  bear small, hard, aromatic fruits in fall used in making jelly or preserves. If you don’t get around to using them, the birds will!


.

Grape Pruning and Growing Class to be Held March 9th, 1-3pm

The grape pruning and growing class scheduled for February 16th was cancelled. It has been rescheduled for Saturday, March 9th at 1pm at The Raincatcher’s Garden.

Grow and Graze with Raincatcher’s Garden of Midway Hills

Salad Gardens

Did you know that “salads” have been a part of humankind’s diet for thousands of years? Even the ancient Greeks and Romans made lettuces a part of their daily meals. Learn how to raise healthy, nutritious food that can be picked and eaten at its peak of flavor.

Tuesday, March 19th, 10:00 – 11:30am

Raincatcher’s Garden of Midway Hills * 11001 Midway Road

Instructor: Jeff Raska, Dallas County Horticulture Program Assistant, Texas A&M AgriLife Extension Service

The class is free – no reservation required. The public is welcome, and Master Gardeners earn a one-hour education credit.

Immediately following Jeff’s presentation in the church sanctuary, you are invited to join us in the Community Hall for a …

Salad Bar Smorgasbord of Garden Delights

Choose from an array of textures, shapes, colors and flavors even Peter Rabbit would envy. Use your imagination to create your very own culinary masterpiece. Toss your creation with an assortment of dressings, crunchy vegetables and a few surprise toppings.

Garden Salad with Caramelized Almonds and Mandarin Oranges

Mixed Green Salad with Nasturtiums and Raspberry Vinaigrette

Fresh Spinach and Tatsoi Salad with Orange Curry Dressing

Orange Fennel Watercress Salad

Creamy Leek and Sorrel Soup

“Jump in” and finish your feast with a chomping delicious piece of Chocolate Beet Cake or that sneaky little rabbit’s ultimate pleasure…Blue Ribbon Carrot Cake

Lunch reservations must be received by Tuesday, March 12

$15 person, limited to 60

https://www.eventbrite.com/e/salad-gardens-tasting-luncheon-tickets-56498368140

Future 2019 classes, no reservations yet but you can save these dates on your calendar:

June 18th… Herbs of the Mediterranean

August 27th… Corn, the Golden Essence of Summer, and Okra, a Garden Giant

October 22nd …Seasonal Splendor, Pumpkins and Sweet Potatoes


2019 Raincatcher’s Classes

Grapes growing at The Raincatcher’s Garden


We have three more events scheduled and more coming:

Saturday,February 16th, 10am-noon Grape Pruning and Growing class with Michael Cook, Viticulture Extension Program Specialist for North Texas, Texas A&M AgriLife Extension Service

Michael Cook, Viticulture Program Specialist – North Texas, Texas A&M AgriLife Extension Service, has been consulting with Raincatcher’s to maximize production on our two grape varieties in the vineyard. We planted ‘Carlos’ Muscadine (Vitis rotundifolia) and Champanel, (Vitis champini X Worden), an American hybrid, almost four years ago. All that hard work paid off last summer, when we harvested well over 50 lbs of grapes. Michael will demonstrating proper pruning and training techniques for the backyard grower and provide advice on how to care for grapevines throughout the growing season for a successful crop. The class is free and open to all! Raincatcher’s Garden of Midway Hills is a demonstration garden and project of Texas A&M AgriLife Extension Service and Dallas County Master Gardeners located on the campus of Midway Hills Christian Church. To find the class, please park in the west or north parking lots and come to the shade pavilion in the north garden.

Tuesday, March 26th,  10:30 am Growing vegetables in the home garden, Jeff Raska.

Thursday, April 25th – Plant sale and DCMGA monthly meeting

Details will follow and we hope to add more classes to the list soon.

All of the above classes qualify for CEU credits for Master Garderners.

All members of the public are invited.

Questions? Send us a comment.

For more education opportunities, check our Master Gardener website.

Ann Lamb

Picture by Starla Willis