RSS Feed

Tag Archives: ornamental edible landscaping

Lemon Balm and Rainy Days

May 27, 2021

After two glorious weeks of puddle-filling, gutter-gushing rain, I’ve had time to think and cook a little more than usual. Initially, my thoughts turned to an experience shared with another master gardener a few days ago in the edible landscape.

The two of us were having a discussion about a big clump of the common herb, lemon balm, that had taken over a small area of the Hügelkultur bed. It wasn’t planned for the space but, this spring, had volunteered to take up residence in that location.  Now, completely covering a new rosemary plant and a low growing French tarragon, the space was too crowded for all three to survive. Too many plants in too small a space and that “real estate”, we determined, belonged to our ‘Arp’ rosemary plant. Patti offered to dig up the lemon balm and move it to an open spot in our newly designed sensory garden.  

Lemon Balm on the left, Variegated Lemon Balm right

Because lemon balm is known for growing like a weed, some gardeners choose not to have it their gardens. The big clump Patti dug up could just as easily have been tossed into the compost pile but then we would have missed the fun of using it in more beneficial ways. Thankfully, the rainy weather had given me some time to research and learn more about this fragrant and tasty herb. 

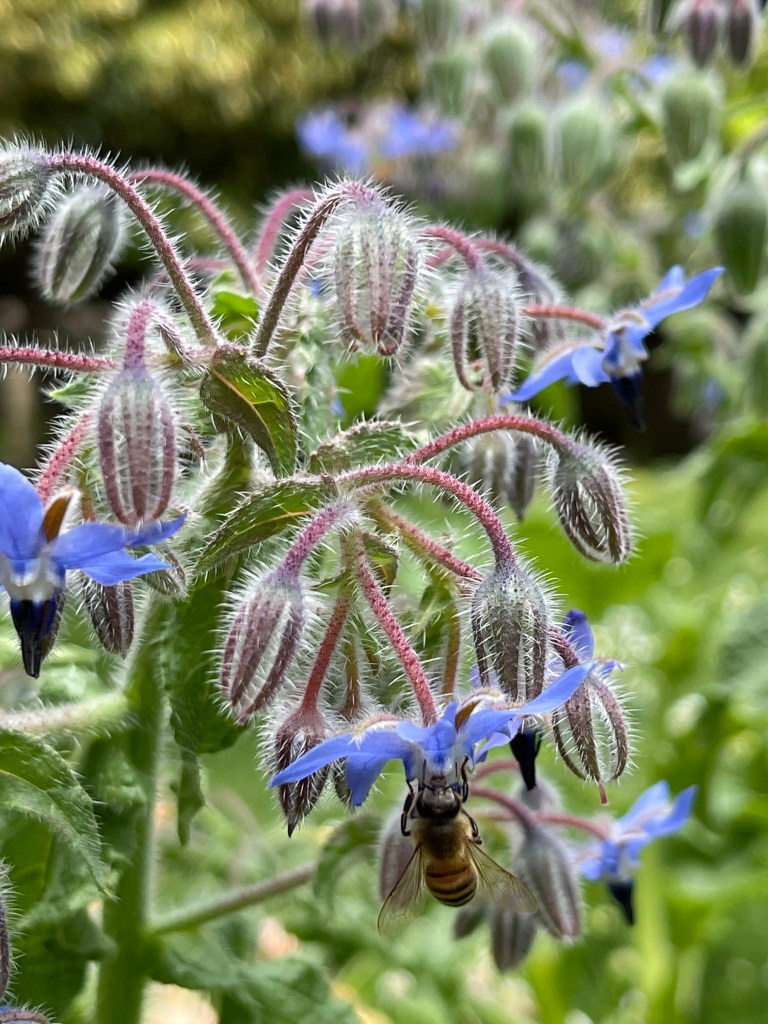
Lemon balm is a lemon-scented, aromatic perennial plant native to the Mediterranean. It belongs to the Lamiaceae (mint) family of plants with four-sided stems. The genus name, Melissa, is derived from the Greek word meaning “honeybee”. This herb’s lemony fragrance attracts bees. Hives were once rubbed with its leaves to bring in swarms.

Lemon balm is easy to grow, accepting partial shade to full sun exposure. You can expect the leaves to turn pale yellow green in full sun. Some gardeners believe the plant is happier and more handsome when grown in the shade. Prefers moist fertile soil with good drainage. 

Just a few feet away from the clump Patti transplanted is a new variety of lemon balm that we found at a local garden center this spring; Melissa officinalis ‘Aurea’ (Variegated Lemon Balm). It is a robust grower with variegated gold/green foliage. Like its cousin, the variegated variety can be used for many culinary purposes. 

A refreshing trio: Lemon Balm Shortbread, Roasted Blueberries and Lemon Balm Ice Cream and Lemon Balm Infused Green Tea

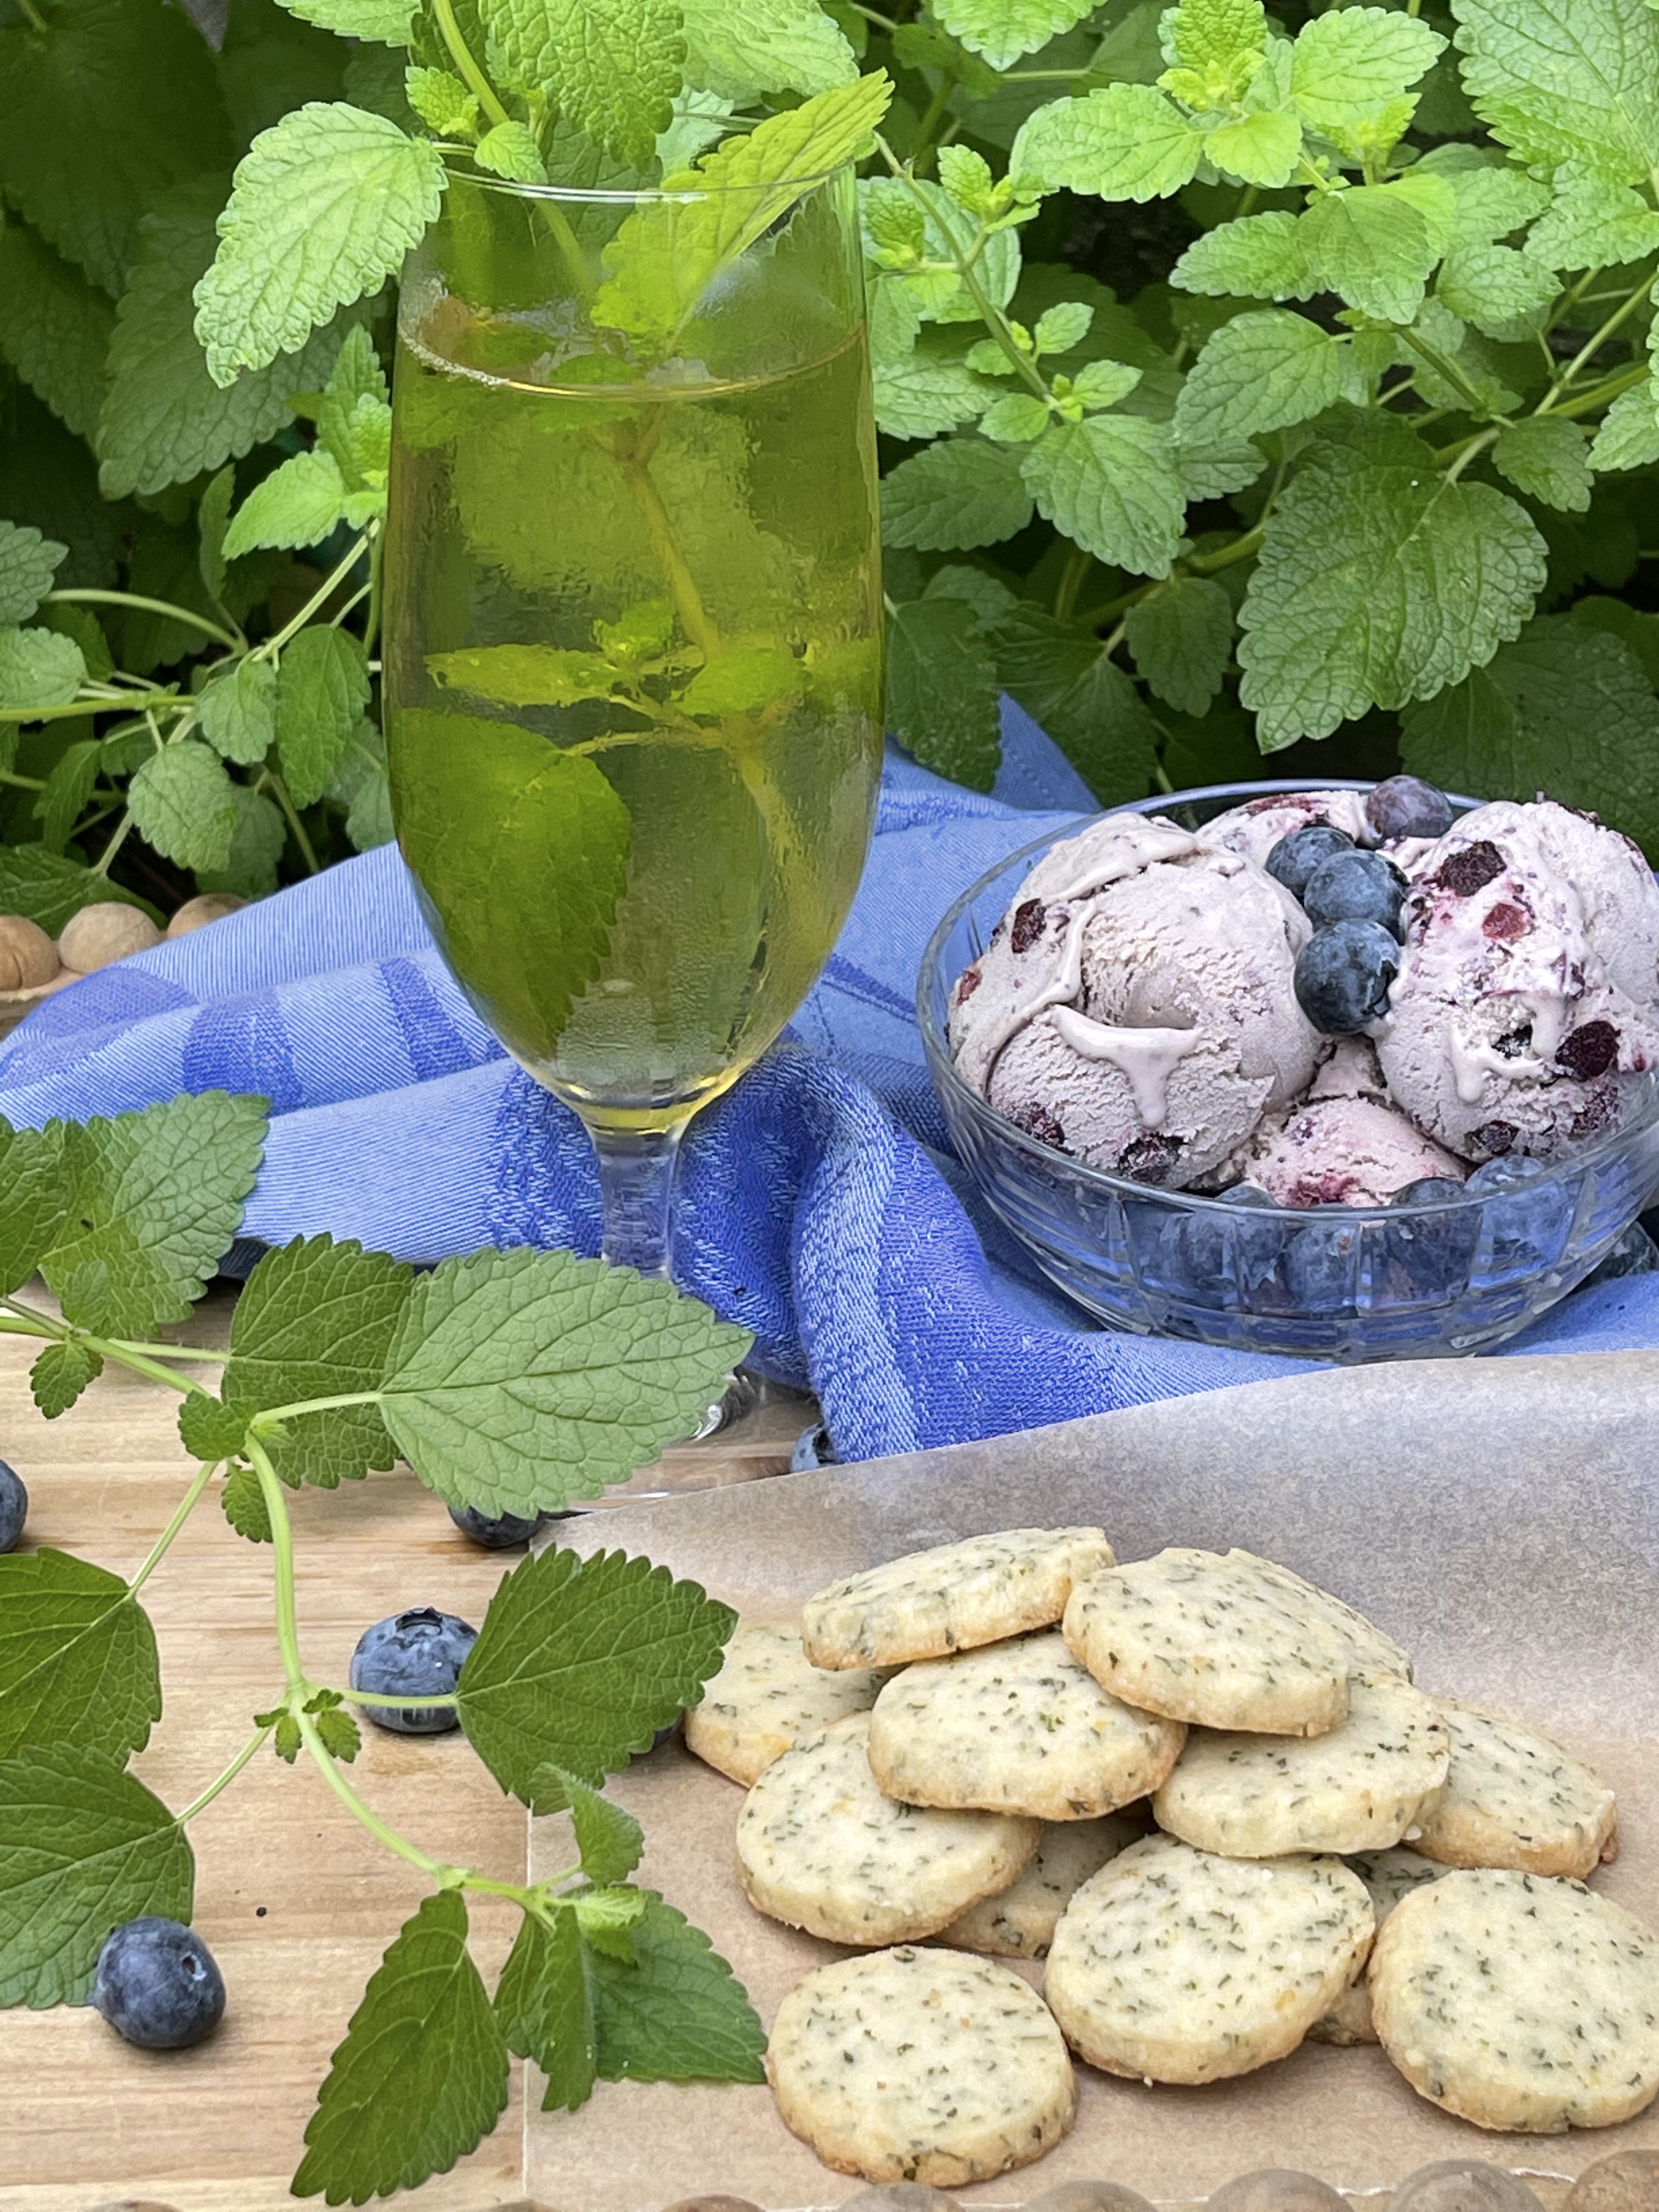
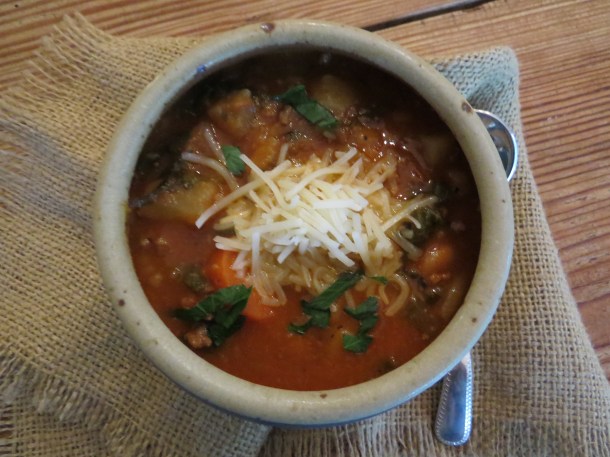
Acclaimed chef and cookbook author, David Leibovitz, combines lemon balm with roasted blueberries for a delicious ice cream treat. Other delightful recipes include Lemon Balm Shortbread with fresh Lemon Balm Tea. 

Give lemon balm a try this year. Hopefully, you will agree with poets and herbalists of old who referred to it as “heart’s delight” for its uplifting qualities. 

Linda Alexander, Dallas County Master Gardener Class of 2008

Edible Spring Blossoms…Our Top Ten

May 11, 2021

Want to bring some unexpected tastes to your palate? A recent walk around our edible landscape gave us the answer. Yes, we are growing kale for the foliage, chervil for its delicate, lacy leaves and chives to top baked potatoes and egg dishes but many other beautiful spring blossoms offer special gifts not to be missed.

Salads become more vibrant and enticing, soup receives a touch of elegance and lightly steamed or sauteed vegetables sparkle when flower blossoms garnish the dish. We’ve selected ten of our favorite spring blossoms to whet your appetite. Some are familiar, others may surprise you with their distinctive and very pleasant tastes. Enjoy your springtime visit to our garden to catch a glimpse of these lovely blossoms before they fade away.

#10…German Chamomile (Chamaeomelum nobile; Matricaria recutita)

Dainty, apple scented, daisy-like spring blossoms become the perfect ingredient for brewing a cup of German chamomile tea. To make the tea, place 1 tablespoon fresh (or 1 teaspoon dried) flowers in a cup. Pour 1 cup boiling water over the top and steep for 5 minutes. Strain out the petals before drinking or using in a recipe. Let the soothing taste calm and comfort you on a crisp spring morning. Petals can also be used in salads. 

#9…Scented Geraniums (Pelargoniums spp.)

At Raincatcher’s we’ve fallen head over heels with scented pelargoniums (geraniums). Their fragrance is so captivating that we’re constantly searching for new varieties. This spring, we’re growing some of the following: chocolate peppermint, lavender, lemon fizz, rose, peach and pink champagne. From smooth-as-velvet rounded leaves to deeply lobed, the foliage of scented pelargoniums makes a lovely statement in the garden. Use scented geranium leaves to lend a nice fragrant addition to cookies, cakes, butter, drinks, and many other types of foods. Garnish the beverage of your choice with a tiny blossom. For a sweet finish, give it a gentle swish in the liquid before consuming.

#8…Chervil (Anthriscus cerefolium)

After the deep freeze of February, chervil gave us a spirit-lifting surprise. Our tender little plants growing in the Hügelkultur stayed nestled in the ground just long enough to survive the bitter cold. Over the past few weeks, we’ve been drawn to tiny white anise-flavored blossoms covering the plants. Harvest chervil blossoms and leaves as close to preparation time as possible. Partner it with eggs, salmon, cream soups, and many classic sauces. Use the blossoms to garnish watercress for a simply divine salad.

#7…Begonias (Begoniaceae – Semperflorens Cultorum Group)

We are growing the wax leaf variety in our Statuary/Cottage Garden. The fleshy leaves and flowers are edible both cooked and raw. In Japan, India and Indonesia they have been cooked up as potherbs. The Chinese use them to make a sauce for meat. Children in northern Mexico and China eat them as a snack. Tuberous begonias are also edible. The flowers have a delicious, light, lemon taste and a crisp texture.  We hope to add some in the shady parts of our garden. 

#6…Rat’s Tail Radish (Raphanis sativus var. caudatus)

Edible podded radish plants look very similar to traditional radish plants except that the flowers are allowed to go to seed and form seed pods. Rat’s Tail radish is grown for its edible pods. The pods are green and pencil-thin with a smooth, somewhat lumpy appearance. Flowers can range from white to pink and purple and can be added to salads. Pods can be eaten raw or cooked, sliced and added to salads or crudité platters. Because Rat’s Tail radish plants are heavy producers, it’s fun to use both flowers and pods in different dishes.

#5…Kale, Red Russian (Brassica napus)

Kale is typically grown as a leafy green crop. But have you tasted the blossoms? Surprisingly, they are very tender and delicious. And, with the extreme cold in February, it brought out their sweetness even more. If fully opened, use them in salads. If they are still in the bud stage, try adding them to stir fry dishes. Or, after a light sauté, add them to soup or pasta. Other members of the brassica family also produce these tender flowering tops known as raabs. Raab is a tangible, edible sign that the kale (or broccoli or whatever you have) “overwintered” and survived into spring. 

#4…Calendula (Calendula officinalis)

With nicknames like pot marigold and poor man’s saffron, you might have missed the opportunity to grow calendula. At Raincatcher’s, we’re thrilled to have it growing alongside the greenhouse beds and in our sensory garden. Springtime is the best time to enjoy calendula flowers in the landscape and, especially, for culinary purposes. Calendula flowers have a spicy, peppery taste that give a nice flavor to cornbread, quiche, ravioli and sweets.

#3…Wasabi Arugula (Diplotaxis erucoides)

If you’re ready for tasting notes of horseradish and peppery aromatics, give wasabi arugula a try. It has deep green spoon-shaped leaves with slightly toothed edges and stems that are delicately crisp. Once it bolts, let the edible flowers attract pollinators or enjoy their tender, tangy bite in salads and as a garnish for your favorite bowl of soup. 

#2…Borage (Borage officinalis)

In our crescent bed, you’ll find both white and blue borage in full bloom. Bees are buzzing and can’t stay away from the striking star-shaped blossoms. Borage is an extremely old plant, originating from an area around Aleppo, a Syrian city that dates back to the eleventh century B.C. After spreading to Europe, Pliny the Elder wrote, “it maketh a man merry and joyful.” His comment, along with others, may refer more to the wine it was drunk in than the herb itself. Fresh borage flowers can be used in salads, dips and cold soups as a garnish.

#1…Nasturtiums (Tropaeolum majus)

Not surprisingly, nasturtiums are the number one pick in our edible landscape. There are almost a dozen varieties of nasturtium on the market but this year we chose ‘Variegated Alaska Mix’ for our Statuary/Cottage Garden bed. Their unique variegated foliage delivers a colorful display of gold, orange, salmon and mahogany flowers on compact plants reaching about one foot in height. A big attraction for growing nasturtiums is that the flowers, leaves and seed pods are all edible. Their tangy flavor is mustard like with an added perfume and sweetness. (For a special treat, go to our link for Nasturtium Risotto. This incredible recipe includes all parts of the nasturtium plant.)


(FYI…Come back in a few months for our next seasonal look at a Baker’s Dozen favorite edible summer flowers.)

Linda Alexander, Dallas County Master Gardener Class of 2008

Nasturtium Risotto

Nasturtium Pesto

Nasturtium Bouillon

Don’t forget our plant sale May 13th and 14th.

Grow Now!

Dallas County Master Gardener volunteers at the Raincatcher’s Research, Education and Demonstration Garden of Midway Hills share your concern for eating healthy during these uncertain times. We’ve put together a short list of ways that you can start growing and harvesting seasonal crops over the next few weeks and months. Here are some gardening (and recipe) suggestions to help supplement your meals with freshly harvested herbs and vegetables.

 If you do not already have a designated vegetable garden, try one of these options:

1) Find an open place in your flower bed that receives around 6 to 8 hours of sun, preferably from morning until mid or late afternoon. Give your soil a boost by adding compost. Good quality compost can be purchased at most local garden centers. Make sure you have a water source close by, and position the garden where you can keep a daily watch to head off any potential pests and weeds that could create problems if left unchecked.

2) Create a simplified version of a raised bed using cinder blocks. Place cardboard directly over a grassy spot in your yard that receives ample sunlight, then place cinderblocks in a rectangular shape around the cardboard, starting with 5 on each side and 3 at each end. Fill the enclosed space about 6 inches above the bed border with a commercial raised bed mix, and water thoroughly to let the soil settle. Space plants or seeds according to directions. Water as needed to maintain even moisture within the bed.

The cardboard method, a good way to smother weeds

A large cinder block garden bed

Start with 4” to 6” edible plants spaced according to label directions. Seasonal plants, including cucumbers, peppers, and tomatoes, are currently in stock at many local garden centers, but don’t stop there.

Try the following options in your new raised bed or in your existing landscape as borders and ground covers, or plant a bay laurel to grow as a shrub or small tree. 

Arugula (Eat fresh in salads, or use in dips.)

Spinach (Eat fresh in salads, sauté with scrambled eggs, or use in omelets, quiches and vegetable dishes.)

Kale (Eat fresh in salads; sauté for kale chips.)

Lettuce (Many different varieties provide texture and color in the landscape.)

Radish (Eat fresh in salads; slice thinly and serve on buttered bread for sandwiches.)

Carrot (Eat fresh in salads, roasted, or in soups and souffles. Use carrot tops to make pesto.)

Beet (Serve roasted, or grate for a cake.)

Swiss Chard (Eat fresh in salads, use leaves as a “wrap” for fresh chopped vegetables, sauté for turnovers, or add to soups.) 

Dill (Leaves can be added to salads, potatoes, meat and fish at the end of cooking.)

Fennel (All parts of the plant are edible – leaves and stalk make a wonderful flavoring for fish.)

French Sorrel (Can be cooked or used fresh like lettuce. Makes a good soup; adds zip to salads. Great on roast beef sandwiches.)

Nasturtiums (Harvest the leaves, buds and flowers anytime, and use fresh. Excellent in salads. Leaves make a great pesto.)

Artichokes (Excellent vegetable served roasted, sautéed or steamed—a beautiful and majestic plant for your garden.)

Thyme (Strip small leaves from stems and use to enhance the flavor of baked or broiled fish dishes or fish sauces. Thyme Cheese Roll: Combine 8 ounces softened cream cheese, 1 tablespoon chopped thyme, 1 tablespoon chopped parsley, ½ teaspoon minced garlic. Roll into a log and refrigerate. Serve with toast or crackers for a quick and easy snack.)

Sage (Flowers and leaves are edible; flowers are nice in salads and for making tea, and the leaves are great for cooking and making herb butters.)

Rosemary (Use with foods rich in fat such as roasted meats, poultry and fish. Add to soups and stew. Use stripped branches as skewers for your favorite grilled meats and veggies.)

Chives (Snip the leaves at ground level when harvesting. Chop and serve with salad, potatoes, pasta and cabbage.)

Oregano (Sprinkle on fresh tomatoes or use to make a sauce; adds flavor to stews and soups.)

Marjoram (Rub leaves on all kinds of meat, chop into egg dishes, stir into soups and sprinkle it over vegetables)

Basil (Plant mid to late April. Use leaves for salads, pesto and sauces. Combines well with zucchini, beans and mushrooms.)

Watercress (Harvest and use fresh in salads, soups and sandwiches.)

Purslane (Use in early spring salads. Leaves can be cooked like spinach.)

Sweet Bay/Bay Laurel (Use the leaves of this evergreen plant in soups, stews and other simmered dishes. Cook a leaf or two with dried beans.)

We hope you will be inspired to start gardening with your family and experience the joy of bringing fresh, flavorful food to your table. 

How about a healthy robust minestrone soup using fresh garden ingredients. Picture by Linda

Click here for the recipe. 

Linda Alexander and Lisa Centala with comments by Jeff Raska, Horticulture Assistant, Dallas County

Follow these planting guides: TAMU Vegetable Planting Guide

Northaven Garden Spring Planting Guide

New to gardening? Read this pamphlet, pages 13-15 have specific recommendations for veggie gardening.

Pictures by Starla Willis


Giant Red Mustard, Ornamental and Edible

The Dallas Arboretum chose Giant Red Mustard as a signature plant this year. It’s an ideal choice because it fits in with the aesthetics of the garden and the mantra of the Arboretum’s edible landscape, called A Tasteful Place. You see, Giant Red Mustard is an ornamental edible mustard.

The  maroon leaves blended perfectly with plantings of lorapetalum and palms, pansies and cardoon at the entrance to the Arboretum.

All over the grounds, pots were planted with the mustard as an accent. This planting below was especially beautiful with the sabal palm fronds framing it and the frilly chartreuse leaves of Mustard “Mizuna” at the base.

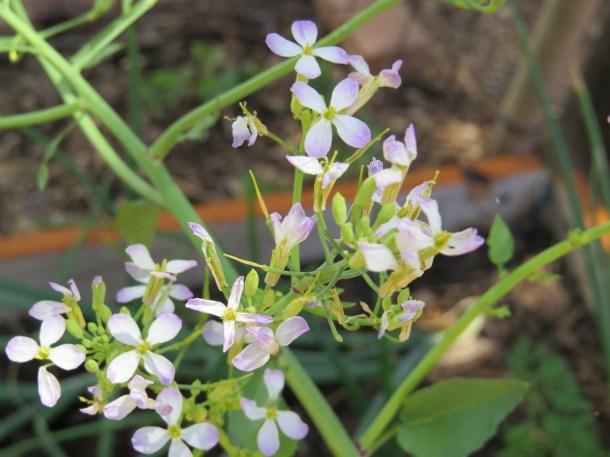
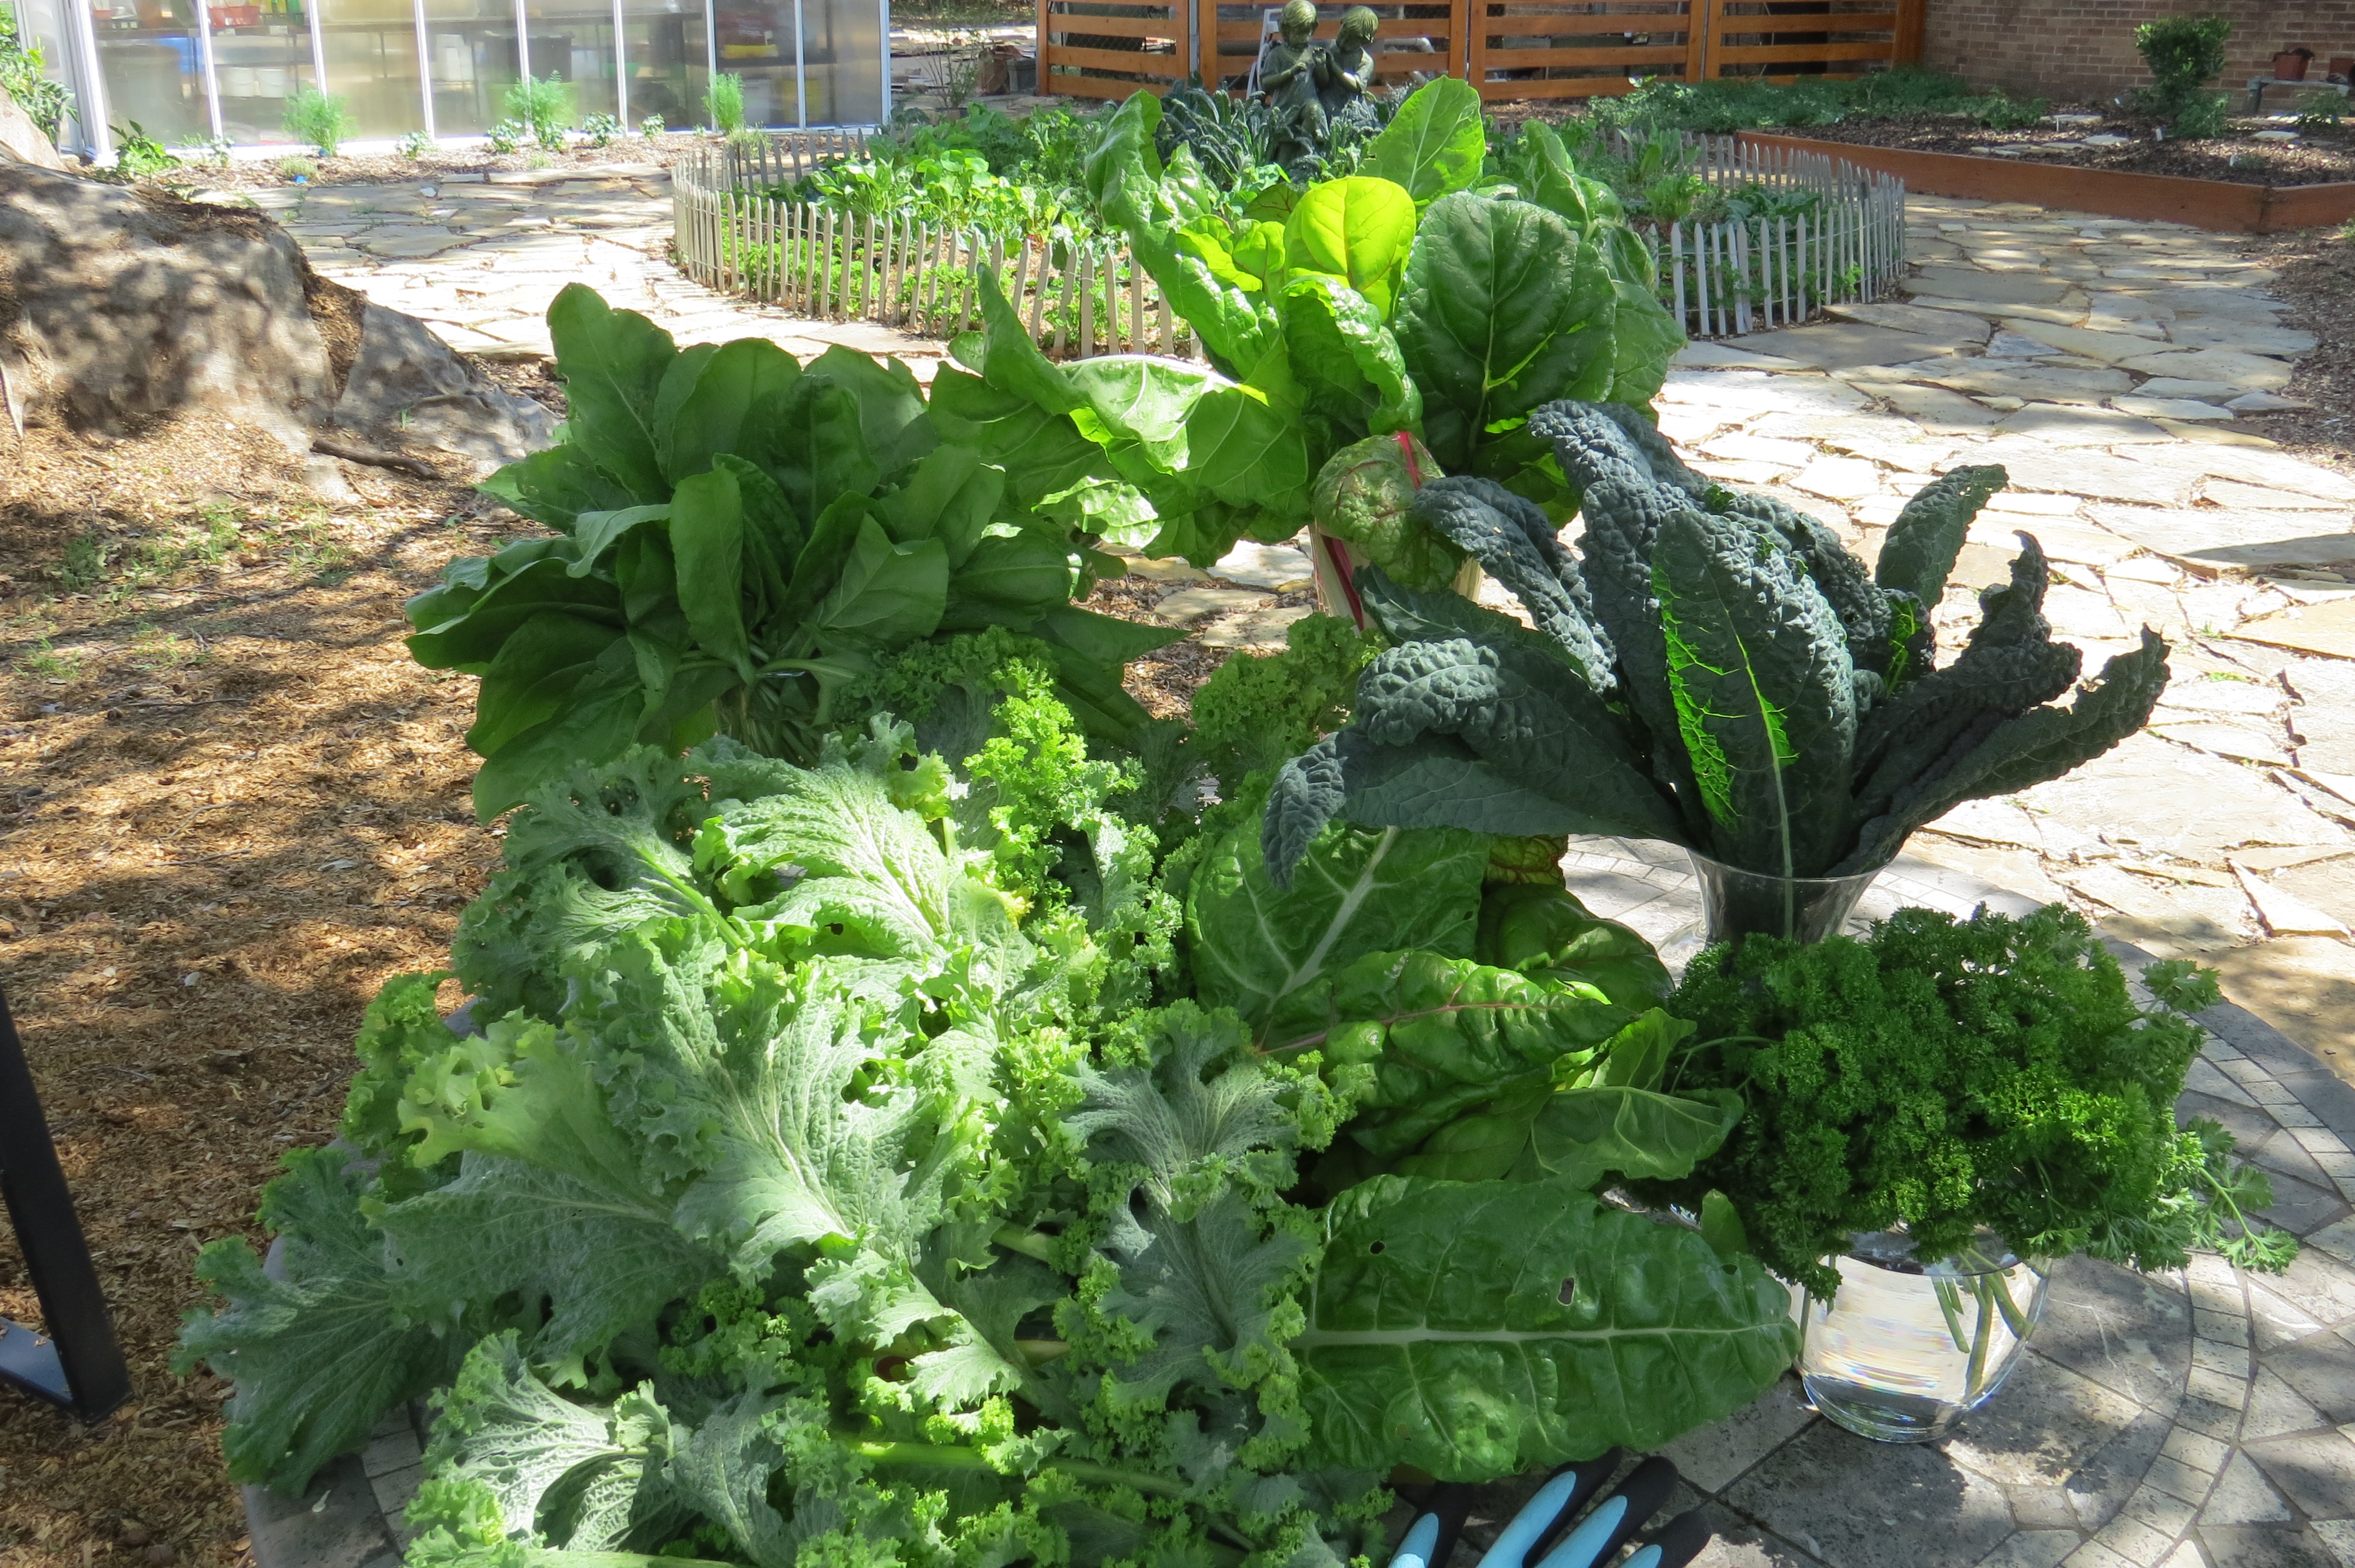
In the Arboretum’s edible garden, a long lane of mustard led your eye to the Dallas skyline. Do you see some of our downtown buildings in the distance?

It wouldn’t have been right to taste the leaves while strolling through the Arboretum; but now that I have bought some of these plants for my garden, I can vouch for their spicy taste.

Here is what Park Seeds says about this Giant Red Mustard:

“At last, a Mustard Green so showy it just may do for this nutritious family what Bright Lights did for Swiss Chard — put it in every garden and on every table of gardeners who love bold colors and fresh flavor in their veggies! Red Giant is a brilliant maroon with deep green midribs, so showy you may just have to plant two crops — one in the veggie patch and one along the walkway or in your annual border!

These leaves are slightly textured for a better bite and good holding power. The flavor is zesty and full, with a good bite that you just can’t find in store-bought mustard greens. Imagine Red Giant flanking your Pansies and cheery Mums in the fall garden, or nestling beside bold Ornamental Cabbage and Kale. Or put it in bright containers for an unforgettable patio or porch display!

And because you pick this mustard leaf by leaf for eating (instead of uprooting the entire plant, as you do for head lettuce), you can enjoy the fine display of color for many weeks! Frost just improves the flavor and color.

Sow seed outdoors in early spring or, for fall crops, 6 to 8 weeks before first fall frost. Space seedlings 1 to 2 inches apart in rows 15 inches apart.”

Giant Red Mustard will be in my garden next year. Will it be in yours?

Ann Lamb

Read about Raincatcher’s edible landscape:

Edible Landscaping, Here’s What You Plant

Orphaned No More-Our Incredible Edible Landscape Project

Learning To Plant Outside The Lines

and don’t forget to plan a trip to the Arboretum for Dallas Blooms February 29-April 12, 2020.

A March Day in The Raincatcher’s Garden

March 13, 2019

Three minutes of your time, please. Have you ever seen such motivation, such verve. Our gardeners, Syann, Sue, and Dorothy are in the garden under umbrellas pouring out plans from our vegetable garden.

And then, what are strawberry spinach seeds and what’s the best method for starting them?

Thank you everyone; the gardeners, the videographer, the greenhouse personnel, those who weed, those who work in the compost area, all of you who make Raincatcher’s what it is even on a rainy day. You inspire me.

Ann Lamb

video by Starla Willis

More about strawberry spinach seeds here.

Grow and Graze, Lecture and Lunch March 19

March 19, 2019

Tatsoi seeds were sown in January. Look at it now!

Have you ever grown Tatsoi? If not, you may want to give it a try. Our Salad Gardens class on March 19th will introduce you to this sassy little Asian green that delivers a unique flavor experience. Following the class, join us for lunch at the salad garden buffet where Tatsoi will be one of our “featured” greens.

After lunch, take a stroll through our edible landscape where you’ll find Tatsoi growing in abundance around the bay laurel tree. Our volunteers have become big fans of this small, spoon-shaped green that can be succession planted from spring through fall. We’re now referring to it as one of our edible garden “super stars”.

The sign up deadline for our Grow and Graze lunch on March 19 has been extended to March 15th. Please sign up here on eventbrite. We have 10 or so reservations for the lunch available but will need all reservations by March 15.

Mustard greens, sorrel, swiss chard, kale and parsley grown in The Edible Landscape at The Raincatcher’s Garden

(Reservations are not needed if you plan to attend the class only.)

Linda Alexander

Munching on Lasagna

The Edible Landscape team at Raincatcher’s has been sharing their progress over the past few months. Update #2 follows:

There’s a statistic out there (isn’t there always?!) that states 80% of all New Year’s resolutions are broken by February. …And since you haven’t seen another blog post from us since the first week of January, we bet you thought we belonged to that 80%, didn’t you?

Happily, that’s not the case, we’re still here. But with the New Year came some new regulations we had to work through which postponed our posts.  Now, we think we’ve gotten them figured out and we hope there will be no more interruptions.  So without further ado, here is our weekly post! 

Munching on Lasagna

In our last post, we showed you a picture of one of our sleeping beauties, a bed quietly growing soil under its blanket of mulch.  We cavalierly referred to it as “sheet mulching” or “lasagna gardening” and left it at that.  We also mentioned having written, but not published, posts of our activities during the past year.

Lucky Reader, this is the week your patience is to be rewarded – with a bonus! Not only are we about to share with you the recipe for a gardener’s lasagna, but since we’ve waited a nearly a year, we’re going to show you the tasty results, too.

So what is a gardener’s lasagna? (It’s also known as sheet mulching, no-dig, and no-till gardening, but we’re using the lasagna term; it sounds so much tastier, and this is an edible landscape after all.)  Unlike its culinary counterpart, it is not made up of layers of pasta, cheese, vegetables/meat and sauce.  But it is made up of layers.  Layers of carbon and nitrogen.  In Compostese (the language of compost), carbon-rich items are ‘brown’ and include leaves, straw, paper, cardboard, (shredded) wood, and other similar materials.  Nitrogen-rich items are ‘green’, and encompass vegetables and fruits, grass clippings, fresh manure, and coffee grounds.

To make lasagna, a cook repeats layers of pasta, sauce and cheese in a casserole until the pan is full. To create a lasagna bed, a gardener repeats two-inch layers of ‘brown’ with two-inch layers of ‘green’ until you have a two-foot-high bed (more or less).  A cook bakes their lasagna in the oven at 350°F for an hour.  They know it’s done because the top is bubbly and a little brown.  A gardener covers their lasagna with a layer of mulch and waits…somewhere between a few months and a year, depending on how hot and wet the weather is (warmer and wetter = faster).  They know it’s done because that two-foot-high bed has dropped to four to six inches, and when they peek under the mulch, they see rich, black soil, ready to feed seeds and seedlings, and build them into big, strong happy plants.

Building the bed

Building the bed


And that’s mostly how we’ve created our lasagna beds. We did one more thing to our bed:  before the first layer of compost or mulch went down, we put down a double layer of overlapping cardboard.  (You could use 6-8 sheets of newspaper instead, but the cardboard was free and faster than newspaper.)  Our brown was free shredded tree mulch from tree-trimming companies*, and our green was partly-decomposed compost we had on site.  We managed to get it about 18 inches high before we ran out of materials and muscle.

Newly finished bed

Newly finished bed


We built our first lasagna bed last April (2016), and by October, it had dropped to about six inches high and attracted a wayward seed. By December, that little traveler looked like this:

One butternut squash plant

One butternut squash plant


It lived in the shade of the nearby oak trees, and never got watered by us. But the soil was so rich, it fed our butternut squash plant well.  When we pushed aside the mulch, we saw nice, rich soil (black gold):

Our new soil

Our new soil


We’re looking forward to a good year.

That’s all for today – see you next week!

Lisa Centala

*http://freemulch.abouttrees.com

New Year’s Resolutions

A new year is here, and with it comes hope. All those good intentions come roaring back, ready to improve our lives.  Last year, we began creating an edible landscape in the old, disused playground.  We promised you updates on our activities, and sharing what we learned as we experimented in our new space.  Those posts got written, but never published.

So our resolution for 2017 is to both write and publish our edible landscape adventure (with pictures, of course!)  We’ll aim to do one a week, keeping you informed of our progress, our activities, our successes, our failures, and any lessons we glean from all of it.  …And we’ll probably slip in last year’s posts (as they become seasonally relevant.)

edible-garden-january
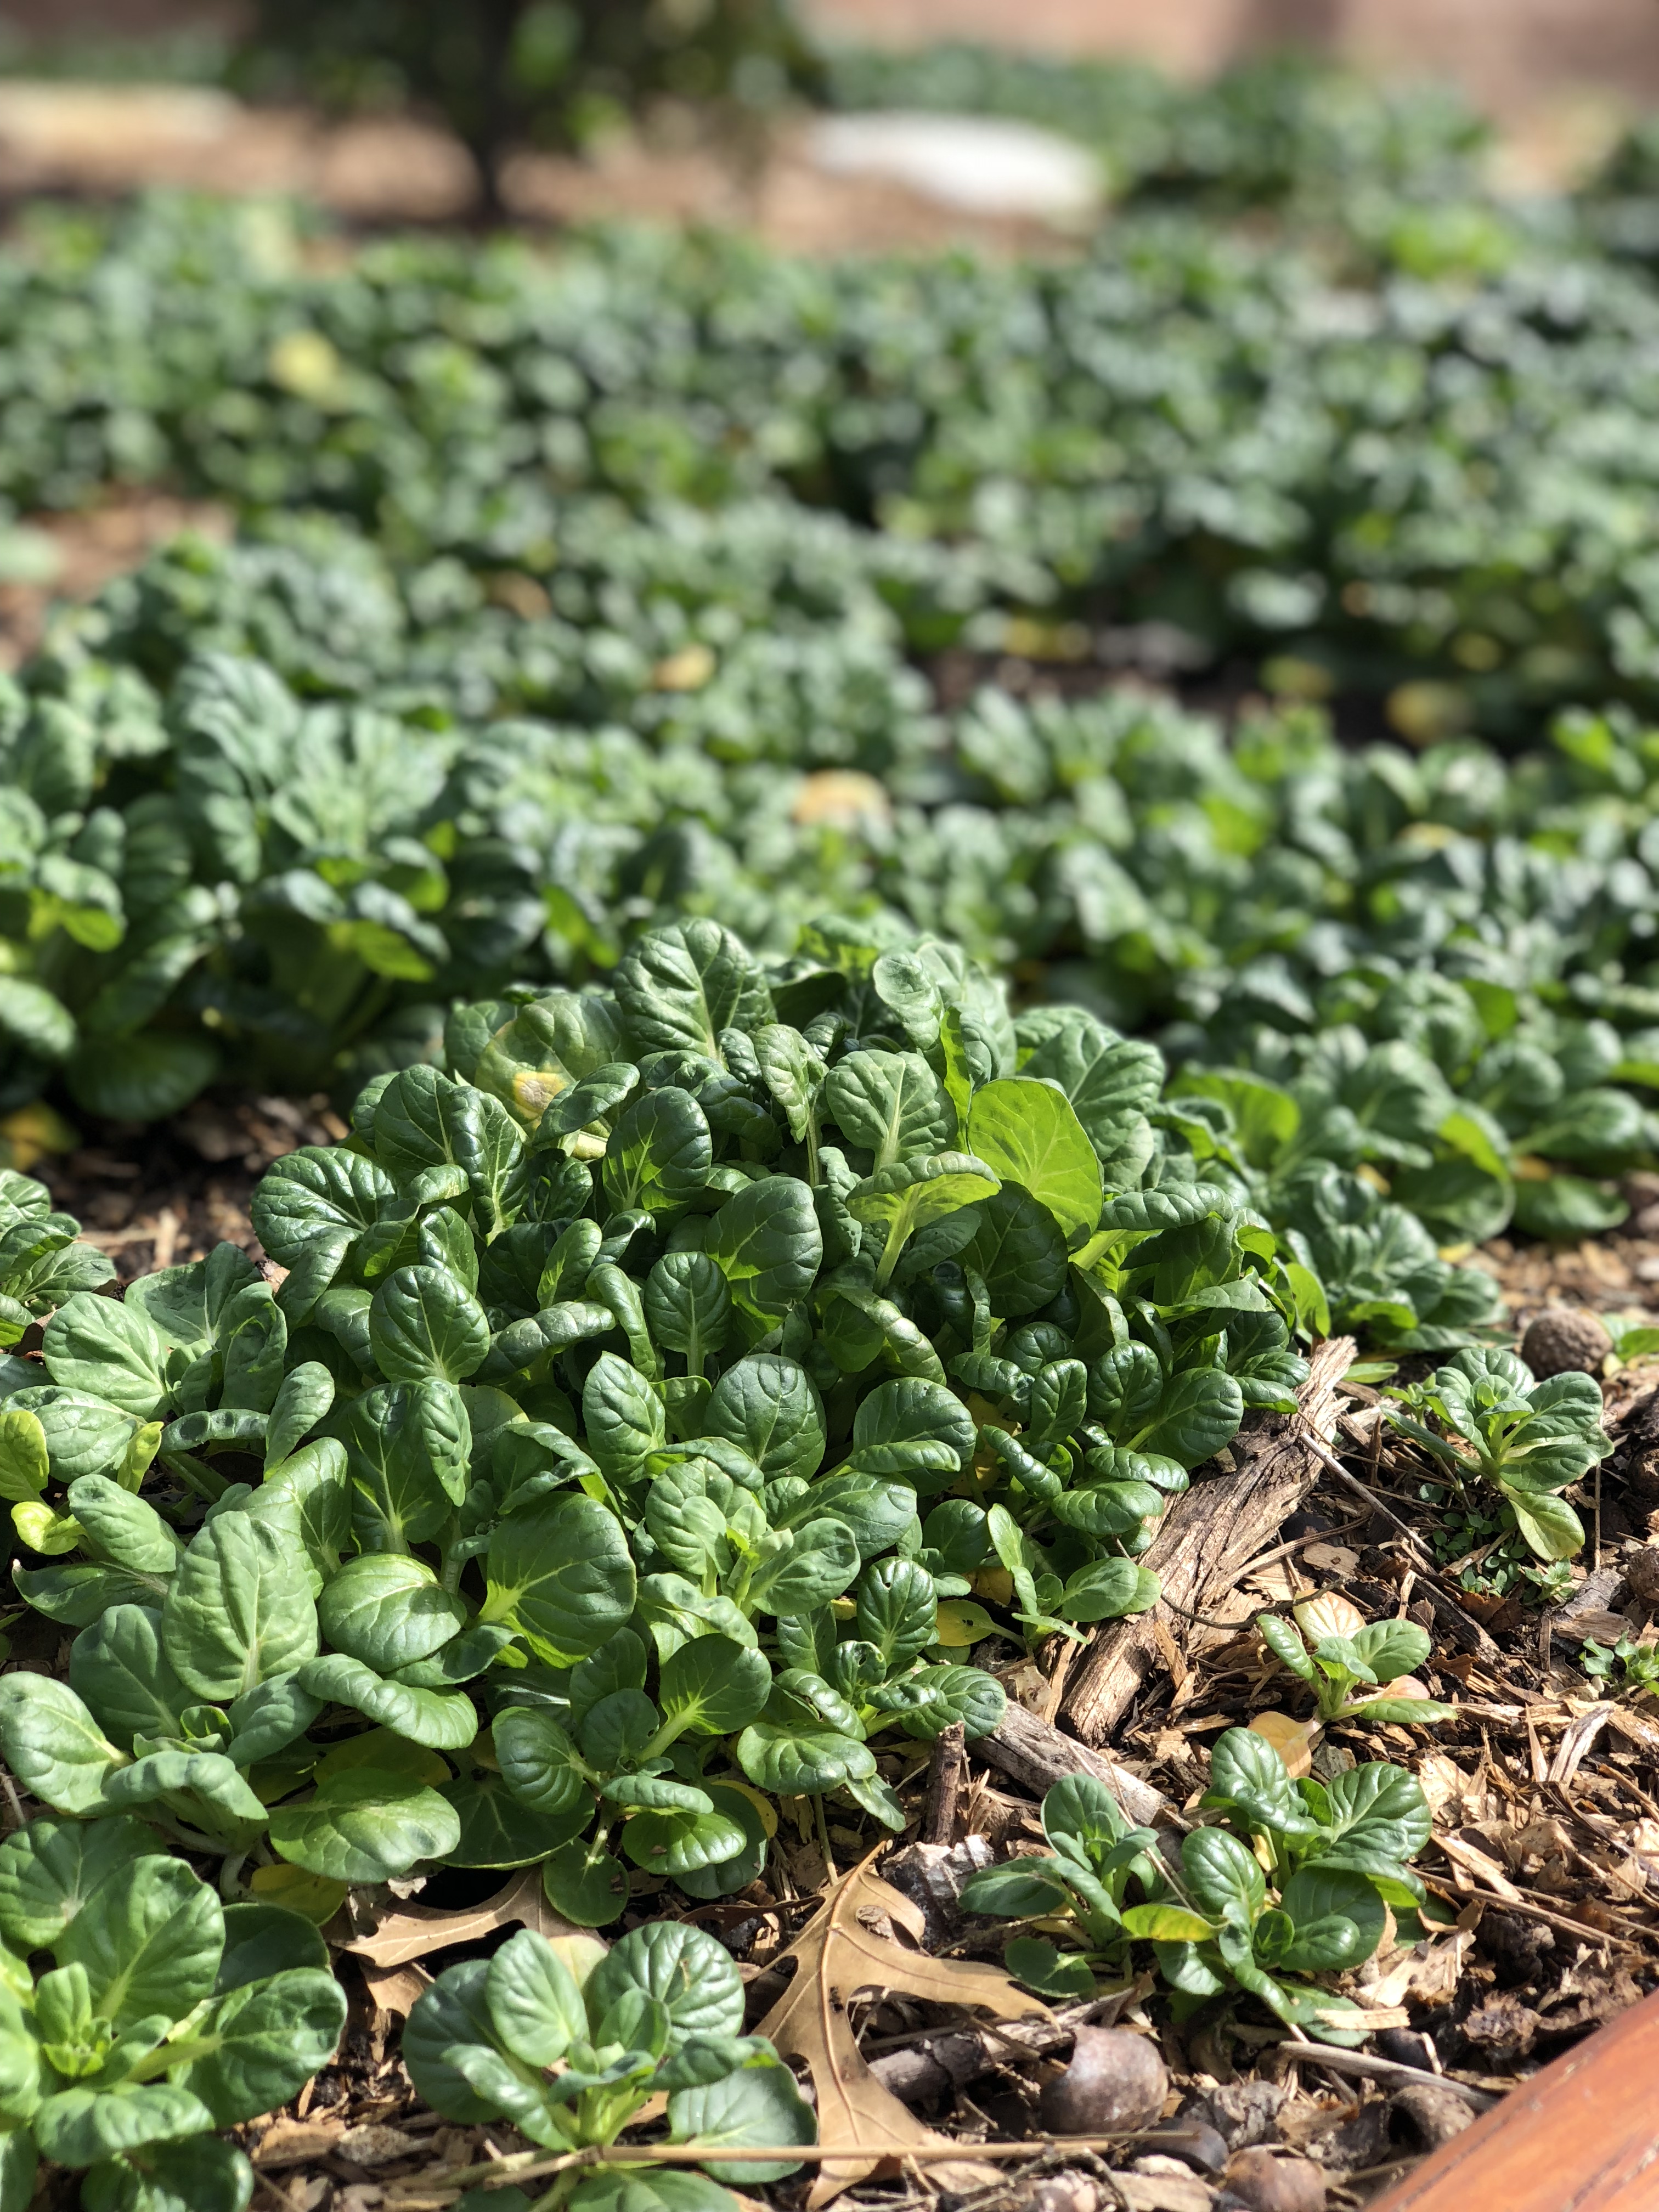
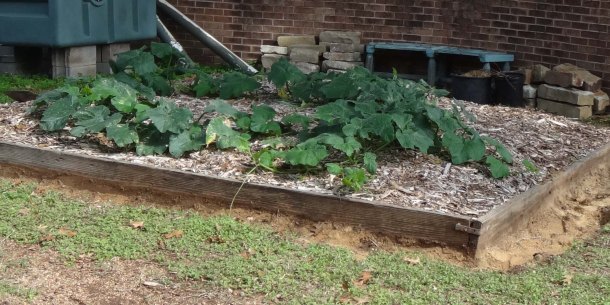
Above: growing soil!

Right now, we’re growing soil. Aboveground, the garden looks asleep; belowground, many organisms are busy converting multiple layers of compost and mulch into rich soil.  You may have heard of it, it goes by many names:  sheet-mulching and lasagna-gardening are two common ones.  Growing soil doesn’t take much effort from the gardener (other than patience), so while the garden doesn’t need our immediate attention, we are inside, warm and cozy, surrounded by a mountain of catalogs, dreaming up the landscape for the upcoming year.  If you’ve got any suggestions for us, we’d love to hear it!  The only caveat is that the plant must have an edible component.  With all the trees in our landscape, shade-tolerant edibles get bonus points.

That’s all for today – see you next week!


The Edible Landscape Series-Learning to Plant Outside the Lines

As we embark on our edible landscaping adventure, we find out how ingrained the old gardening lessons are in our psyche. A great example – and lesson – is in our radish, carrot and onion bed.

When we planted our root crops, we placed each in its own row. Why?  Mostly because we didn’t think about our planting “design” and did what we always did in the past.  Everyone always plants in rows, right?  So we did too:  three rows of radishes (one for each type), then a row of carrots, and finally, to fill out the bed, a few rows of onions.  We placed our plant labels at the end of each row to help us remember what we’d planted, and went on our merry way.

Row Planting- We Might Rethink and Plant Differently Next Time.

Row Planting- We Might Rethink and Plant Differently Next Time.

A few weeks passed; we had unseasonably warm weather coupled with lots of rain. The onions were growing.  We seemed to have a little line of ferns we could attribute to the carrots, and up against the edge, we had three foot high stalks with pretty purple and white flowers on them.  Some (not all) of the radishes had bolted!

And this is the lesson we learned from this bed: plant outside the lines.  If we had sprinkled the radish and carrot seeds throughout the bed, with the onions interplanted, right now the whole bed would look like it was full of tall flowers, with a low fern covering the base, and smooth spikes interspersed for contrast.  Overall, it could have been a much more uniform bed.  Or, if we had known how tall our ferns (carrots) would grow, and if we could have anticipated our radishes bolting (and giving us those beautiful flowers), then we could have used the crops to ‘paint’ the bed:  planting the carrot seeds around the border of the bed, lining the border with the onions, and filling in the center with the radishes.  That’s part of the beauty and fun of landscaping with edibles:  we are encouraged to add an extra dimension to our planting:  we plant not just for the tasty edibles, but with an eye towards their intrinsic beauty.

A few other benefits to planting enough to let some of your harvest bolt:

The radish flowers (of course we tasted them!) taste like mild radishes – so now you have an extra flavor to add to your salad, or to your dishes as a garnish.

Not all the radishes bolted, but if you leave them to bolt (and give you pretty flowers), make sure to plant enough that you can harvest some to eat. We haven’t tasted our bolted radishes yet, but they will probably be woody in texture.

Leaving some of the plants to bolt means you now have another signpost up for the beneficals to come and visit.

Finally, if you let some bolt and eventually go to seed, you’ll have the seeds to plant the following season! However, if you choose to do that, make sure your seeds are heirloom or open-pollinated and not hybrid seeds.  The seeds from a hybrid plant will differ from the parent.  But if you like surprises, go ahead, plant the hybrids and see what you get!

Radish Flowers!

Radish Flowers!

So we’ve learned our lesson: instead of planting an area, we’ll “paint” it:  we’ll think about the shape and height of our final plants, and only plant in rows if we want to see a line in the final picture!

Lila Rose

Pictures by Starla

%d bloggers like this: