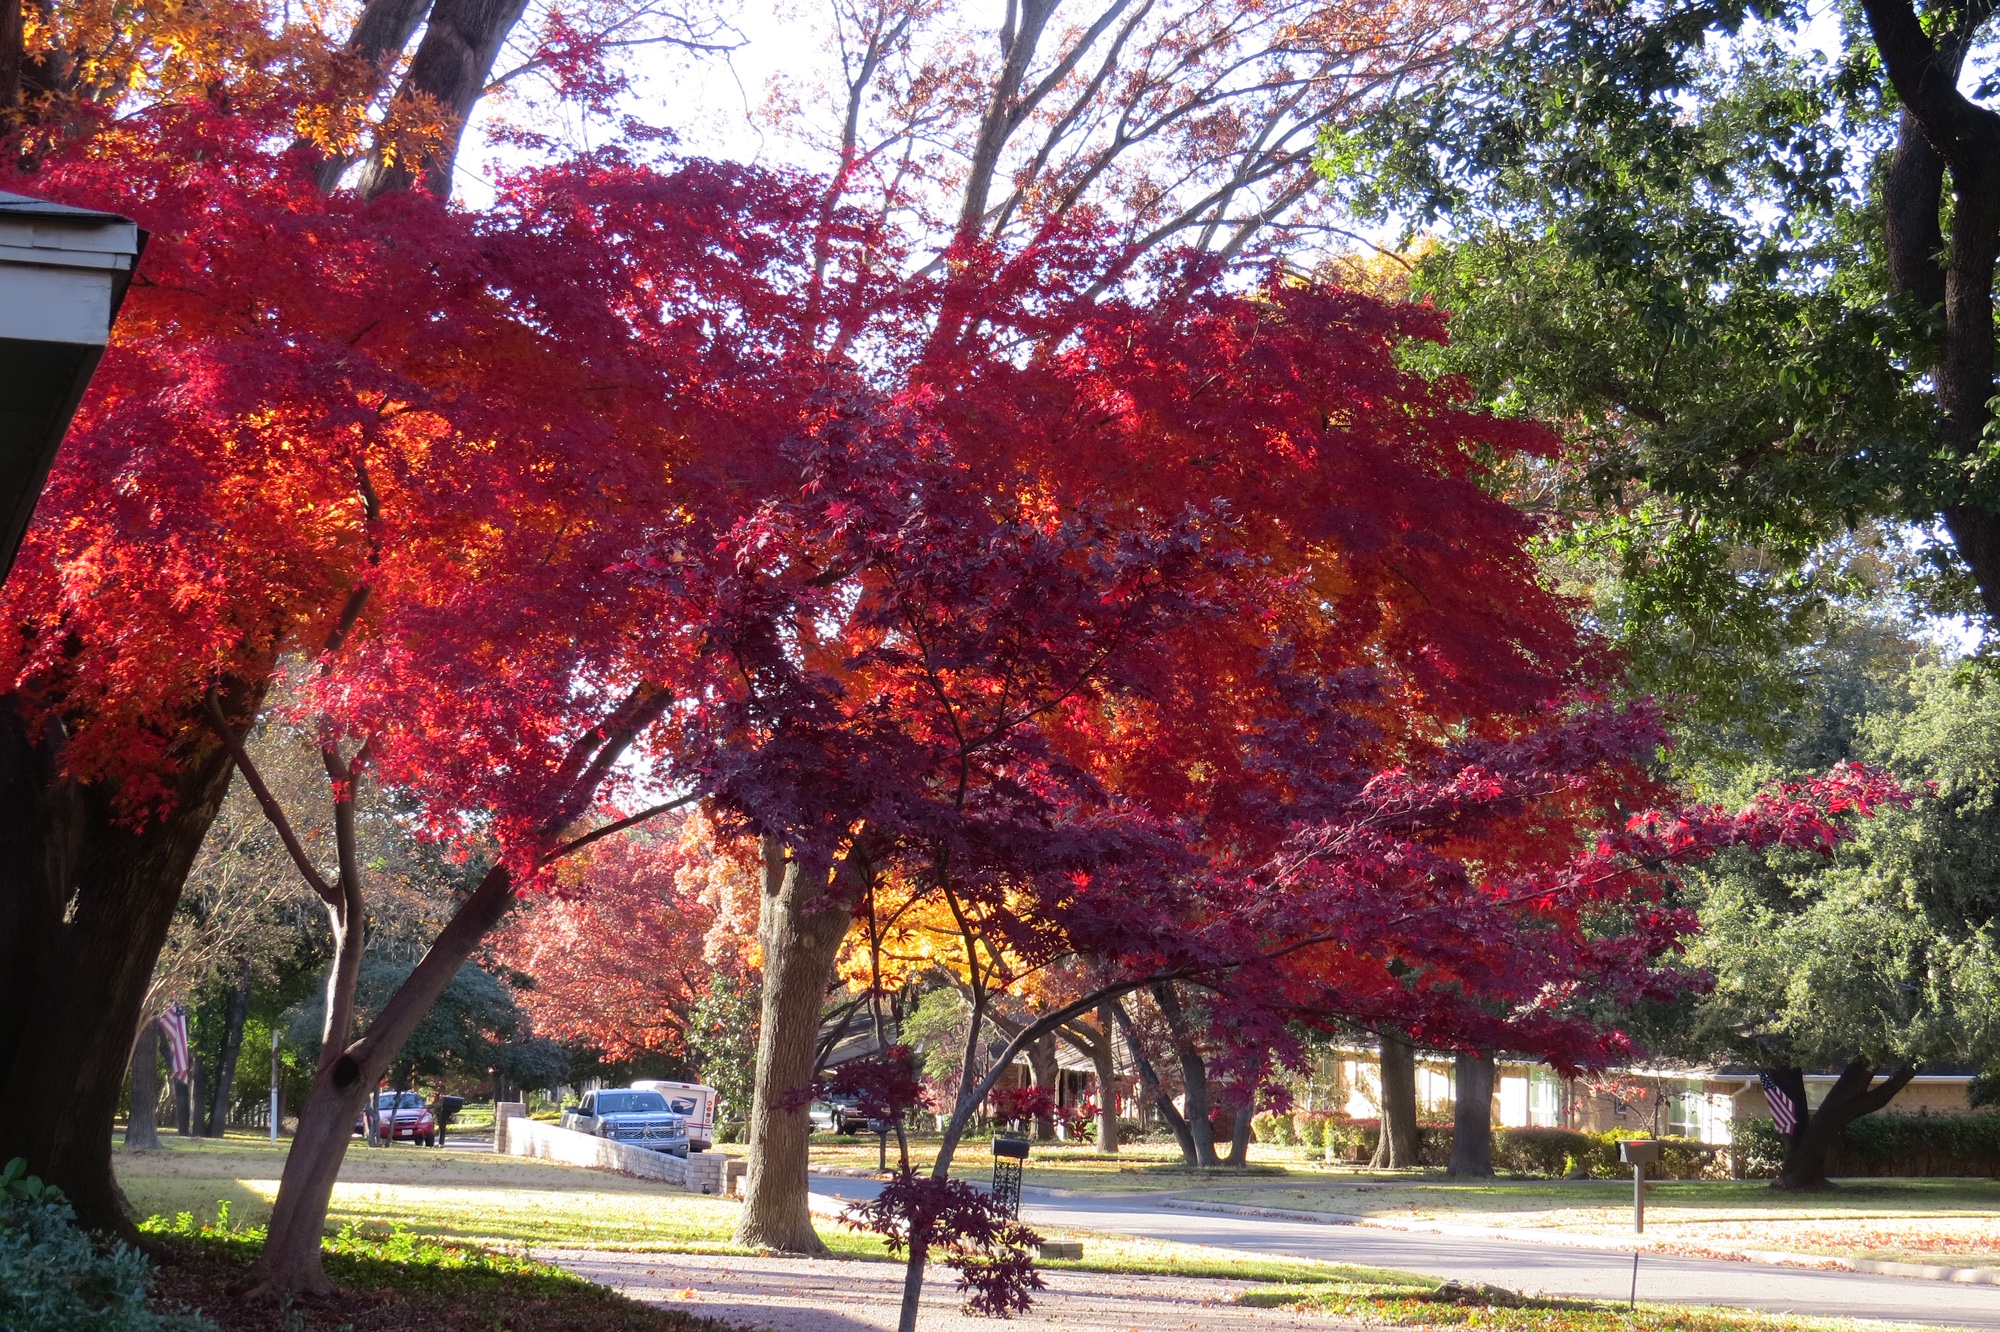
Nature’s grand finale plated!
Bake Brie with Roasted Persimmons
Ingredients
2 (8-ounce) wheels of Brie, rinds intact
Roasted Persimmons, chopped (recipe follows)
1 large egg
2 tablespoons water
1 (17.3-ounce) package frozen puff pastry, thawed
Seasonal fruit
Crackers
Directions
Preheat oven to 350˚F. Line a baking sheet with parchment paper.
Cut 1 wheel of Brie in half horizontally. Place half of Roasted Persimmons on one half of Brie, and top with remaining half. Repeat with remaining wheel of Brie and remaining Roasted Persimmons.
In a small bowl, whisk together egg and 2 tablespoons water.
On a lightly floured surface, roll puff-pastry sheet to ⅛-inch thickness. Place 1 Brie round on puff pastry; fold pastry over Brie, cut away excess dough, and invert Brie onto prepared baking sheet. Repeat with remaining Brie and puff pastry. Using an acorn-shaped cutter, cut 2 acorns from remaining dough. Using a pastry brush, brush dough with egg wash. Place 1 acorn on each Brie round, pressing gently to adhere; brush with egg wash.
Bake until pastry is golden brown, 25 to 30 minutes. Remove from oven, and let cool for 10 minutes. Serve with seasonal fruit and cracker.
Yield: Makes 10 to 12 servings
Roasted Persimmons
Ingredients
¼ cup maple syrup
¼ cup granulated sugar
¼ cup brandy
¼ teaspoon salt
1 vanilla bean, halved lengthwise
4 cardamom pods
4 whole cloves
2 star anise
2 cinnamon sticks
4 persimmons, blanched, peeled, and quartered
Directions
Preheat oven to 450˚F.
In a cast-iron or ovenproof skillet, combine syrup, sugar, brandy, salt, vanilla bean, cardamom, cloves, star anise and cinnamon sticks. Add persimmons.
Roast until fruit is tender, about 20 minutes. Remove from oven and let cool completely.
Remove persimmons, discarding spices and vanilla bean. Chop persimmons. Cover and refrigerate for up to 5 days.
Yield: Makes 2 cups

Butternut Squash-Pear Soup garnished with Parmesan and Chopped Rosemary
Butternut Squash-Pear Soup
Ingredients
1 (2.5-pound) butternut squash, peeled, seeded, and chopped into 2-inch pieces
2 cloves garlic
¼ cup vegetable oil, divided
1 tablespoon kosher salt
1 teaspoon ground black pepper, divided
1 ½ cups chopped onion
1 shallot, minced
1 quart chicken broth
2 cups half-and-half
1 tablespoon fresh chopped rosemary
2 teaspoons fresh minced ginger
6 ripe Bartlett pears, peeled, cored, and chopped
Garnish: shaved Parmesan cheese, fresh rosemary
Directions
Preheat oven to 450˚F. Line a rimmed baking sheet with foil, and coat foil with cooking spray.
In a large bowl, combine squash and garlic. Toss with 2 tablespoons oil. Season with salt and ½ teaspoon pepper.
Transfer squash mixture to prepared pan. Bake until tender, 25 to 30 minutes. Remove from oven, and let cool.
In a Dutch oven, heat remaining 2 tablespoons oil over medium-high heat. Add onion and shallot, and cook, stirring often, until tender, about 8 minutes. Add squash mixture, chicken broth, and remaining ½ teaspoon pepper Bring mixture to a boil; reduce heat to medium and simmer for 20 minutes.
Add half-and-half, rosemary, and ginger, stirring to combine. Continue to simmer for 10 minutes. Remove from heat, and let cool slightly. Add pears to mixture.
In the container of a blender, puree mixture, working in batches, until smooth. Return mixture to pan, and simmer over medium heat for 10 minutes. Garnish with Parmesan and rosemary, if desired.
Yield: Makes 8 servings
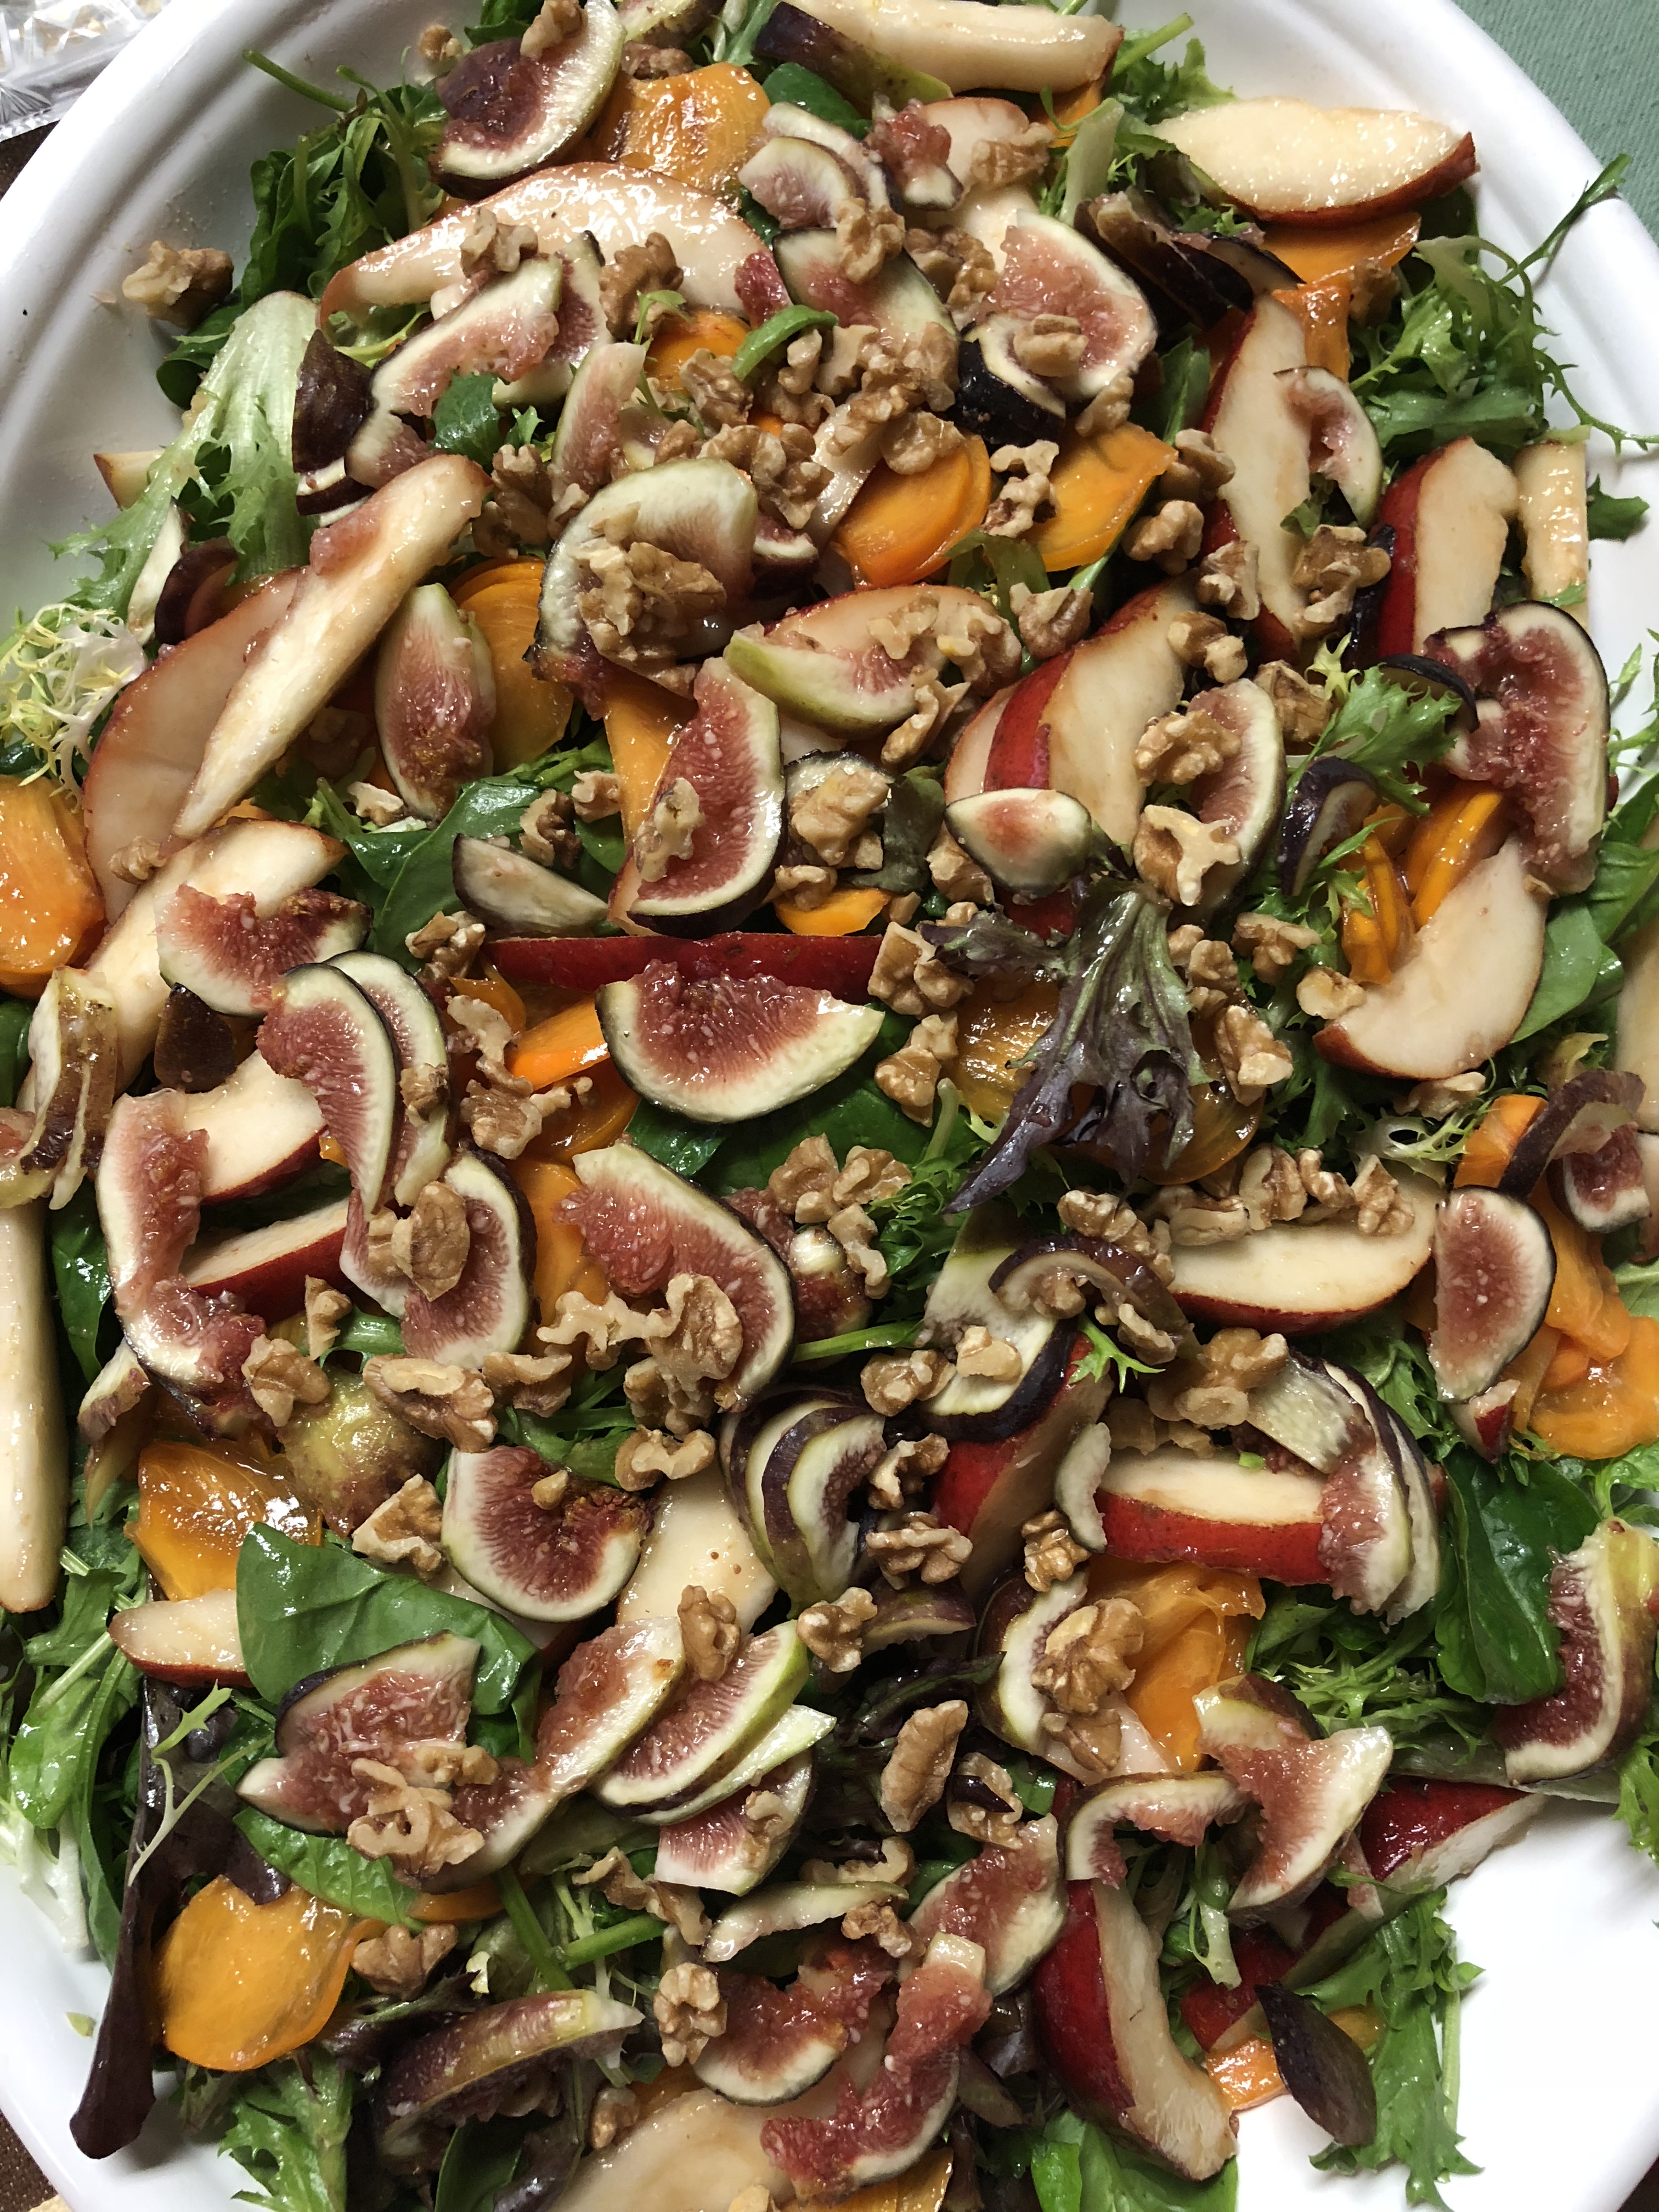
Figs, Pomegranates, Persimmons and Pear Salad
Salad of Figs, Pomegranates, Persimmons and Pears
Ingredients
½ cup walnut halves
2 large heads frisee, carefully rinsed and stems trimmed
1 Fuyu persimmon, cut into thin slices
1 Red Bartlett pear, halved, cored and cut into thin slices
6 fresh figs, halved through the stem end
Directions
Preheat oven to 350˚F. Spread the walnuts on a baking sheet and toast until lightly browned and fragrant, 5-7 minutes. Remove from the oven and let cool.
Arrange the frisee, sliced persimmon and pear, and fig halves on individual plates, dividing them equally. Sprinkle with toasted walnuts. Alternately, arrange salad on a large platter. Drizzle with the Pomegranate Salad Dressing.
Yield: Serves 4
Pomegranate Salad Dressing
Ingredients
½ cup Pomegranate Syrup (see recipe)
¼ cup olive oil
2 tablespoons red wine vinegar
1 tablespoon lemon juice
⅛ teaspoon salt
Directions
Combine all ingredients in a jar; cover tightly and shake vigorously. Chill.
Yield: ⅔ cup
Pomegranate Syrup
Ingredients
4 cups pomegranate seeds (4 large pomegranates)
3 ½ cups sugar
Directions
Combine seeds and sugar in a large glass bowl; cover and chill at least 8 hours.
Transfer mixture to a heavy non-aluminum saucepan; bring to a boil over medium heat. Reduce heat, and simmer 3 minutes.
Pour mixture through a cheesecloth-lined colander; press against sides of colander with back of a spoon to squeeze out juice. Discard pulp.
Pour juice into a 1-quart sterilized jar; cover with lid, and screw on band. Cool; store in refrigerator up to 2 weeks.
Yield: 3 cups
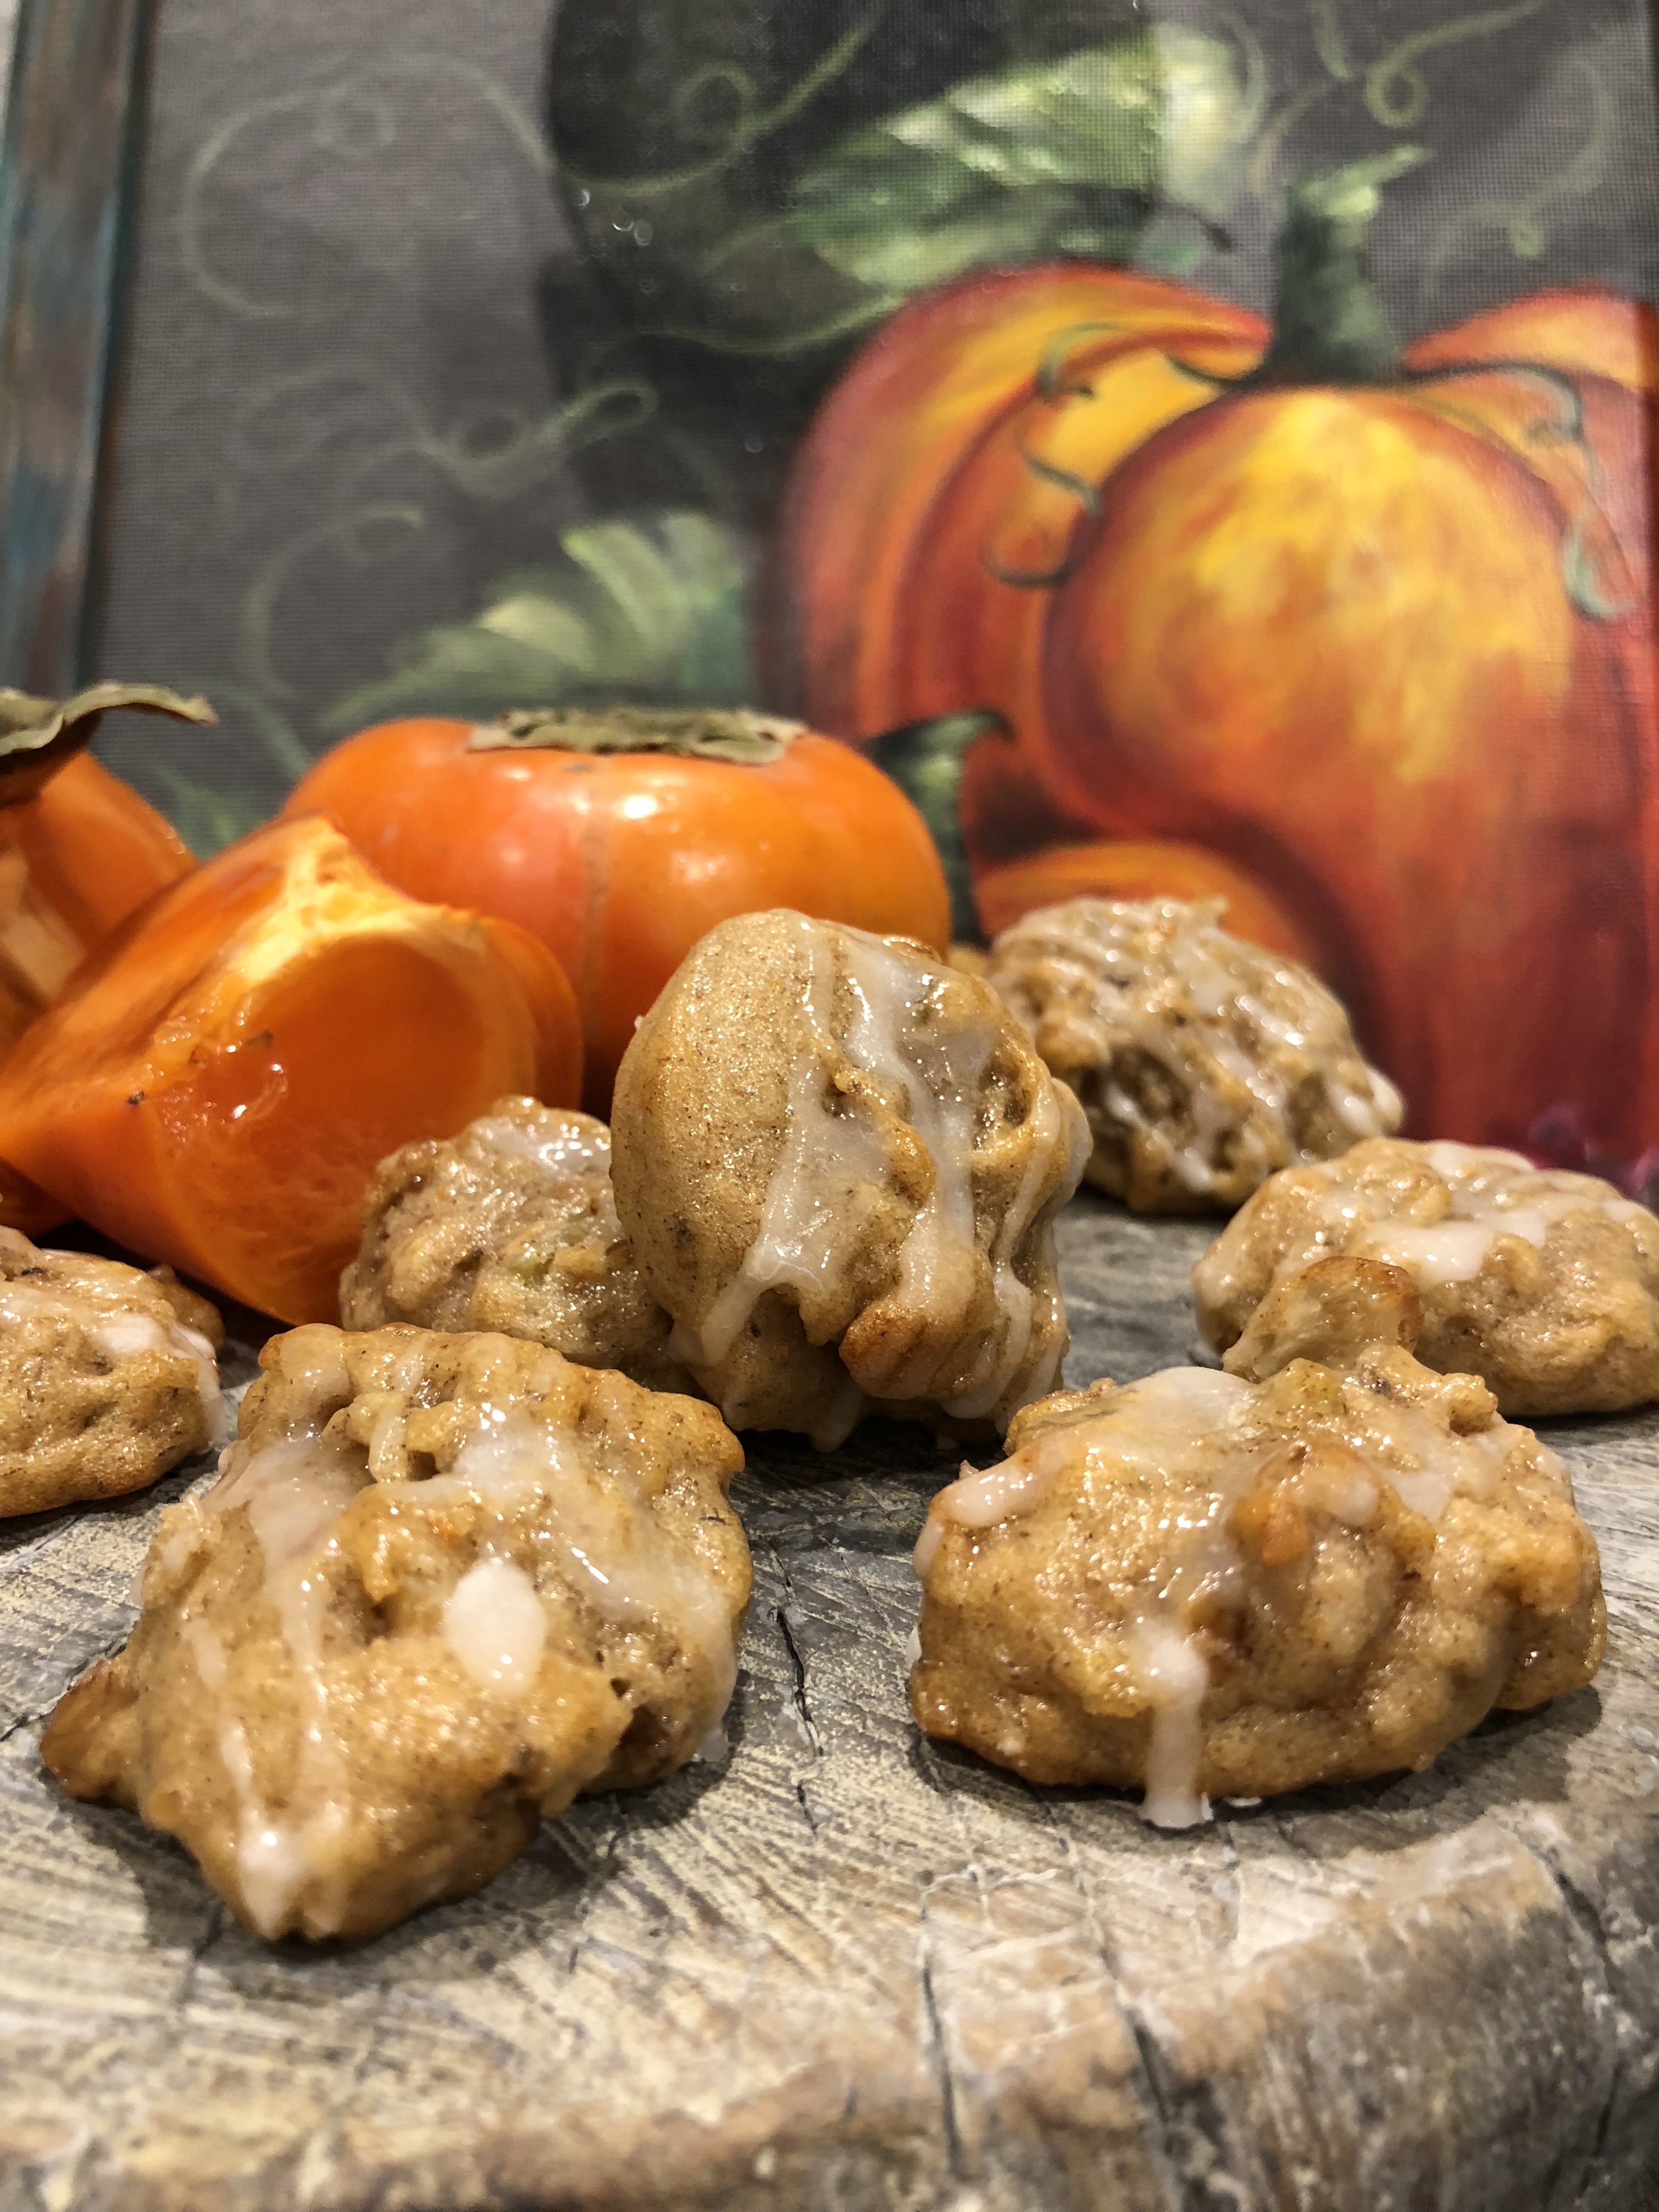
Persimmon Cookies
Persimmon Cookies
Ingredients
2 large ripe persimmons, peeled and coarsely chopped
1 cup sugar
⅔ cup vegetable oil
1 large egg
2 cups all-purpose flour
1 teaspoon baking soda
1 teaspoon ground cinnamon
1 cup raisins
1 cup chopped walnuts
1 cup sifted powdered sugar
3 tablespoons lemon juice
Directions
Position knife blade in food processor bowl; add persimmon, and process until smooth, stopping once to scrape down sides. Measure 1 cup pulp.
Combine pulp, sugar, oil, and egg, stirring until smooth.
Combine flour, soda, and cinnamon in a large bowl; add persimmon mixture, stirring until blended. Stir in raisins and walnuts.
Drop dough by rounded teaspoonfuls onto lightly greased cookie sheets.
Bake at 375˚F for 9 minutes. Transfer to wire racks placed on wax paper. Combine powdered sugar and lemon juice, stirring until smooth; drizzle over warm cookies. Cool.
Yield: 5 dozen
Autumn Orchard Crisp
Ingredients
3 pounds firm, flavorful apples
1 pound pears
Juice of ½ lemon
3 tablespoons granulated sugar
1 cup light brown sugar
1 cup all-purpose flour
2 tablespoons ground cinnamon
½ cup (1 stick) unsalted butter, at room temperature, cut up
1 ½ cups chopped walnuts
½ cup coarsely chopped cranberries
Whipped cream or vanilla ice cream
Directions
Preheat the oven to 350˚F. Butter a 13 x 9-inch baking pan.
Peel, core and slice the apples and pears. Toss them in a bowl with the lemon juice and granulated sugar.
Place the brown sugar, flour, cinnamon, butter, and half the nuts in the bowl of a food processor. Process until blended and crumbly.
Spread one-third of the crumb mixture on the bottom of the prepared pan, top with half of the sliced fruit and scatter over half of the cranberries. Top with the second third of the crumb mixture.
Layer on the remaining sliced fruit and sprinkle over the remaining cranberries. Mix the remaining nuts with the remaining crumb mixture and spread over the top.
Bake until well browned and slightly bubbly, about 1 hour. Cool to warm and top with whipped cream or ice cream.
Yield: Serves 8
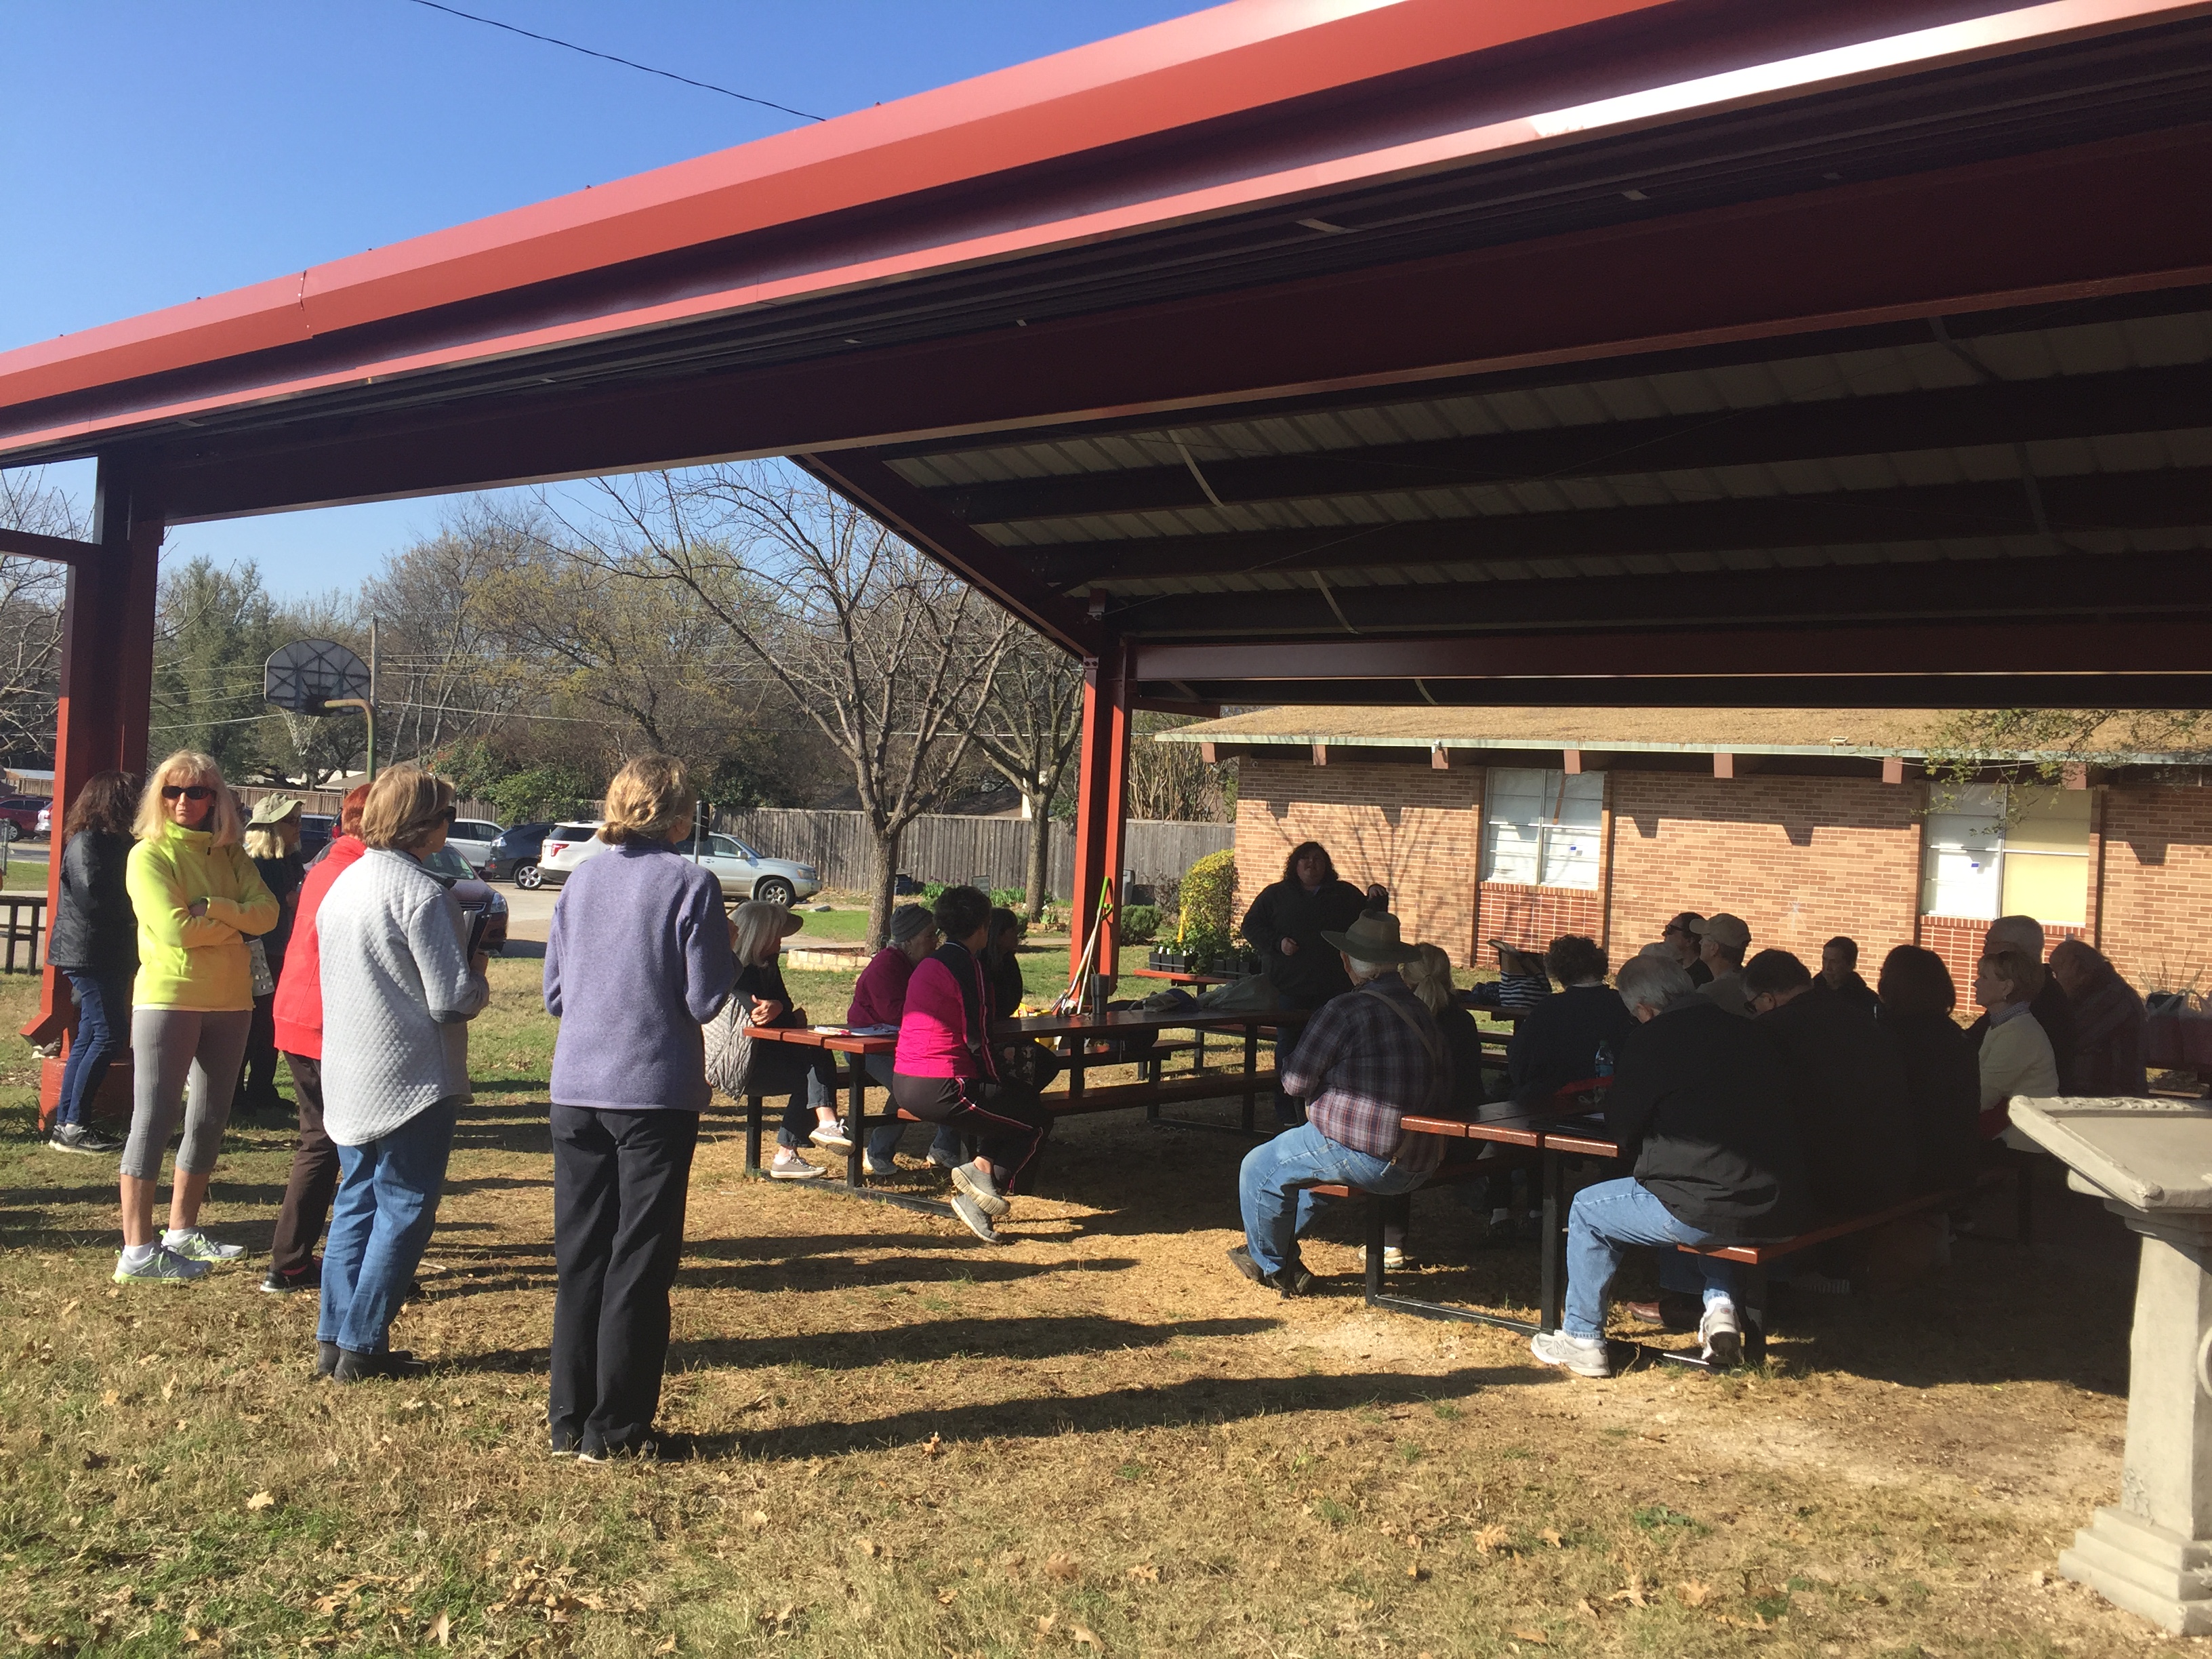
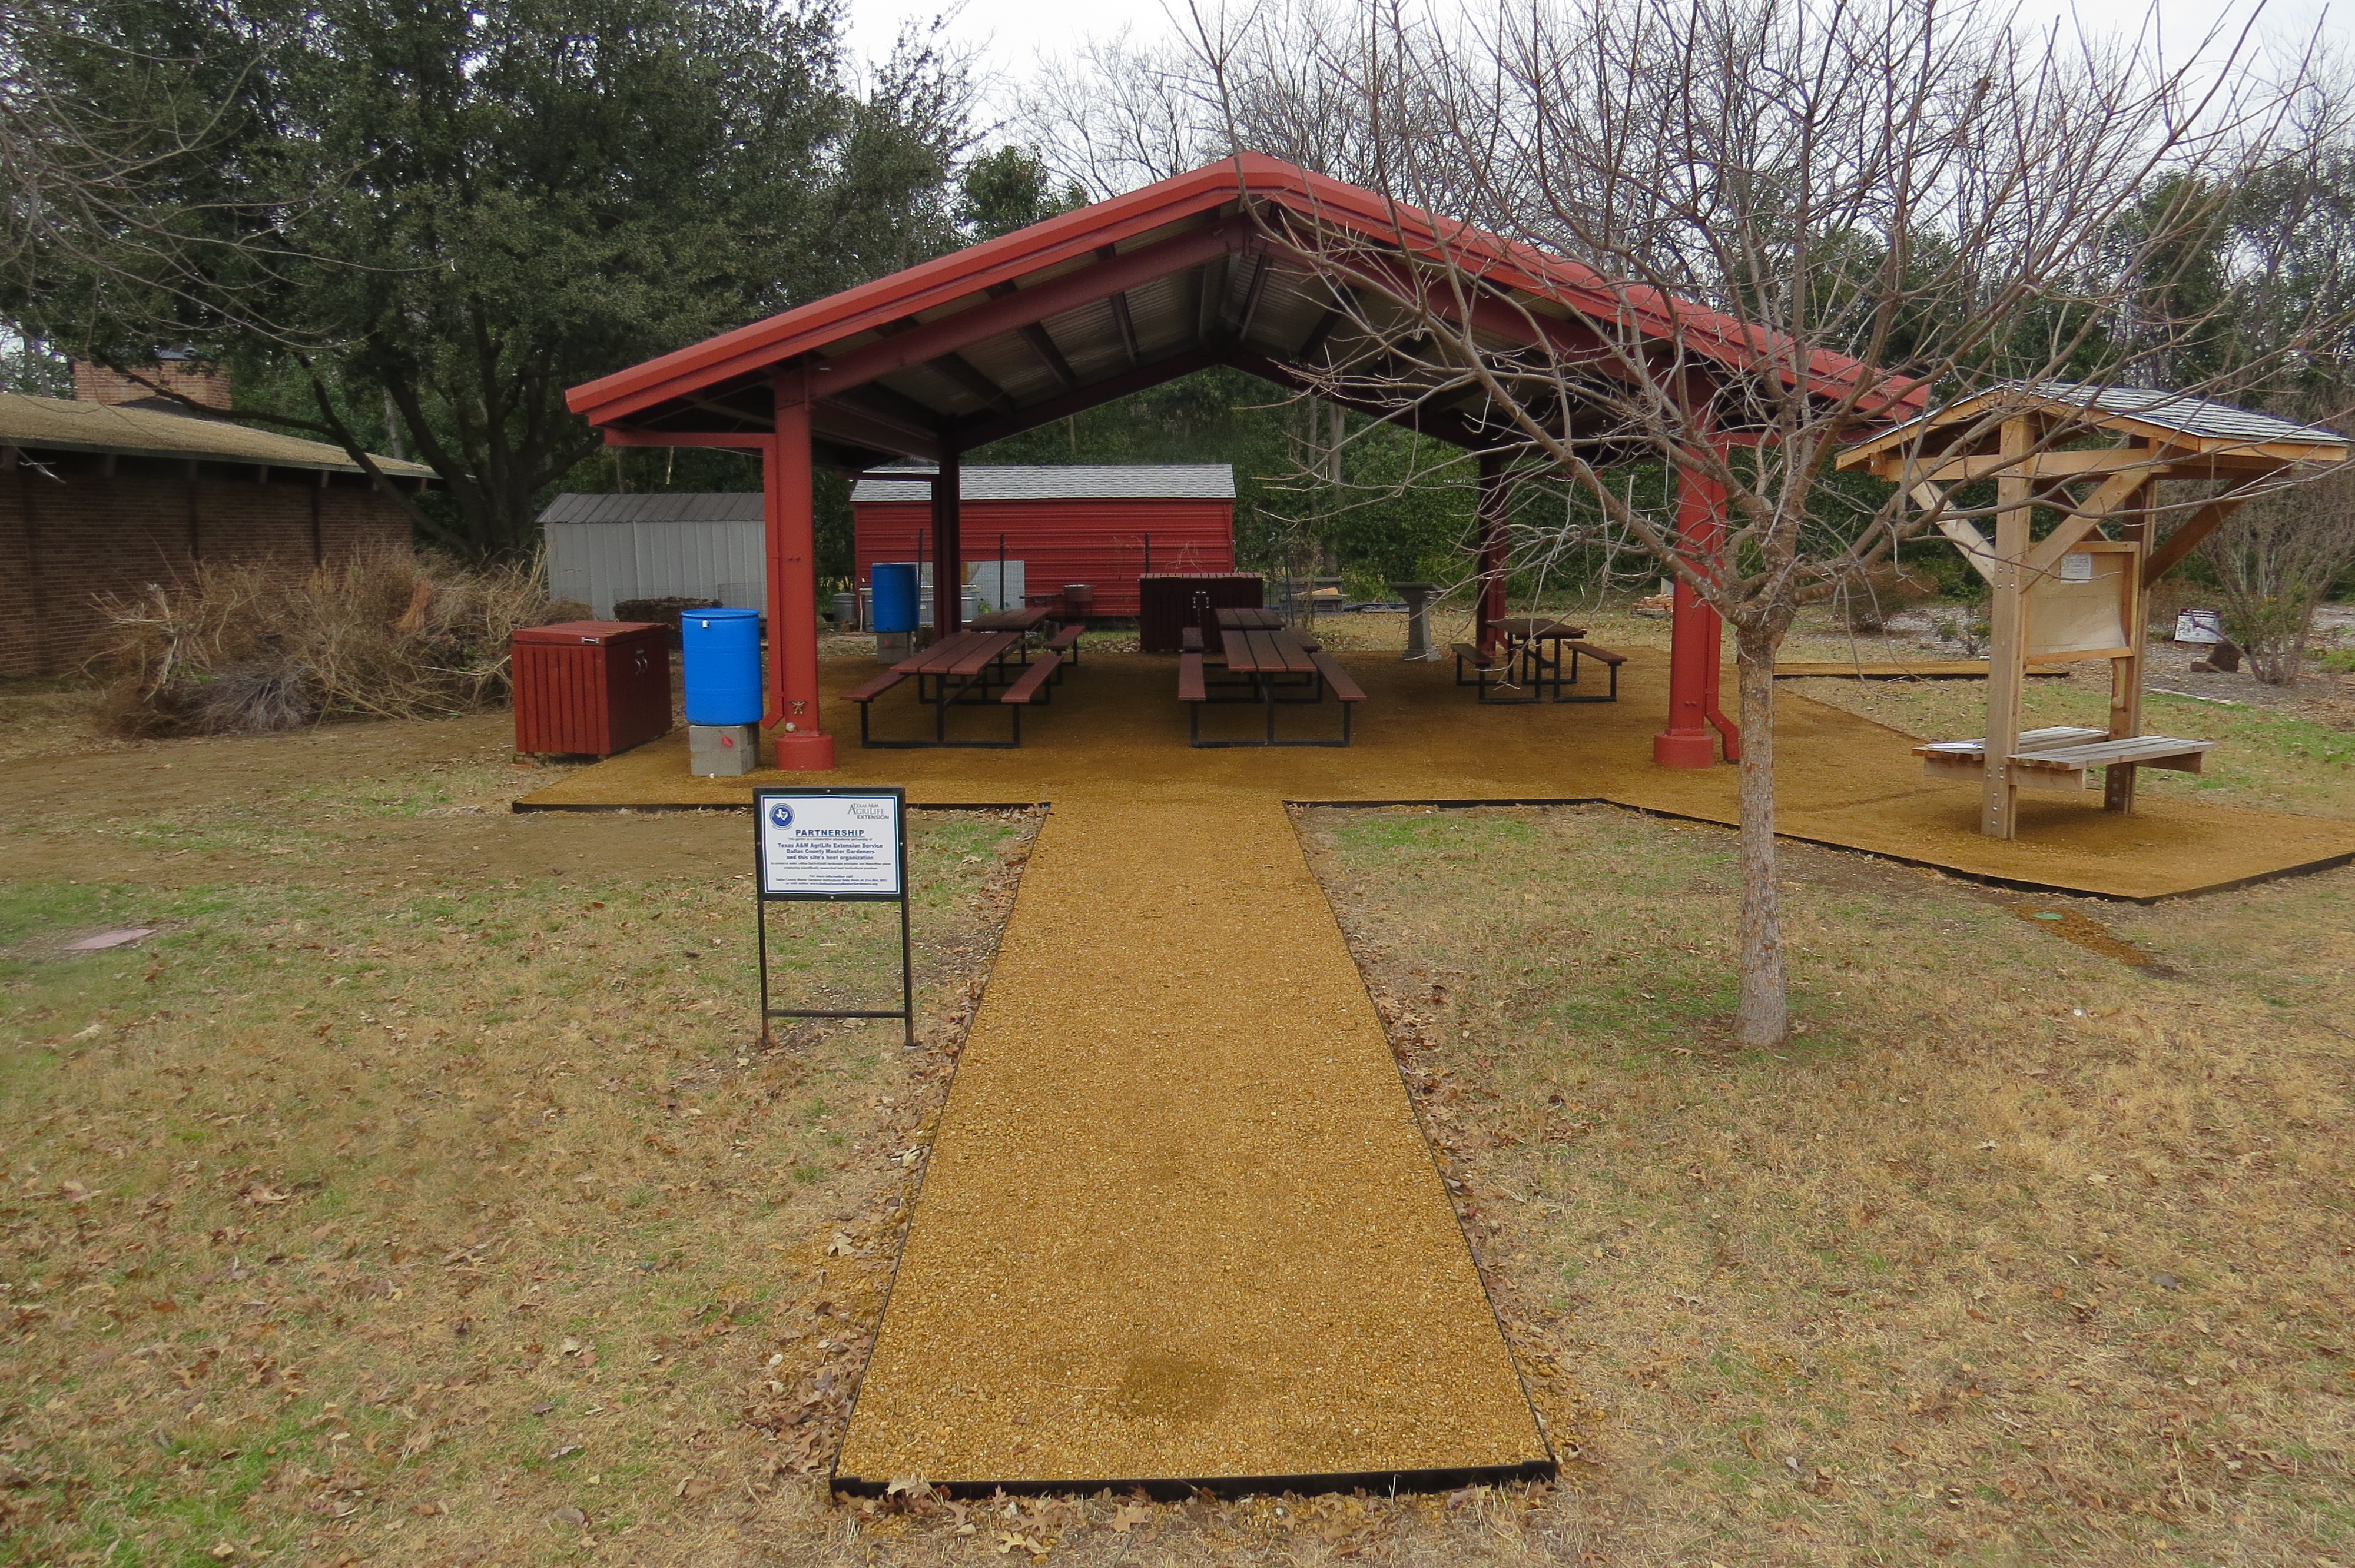
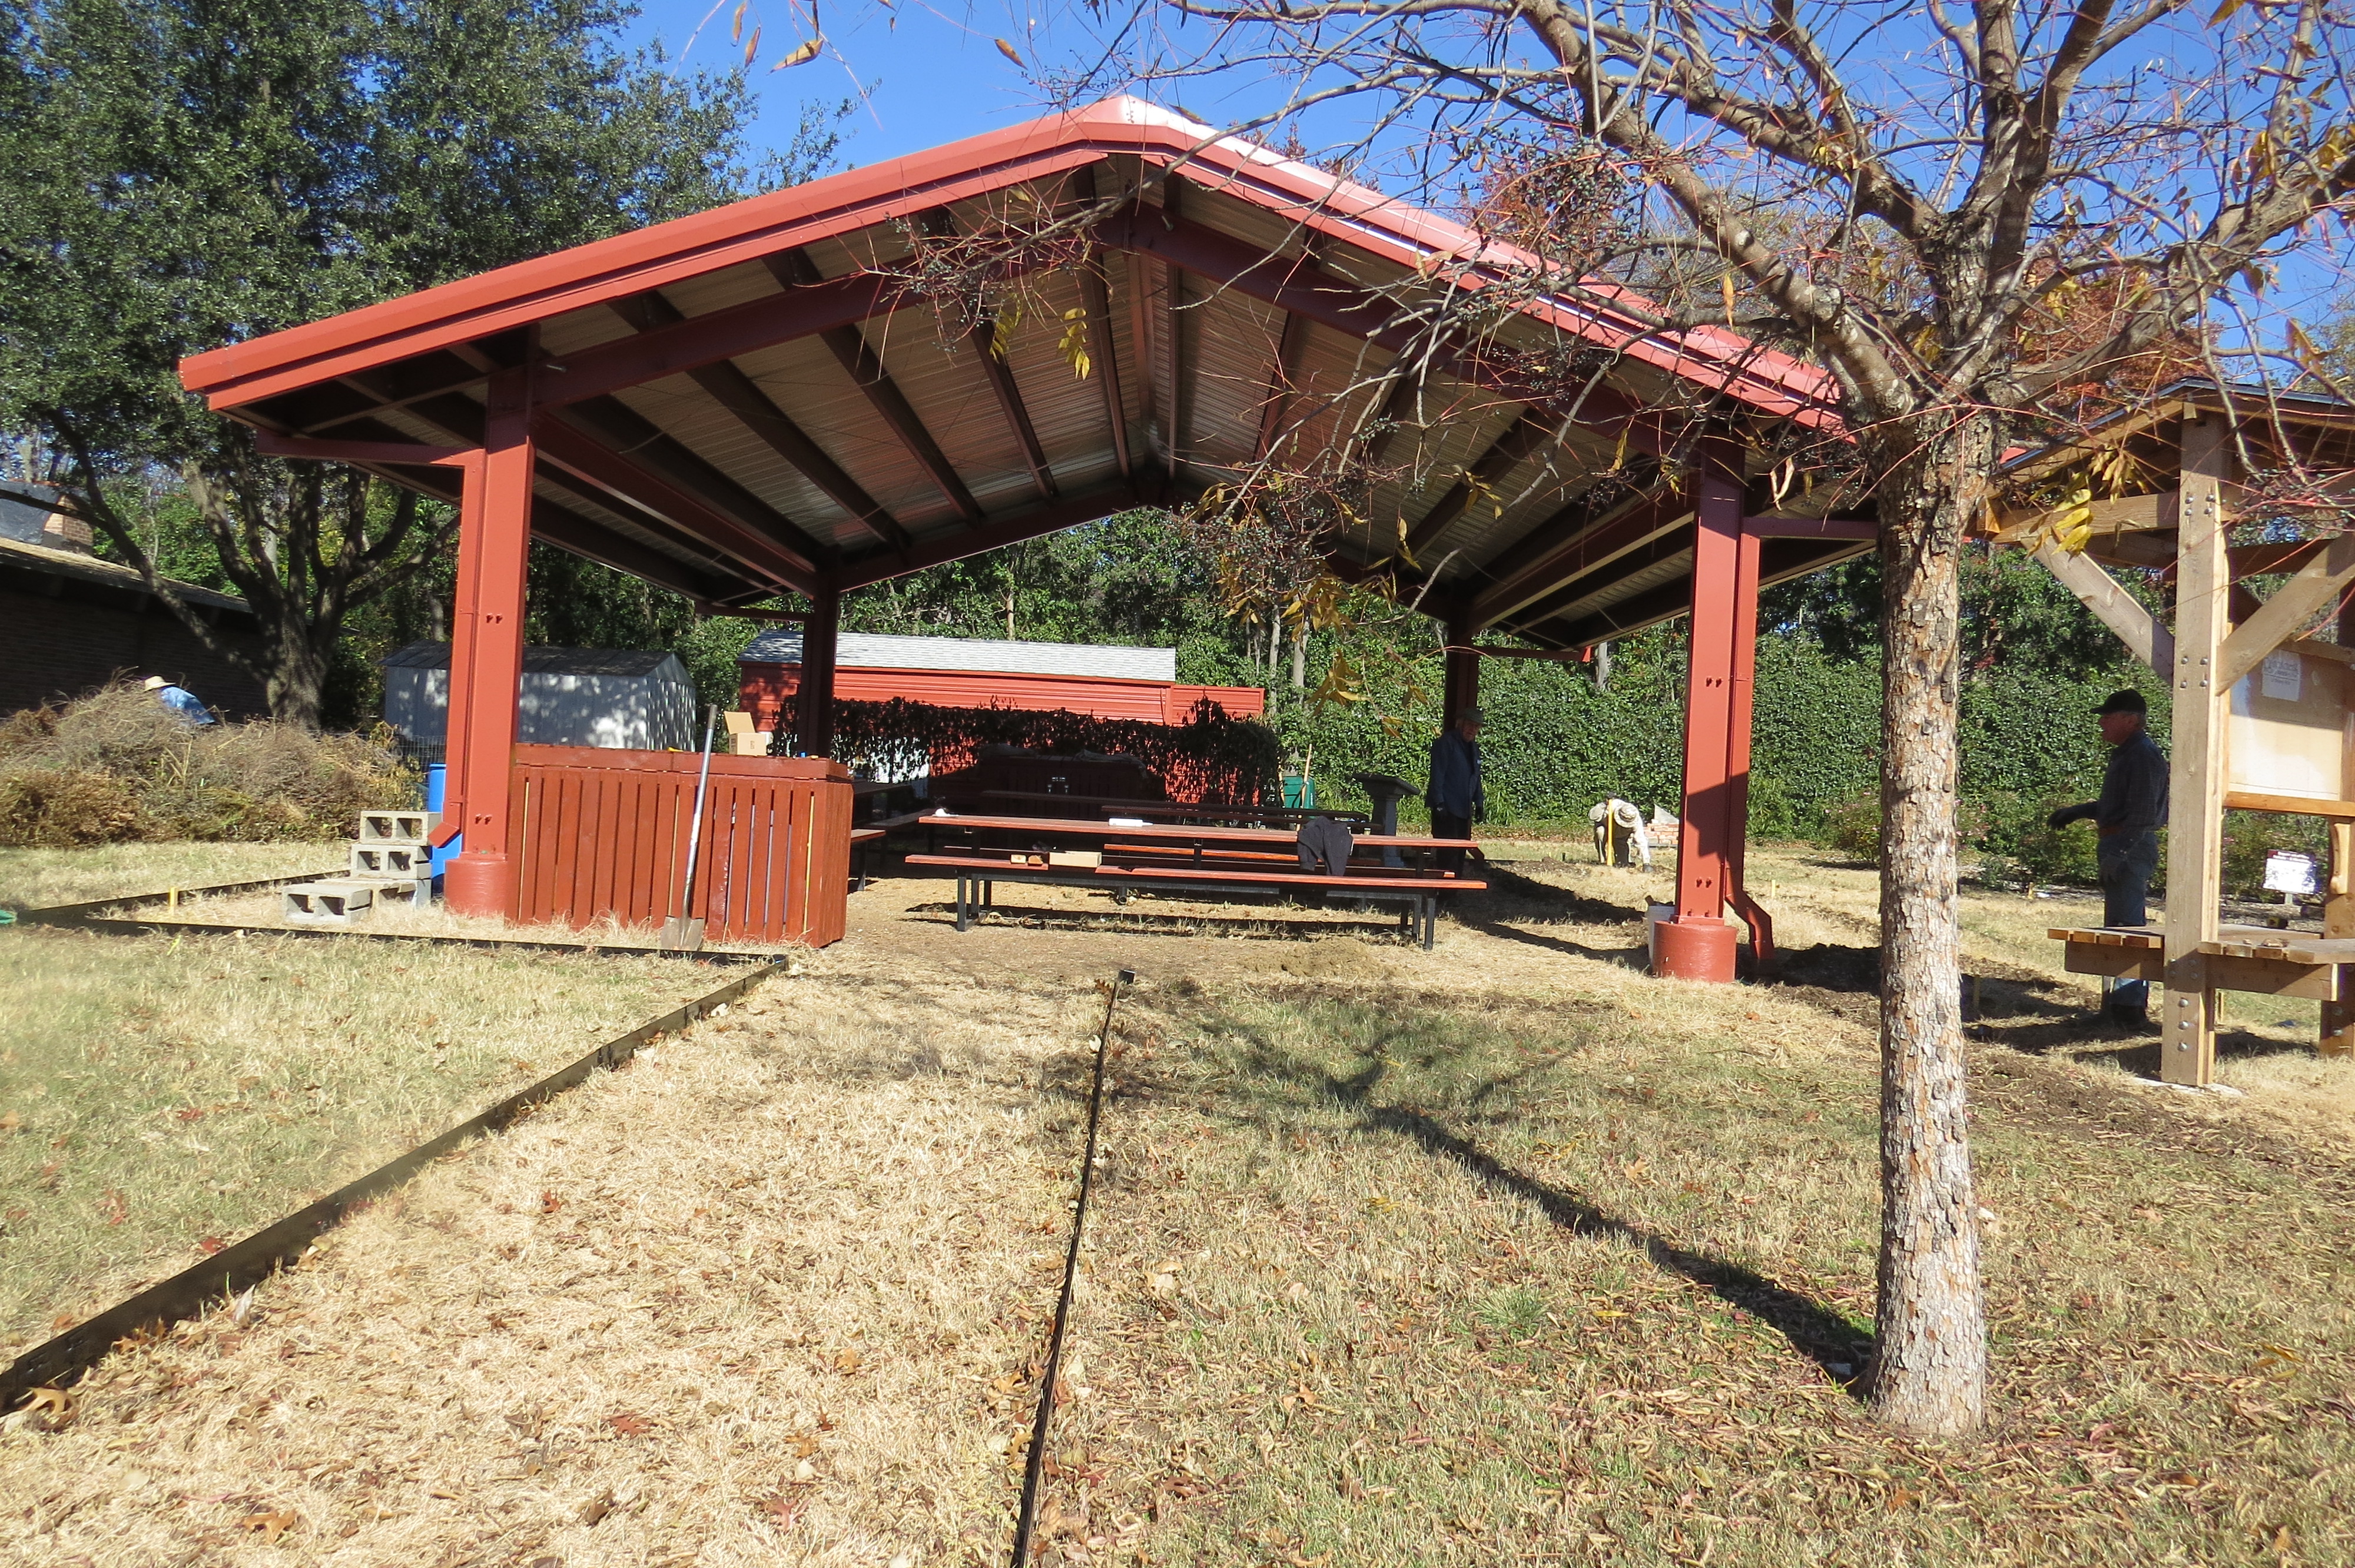
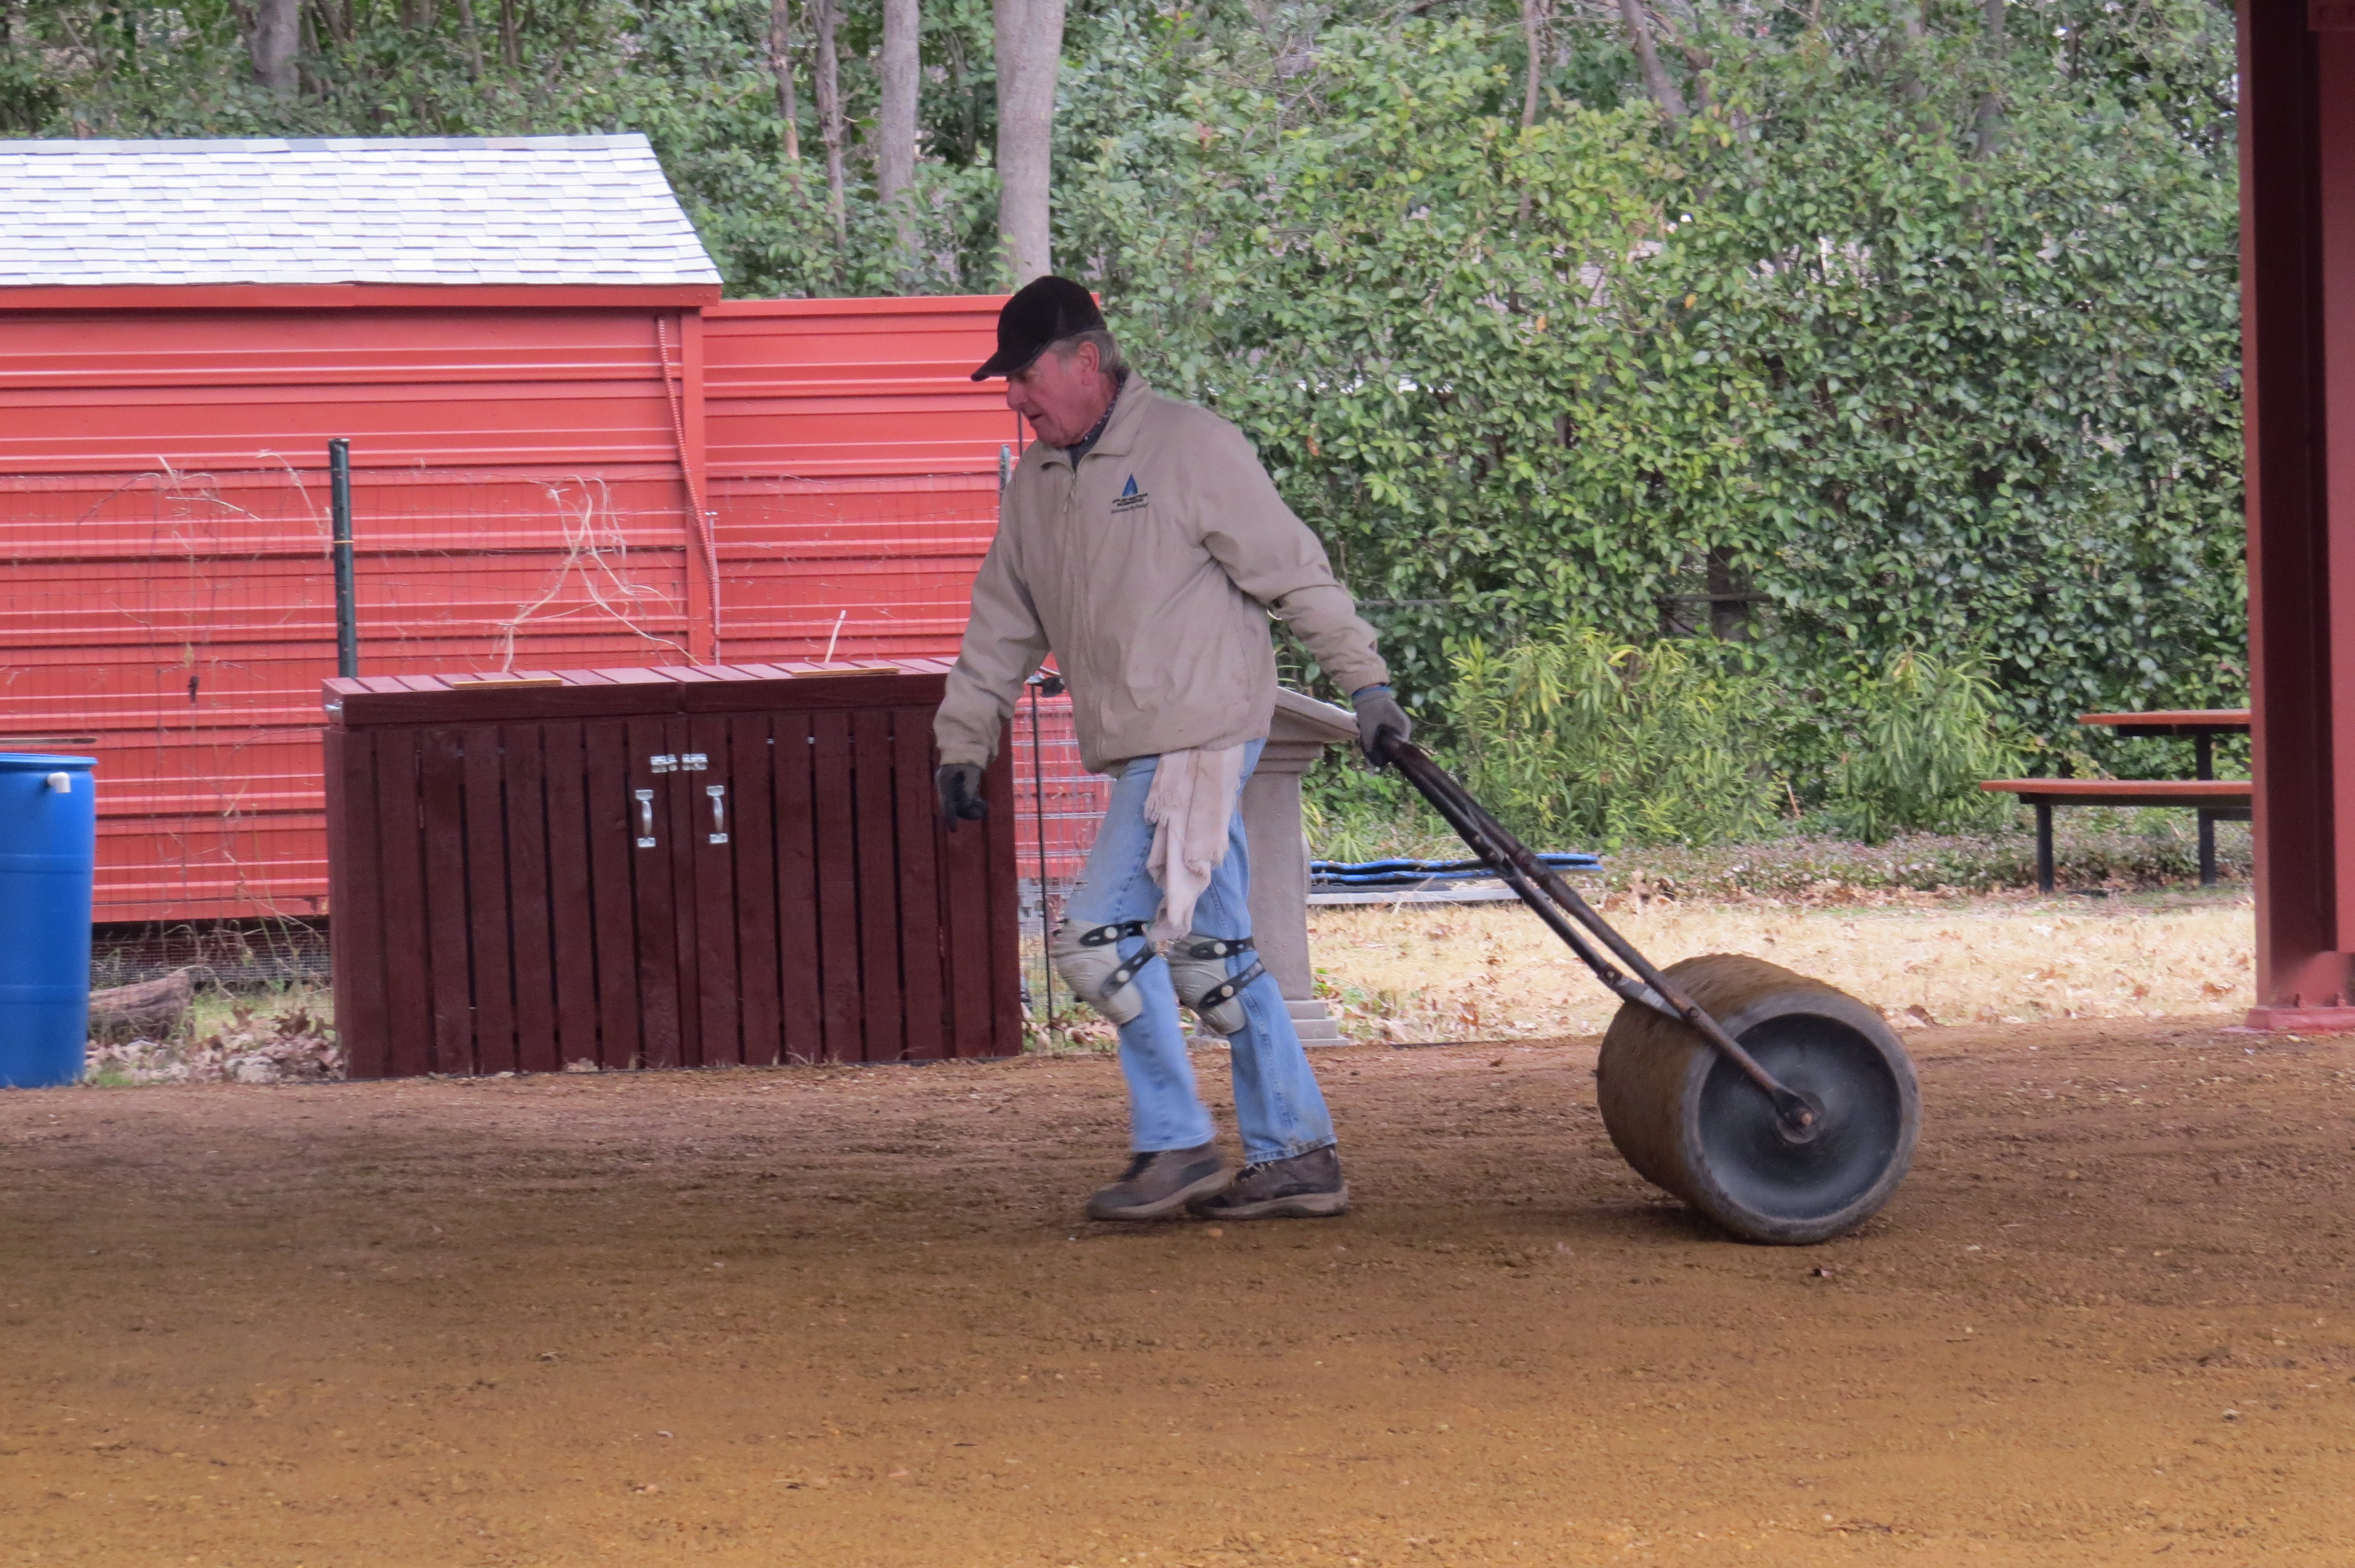
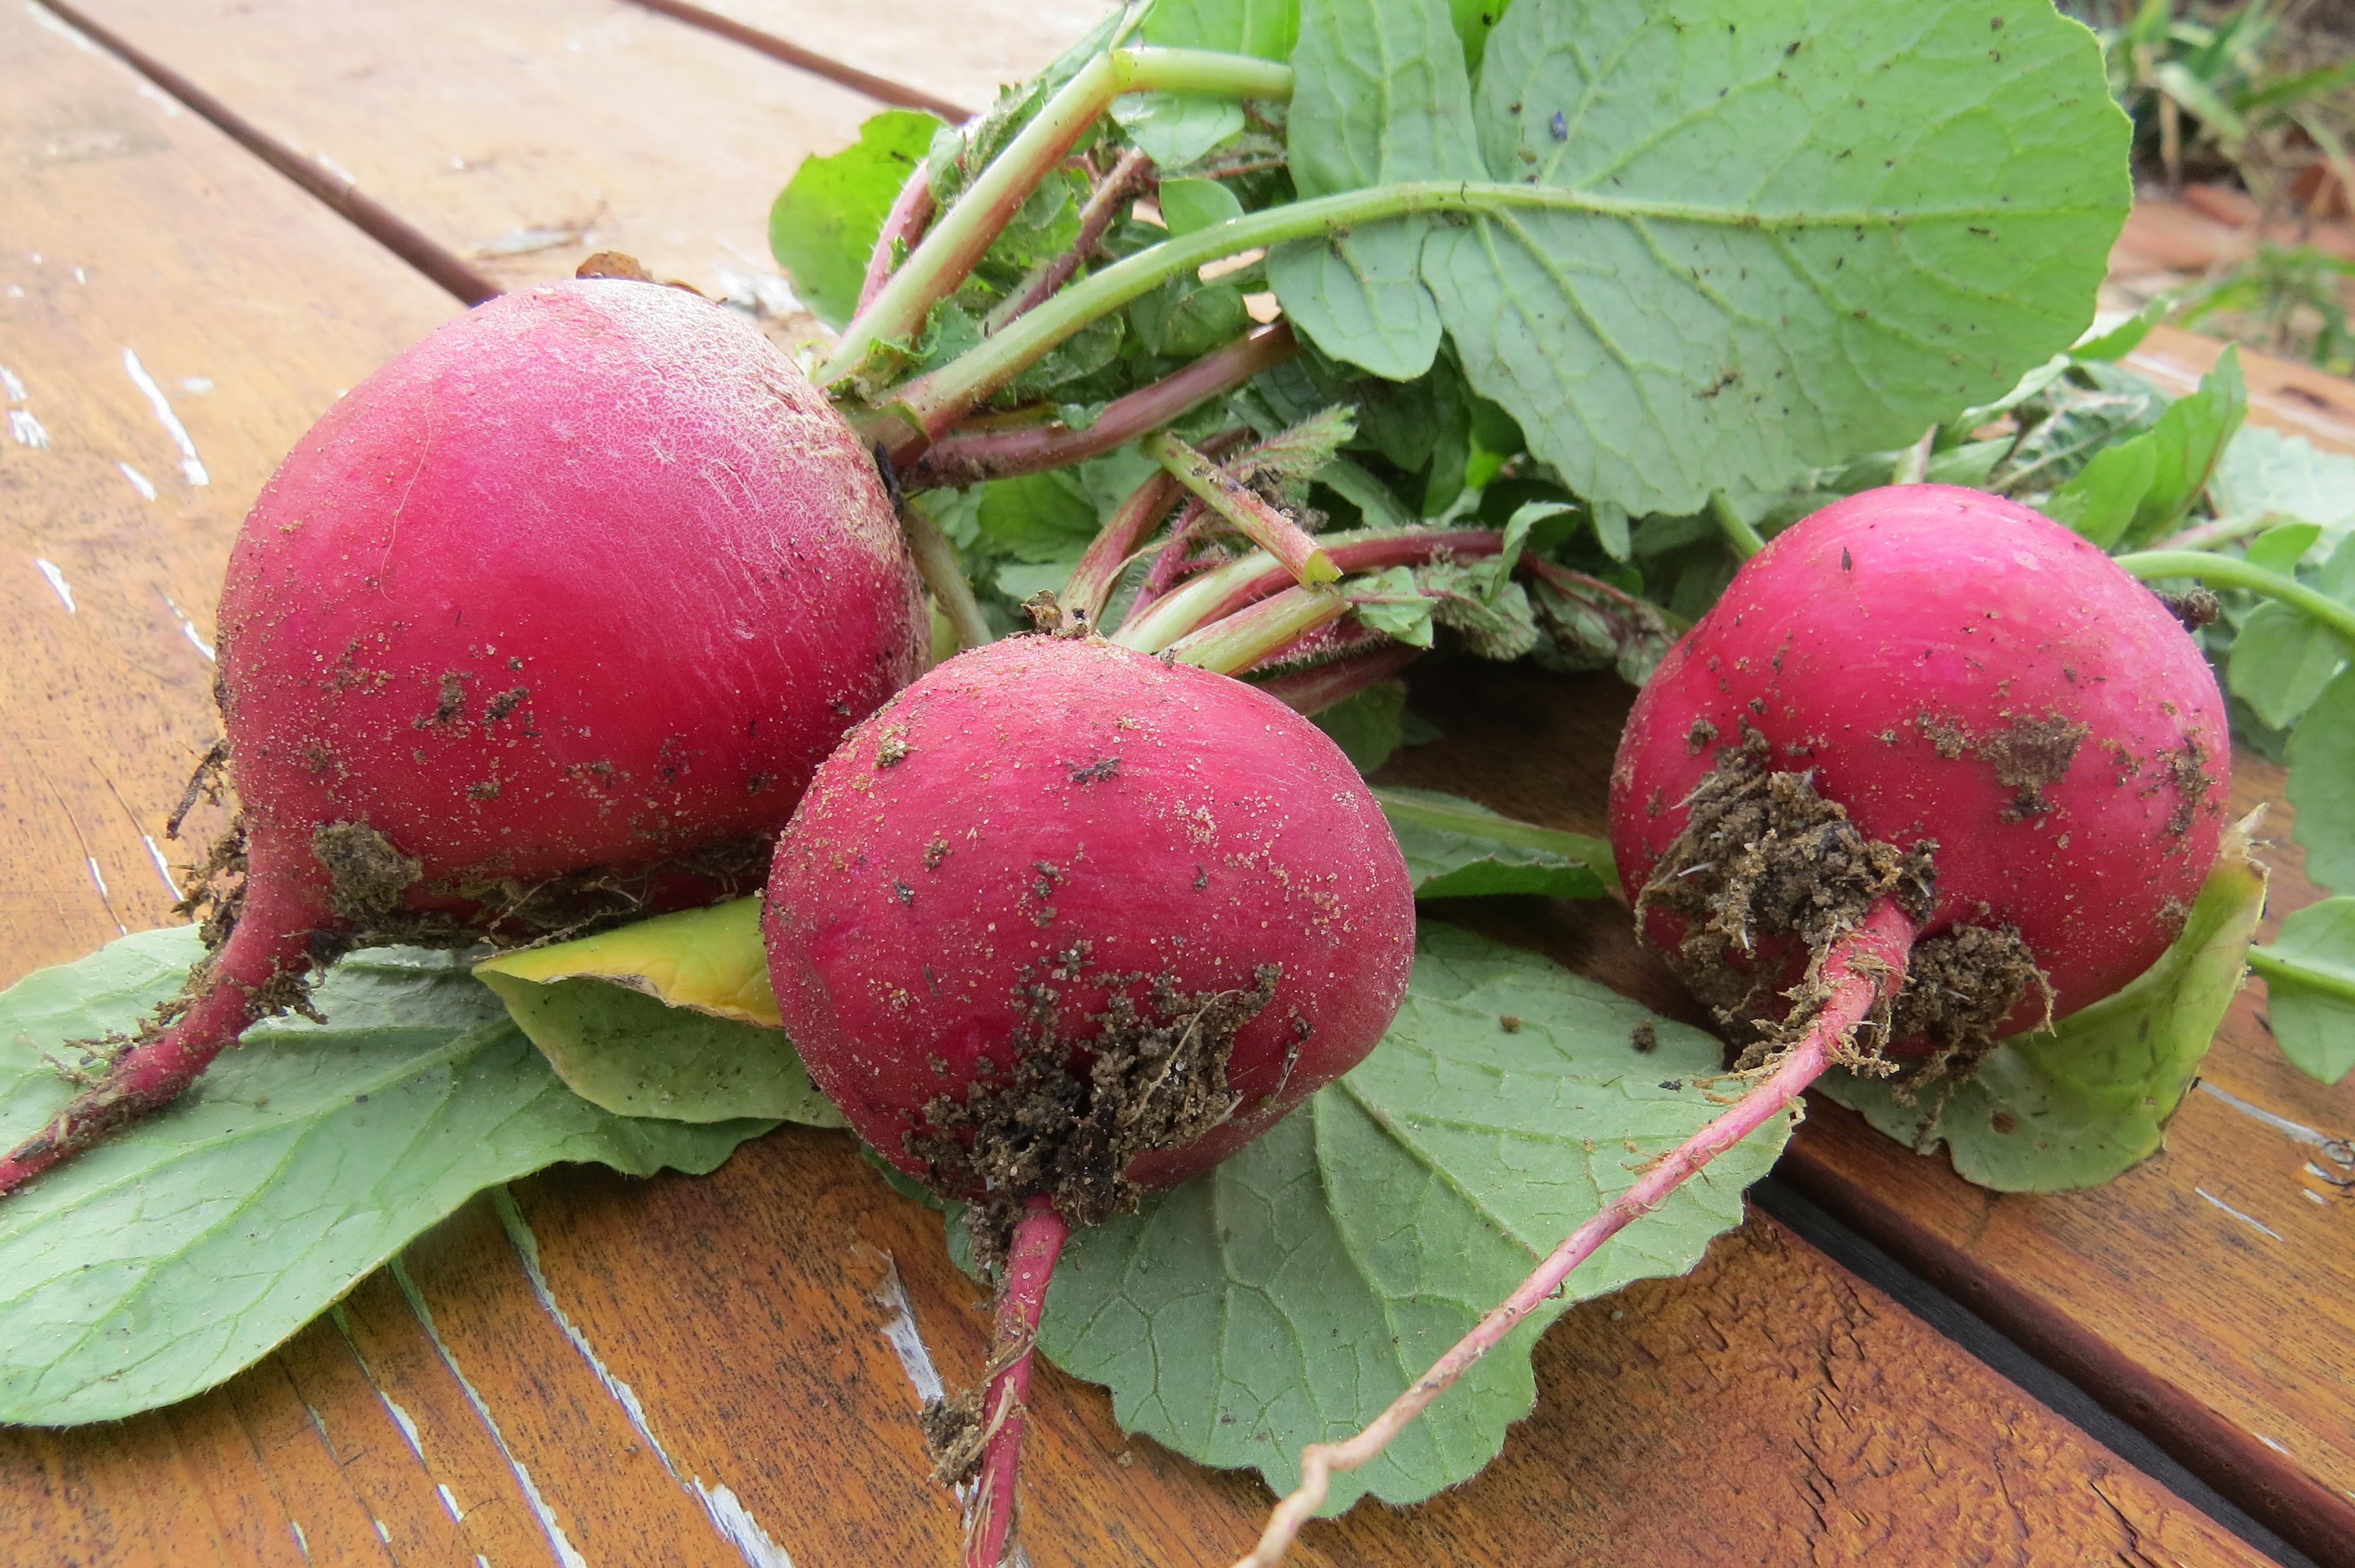
Review our horticultural lesson on
apples, pears, poms and persimmons here.
Linda Alexander
Pictures by Starla Willis and Linda Alexander