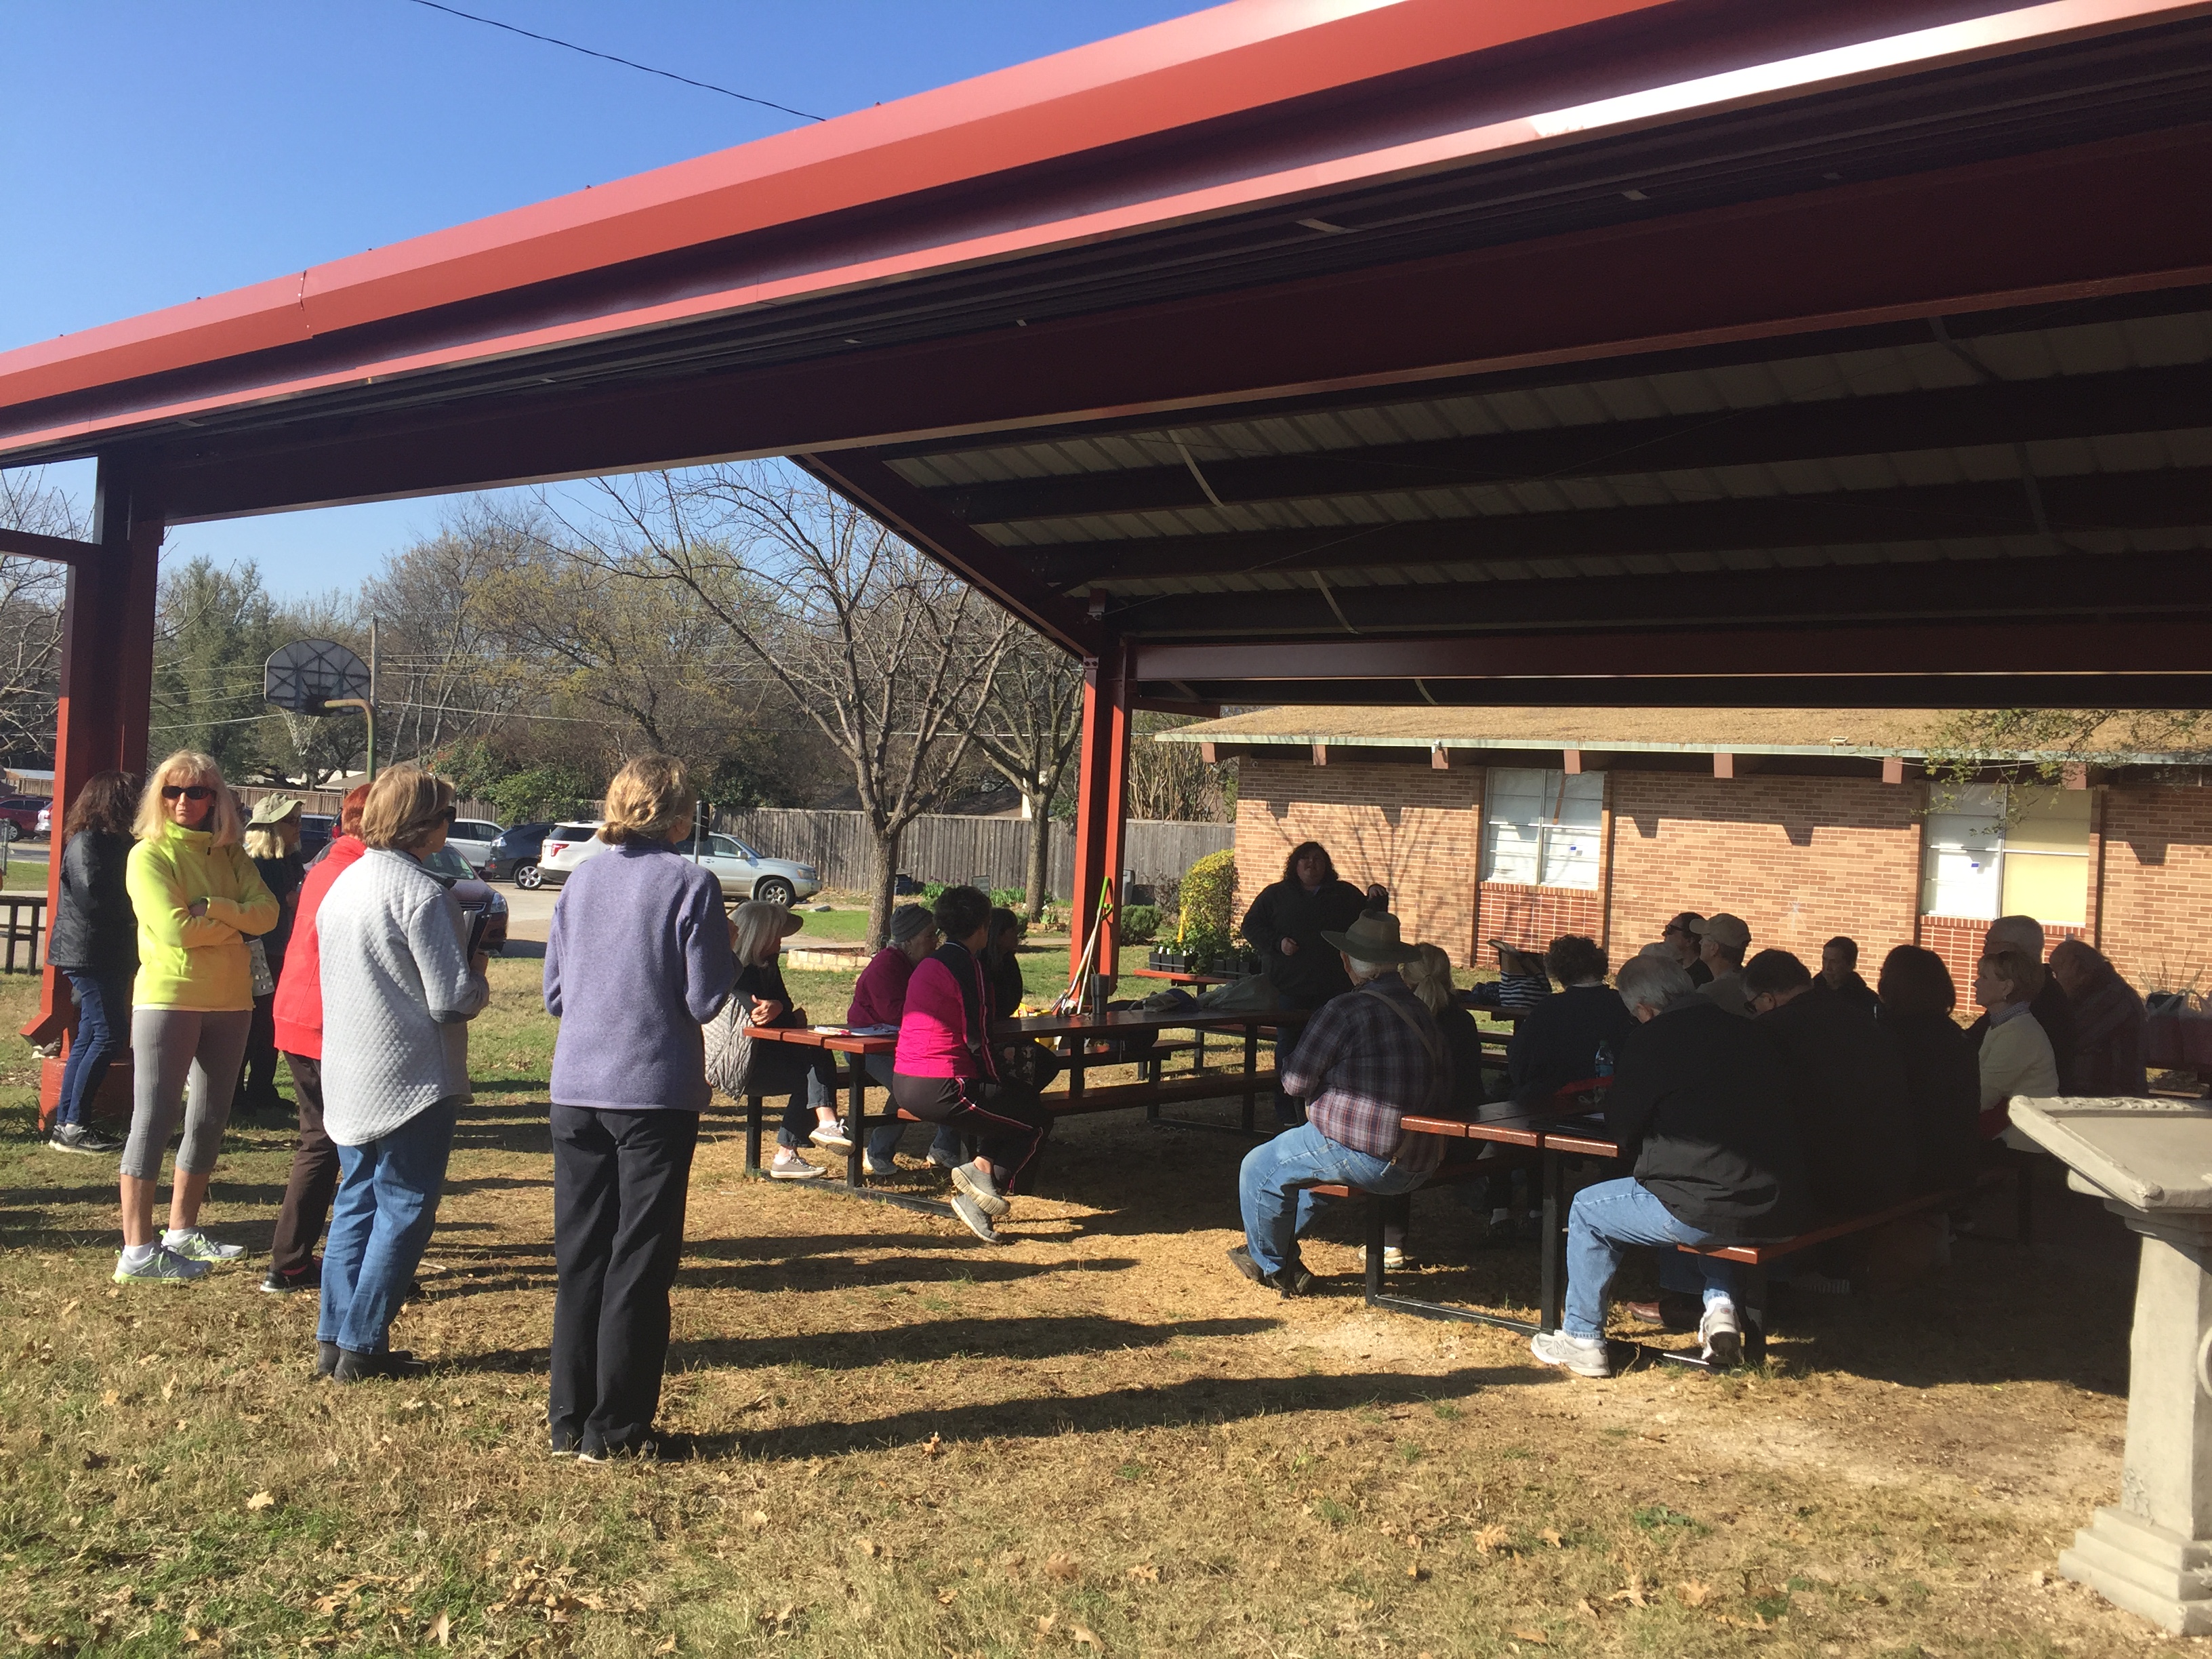
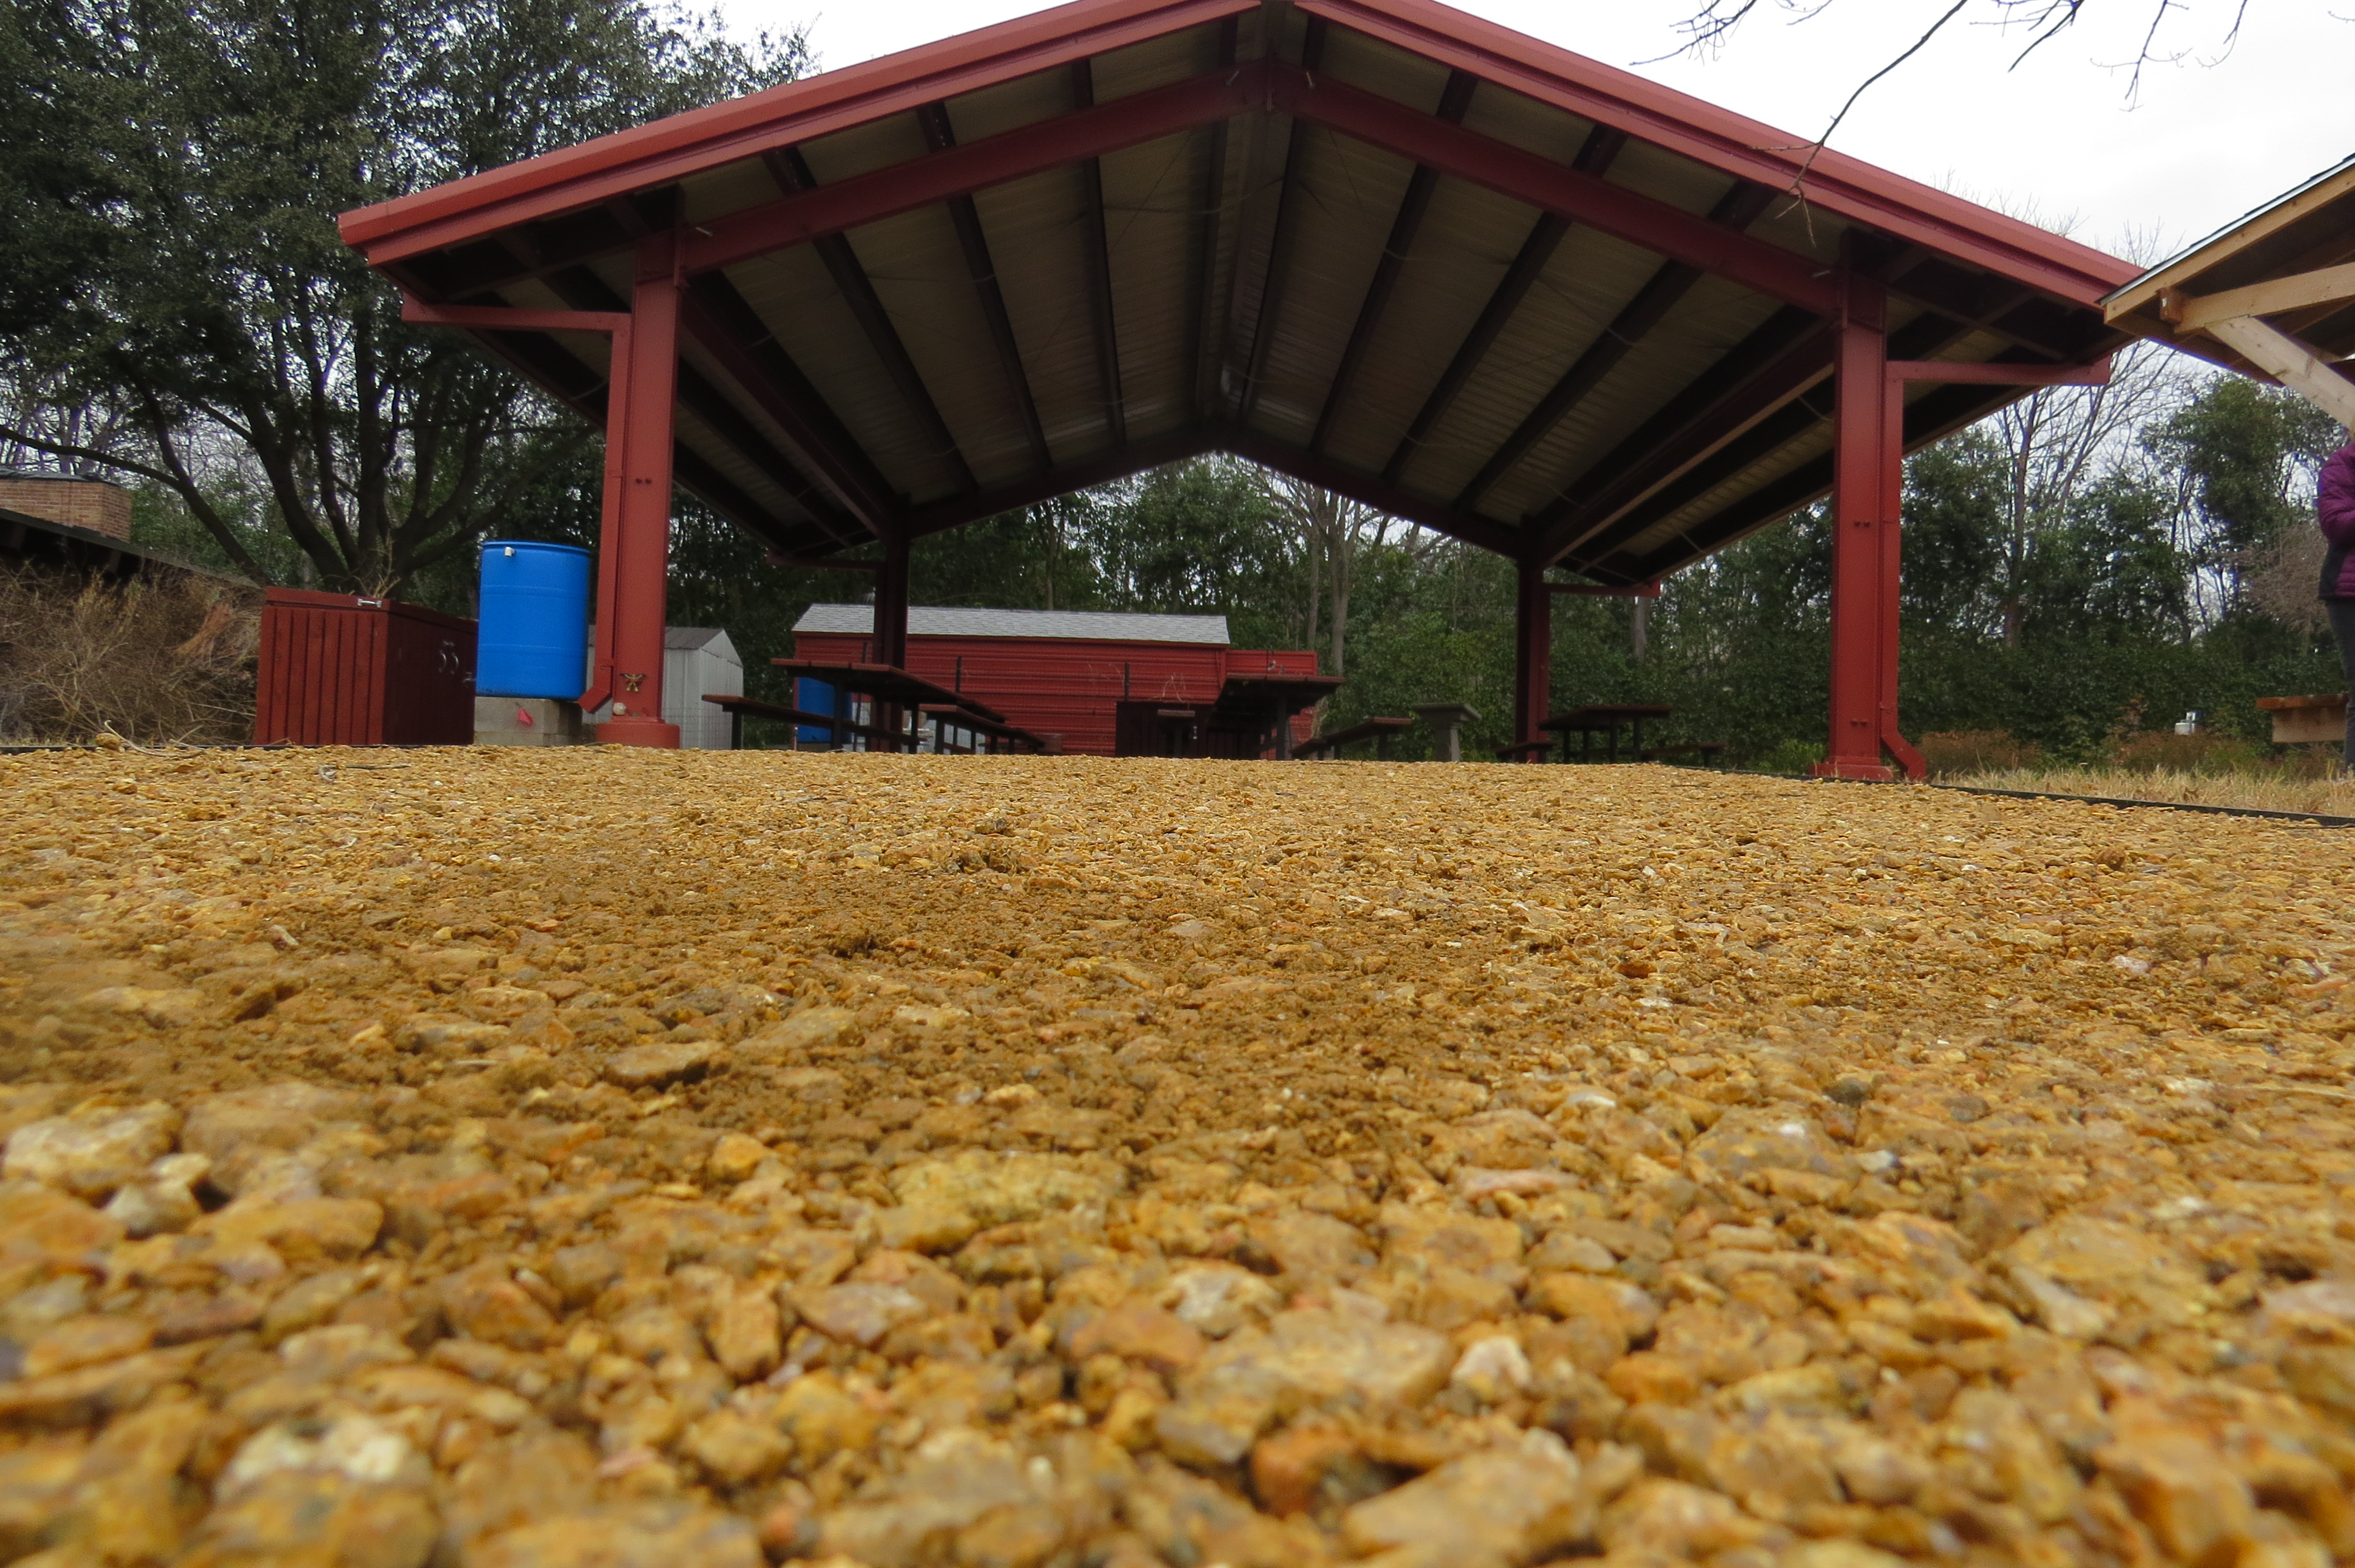
The Raincatcher’s Garden has a new look. We are starting 2019 with durable, *ADA compliant, paths and a floor beneath our shade structure. The work has been done by a team of Master Gardeners led by Jon Maxwell who is one of the co-chairpersons of our garden.
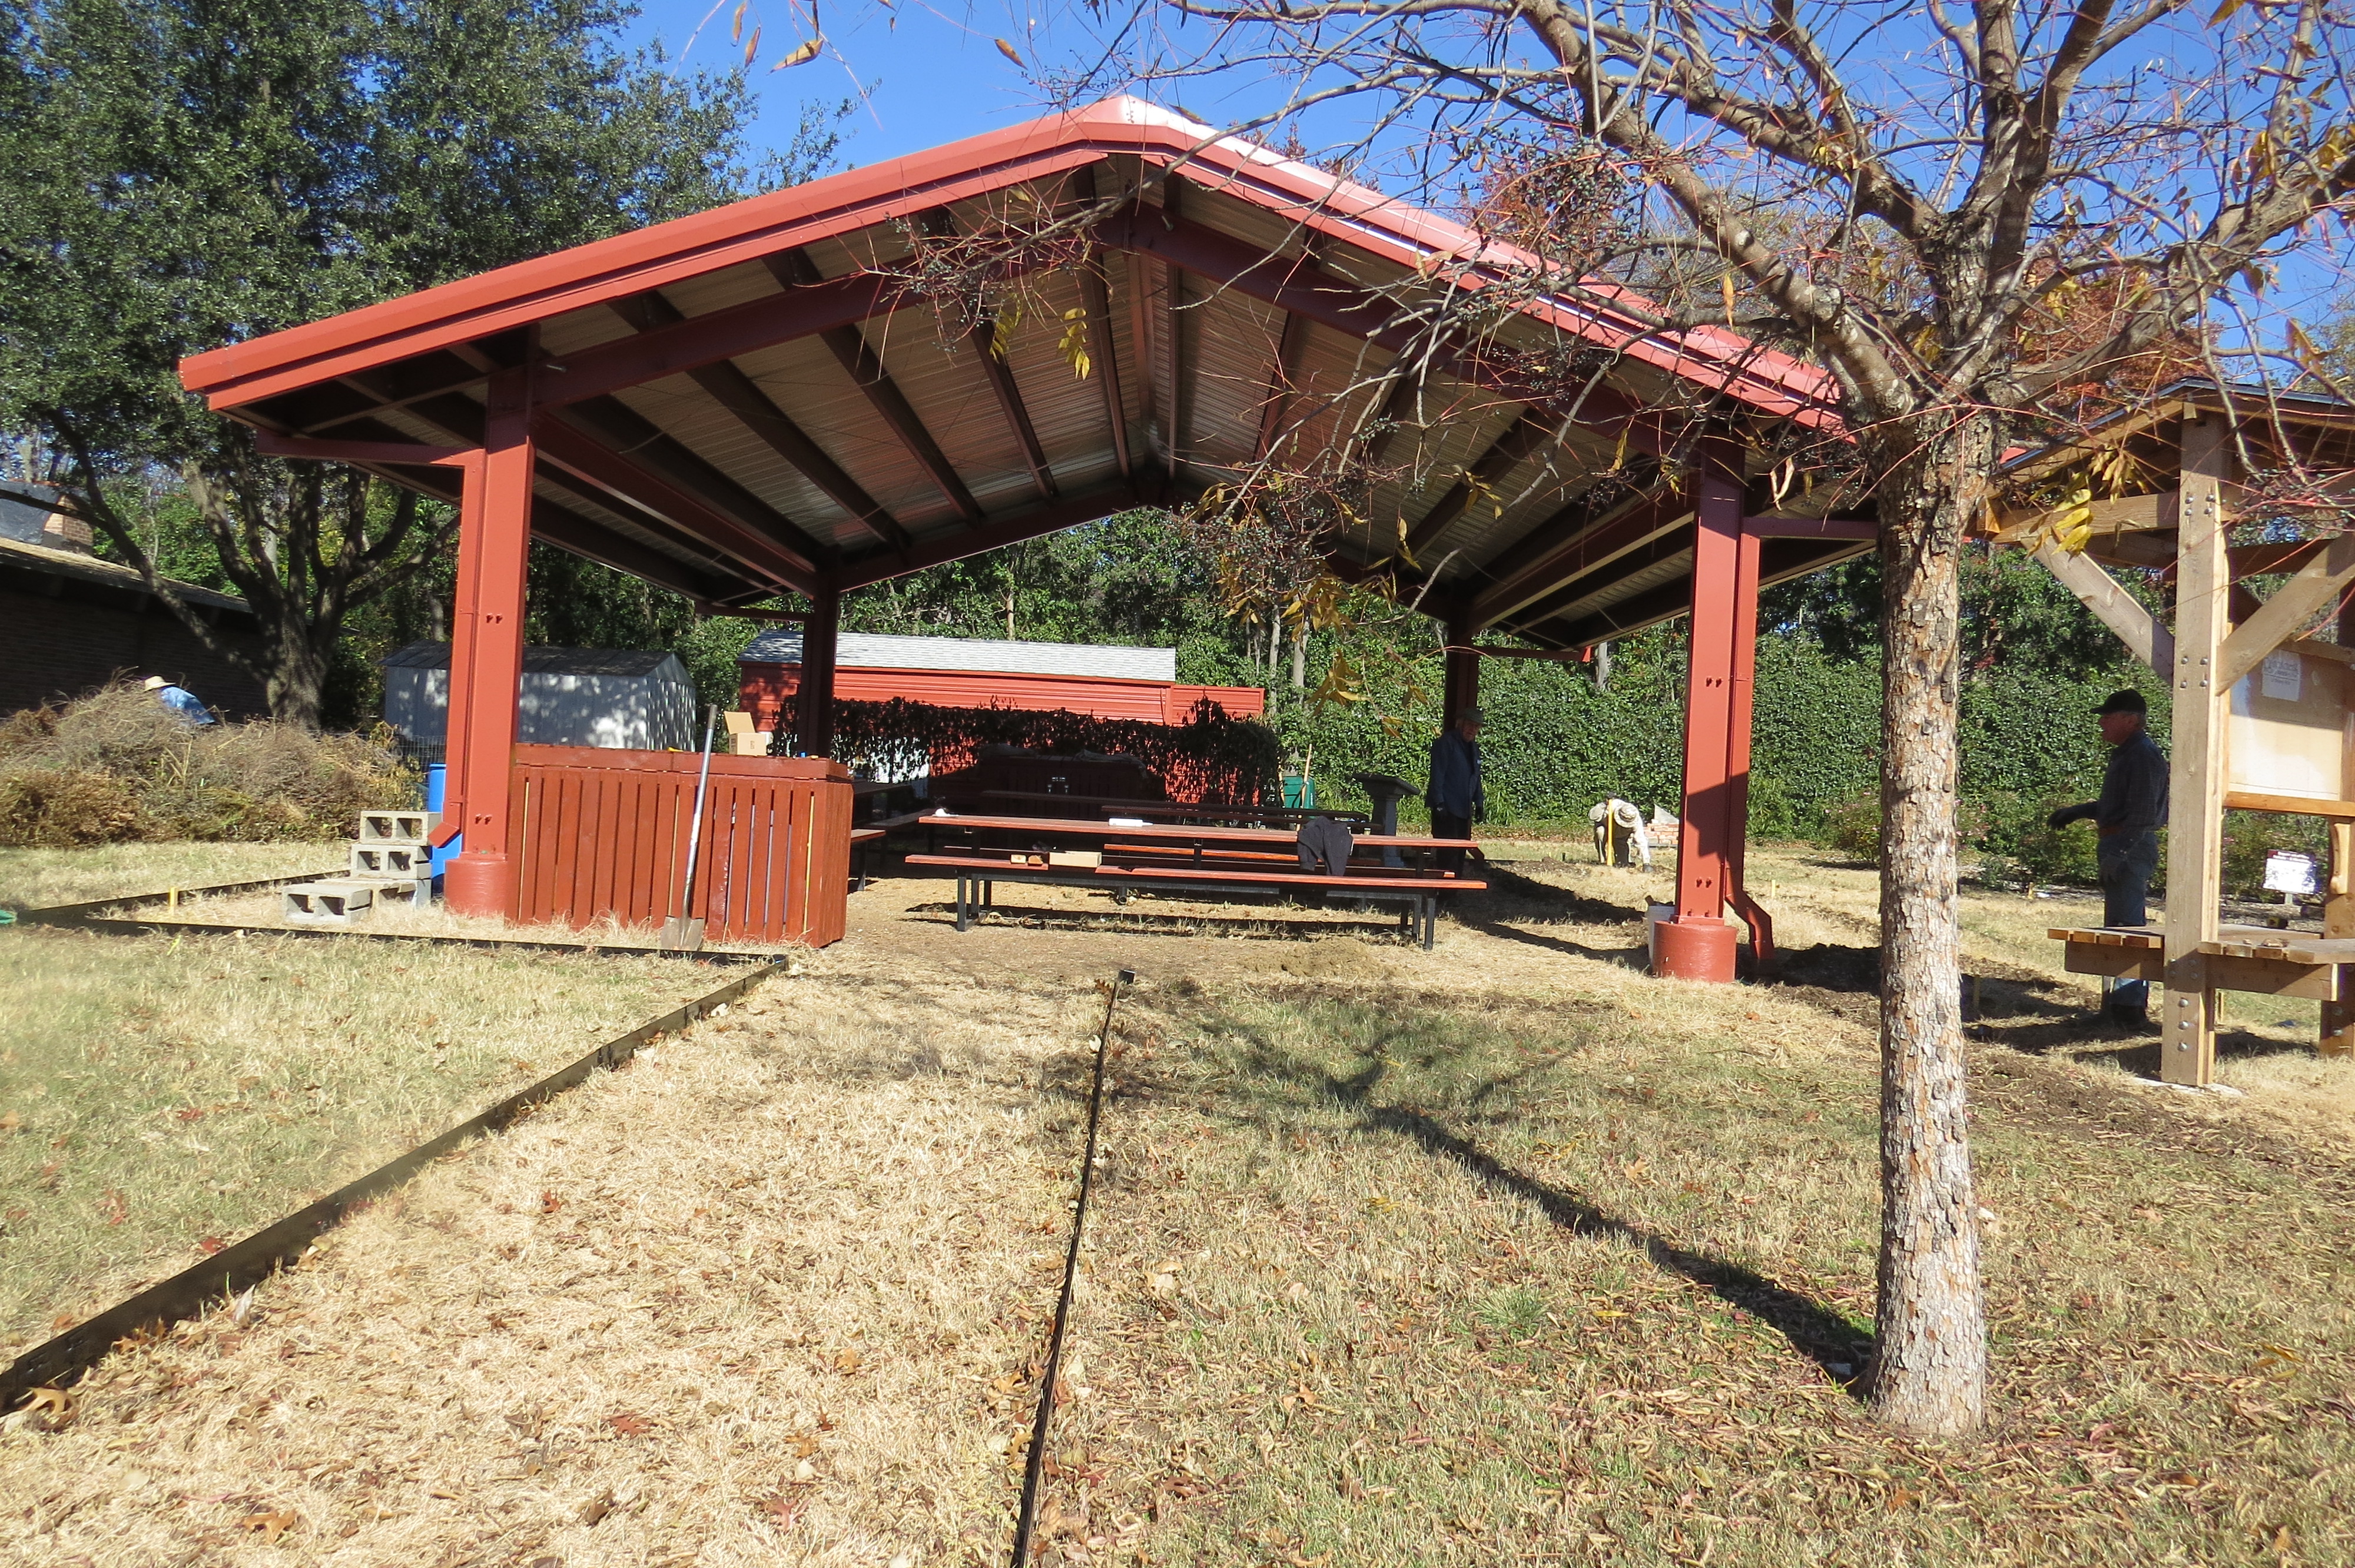
Shade structure before!
Jon, we are thrilled with this accomplishment. Hearty thanks to you, Ed Wolfgang, Tig Thompson, Hans Wildburger, Joe LaBay, and Jim Miller (2019 MG Student).
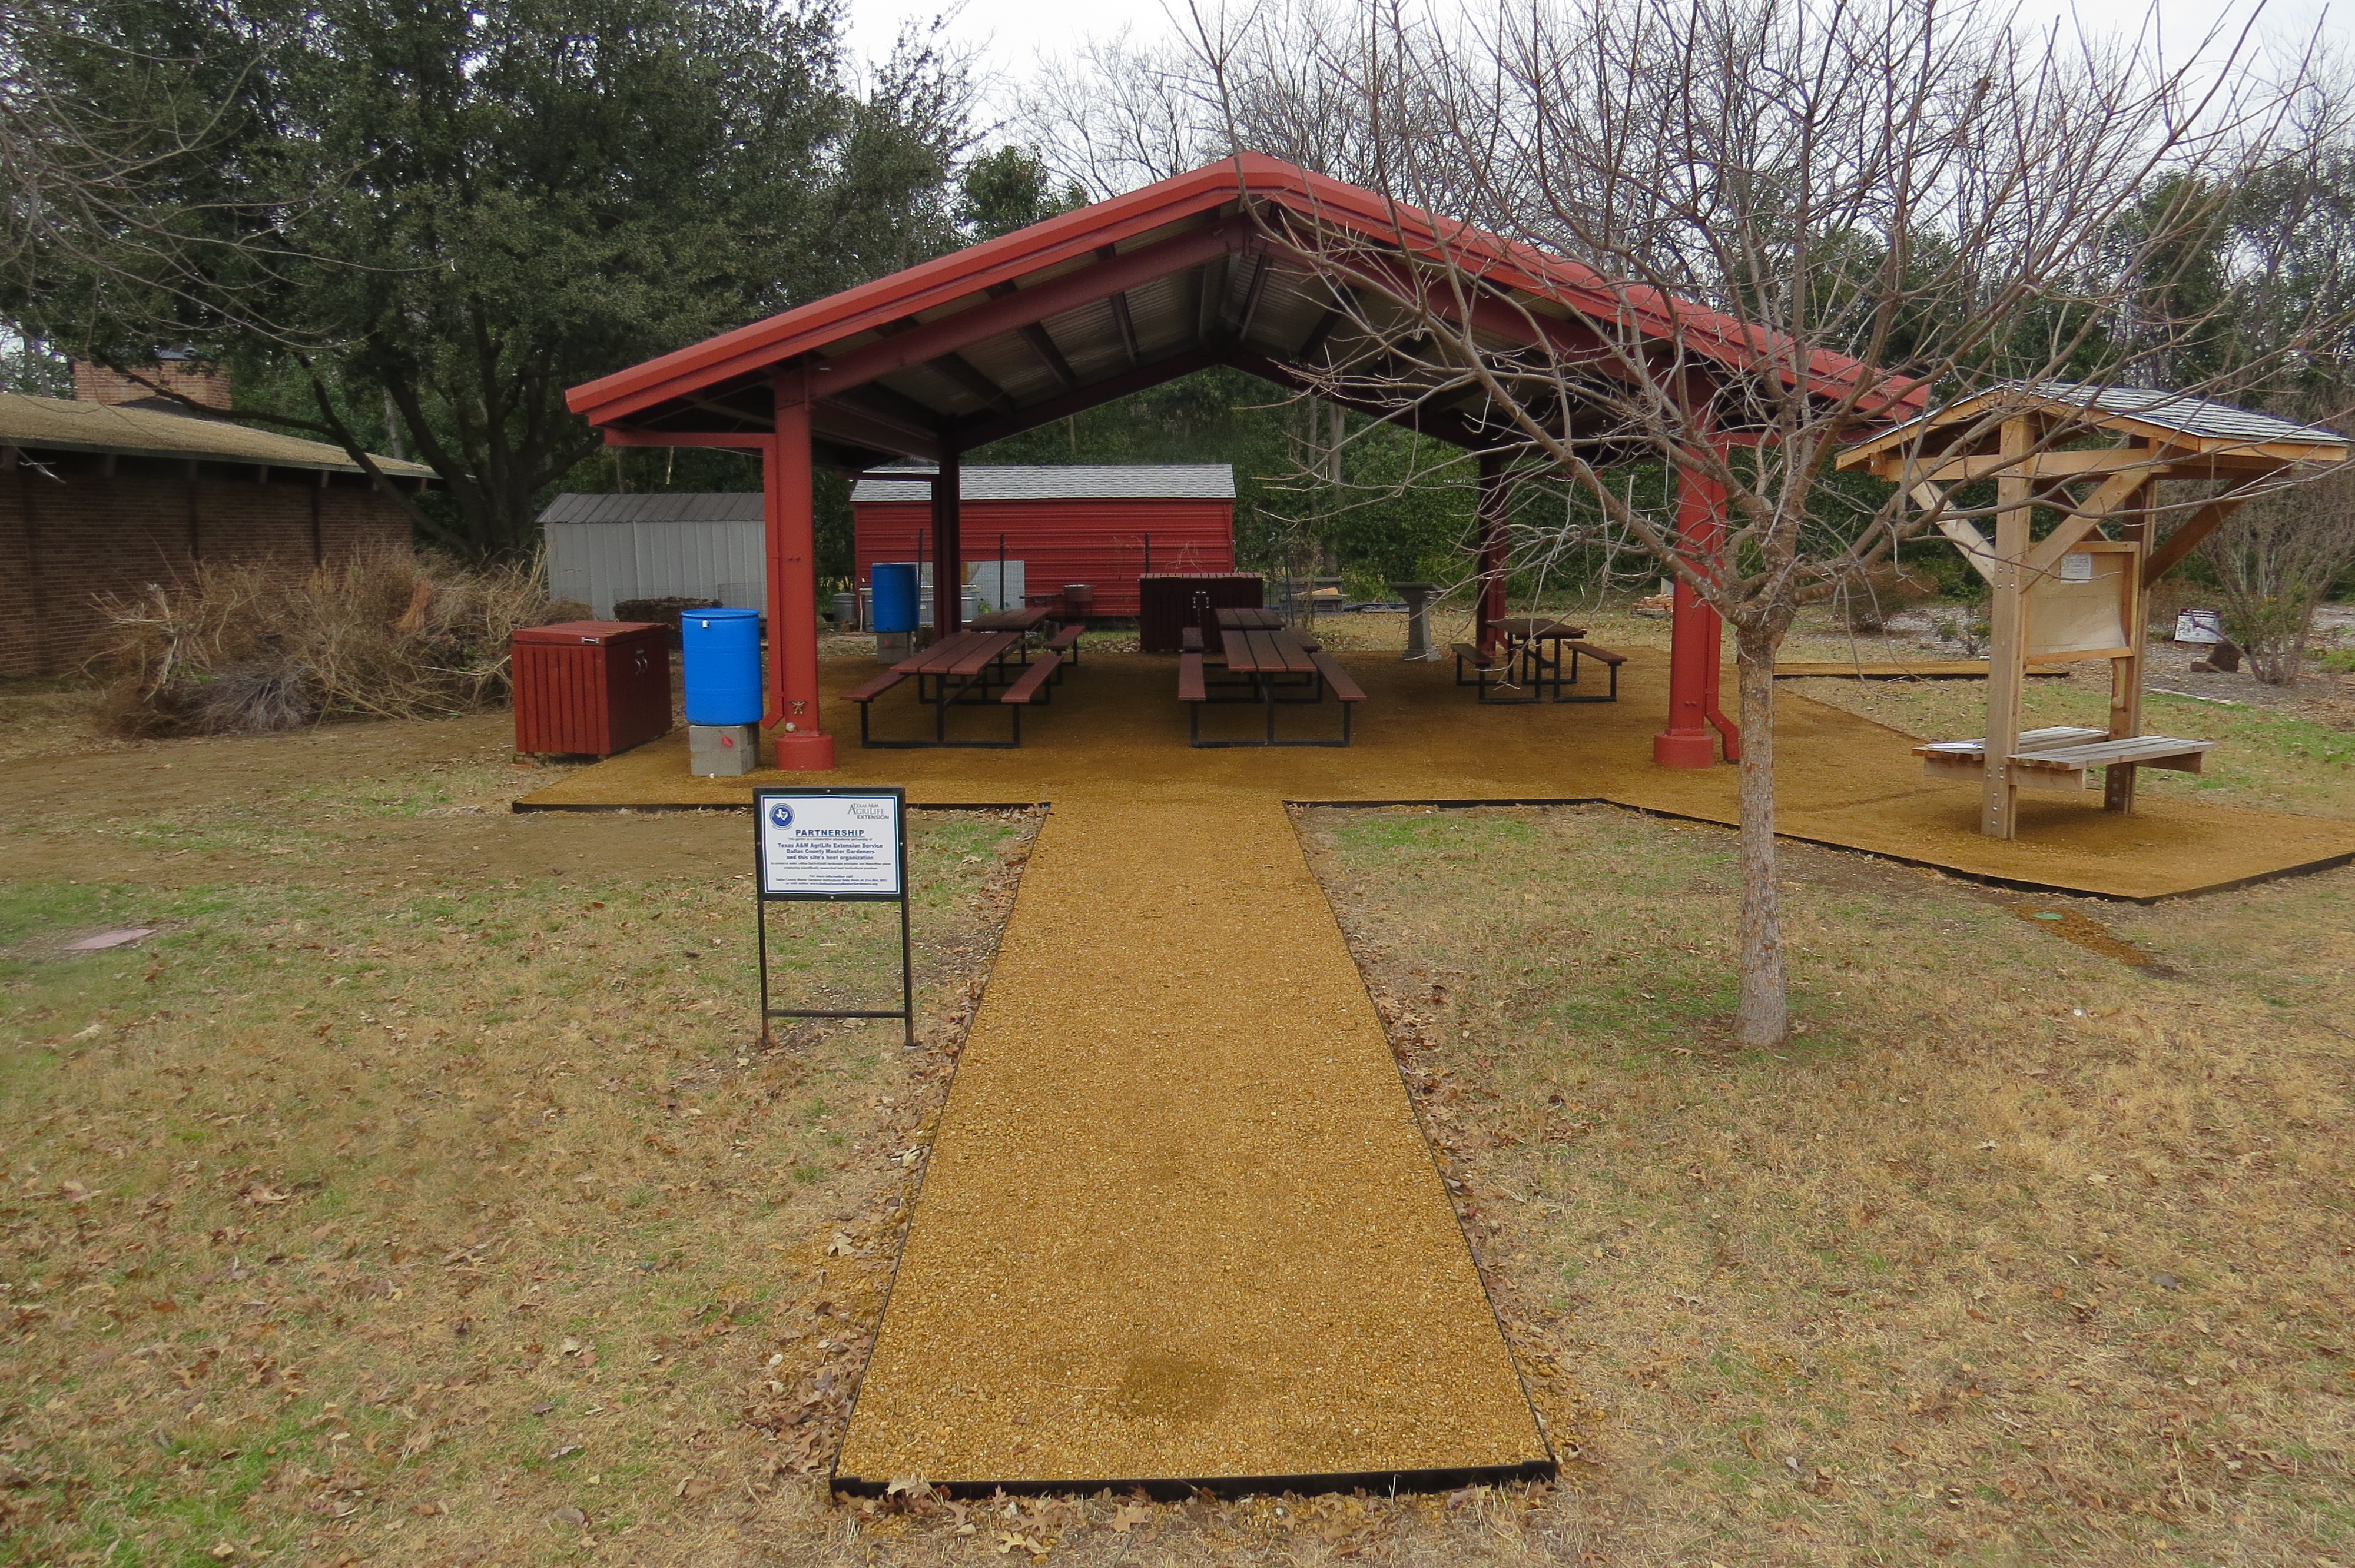
Finished product. Read below for the how-to directions.
Please tell us about the process.
What other options were considered? Why did Master Gardeners choose decomposed granite?
We considered several different alternatives, including installing a concrete pad, putting down a 4” layer of hardwood mulch, gravel and decomposed granite(DG). We ruled out concrete as too expensive and with our Houston clay soils to likely to crack and become uneven. The mulch would too quickly decompose and thus require monthly additions to the pad in order to maintain a comfortable level, and most importantly would not have been ADA compliant. Pea gravel was also considered but again is not ADA compliant nor is it particularly stable for volunteers or visitors to walk on – not to mention the accompanying dust that would coat the tables and benches. Decomposed granite on the other hand, while initially expensive, would provide an ADA compliant surface when a stabilizer is incorporated or applied. The DG floor will over time require some maintenance to maintain an even surface degraded from traffic and/or rain run-off.
You started with bare compacted soil. Would you mine giving us the process from stage 1 to completion step-by-step?
a. Evaluate the soil, its condition, and its grade. We were fortunate that the lay of the land under the shade pavilion was somewhat level and had about a 5 degree slope from the north to the south that allowed for run-off and that it had become hard packed from use and being sheltered from the elements for the past year or so.
You must start with a firm base, the ground may need to be machine compacted or rolled prior to the laying down of the first strata of sub-surface materials. During the compacting process, if necessary, you should add soil to level out the proposed DG site and fix the grade, (slope), of the pad or walkway. If you have a project that is subject to rain water floods, ie downspouts, you should modify the downspouts by either incorporating a rain-harvesting process or by modifying the drainage system.
We have done both, the east side downspouts flow pattern was modified to run underground through a 4” pipe and flow up through a pop-up drain outside of the DG pad, which allows for that rain water to run out into the contiguous parking lot. For the west downspouts we are capturing that rain water into rain barrels, which we plan to use for homeowner demonstrations on rain harvesting and as another water source for our composting station.
b. In order to contain the DG you must use some type of border edging material. You can purchase metal edging from the box stores but it typically is not strong enough to prevent getting waves in it while the DG is being compacted. We selected a 3/16” thick by 5” tall metal edging from Collier Metal Specialties LTD, “COL-MET”, which is located in Garland. Various other edging materials are available in different sizes, thicknesses and colors. The edging needs to be installed about 2” deep into the ground. On the 5” edging that will leave 3” above grade for the sub-surface material and the finishing surface material. The sturdier edging is harder to work with as it requires a saw to cut the sections to fit the desired space. We chose to use 90 degree corners for all of our turns, so this worked out quite well for the pad installation. We used 30 10’ sections, 15 90 degree corners, and 275’ of rubber cap. If you are concerned about weeds, then before laying down the sub-surface material, lay down a fabric weed barrier but this is optional.
Edging in place at The Raincatcher’s Garden
c. Add the first layer of sub-surface material. We used crushed concrete purchased from the same source for the decomposed granite, Lowry Sand and Gravel, to establish at least a 1” base. It is far cheaper than any other material that might be used and provides a non-decomposable base. Some projects use only the DG without a sub-surface base but that is considerably more expensive and it does not help to “fix” in position the surface as well. Do not roll or pack the sub-surface material.
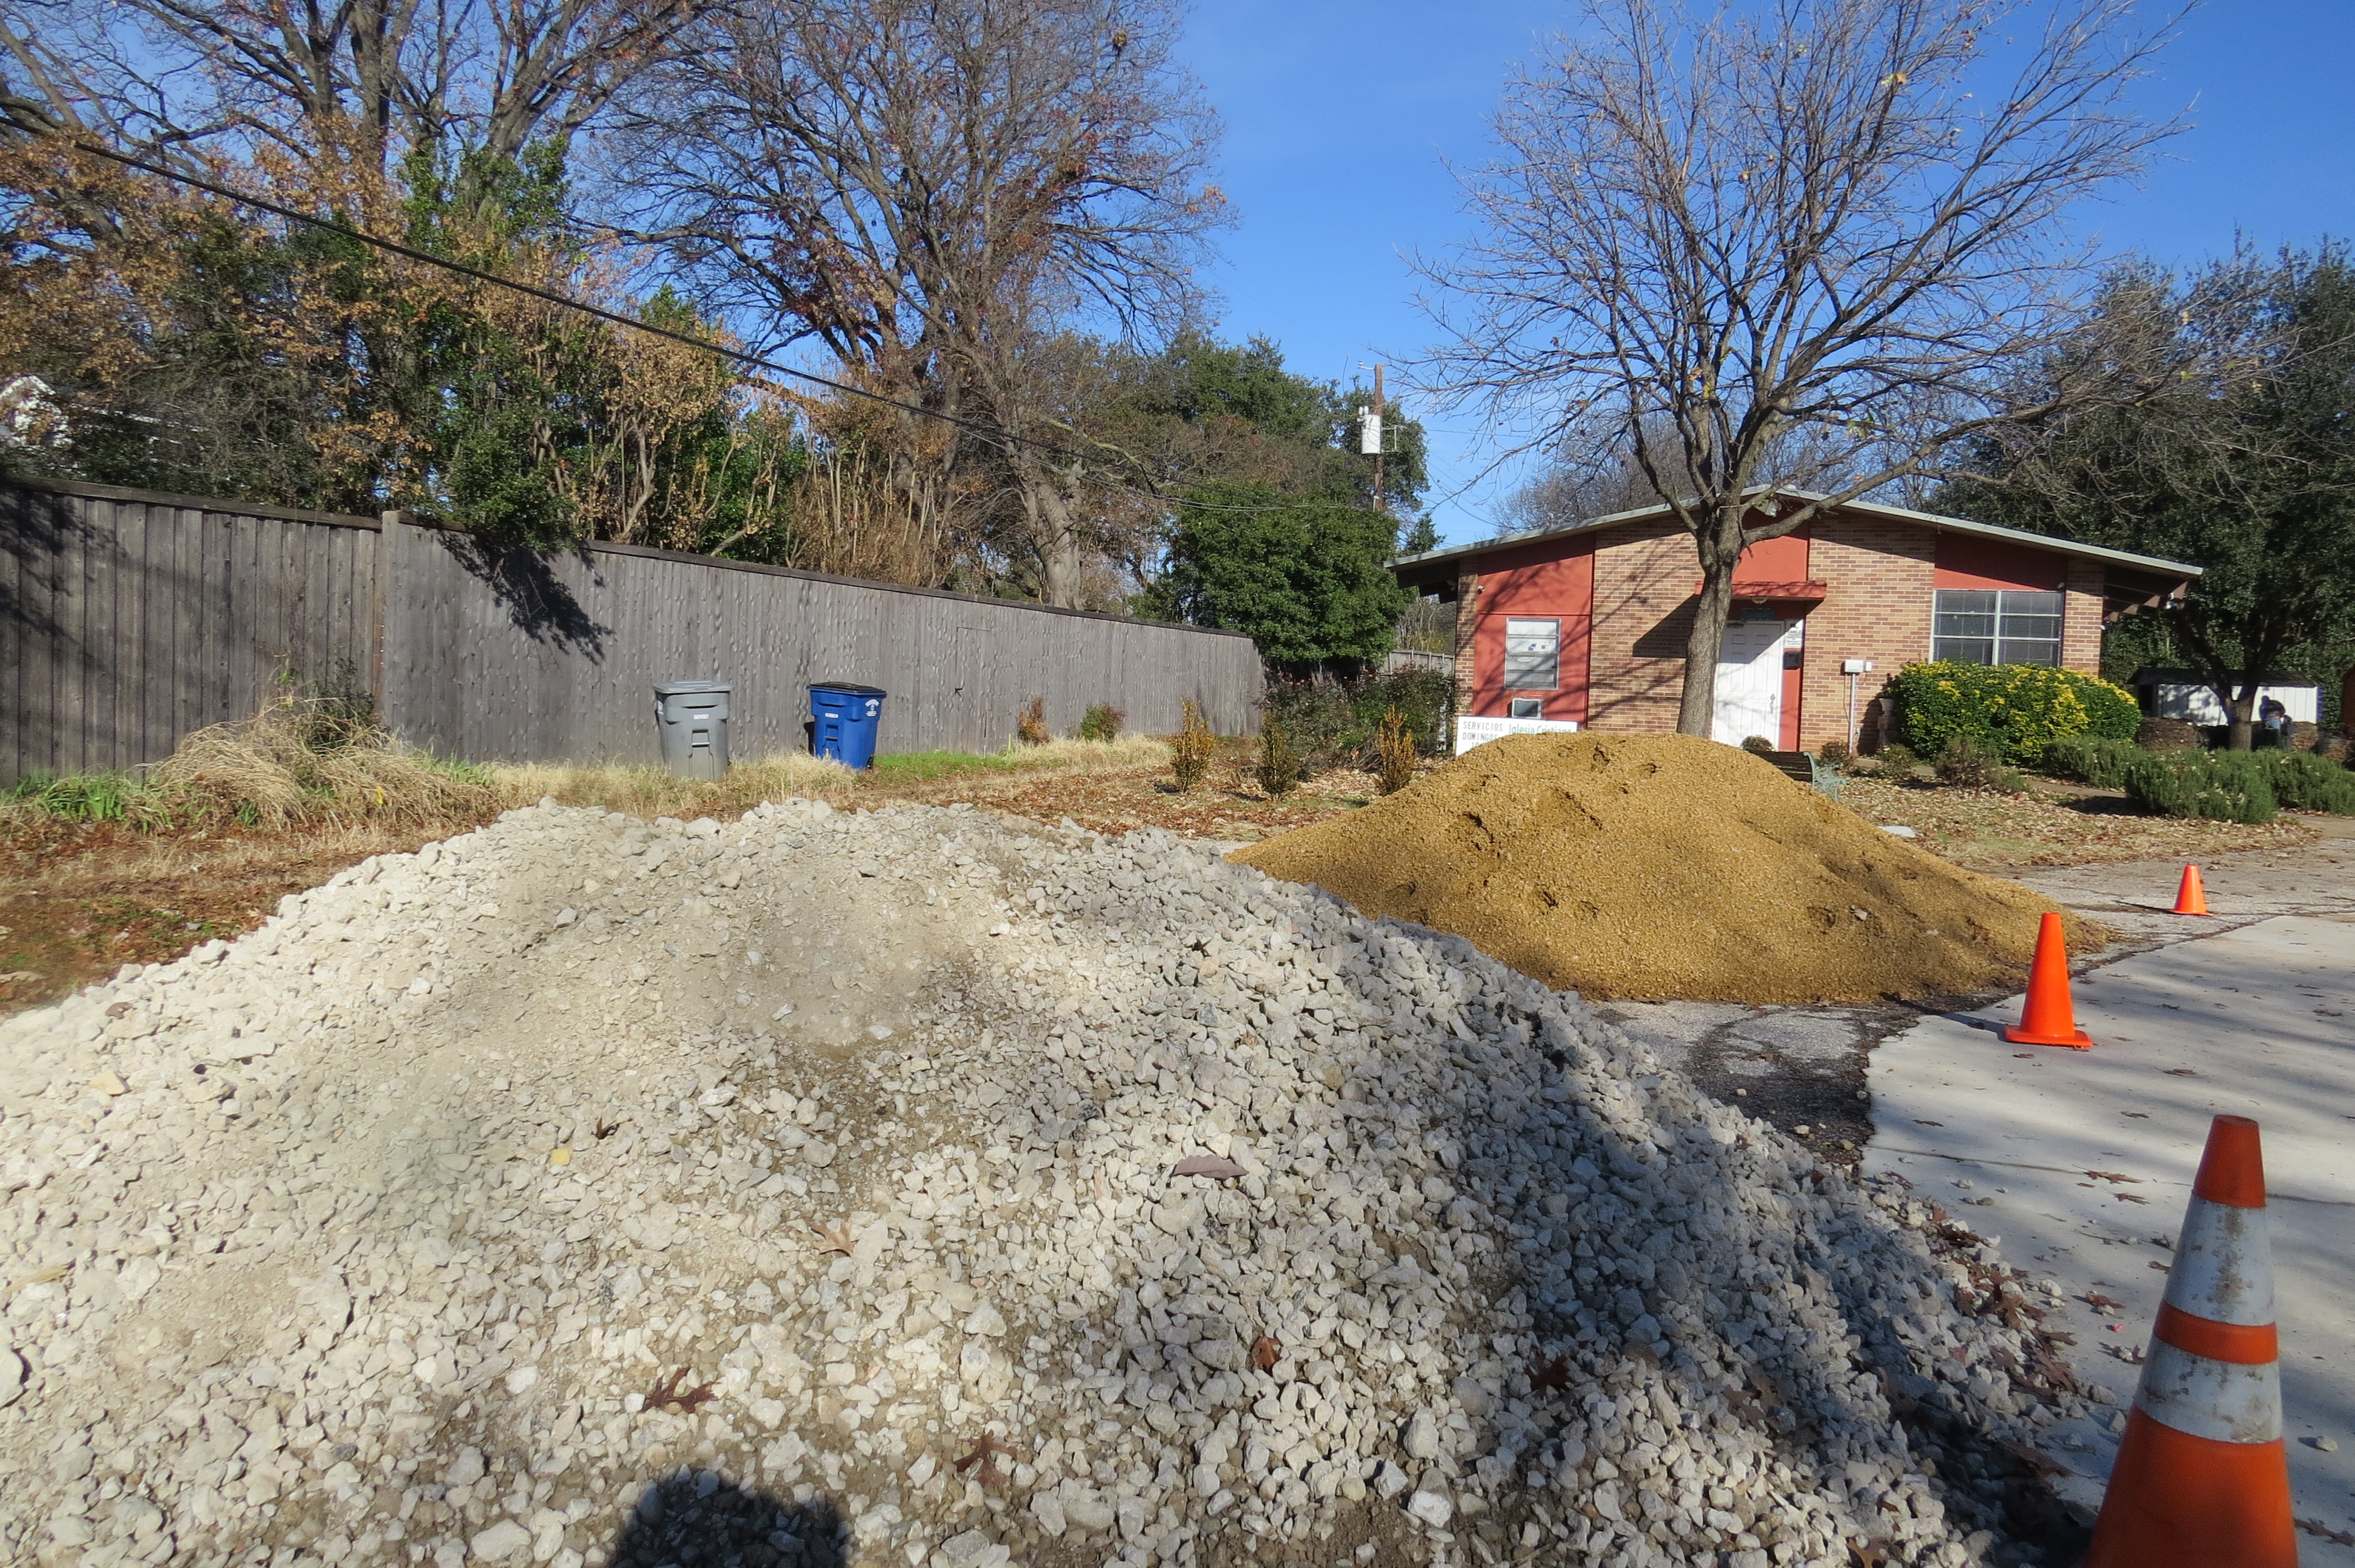
Piles of crushed concrete and decomposed granite ready for installation
d. After the sub-surface base is completed, add the first layer of DG, at least 1.5” is required. Lightly moisten the material and then roll or mechanically compact that layer. The 1.5” layer will compact down to about 1” actual. The initial layer should sit for at least 8 – 12 hours before applying the second and final layer. Once applied, the final layer will again need to be rolled or mechanically compacted as well.
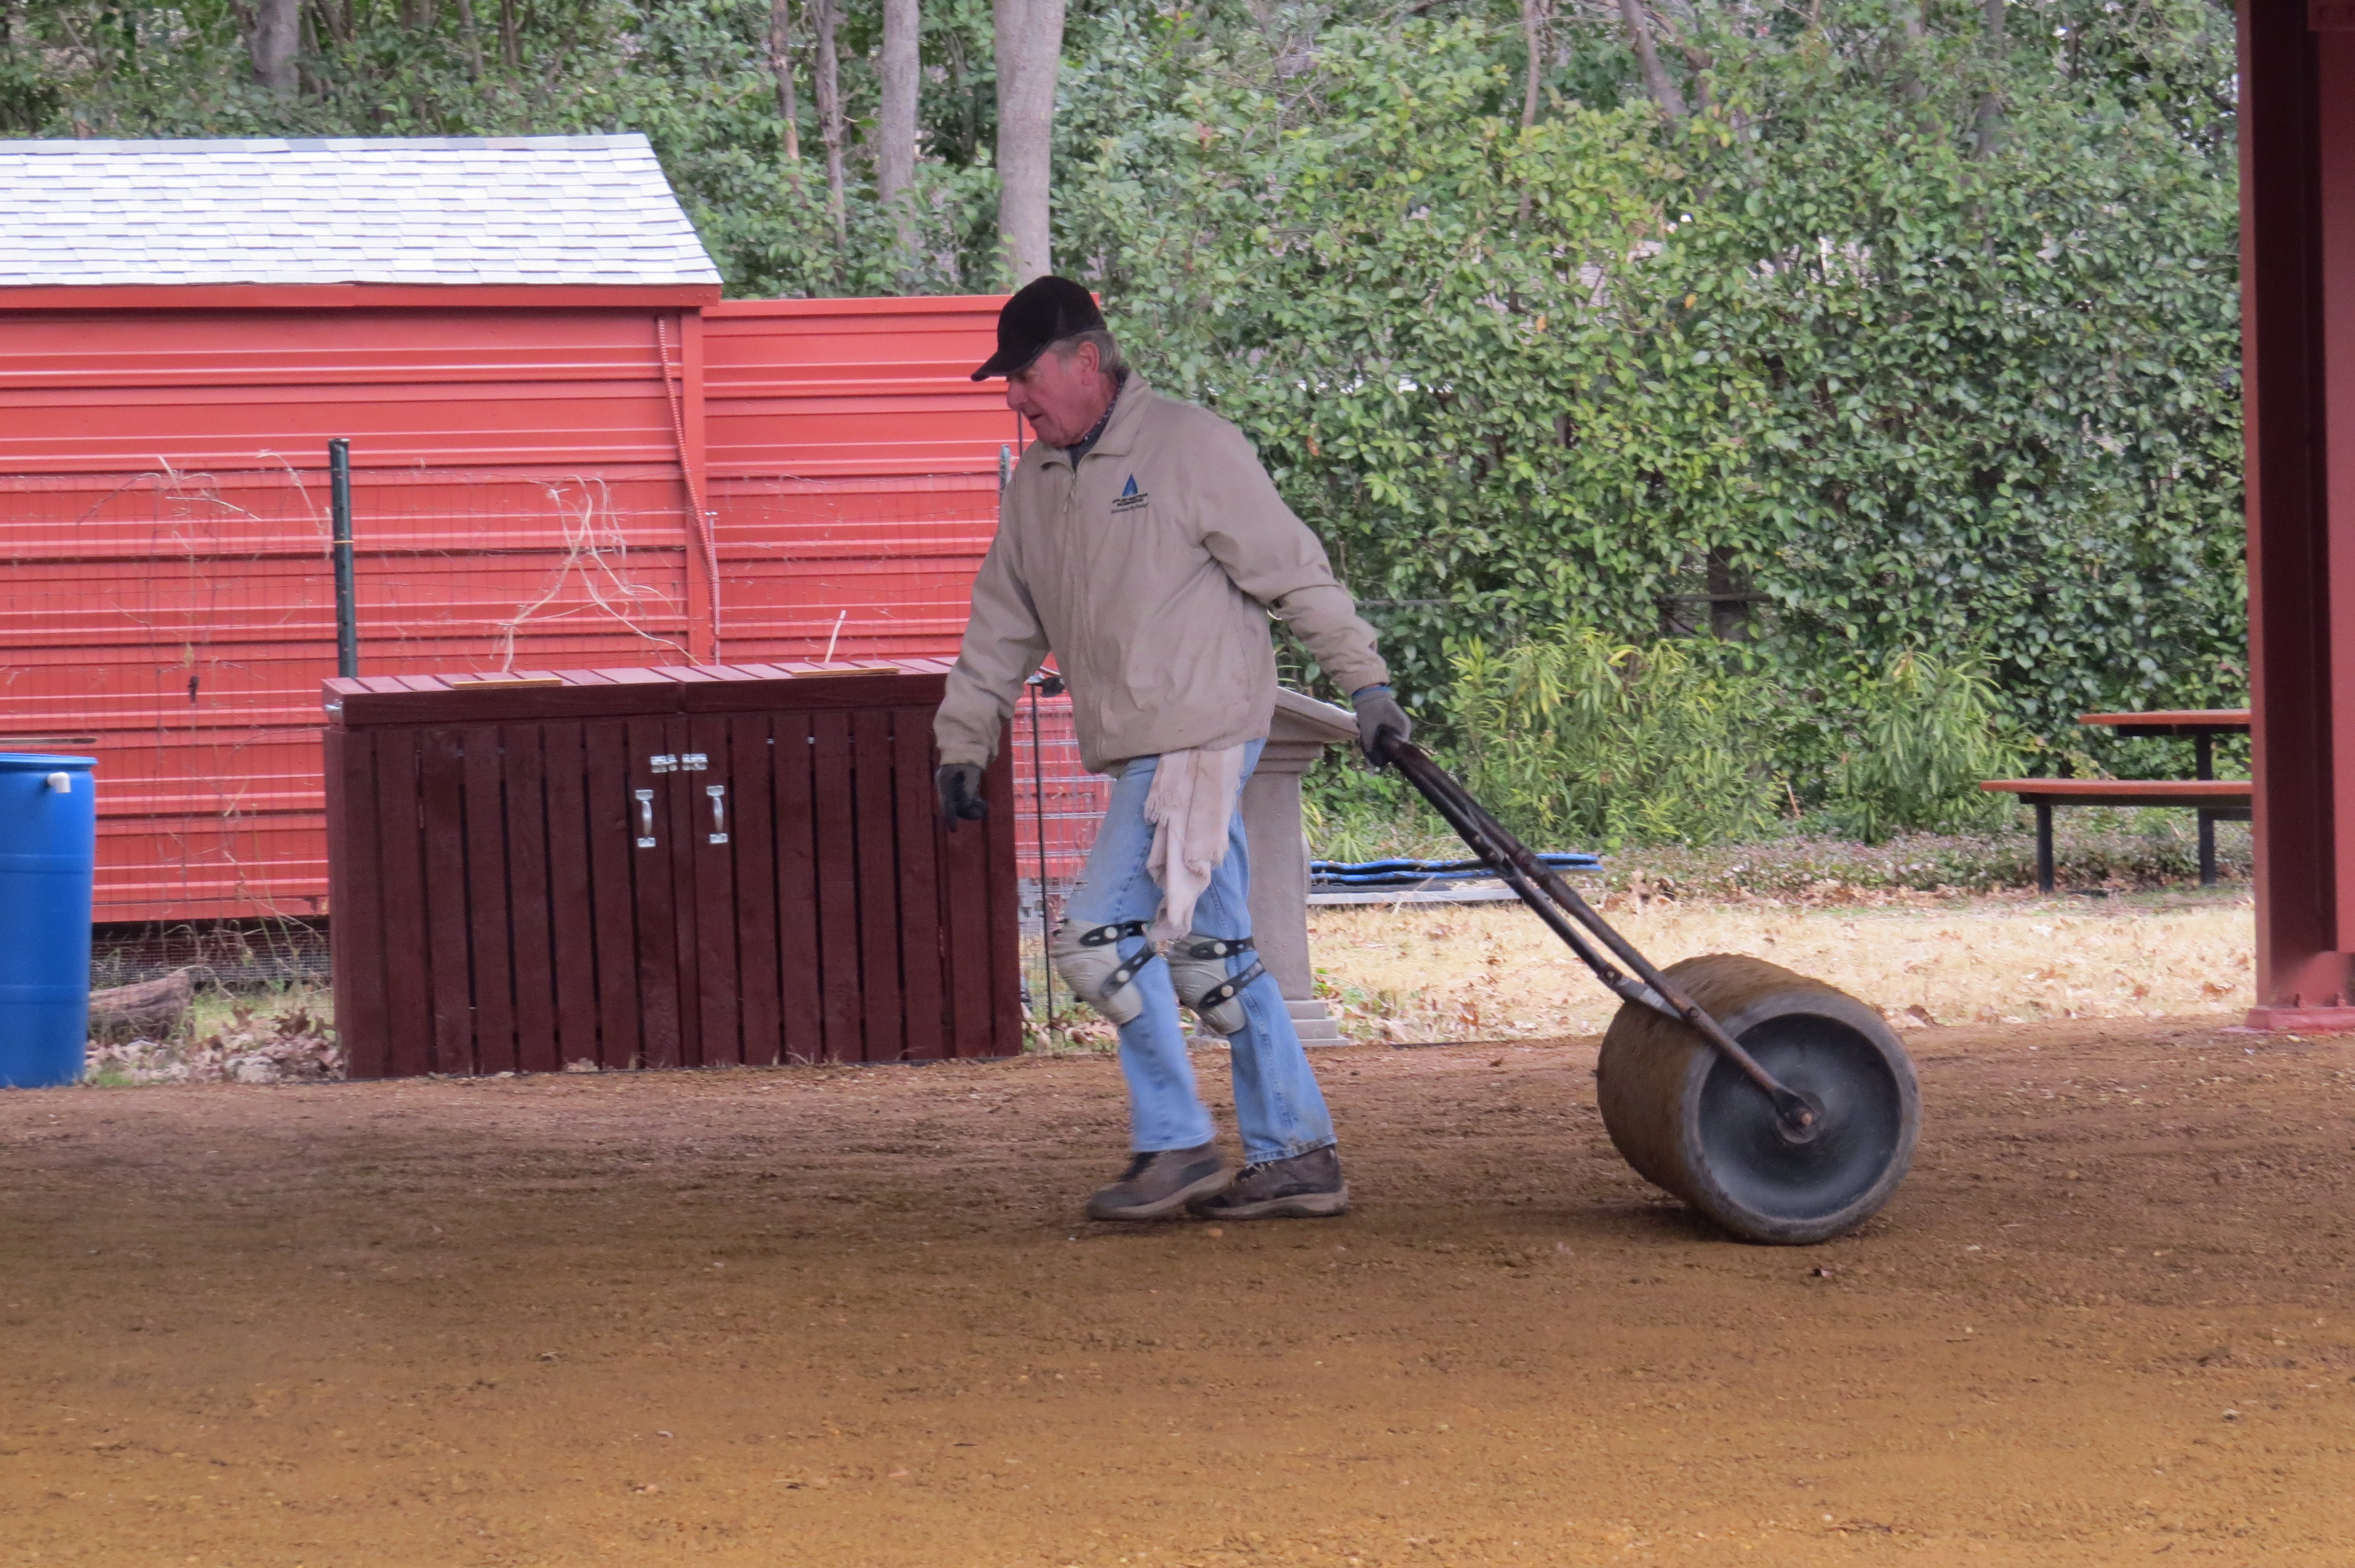
Jim Miller ready to roll!
e. After compacting the final layer of DG you should determine if there are any uneven spots in your pad or walkway. We used a simple method of stretching a string line, both parallel and perpendicular, and eyeing it. If there are uneven spots, level with additional DG, lightly rake to level, lightly moisten and then compact those areas.
f. In order for the pad or walkway to be ADA compliant a stabilizer must be added to the DG. It can be ordered with the stabilizer incorporated, which increases the cost dramatically, or you can purchase stabilizer used as a drench to help make the surface harder. In either case, the addition of stabilizer increases the cost of the project substantially.
g. For safety consideration, since we are open to the public and provide tours to school children as well as adults, we are adding a rubber cap onto the metal edging to reduce the effects of someone falling and hitting the edge of the metal. Also available from COL-MET.

Thanks guys, for putting the metal edging in place and for the rubber caps that will be put on top of it for safety.
How many cubic yards of materials were used and at what cost?
Our project required 8 cubic yards of crushed concrete, about $40/yard delivered, and 20 cubic yards of decomposed granite, about $70/yard delivered. Fortunately, one of our supporters, Arrow Lift Rentals, provided equipment to move and compact the materials.
What was the total cost of the project for this 2200 square foot area?
Total cost of this portion of the shade pavilion project was less than $2,000.00.
Up close and personal with our decomposed granite! Fait accompli!
Now that it is finished so beautifully, what upkeep will be needed?
Fortunately, very little; just an occasional addition of DG in areas of heavy traffic or water run-off. That is one of the benefits of a decomposed granite pad and walkways.
Thank you, Jon.
Ann Lamb
Pictures by Starla Willis
HUGE SHOUT-OUT
Arrow Lift employees and machines like this mechanical compactor placed us on solid ground.
More thank you’s to COL-MET, Abbe Bolich and Arrow Lift Rentals. Arrow Lift helped us get in under the $2,000 line with their labor and equipment at reduced cost. Community partners are so important to the ongoing work of our garden.
*We will be ADA compliant when stabilizer is applied at a later date.
