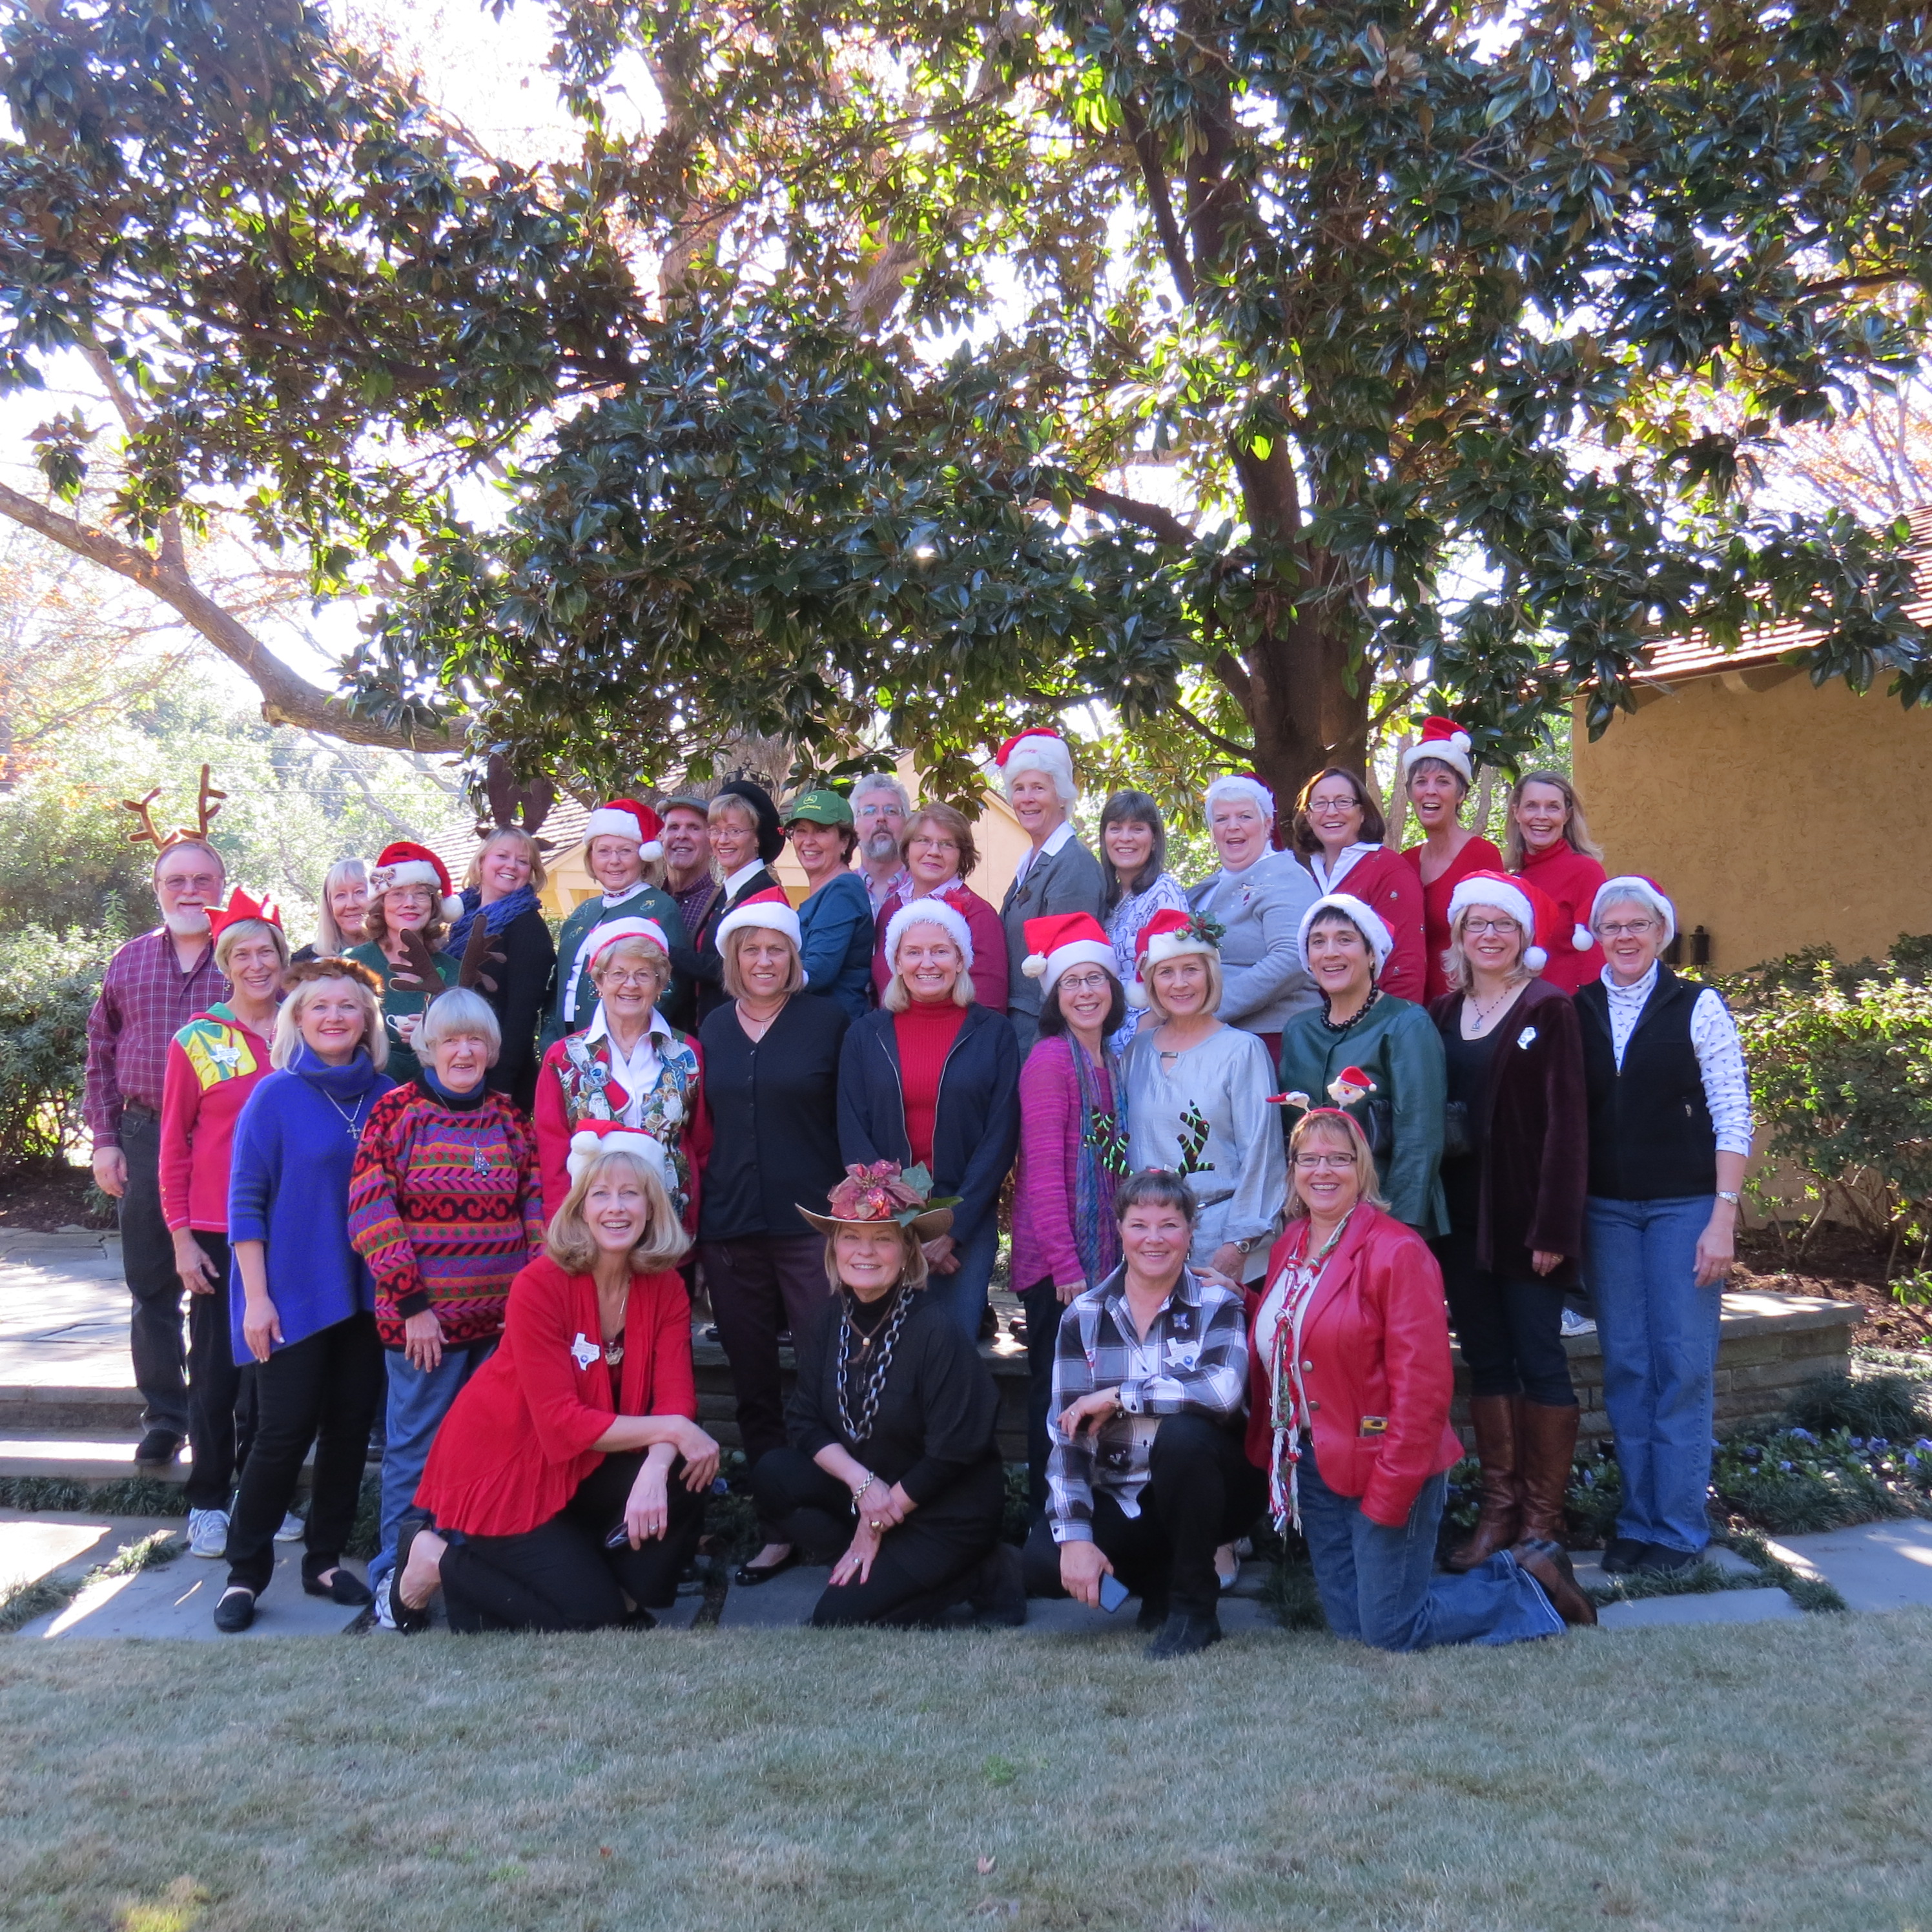
MERRY CHRISTMAS FROM OUR GARDEN TO YOURS!
Picture by Starla
MERRY CHRISTMAS FROM OUR GARDEN TO YOURS!
Picture by Starla
The Class of 2013, as preceding classes have, was offered the opportunity to taste volunteering at a variety of sites during the Jump Start portion of our training. With great trepidation and much innocence, I purchase some pruning tools to begin my adventure in publicly putting class learning into action.
So, one morning as scheduled, I got into my car and drove to the Joe Field Demonstration Garden.
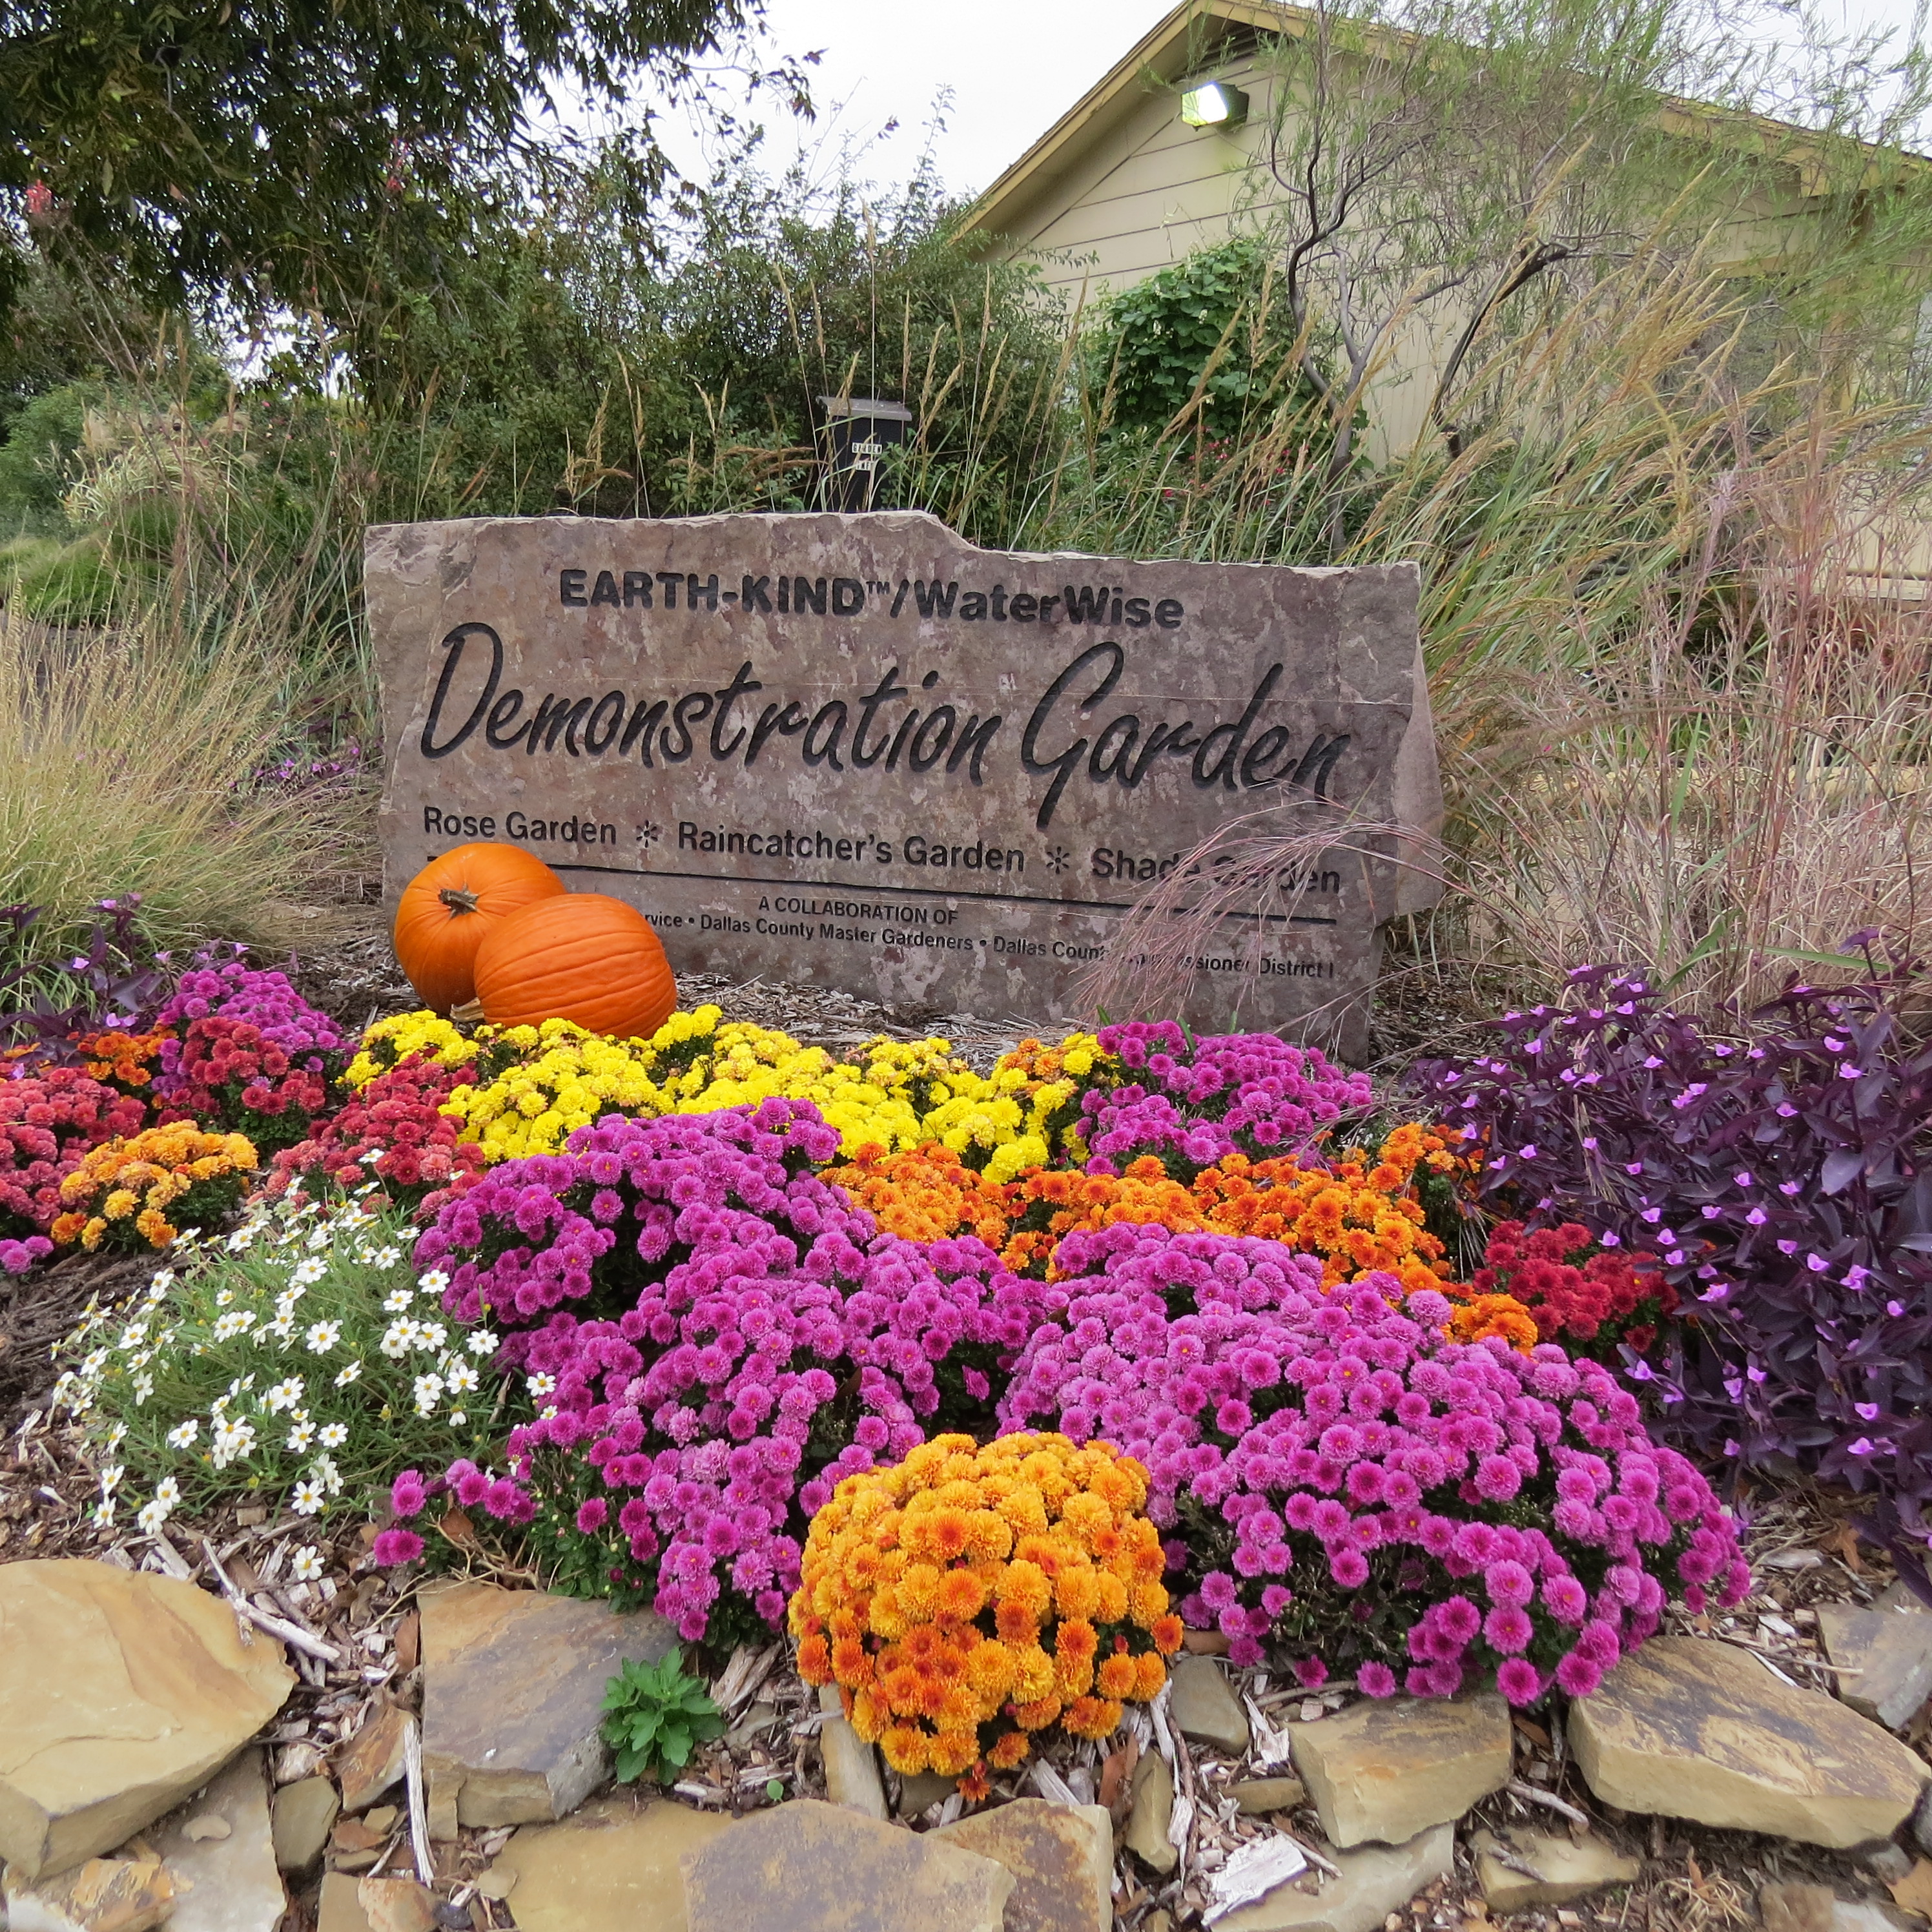
It was not difficult to locate the gardens on a map or to navigate the streets. When I got out of the car, I was greeted and welcomed by several experienced Master Gardeners who were very attached to the site and glad to see me. Is attached the correct word? Devoted to? Enamored by? In love with? I have discovered that the passion exhibited by those involved with the various sites is communicated with relish and joy. This was easily seen and felt as the Joe Field ladies divided me and my classmates into groups and took us on a tour of the variety of areas before assigning us tasks to perform.
Was I interested in composting? Did I want to learn about drip irrigation? How about pruning? (Anyone know the difference between pruning and shearing? I can now tell you what the difference is.) Mulching? Transplanting? Sun plants? Shade plants? Vegetables? Raised beds? The color wheel was amazing as were the roses. Truthfully, roses usually don’t do anything for me but even I was impressed with the variety, vibrancy, and size of the rose bushes. (Many of the bushes were the size of some trees I’ve seen. I’ve got two scrawny rose bushes in my front yard that haven’t grown much in three years so how did Joe Field do this magic with theirs?)
I recognized plants that live in my own garden but darned if I could name them. Voila! The Master Gardener leading my small group easily gave me the name of those plants and told me about their needs. I kept asking, “How’d she know that? How can she keep all this knowledge in her head and come up with it on a moment’s notice?” I wonder if I will ever be that familiar with plants.
I was very aware of the phenomenal use of space. The areas were not particularly overplanted but were, nevertheless, packed with plants and more plants and provided inspiration and ideas to take home to my own garden and beds.
There is so much going on in terms of what is growing that it is impossible to take it in with just one visit. Maybe that is a lure—come back and learn some more. Not a bad idea. Between that chance to learn (and to serve) and the camaraderie of the seasoned volunteers, Joe Field Demonstration Gardens is a smart and happy choice for Master Gardeners. I’m glad I can visit and revisit this rich site. Tuesdays are the targeted day of the week for volunteering just in case you want to try it out. Maybe we will see each other and learn together.
Zelene
Picture by Starla
Map to our gardens here.
 Layered Pumpkin Pie in a Jar
Ingredients:
For the graham cracker crust layer:
1 ½ cups graham cracker crumbs
3 tablespoons brown sugar
½ teaspoon cinnamon
½ teaspoon salt
4 tablespoons unsalted butter, melted and slightly cooled
For the whippy cream cheese layer and finishing dollop of sweetened whipped cream:
2 cups heavy whipping cream
1 ½ cups sifted powdered sugar
8 ounces cream cheese, at room temperature
2 teaspoons pure vanilla extract
For the pumpkin layer:
1 cup milk
1 (15-ounce) can pumpkin puree (not pre-spiced pumpkin pie filling)
2 packages (4-serving size) Jell-O vanilla flavor instant pudding and pie filling
1 ½ teaspoons cinnamon
¼ teaspoon ginger
1/8 teaspoon cloves
Optional: semi-sweet chocolate shavings to sprinkle over the top 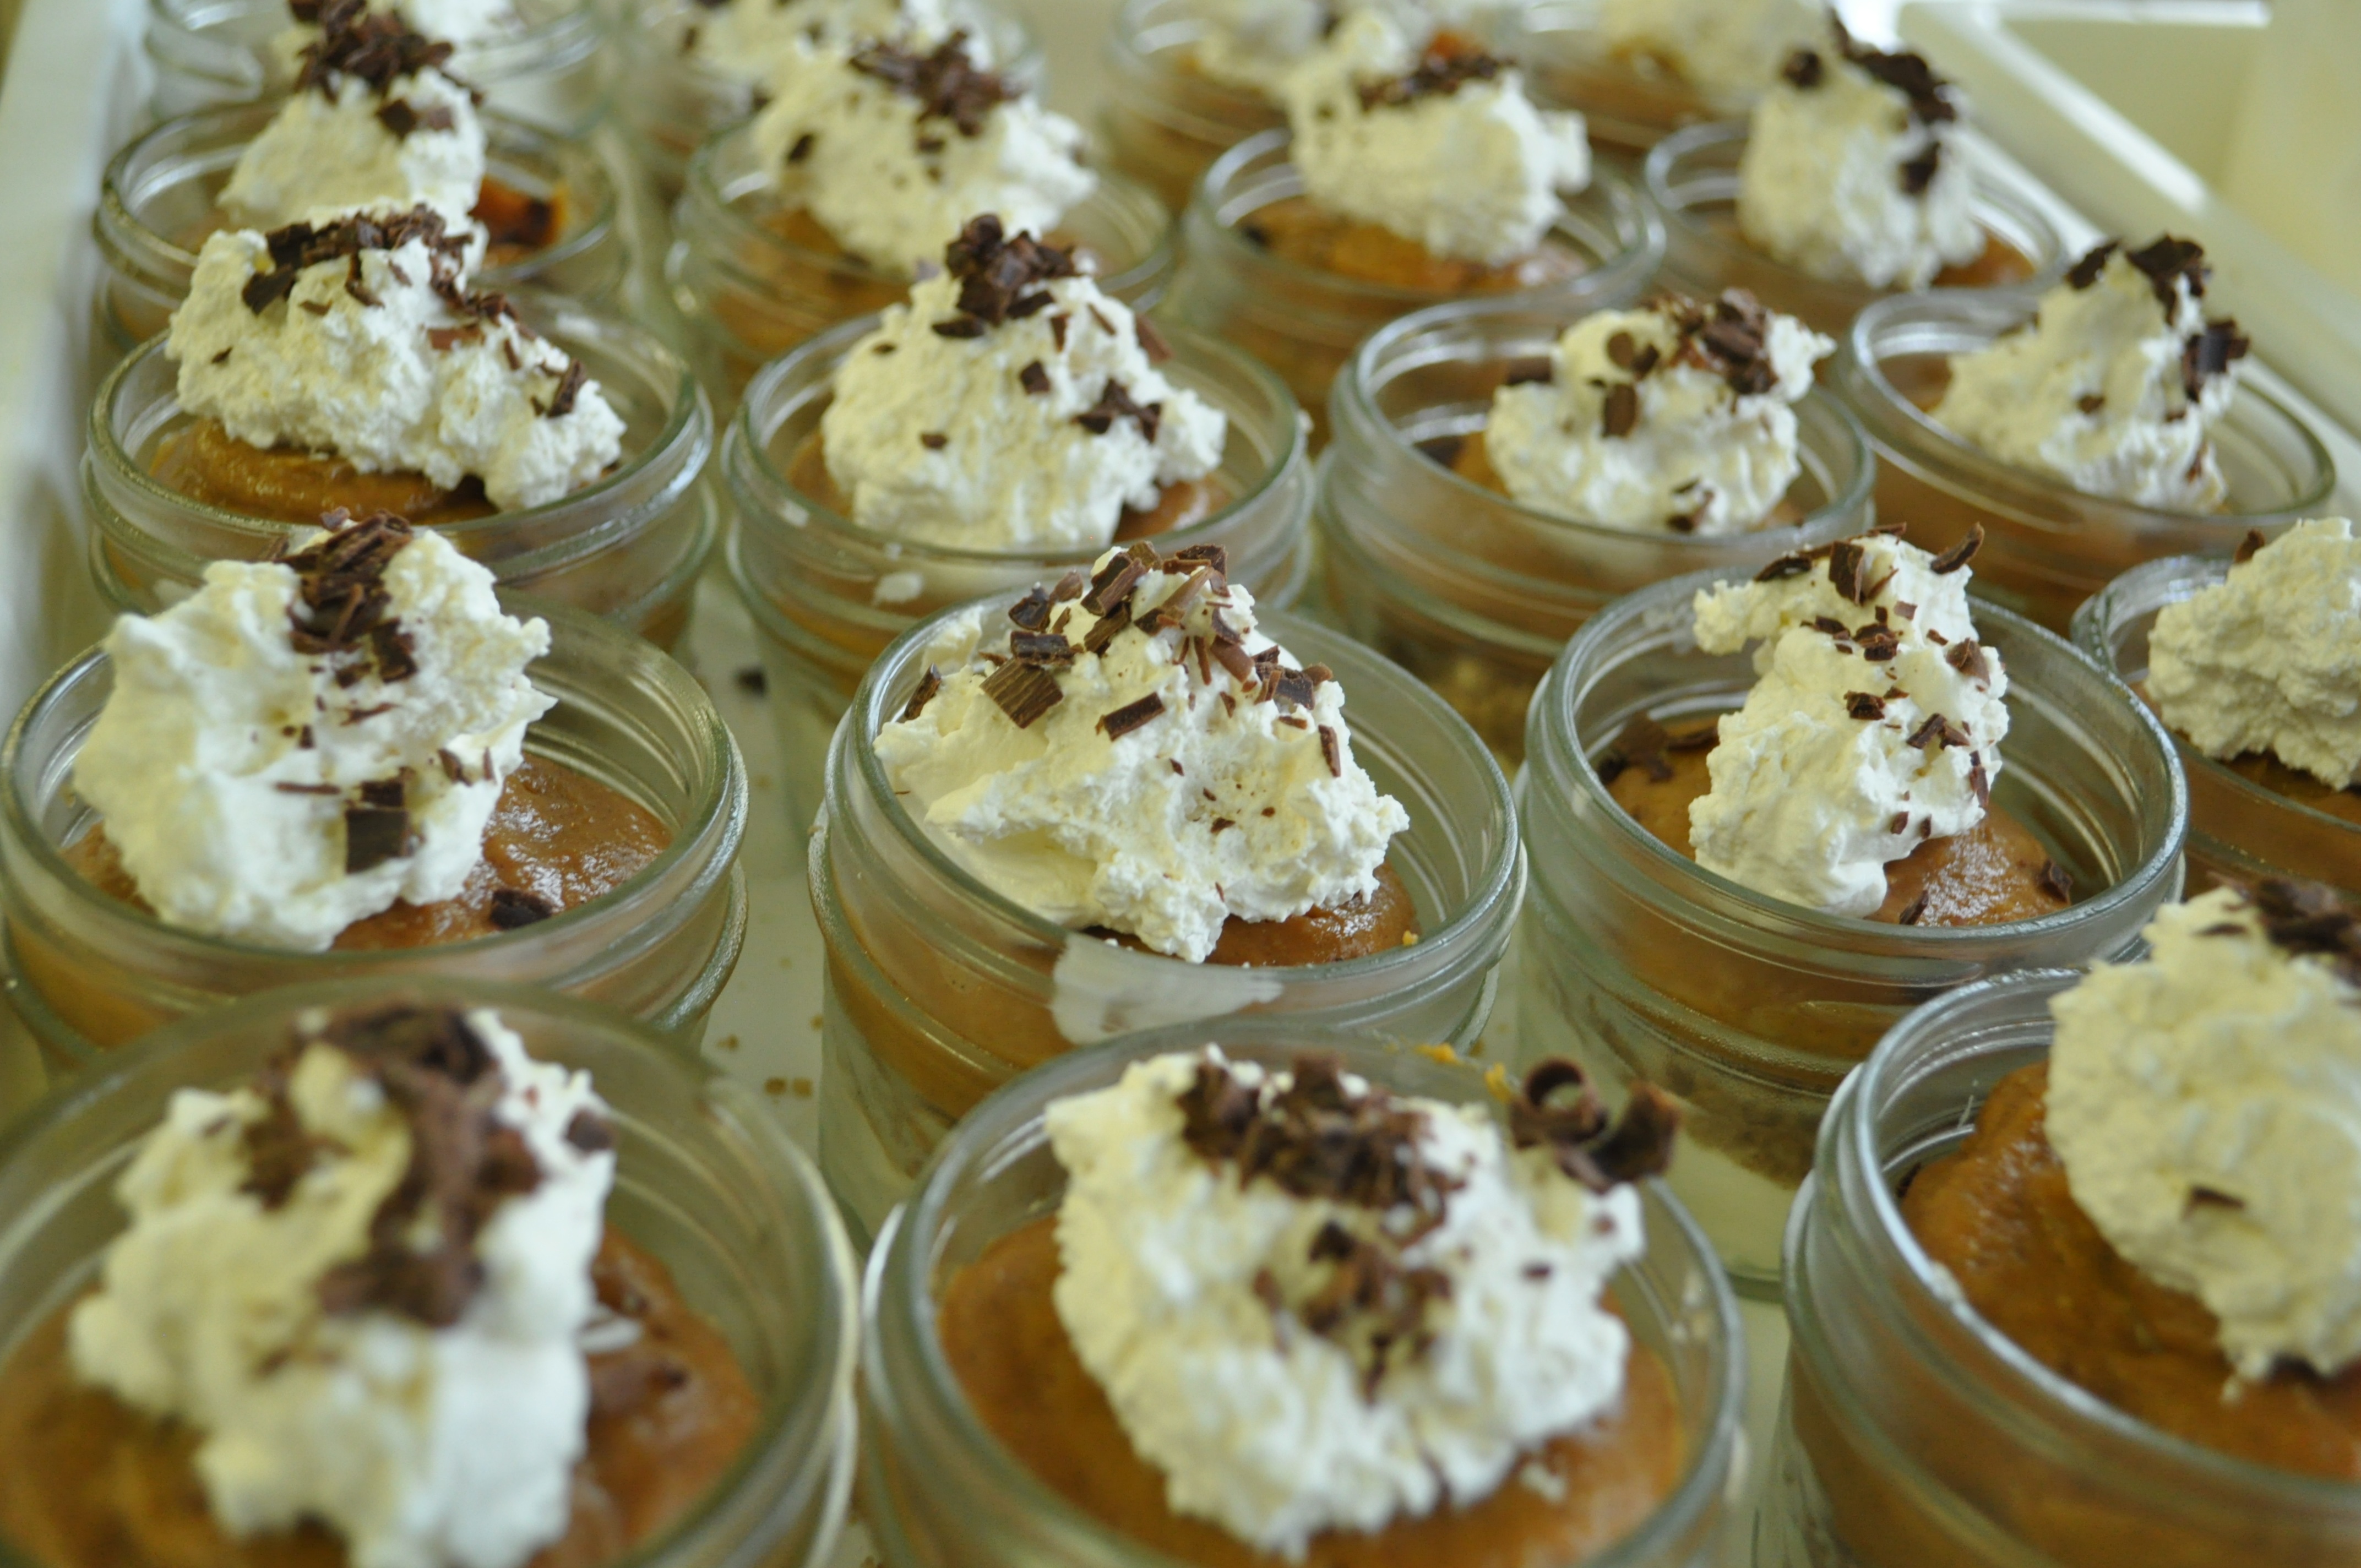 Directions:
1. Preheat oven to 350 degrees. Place the mixing bowl and beaters for beating the cream into the freezer to chill.
For the graham cracker crust layer:
1. Stir together the graham cracker crumbs, sugar, cinnamon, and salt. Then add the melted butter and stir until evenly moistened. Spread mixture in a 9” x 13” pan and bake for 5 minutes. Stir and bake for another minute or two, or until crumbs are fragrant and nicely browned. Be careful not to burn. Remove from oven and let cool completely while you prepare the other pie layers.
For the whippy cream cheese layer and finishing dollop of sweetened cream: 1. Using your chilled bowl and beater, whip the cream until stiff. Add the powdered sugar and beat just to combine. Remove sweetened whipped cream to another bowl and set it in the refrigerator. Add the cream cheese to the same chilled bowl and cream until very smooth, about 1 to 2 minutes. Blend in vanilla. Now add half of the sweetened whipped cream back into the chilled bowl with the cream cheese, gently folding to thoroughly combine. Place the bowl of whippy cream cheese and the remaining half of the sweetened whipped cream back into the refrigerator to stay chilled.
For the pumpkin layer:
1. Pour the milk into a large bowl. Add the pumpkin, pudding mixes, and spices. Beat with a wire whisk for 2 minutes, or until very well blended. The mixture should be quite thick.
2. Fill a pastry bag fitted with a large plain round tip (ex. Ateco No. 808) with the whippy cream cheese mixture. Pipe a layer of this mixture onto the bottom of a jar, starting at the perimeter of the jar and working to the center. Lightly tap the jar on a towel (so jar doesn’t break) on the counter, to settle the mixture in. Repeat this step with the rest of the jars.
3. Sprinkle the whippy cream cheese layer with 2 tablespoons of baked graham cracker crumbs. Lightly tap the jar again to even out the crumbs. Repeat with the rest of the jars.
4. Using the same large plain round tip, fill another pastry bag with the pumpkin pudding mixture. Pipe this mixture onto graham cracker crust layer, in the same manner as the first whippy cream cheese layer. Lightly tap again and repeat with the rest of the jars.
5. Add a dollop of the reserved sweetened whippy cream (without the added cream cheese) to the top of each pie with a spoon, or pipe a more refined swirl using the same large plain round tip. Finish with a sprinkling of graham cracker crust and chocolate shavings, if desired. 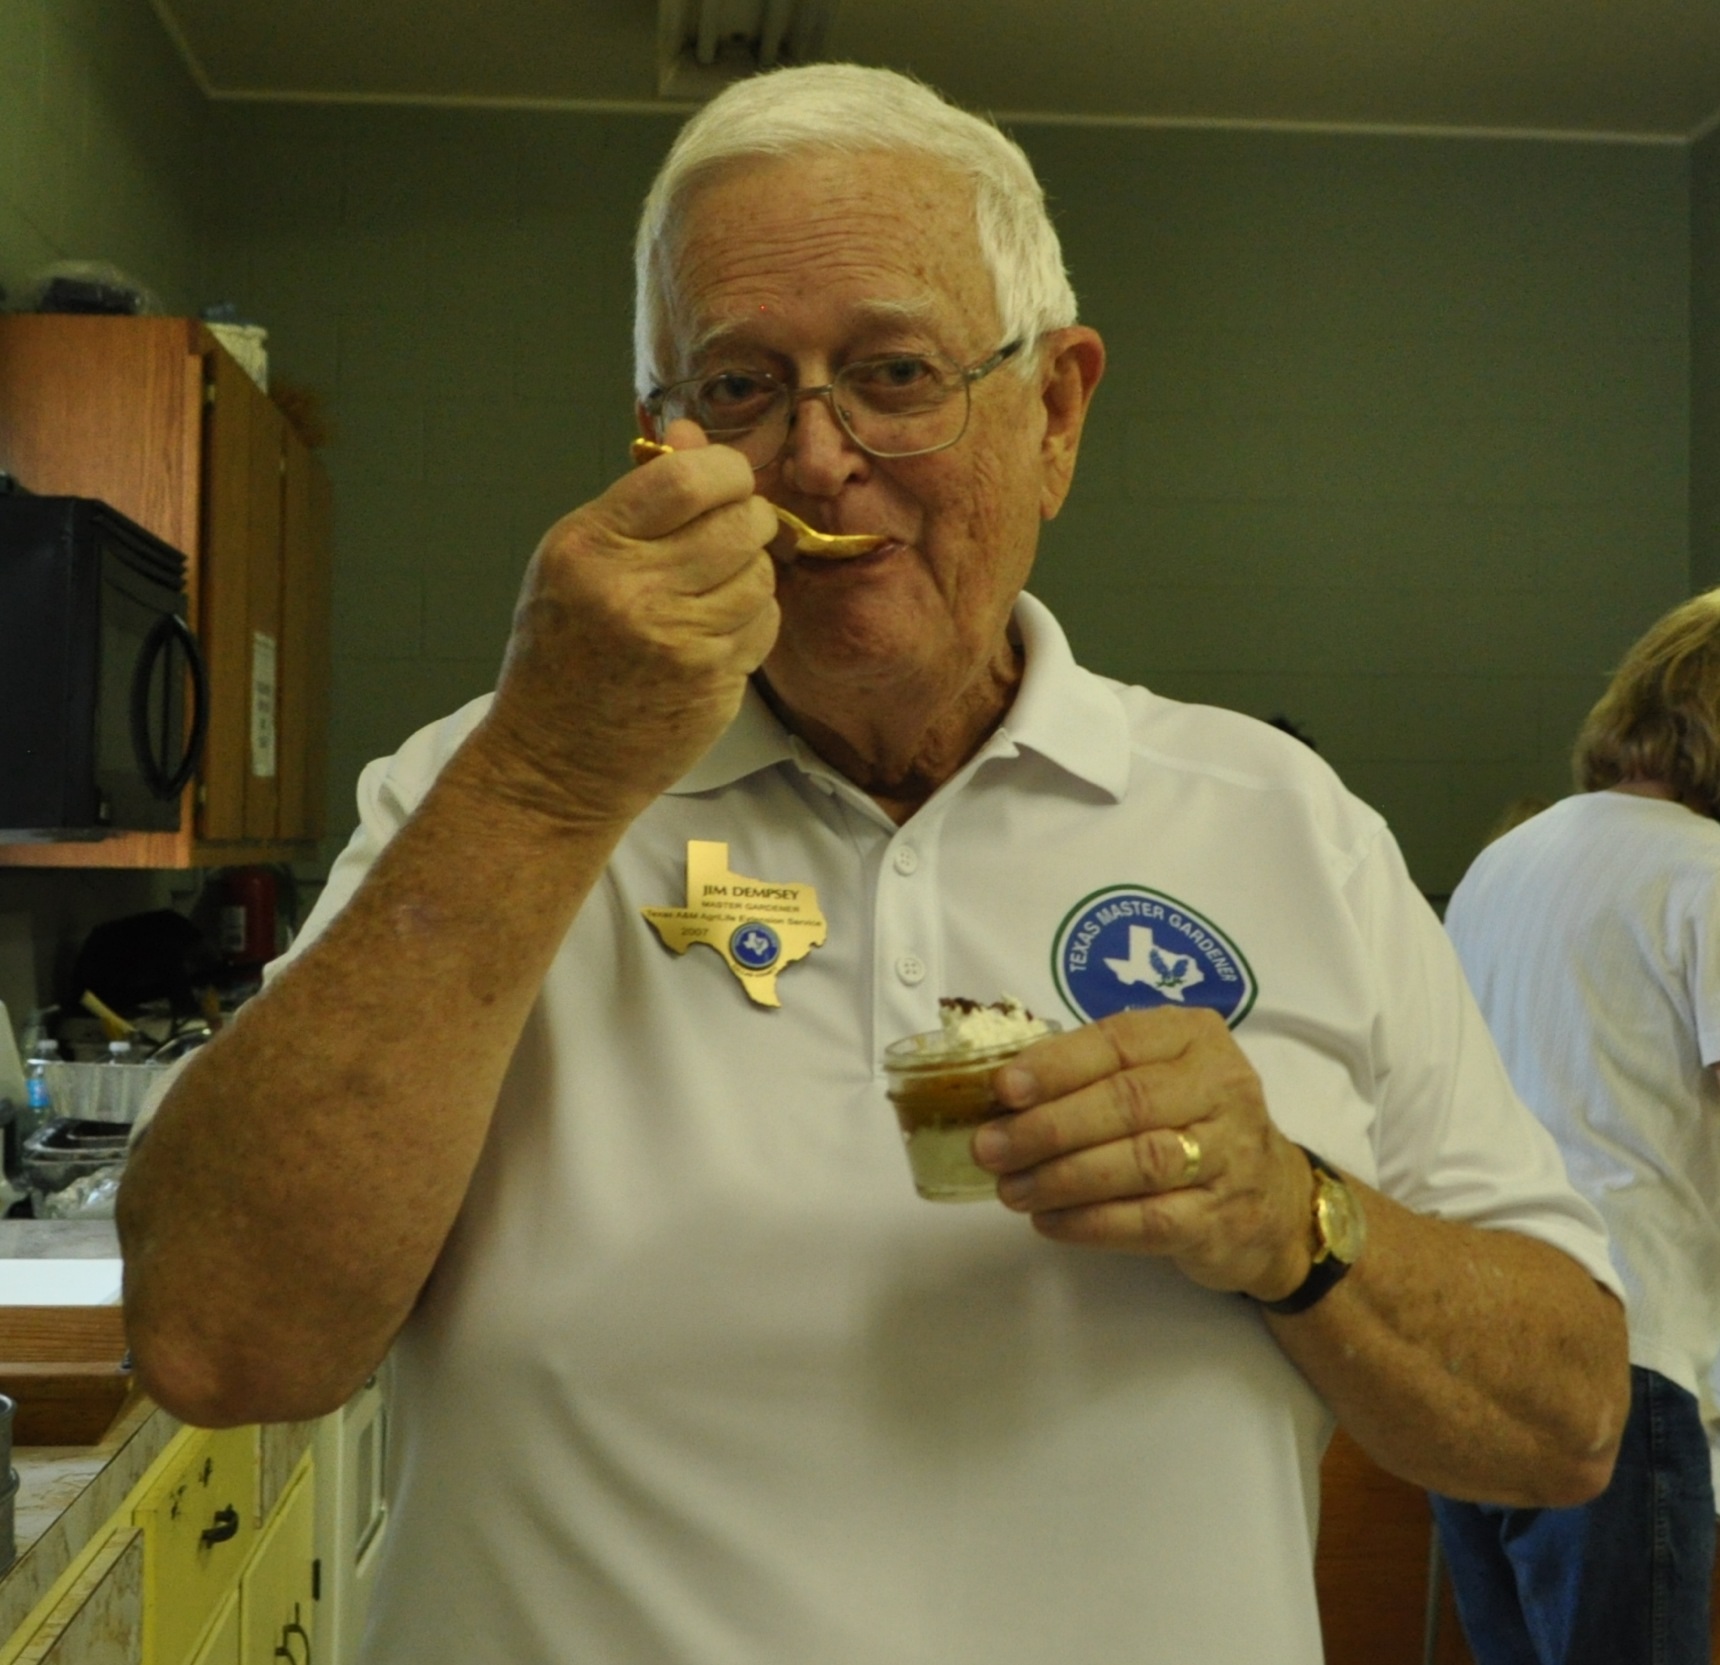 *If transporting jars with their lids screwed on, allow for whipping cream not to get smashed when lid is added.
*These jars of pie can easily be made the day prior to serving. Better if chilled overnight.
Yield: 10 to 12 jars of pie
Linda
Grandmother insisted on Silver Queen corn, always cooked it in a cast iron skillet and, yes, added 1 stick of butter. Changes are not welcome here!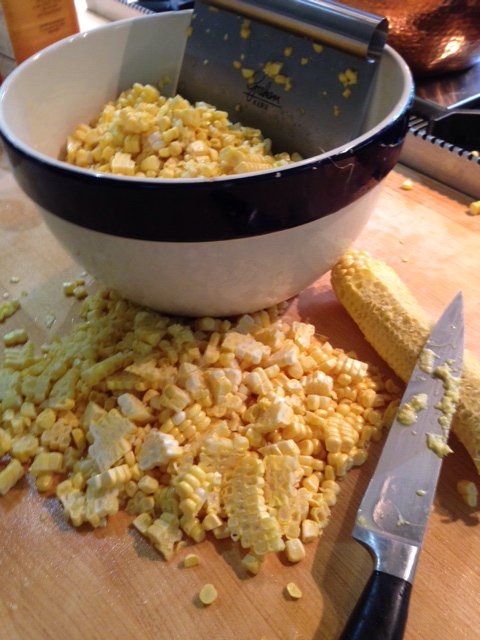
Ingredients:
12 ears of corn, preferably super sweet “Silver Queen”
8 slices bacon
½ cup (1 stick) butter
2 to 4 tablespoons sugar, depending on the sweetness of the corn
2 teaspoons salt
½ teaspoon pepper
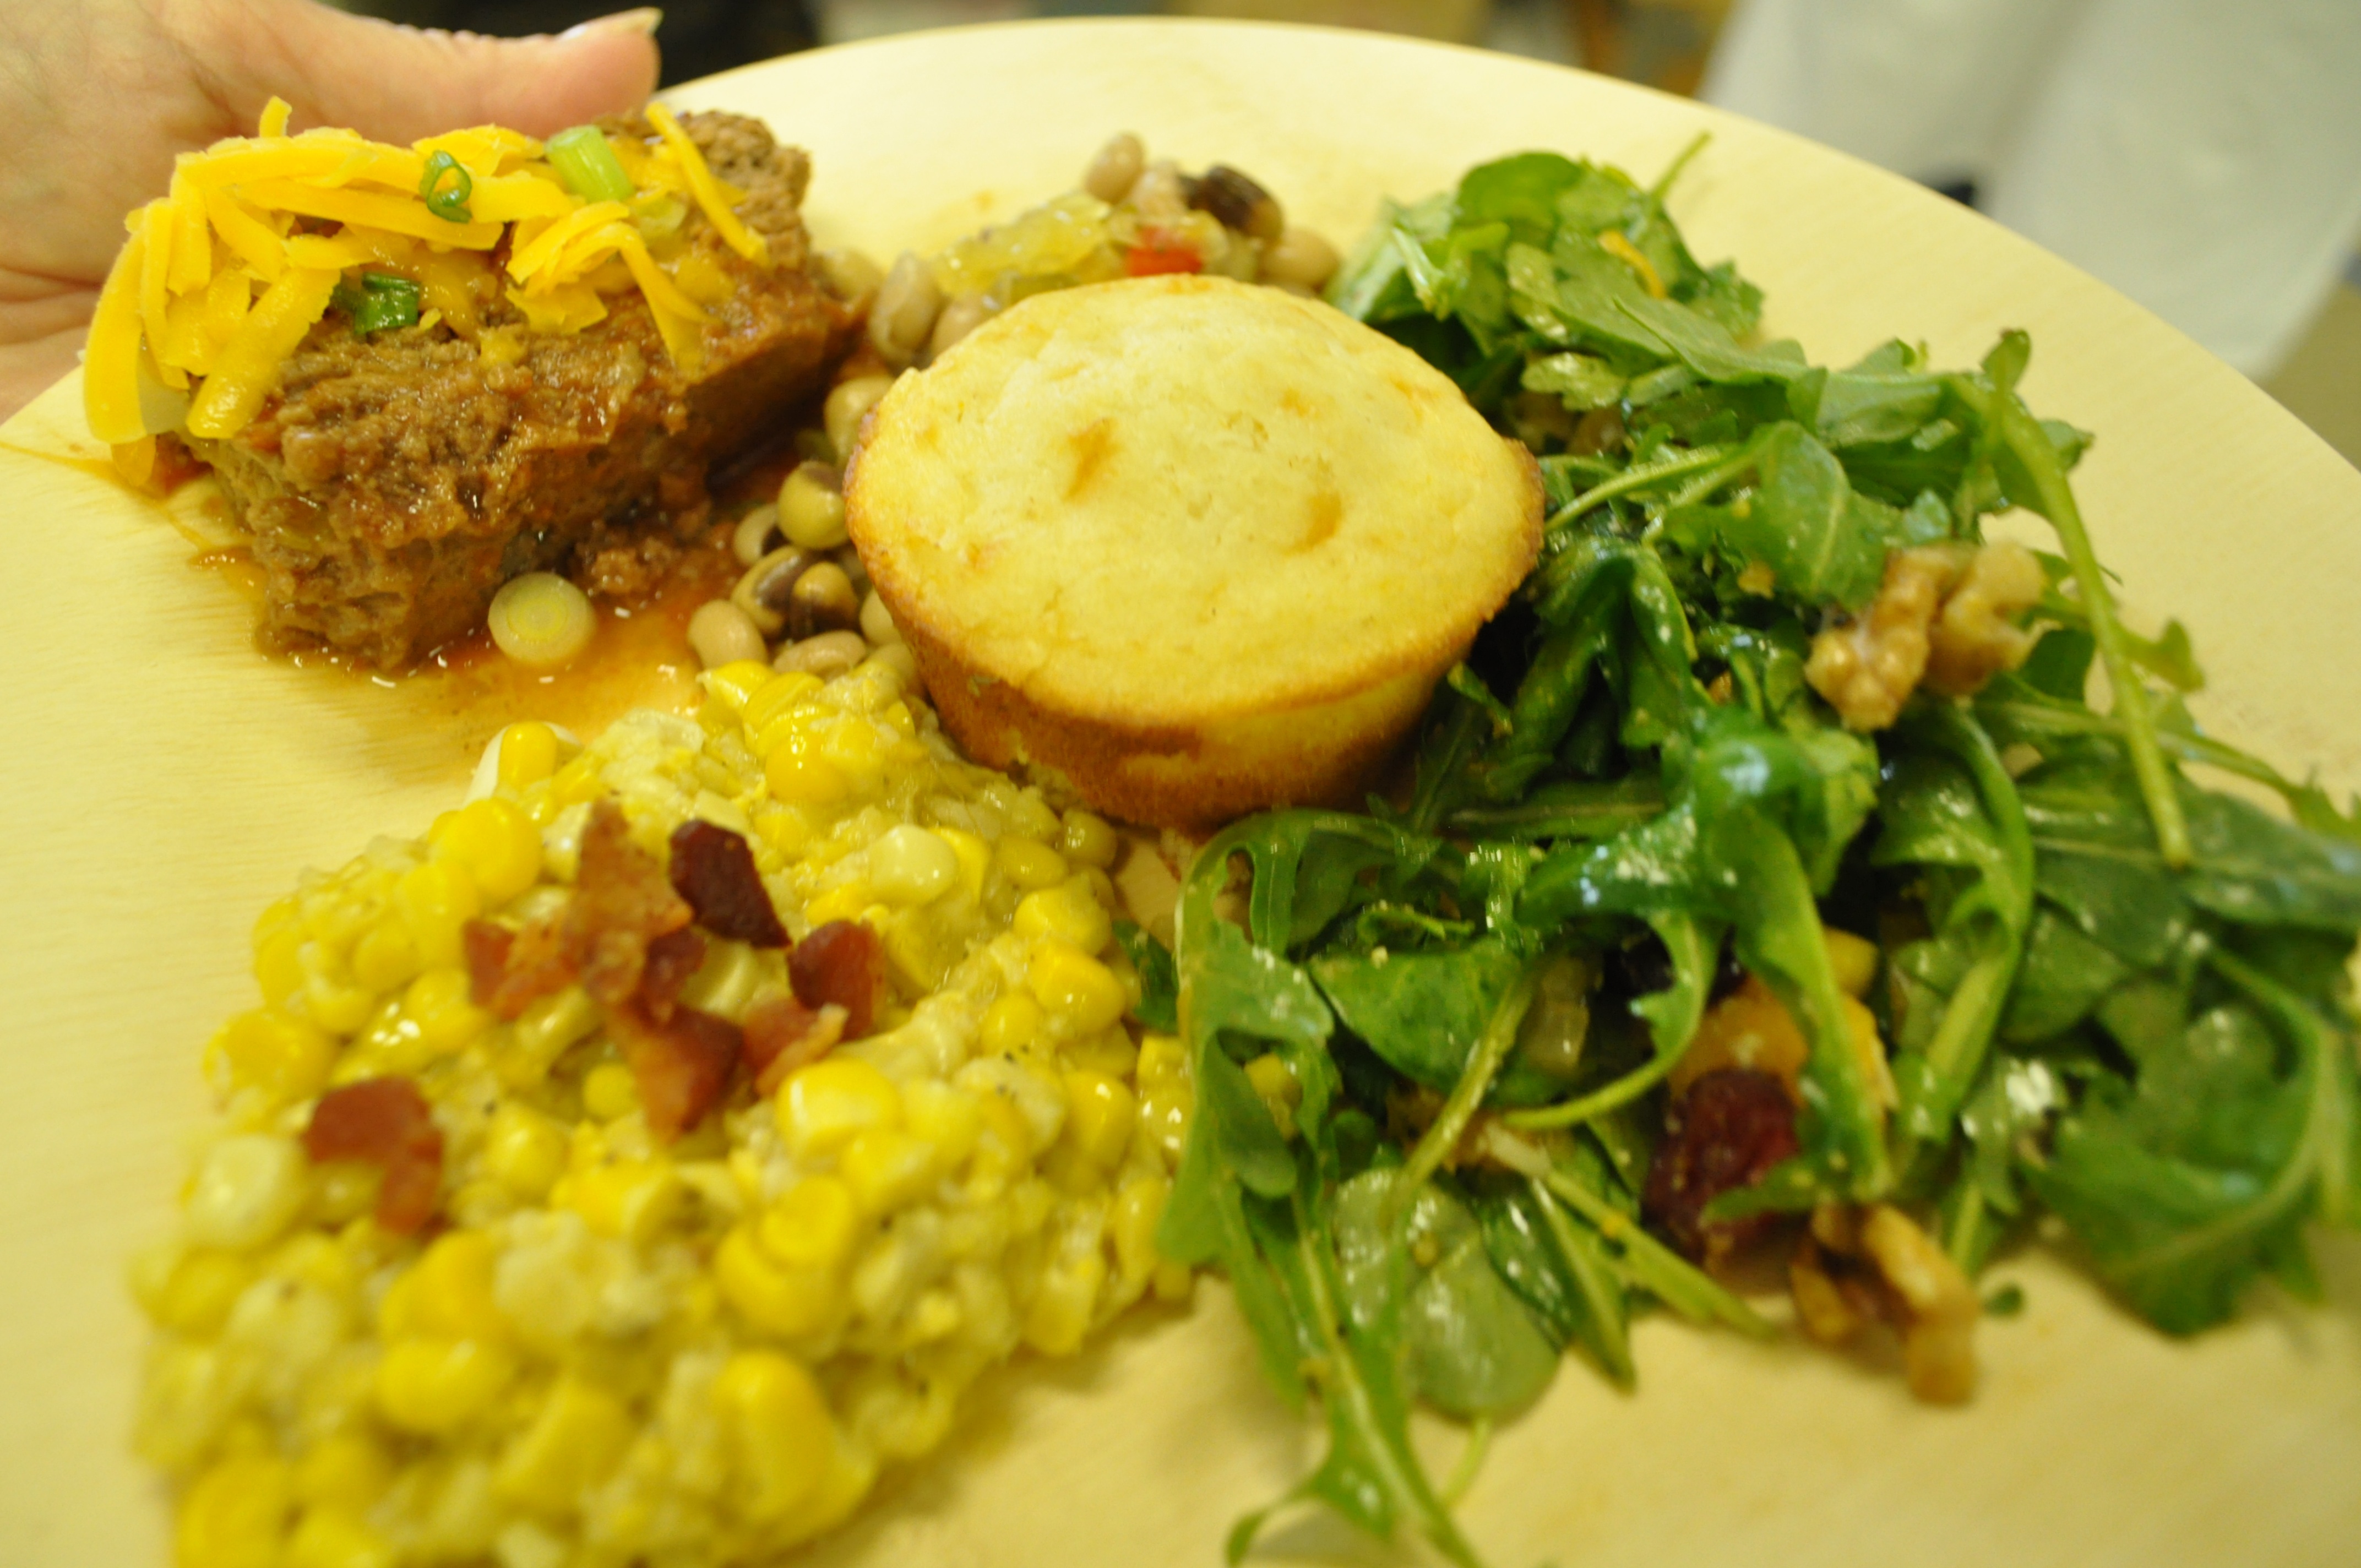
Harvest Lunch Including Skillet Fried Corn served on a bamboo plate.
Directions:
1. Cut the kernels from the cobs into a large bowl. Scrape off the remaining pulp and juice with a knife adding to the corn kernels.
2. Cook the bacon in a large cast iron skillet until crisp. Remove to paper towels to drain; crumble. Remove all but ¼ cup of the bacon drippings from the skillet.
3. Add the corn, butter, sugar, salt and pepper to the skillet. Cook over medium heat for 20 minutes, stirring frequently.
4. Spoon mixture into a serving dish and top with the crumbled bacon.
Yield: 12 servings
Linda
Tomorrow we will post the Harvest Lunch dessert recipes.
For all the Harvest Lunch Recipes and others, go to Garden Recipes.
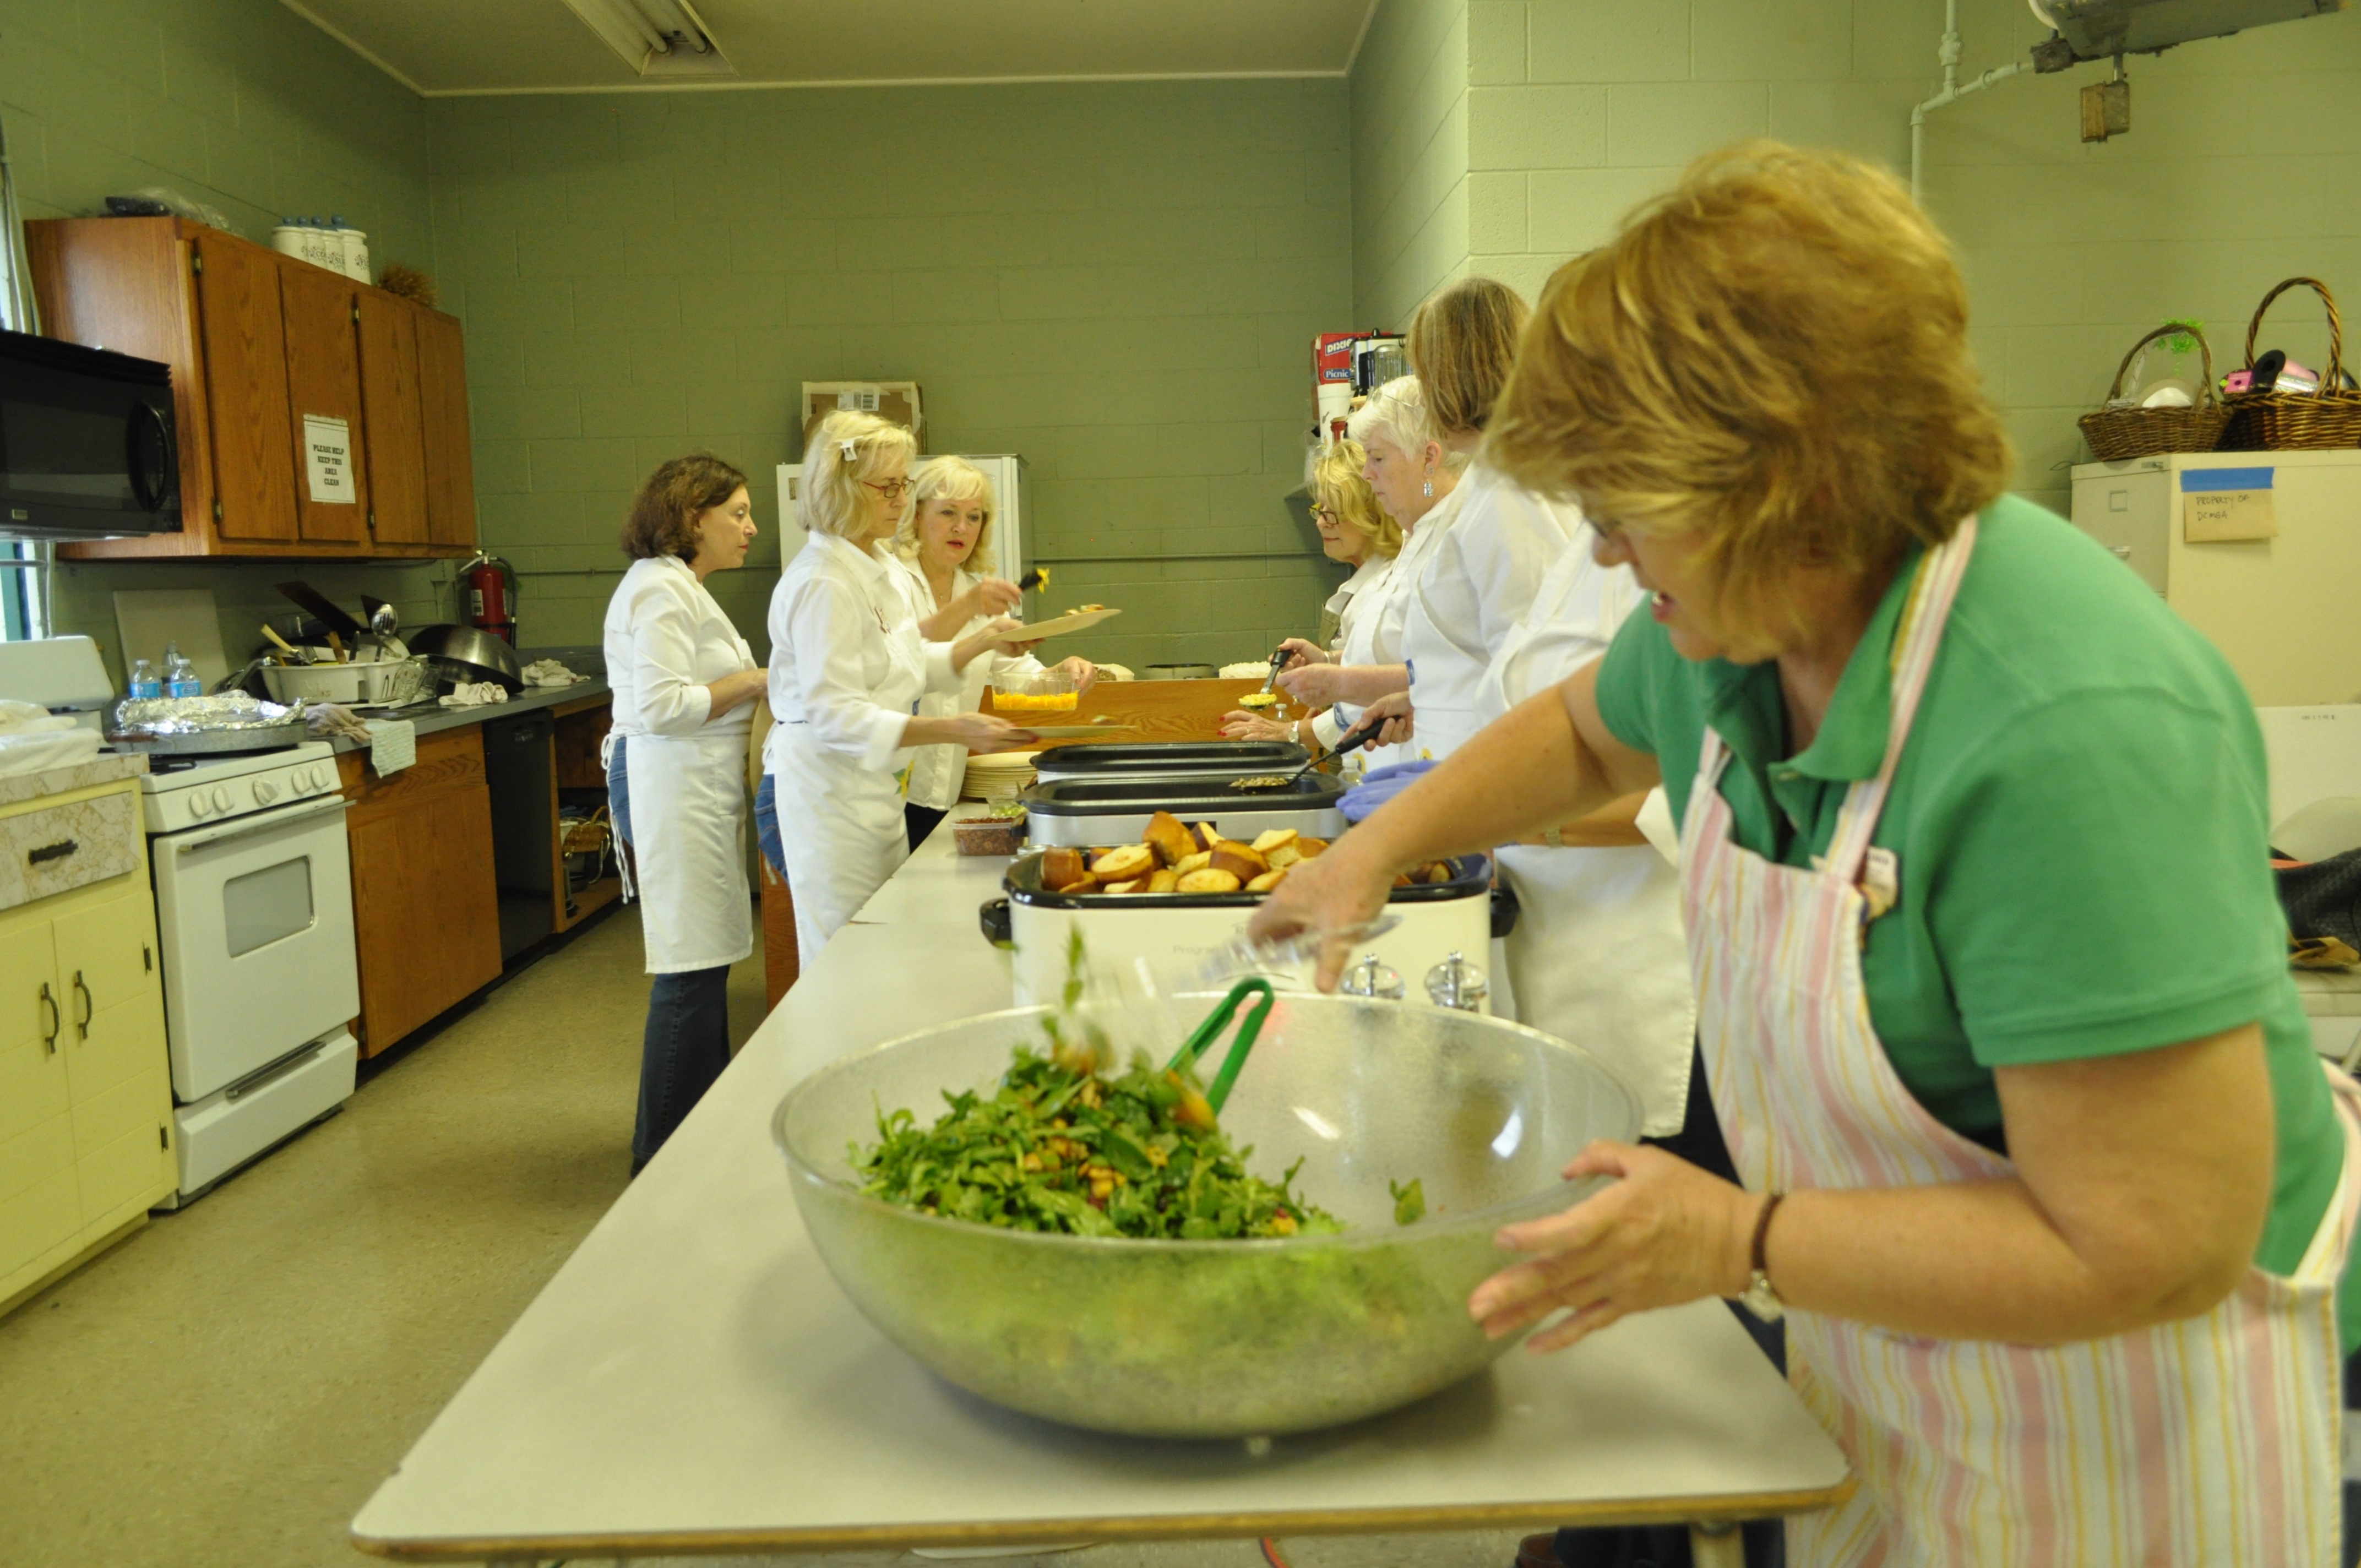
Last Tuesday, you would have found Dallas County Master Gardeners on Joe Field Road busy preparing our first and (will be repeated) ” farm to table” lunch.

Craving just the right salad for your own fall feast? Here is our recipe for roasted butternut squash salad with the,oh so good, warm vinaigrette.
Ingredients:
1 (1 ½-pound) butternut squash, peeled and ¾-inch diced
Good olive oil
1 tablespoon pure maple syrup
Kosher salt and freshly ground black pepper
3 tablespoons dried cranberries
¾ cup apple cider or apple juice
2 tablespoons cider vinegar
2 tablespoons minced shallots
2 teaspoons Dijon mustard
4 ounces baby arugula, washed and spun dry
¼ cup walnut halves, lightly toasted
¾ cup freshly grated Parmesan cheese
Directions:
1. Preheat the oven to 400 degrees.
2. Place the squash on a sheet pan. Add 2 tablespoon olive oil, the maple syrup, 1 teaspoon salt and ½ teaspoon pepper and toss.
3. Roast the squash for 15 to 20 minutes, turning once, until tender. Add the cranberries to the pan for the last 5 minutes.
4. While the squash is roasting, combine the apple cider, vinegar, and shallots in a small saucepan and bring to a boil over medium-high heat. Cook for 6 to 8 minutes, until the cider is reduced to about ¼ cup. Off the heat, whisk in the mustard, ½ cup olive oil, 1 teaspoon salt and ½ teaspoon pepper.
5. Place the arugula in a large salad bowl and add the roasted squash mixture, the walnuts, and the grated Parmesan. Spoon just enough vinaigrette over the salad to moisten, and toss well. Sprinkle with salt and pepper and serve immediately.
Yield: 4 to 6 servings Adapted from Barefoot Contessa
Linda
Here’s a “how to” on transforming basic buttermilk cornbread into something divine. Spread it with amazingly delicious Tomato Jam prepared by Sarah and Jackie or Honey-Thyme Butter with the thyme added straight from our garden.

Ingredients: 2 tablespoon vegetable shortening or bacon drippings 1 ½ cups Aunt JEMIMA Enriched White Corn Meal 3 tablespoons all-purpose flour 1 teaspoon salt 1 teaspoon baking soda 2 cups buttermilk 1 egg Directions: 1. Preheat oven to 450 degrees. 2. Place shortening or drippings in a 9-inch skillet with ovenproof handle or 8-inch square baking pan. 3. Place in oven about 3 minutes. Skillet will be very hot when shortening is melted. 4. While skillet is heating, in large bowl combine corn meal, flour, salt and baking soda; add buttermilk and egg, mixing well. 5. Pour batter into hot prepared skillet. 6. Bake 22 to 25 minutes or until surface cracks and edges are light golden brown and pull away from side of pan. Yield: 8 servings Variation: Muffins – Pour corn bread batter into well-greased muffin cups. Bake in preheated 425 degrees oven 15 to 18 minutes, light golden brown. Yield: 12 muffins Tomato Jam 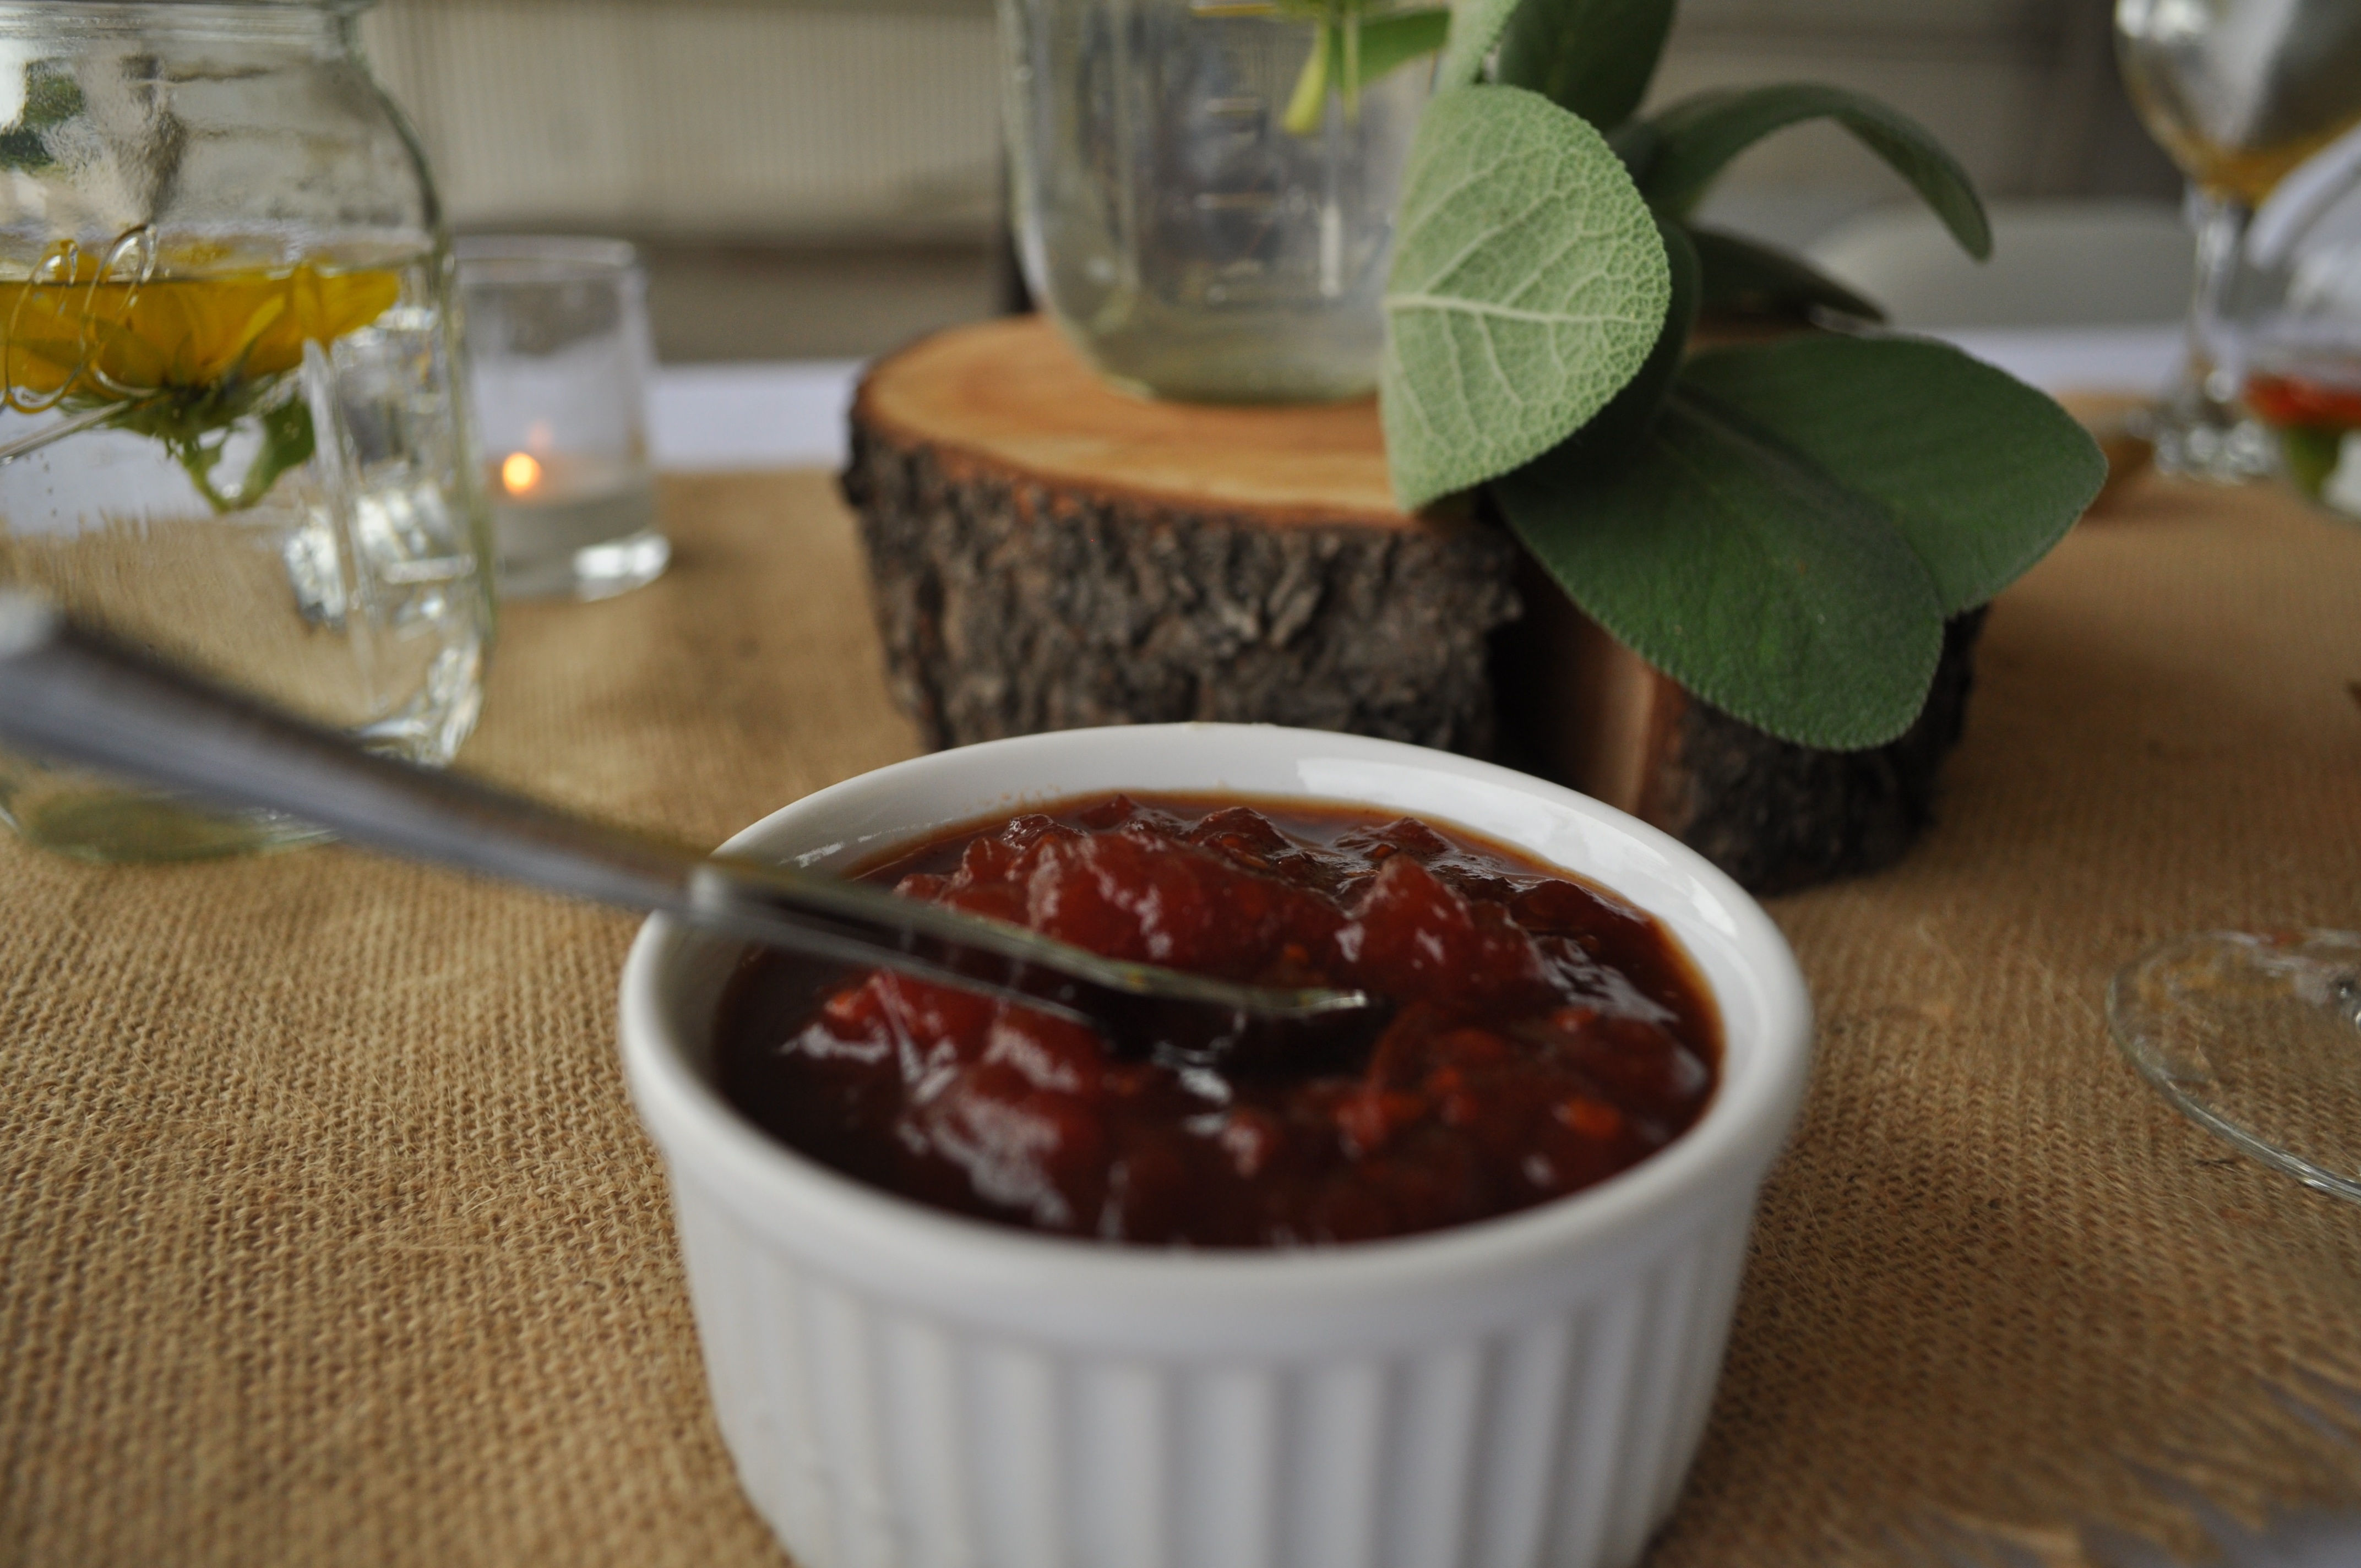 Ingredients: 5 pounds tomatoes,finely chopped 3 ½ cups sugar 8 tablespoons lime juice 2 teaspoons freshly grated ginger 1 teaspoon cinnamon ½ teaspoon ground cloves 1 tablespoon salt 1 tablespoon red chili flakes Directions: 1. Combine all ingredients in a large, non-reactive pot. Bring to a boil and then reduce temperature to a simmer. Stirring regularly, simmer the jam until it reduces to a sticky, jammy mess. This will take between 1 to 1 ½ hours, depending on how high you keep your heat. 2. When the jam has cooked down sufficiently, remove from heat and fill jars, leaving ¼ inch of head space. Wipe rims, apply lids and twist on rings. Process in a boiling water canner for 20 minutes. 3. When time is up, remove jars from water bath and allow them to cool. When jars are cool enough to handle, test seals. Store jars in a cool, dark place for up to one year. Yield: 3 – 5 pints, depending on tomatoes and how much you cook it down. Linda
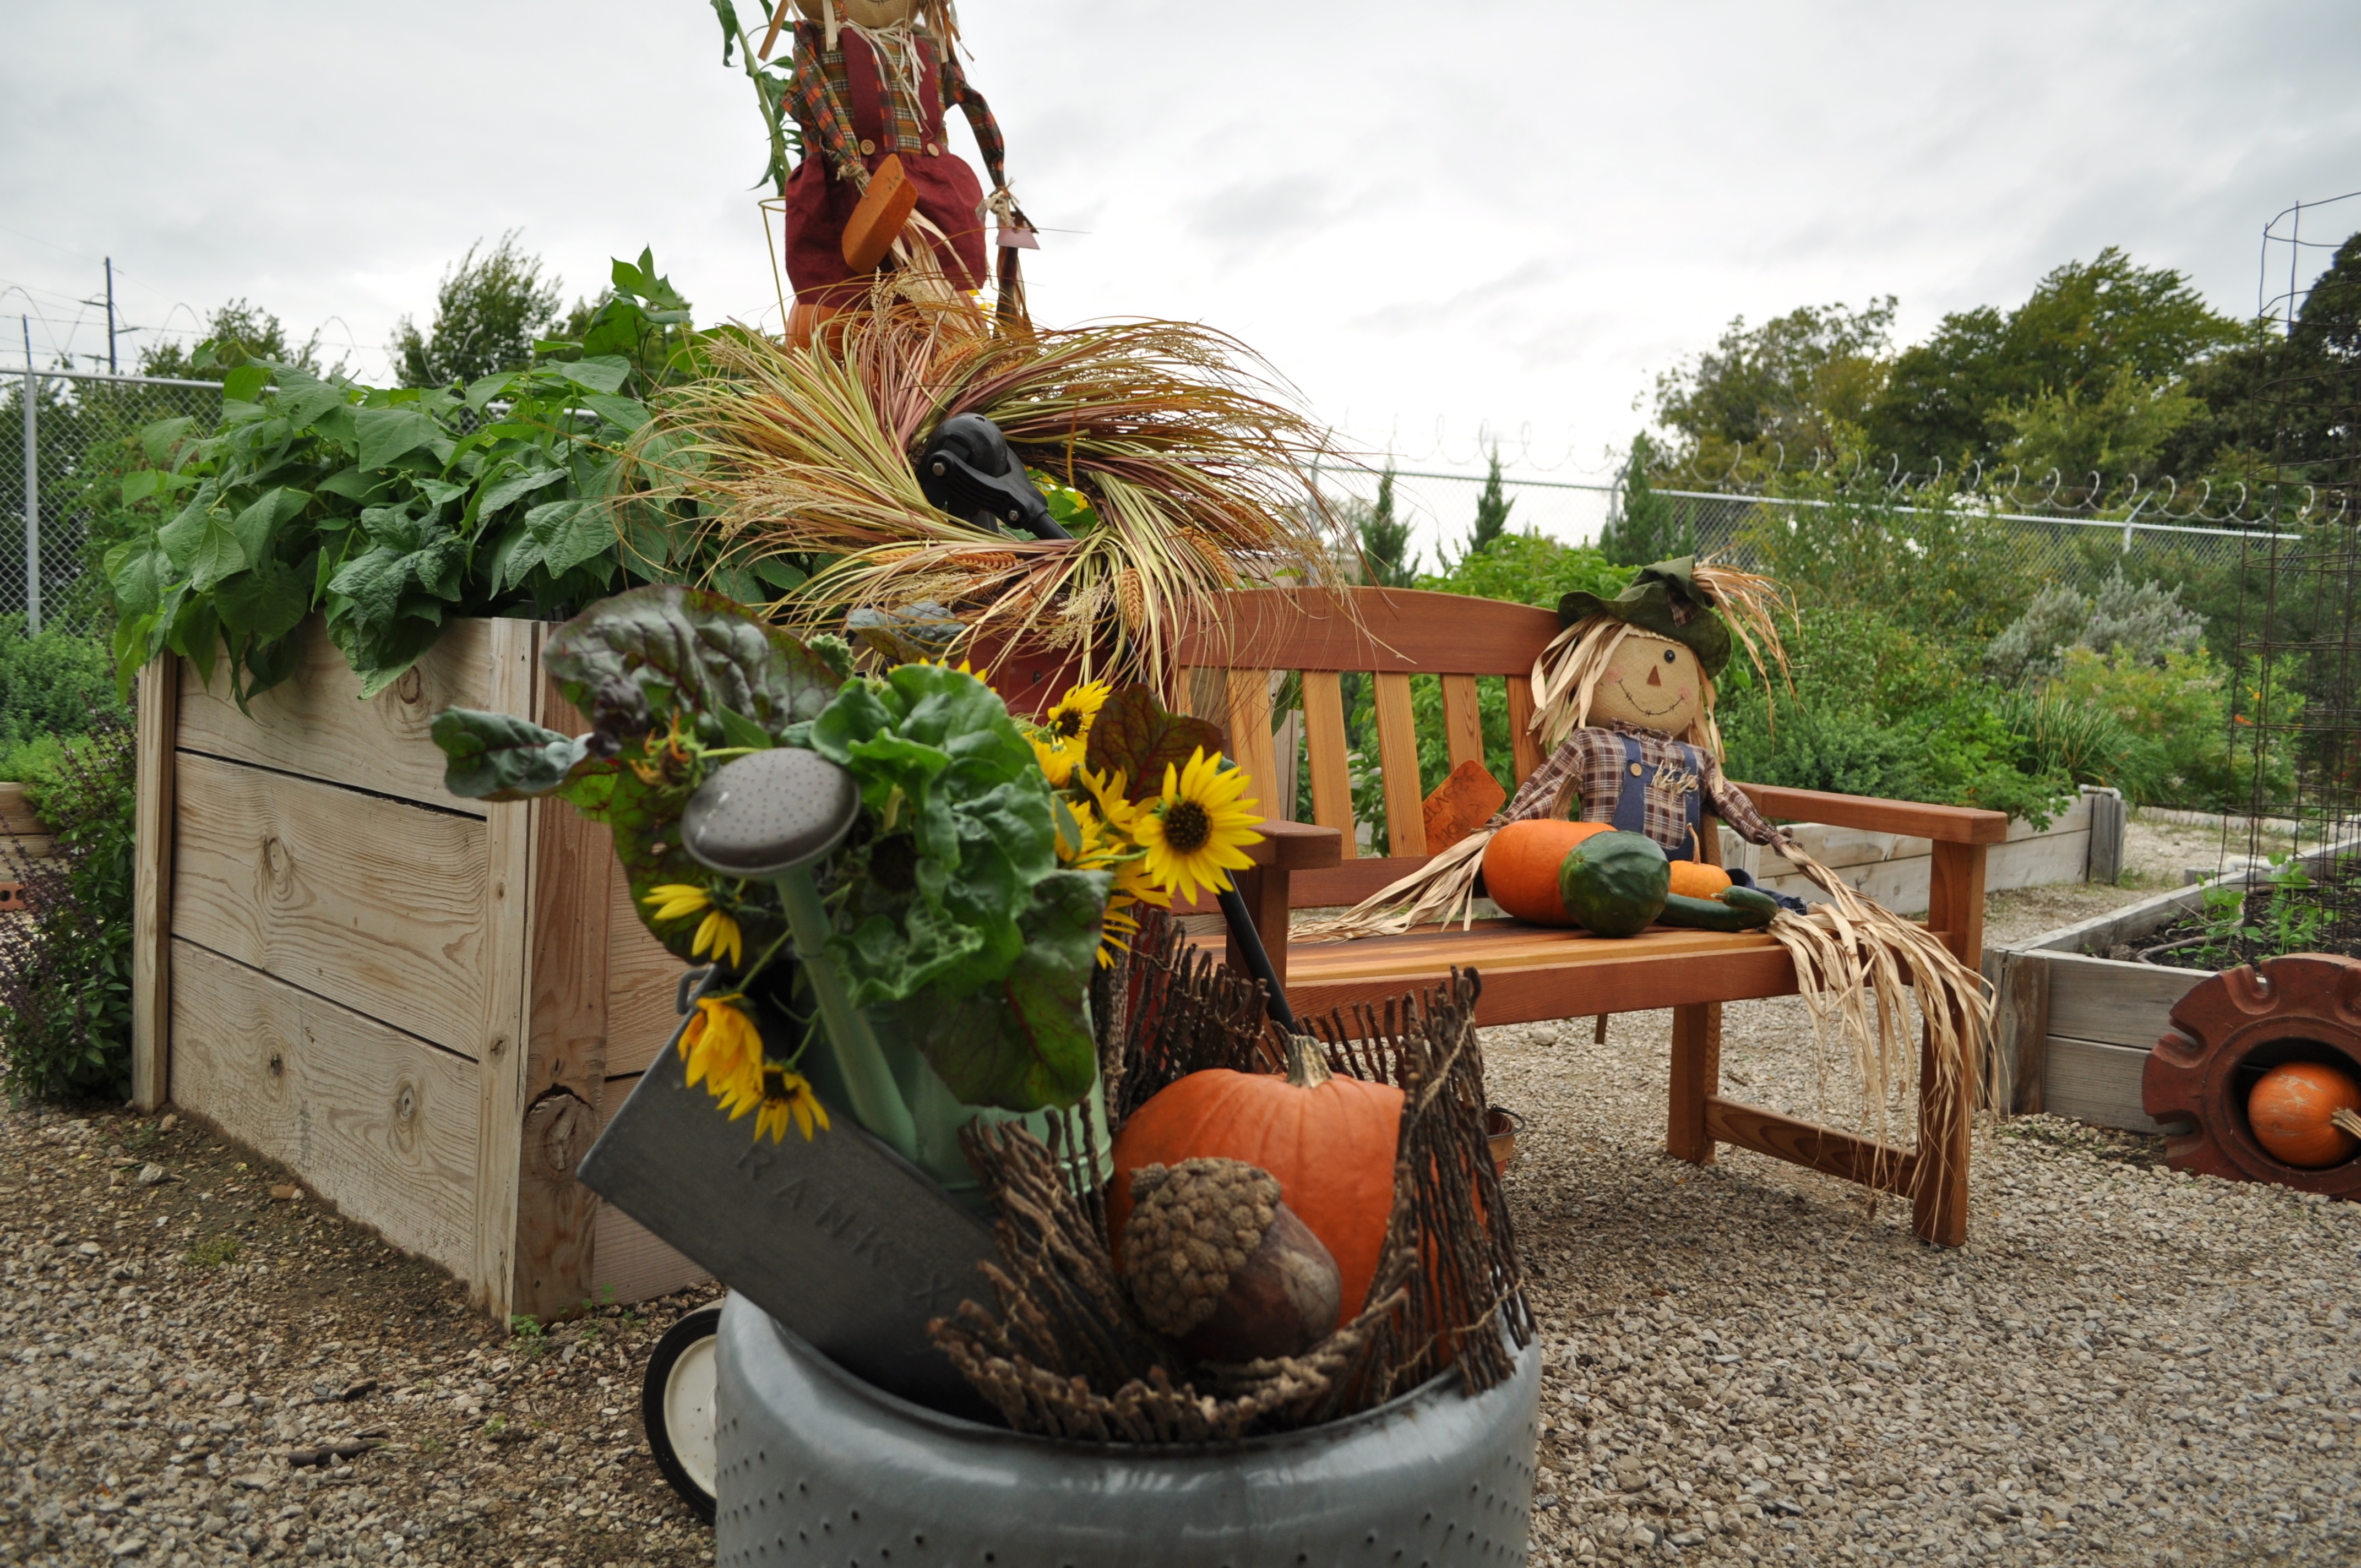 There is an old hymn that begins with the words “Come, ye thankful people come, Raise the song of harvest home!” Yesterday at the Joe Field Demonstration Garden as we gathered around the harvest table, our spirits were indeed lifted with gratitude and thanks.
It was an especially joyful experience for our team of volunteers to serve over 46 guests the foods that had been gathered and prepared by our own hands. For weeks we had planned every detail of the day and watching it unfold was a testament to the hard work of everyone involved.
Here is a closer look at the recipes, the setting and decor that made the day so special for a lovely group of Master Gardeners and their friends.

Will we host a similar event in the spring? Stay posted – we’re as”busy as bees” at the Demonstration Garden!

Linda
Master Gardeners at the Joe Field Demonstration Garden invite you to…
“Outstanding at the Field”
Guests will enjoy a fall feast celebrating the harvest, the land, and the farmers that cultivate the food for our table.
Lunch will served on white tablecloths covering a long table
set within our lovely fall garden.
Garden to Table Harvest Lunch
Mother’s Meatloaf with Piquant Sauce
Skillet Fried Corn
A “Mess of Peas” with Sweet-and-Spicy Chow-Chow
Roasted Butternut Squash Salad with Warm Cider Vinaigrette
Dixie Cornbread with Honey-Thyme Butter & Tomato Jam
Caramel Apple Layer Cake with Apple Cider Frosting
or
Layered Pumpkin Pie in a Jar
and
“Growing and Grilling”
A special presentation by Master Gardener Tim Allsup
(One-hour Education Credit for Master Gardeners)
11:00 a.m. – 12:30 p.m. Tuesday, October 29
$15 per person
Proceeds benefit educational tours for Dallas schoolchildren
Your reservation is your check for $15 made out to DCMG. Checks must be received by October 15th.
If you would like to come, please email us at dallasgardenbuzz@gmail.com
Enrollment is limited.
This event is open to all Master Gardeners, friends, and the public.
In Texas, our 52-week growing season has a double-edged sword: Yes, we can grow flowers in the garden all year round (well, the vote is still out on August). But if your plant choices are flats and flats of annuals—changed out by the season–you’ll either throw out your back or overdraw your checking account. Or both.
Seldom in life can one say: unequivocally here’s the answer. With a vision of Oprah guiding my thoughts: Here Is The Answer: Practically Perfect Perennials. They bloom, come in every size, shape, and color of the color wheel, and make a return visit to your garden next season. Ideally, mix annuals (one season show) with perennials (several week bloom) for long lasting color.
Gardeners’ hearty embrace of the charms of perennials has only come about in the last decade or so. I remember a Fort Worth nurseryman telling our class on perennials that he couldn’t give them away in the 1980s. Traffic stopping masses of white periwinkles were as ubiquitous as padded shoulders and Dynasty.
As purchasing habits have moved from annuals to perennials, the look of gardens has also changed. Carefully chosen groupings of perennials tickle the senses with different bloom shapes, colors, and leaves in comparison with the banality of one type of annual.
Enough already. I’m converted. I see the light. I want to add perennials to my garden beds. How do I start?
Soil Prep: You can’t escape it in North Texas. Lots of compost, 3 inches of expanded shale, tilled in. Run a drip system or soaker hose up and down your beds. Plant, remembering the eventual height and width of the plant (tall goes in the back). Mulch like your plant’s life depends on it, at least 2-3 inches.
What do I choose? I start with color. For example, for a house with brown brick you might consider going with warm, bright colors. Hot yellows, warm oranges, and flaming pinks pop against the neutral brown. Pick a unifying color; I almost always choose blue or purple. It goes with everything.
Now life gets interesting. I use a yellow legal pad and some good gardening books. Make of list of plants you can’t live without. Like daylilies? Bee balm? Search for background perennials with high, mid-level, and low front of the bed plants. Think about bloom season to narrow your plant choices. Early spring? Early summer? Fall? To narrow your selections and make your garden more interesting, look at plants by bloom type. The four flower types are spike (salvia), tubular (petunia), ray (daisy), and umbel (lantana). You want to include each type of bloom.
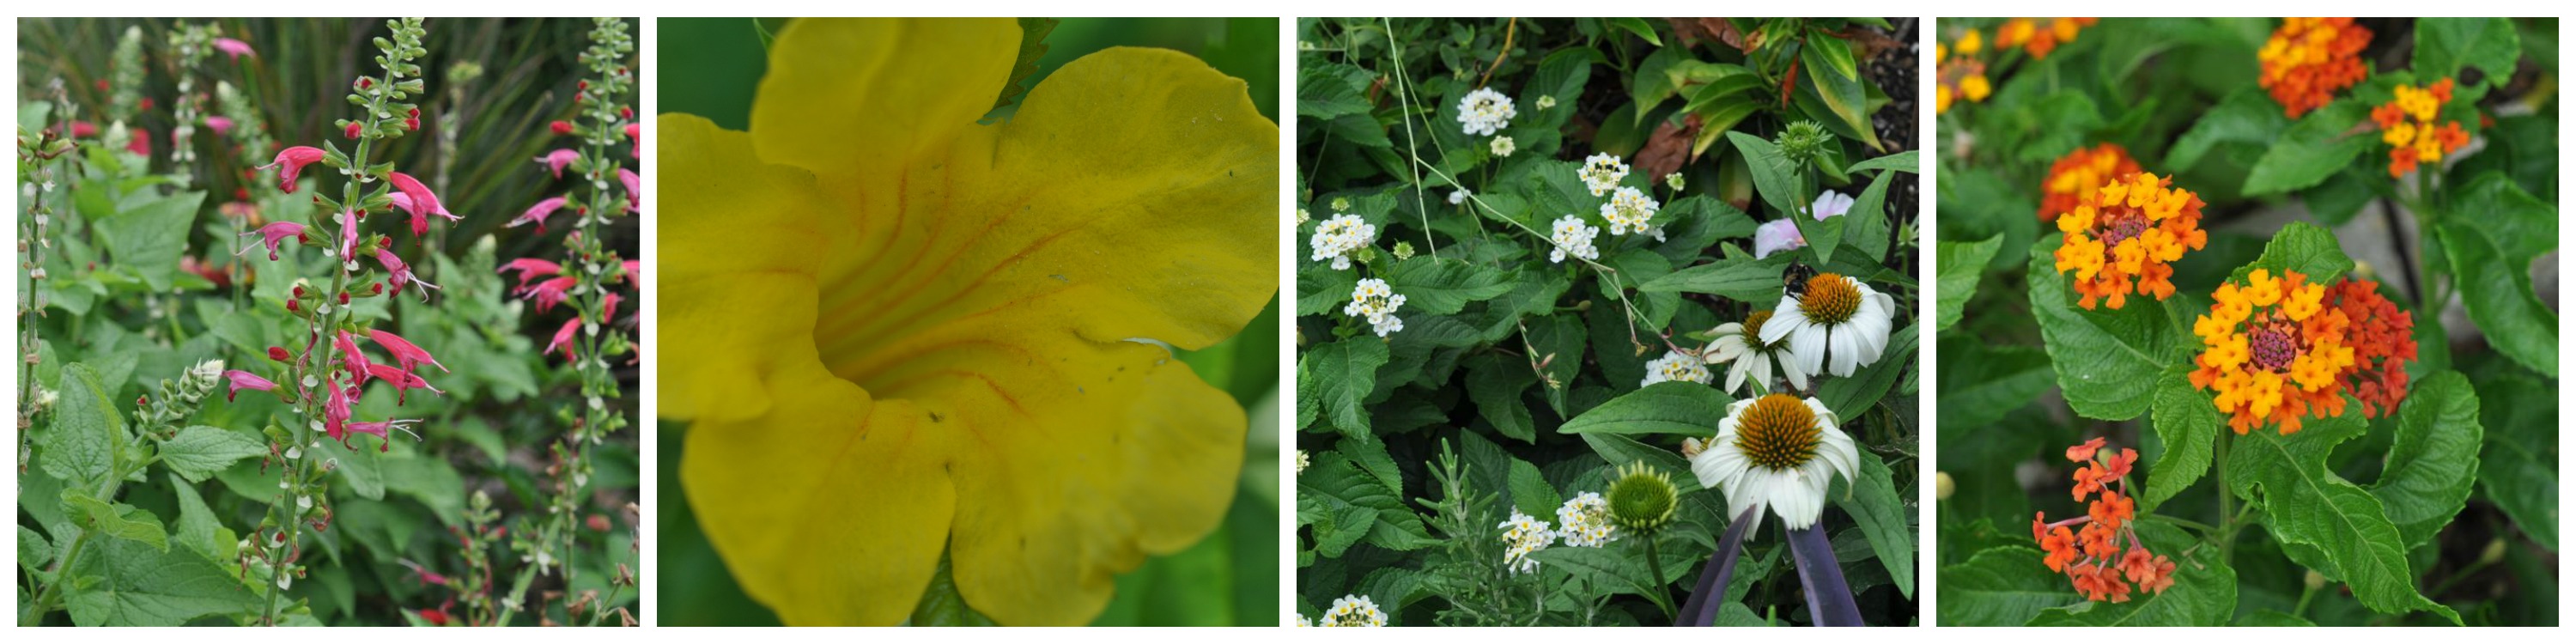
Spike, Tubular, Ray, Umbel Bloom Type
Also consider leaf shape and size. The huge leaf of a Mexican sunflower contrasts well with feathery yarrow or long and narrow salvia.
 One of the selling points for cannas is their huge leaf, some varieties come now in shades of purple. For purple heart, the leaf is the big draw of the plant; the flower is small and insignificant.
Stumped or overwhelmed? Don’t do it on your own. Go to the outstanding arboretums and botanical gardens in the area for ideas. Stroll the aisles of good nurseries and talk with the knowledgeable employees. Call the Dallas County Master Gardener Help Desk at 214/ 904-3053 for assistance. Oh, and have fun!
Elizabeth
Pictures by Ann
For more soil prep garden advice review: One Way To Prepare A New Garden Bed.
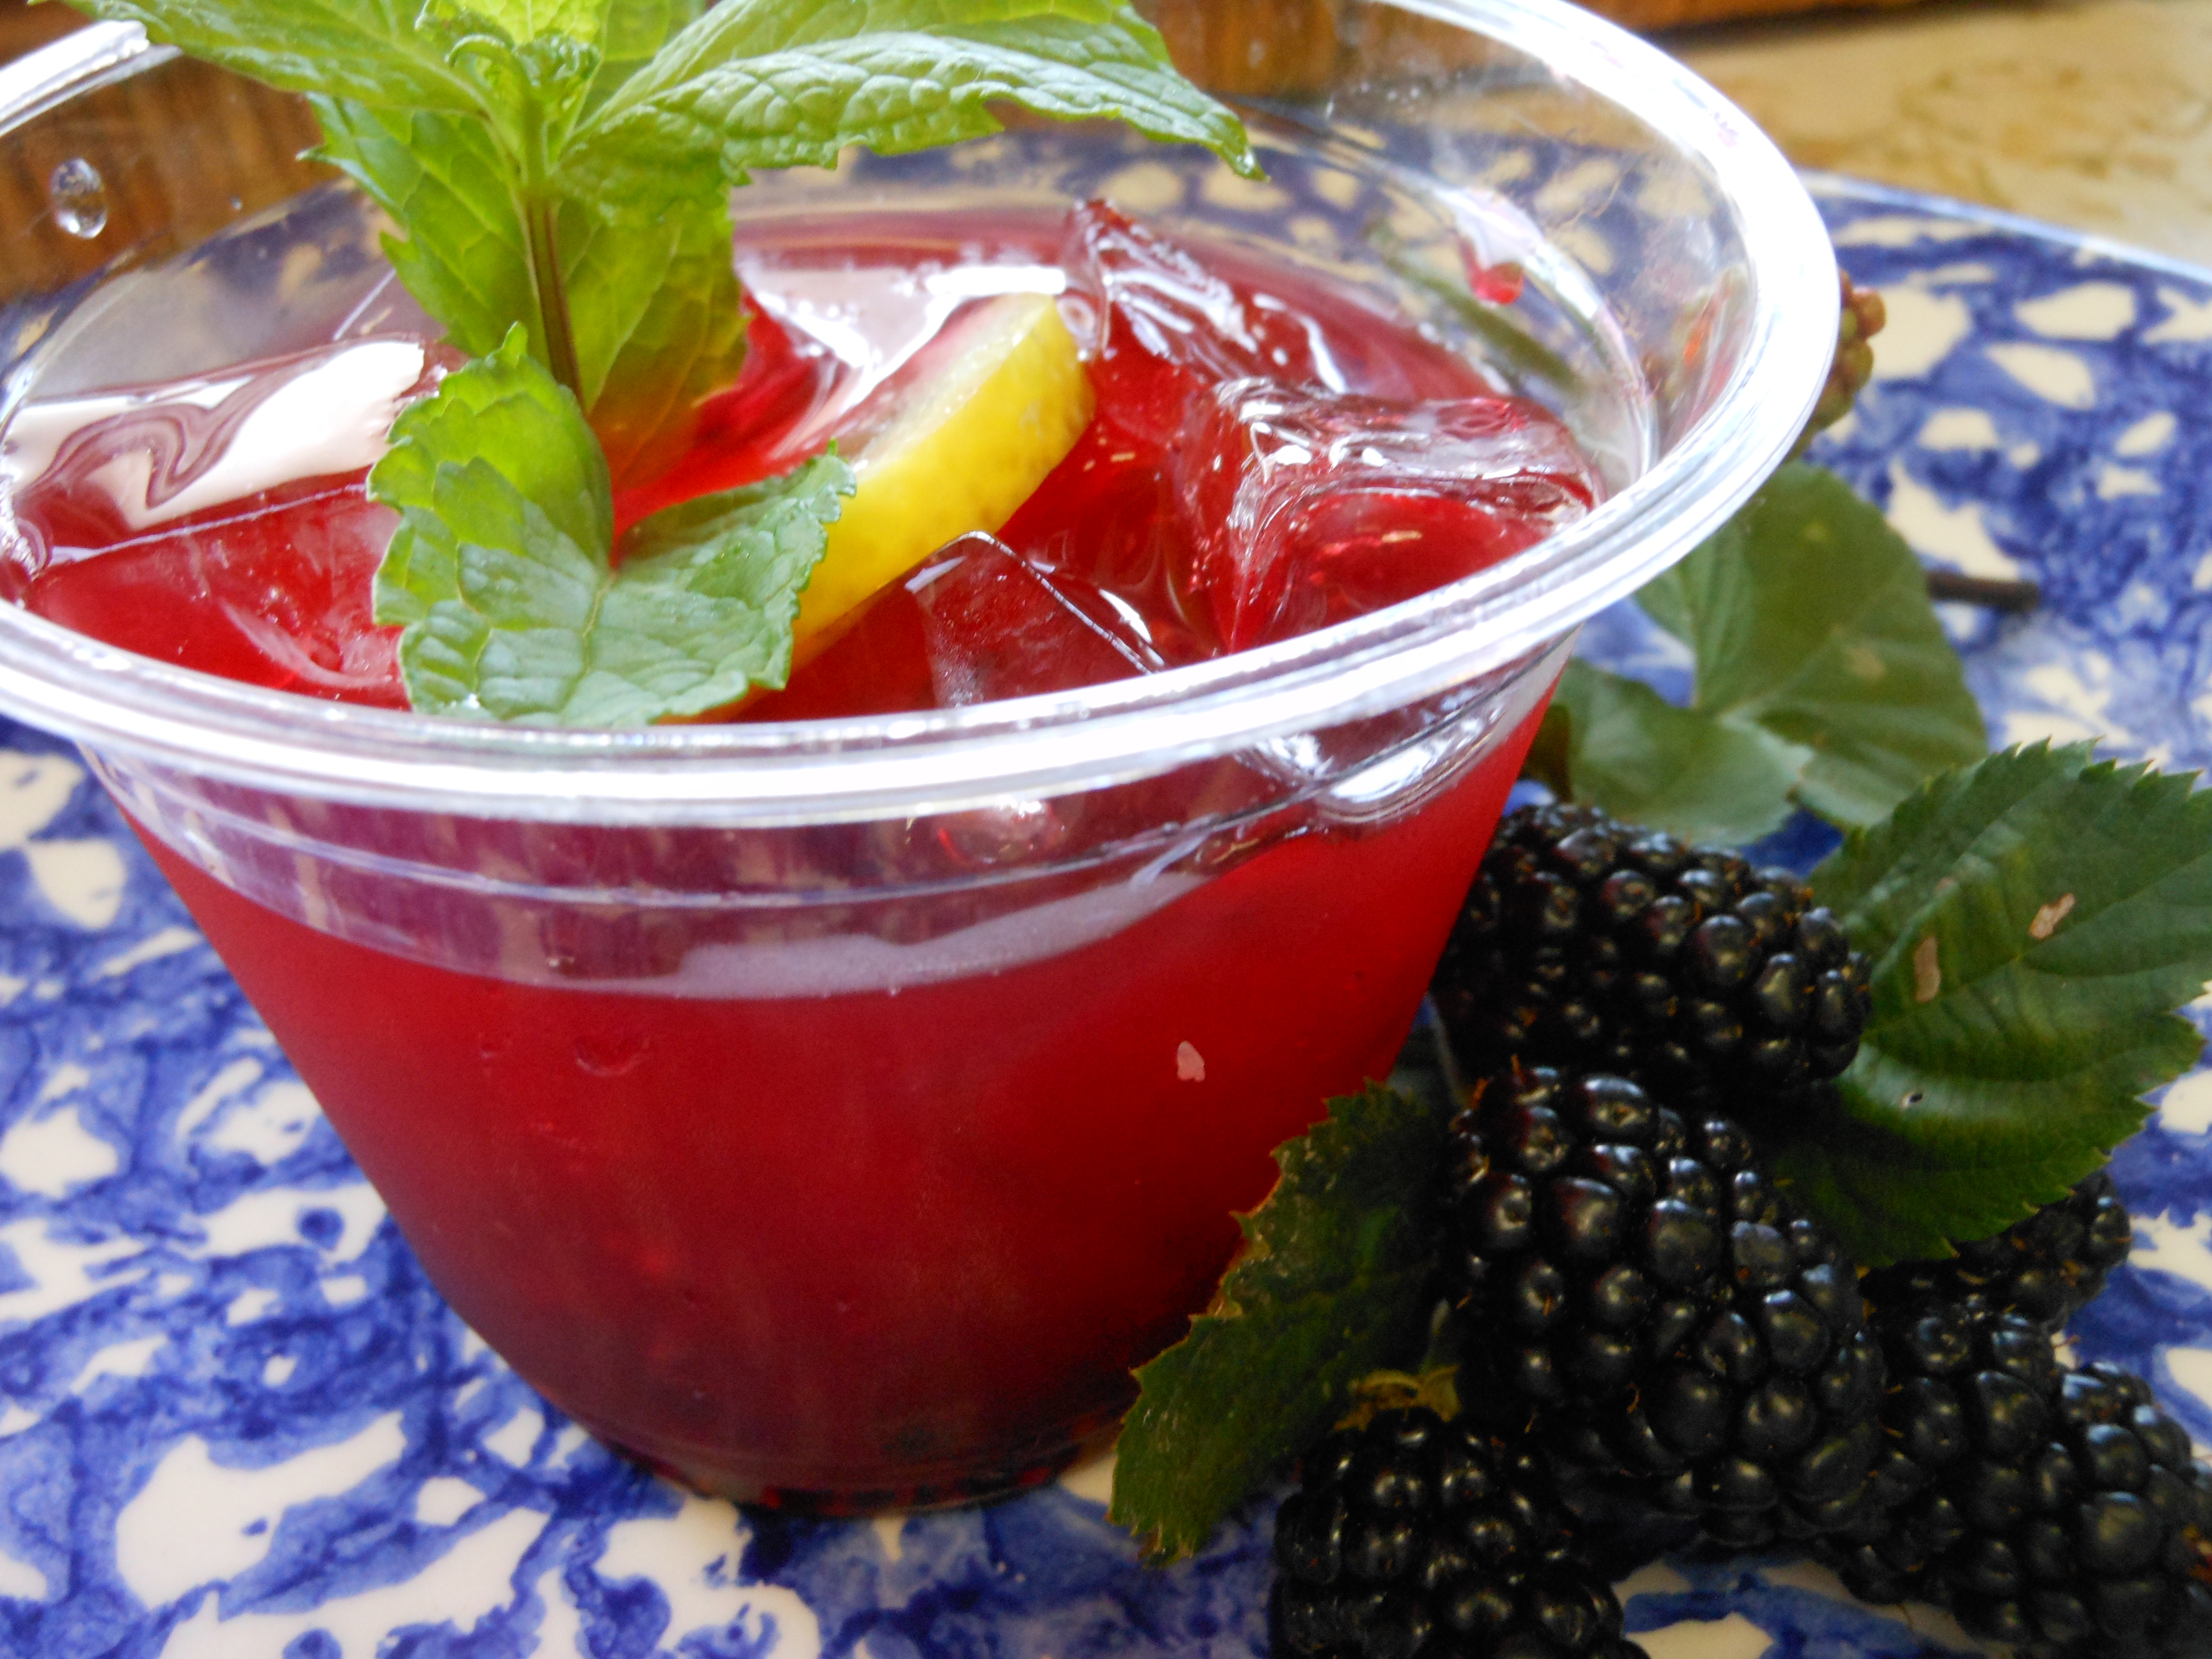
Treat your guests to lemonade with a deeper flavor.
Directions:
Muddle 2 cups blackberries with 2 cups simple syrup (recipe follows) in a pitcher. Stir in 2 cups each fresh lemon juice and water; add ice and lemon slices.
Simple Syrup: To make 2 cups simple syrup, bring 1 ½ cups each sugar and water to a boil, stirring until dissolved. Let cool.
Yield: 8 servings
Adapted from the Food Network
Recipe and Picture by Linda