Looking for Joy in Summer

Sometimes when the heat sets in,it can get discouraging; energy seems in short supply. Even the most loved of gardens seems,well not as lovely as it did.  Don’t give in to those thoughts or worse yet actions, such as avoiding your gardening chores.  If you grow lemon verbena,  you can have a delicious treat at the end of  weeding.  In fact, this wonderful herb can be a treat every time you walk by it; it smells more like lemon than a lemon.

Lemon Verbena,Dallas Garden Buzz

Just in case you do not have lemon verbena in your garden, a few facts to know before you head out to buy one.  Lemon verbena is a tender perennial that means it will return year after year, provided it doesn’t freeze to death.  It is hardy to about 25 degrees !   In our experience it seems able to tolerate lower temps for brief periods especially if it is carefully mulched in fall.  This herb is pretty,pale to medium green pointed leaves,very tiny flowers, but to be honest it is not a beauty.  In our herb gardens it will be about 3 to 4 feet tall and tends to sprawl a bit. In ideal growing situations (you already guessed ideal isn’t here) it can reach 15 feet.  But lets not let that upset us,it still will be very happy in good well-drained soil and especially if it gets afternoon shade  and a reasonable, not excessive amount of water.

Lemon verbena is a native of Peru and surrounding countries and wasn’t introduced into Europe until the 18th century–so–no interesting medieval recipes  for amazing cures using our herb.  That’s not a worry either you will love lemon verbena leaves in your tea.

Lemon Verbena Tea, Dallas Garden Buzz

It can be used alone as an herbal tea.  This herb has a strong lemon fragrance so it really doesn’t take a great deal to make a delicious difference in your drink.  Do not be afraid to experiment here–no known dangers associated with lemon verbena. I find that a small stem of herb(perhaps 6 leaves) and the stem can be added when brewing a pot of tea using one family sized or about 3 regular tea bags let this steep for about 10 minutes then cool and serve over ice  you can remove the herb–or one lucky person –that would be you–you grew it after all–can have it in the glass.  The same proportions apply to green tea,maybe a bit prettier since the color sets off the color of the herb.

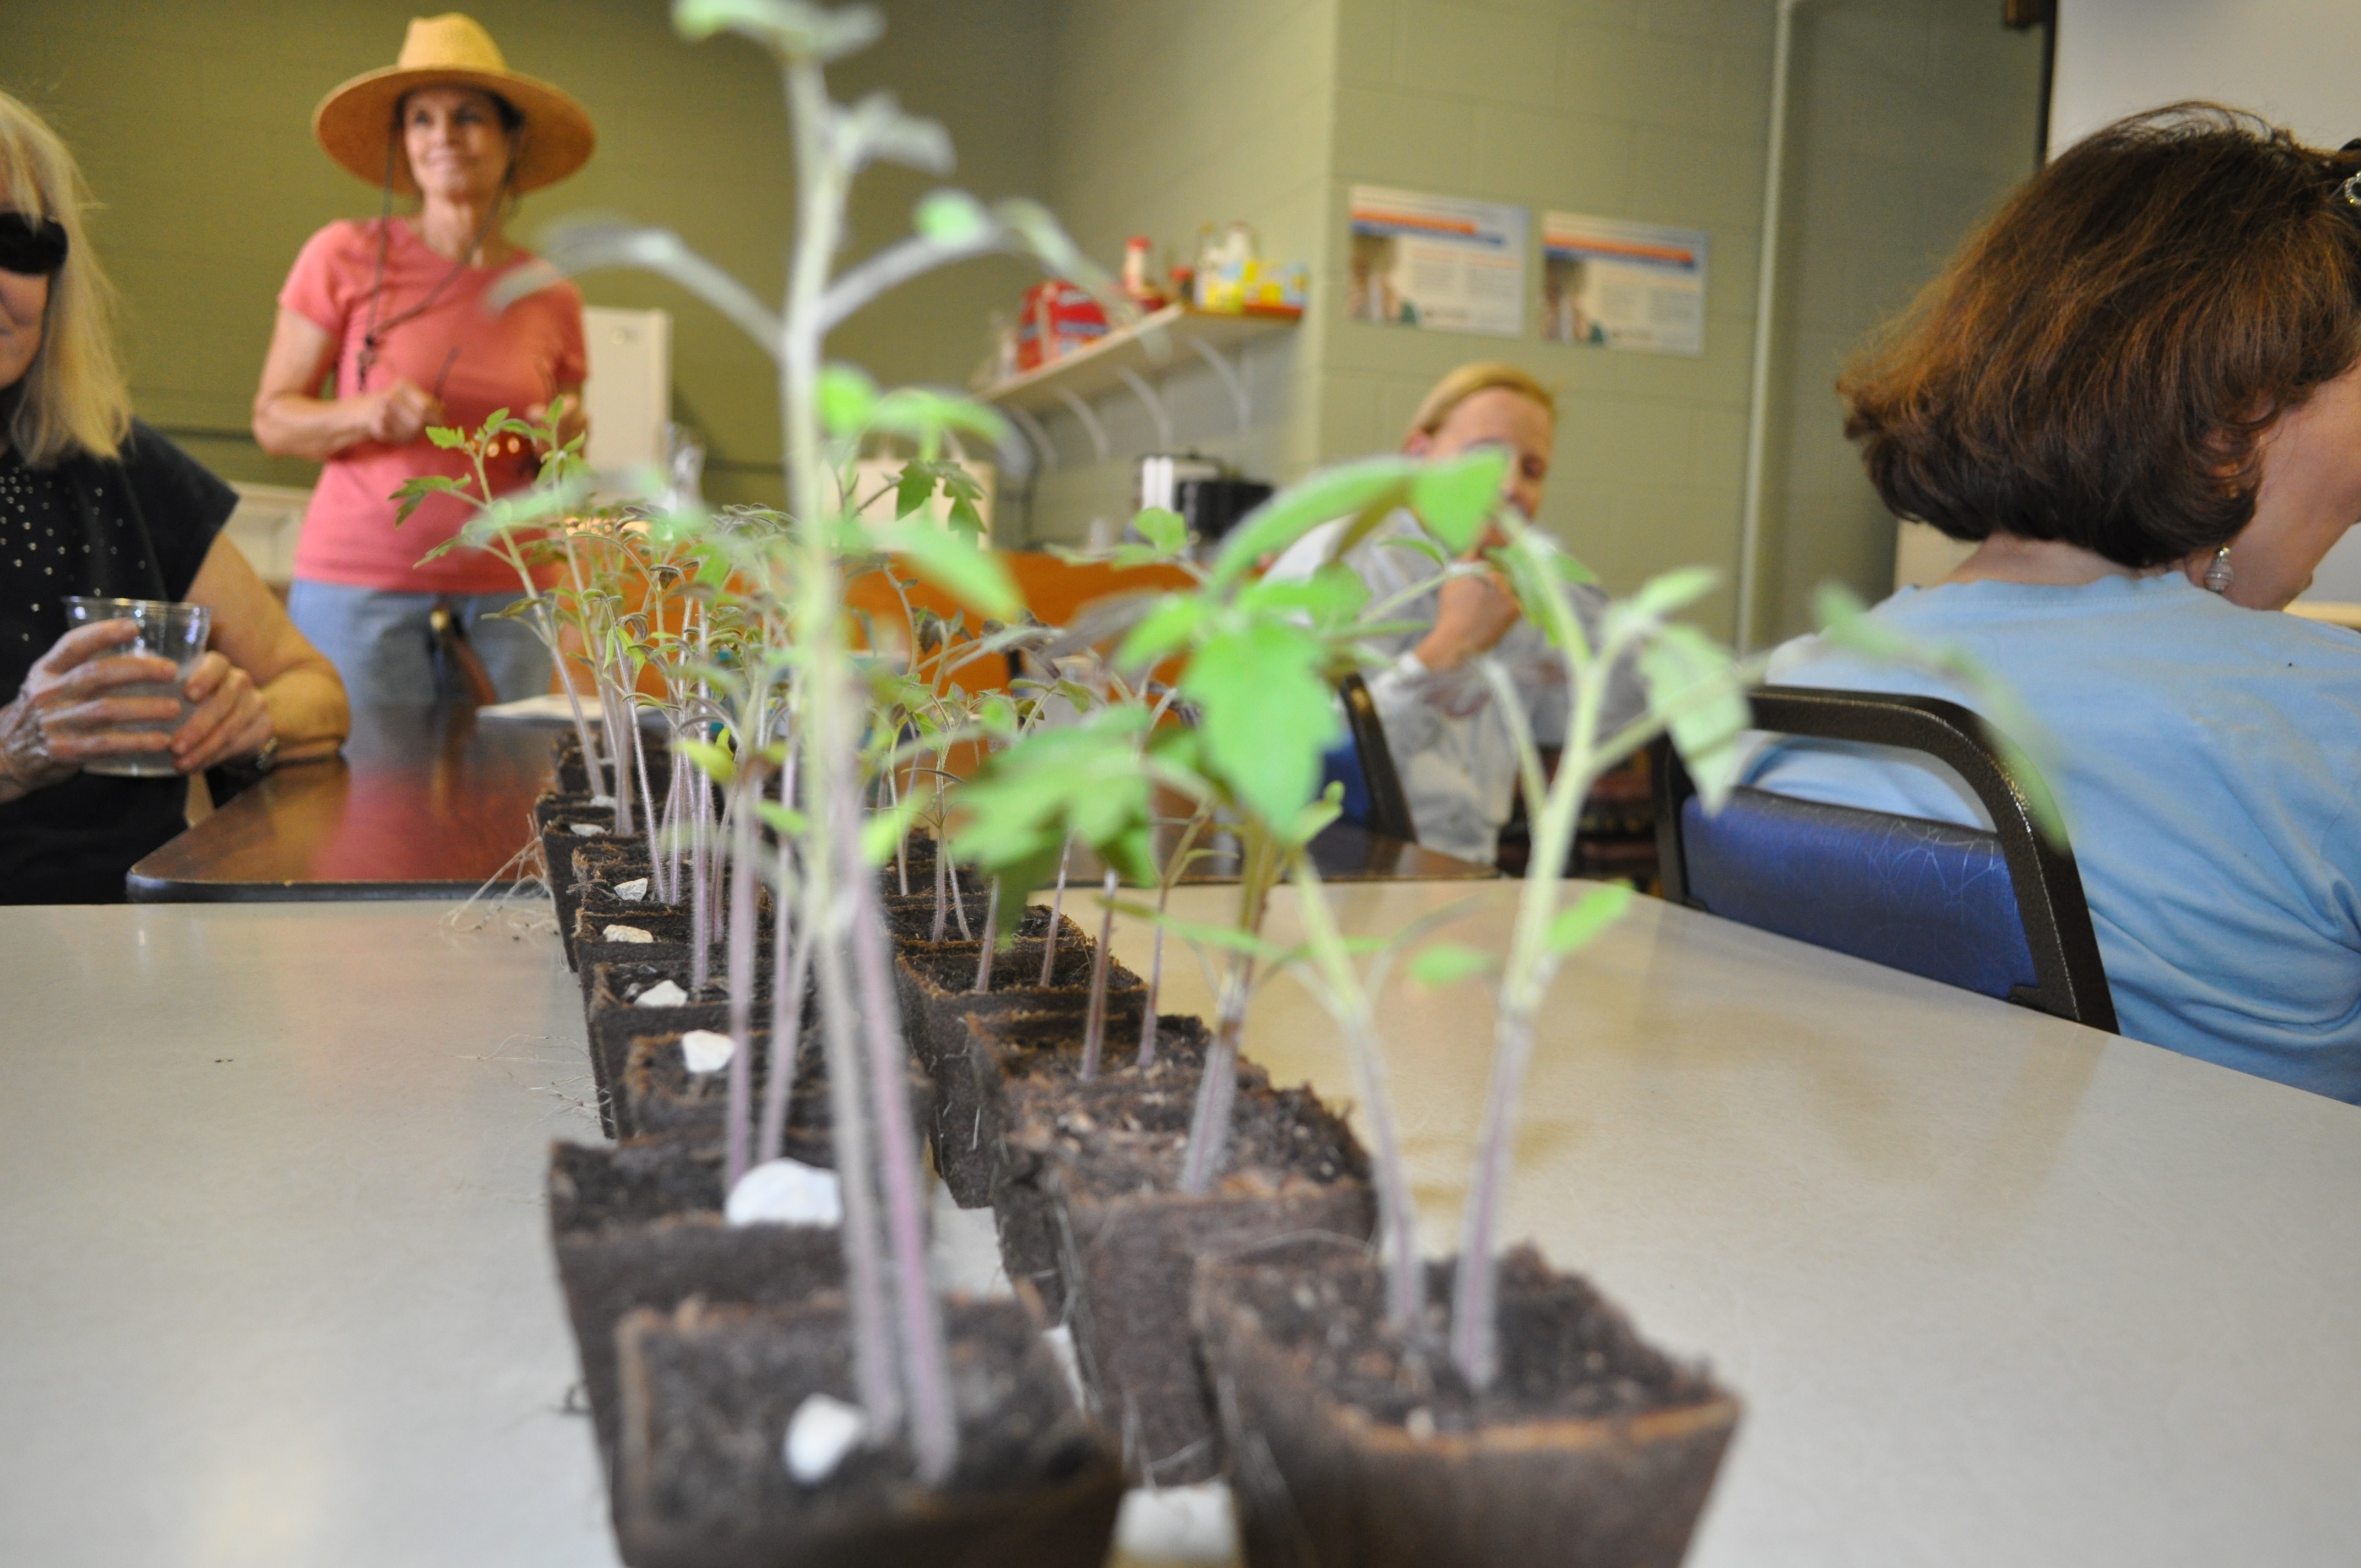
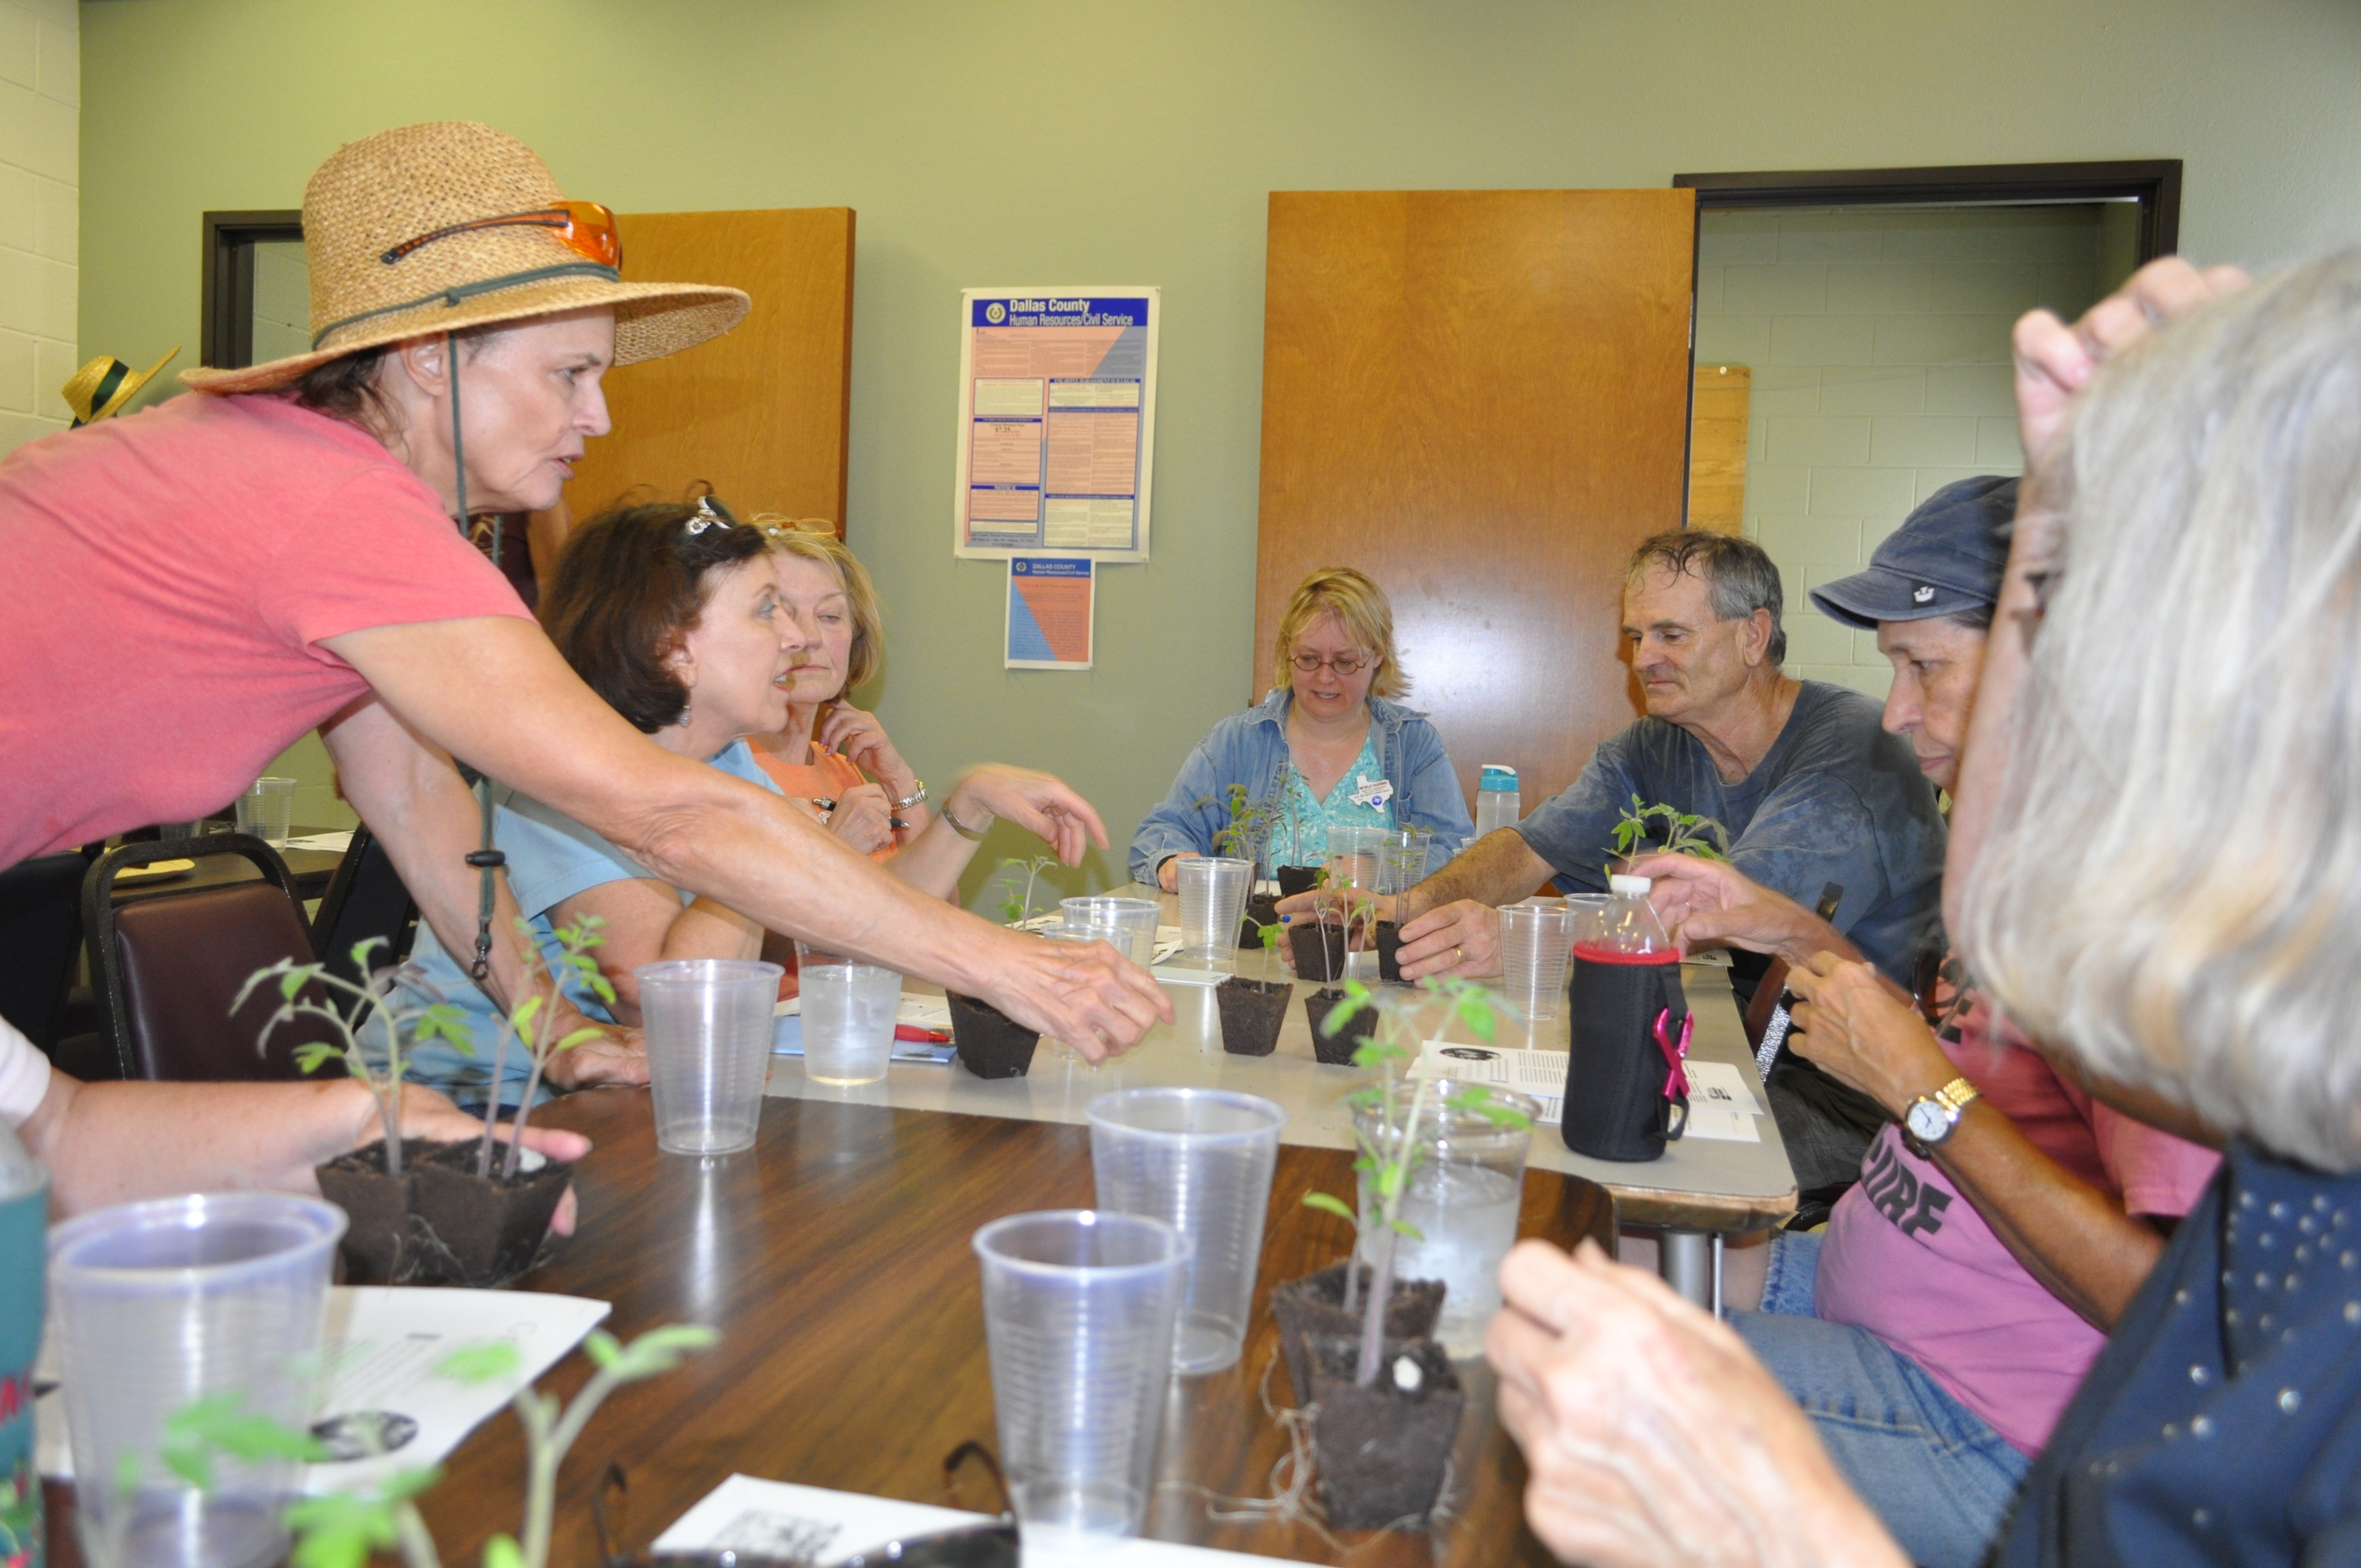
Just a few more points–if you are just planting your lemon verbena–no tea for you yet!!!  You need to allow the plant to grow  a bit before you harvest; but it grows fast.  Never over harvest. The plant naturally needs leaves to make its food.  Be patient soon you will have plenty. You may consider several plants; once you taste your tea I feel sure this will be the case. This herb is grown from cuttings. The seeds are very difficult to get to grow i’m sorry to say but in spring at least you will be able to find it quite readily in nurseries that sell herbs.

As always, never brew tea from herbs that have been sprayed with chemicals.  The best time to gather any herb is in the morning.  Rinse you lemon verbena briefly in cold water if you feel the need and enjoy!!  This herb is one of the best for drying-no special equipment needed- sniping  small bunches of leaves and laying them in an out of the way place (a word to the wise–away from any possible interference from cats)  just leave to dry and when dry; store airtight.  It stays amazingly fragrant so a hot steaming cup of lemony tea will brighten up a cold day which will come one of these days.

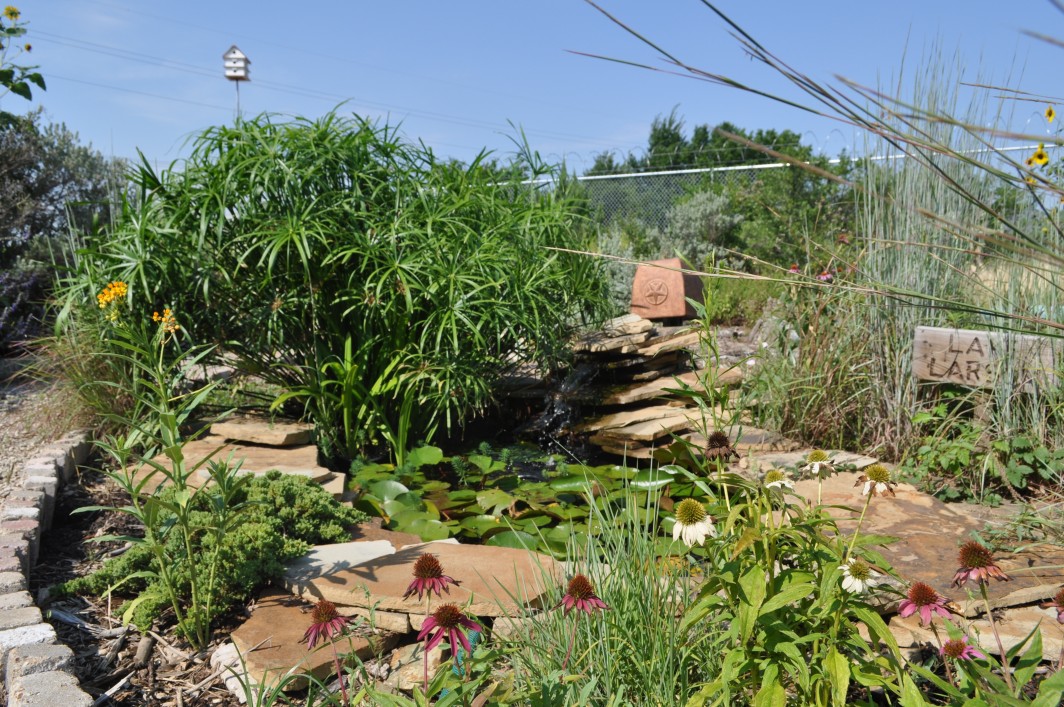
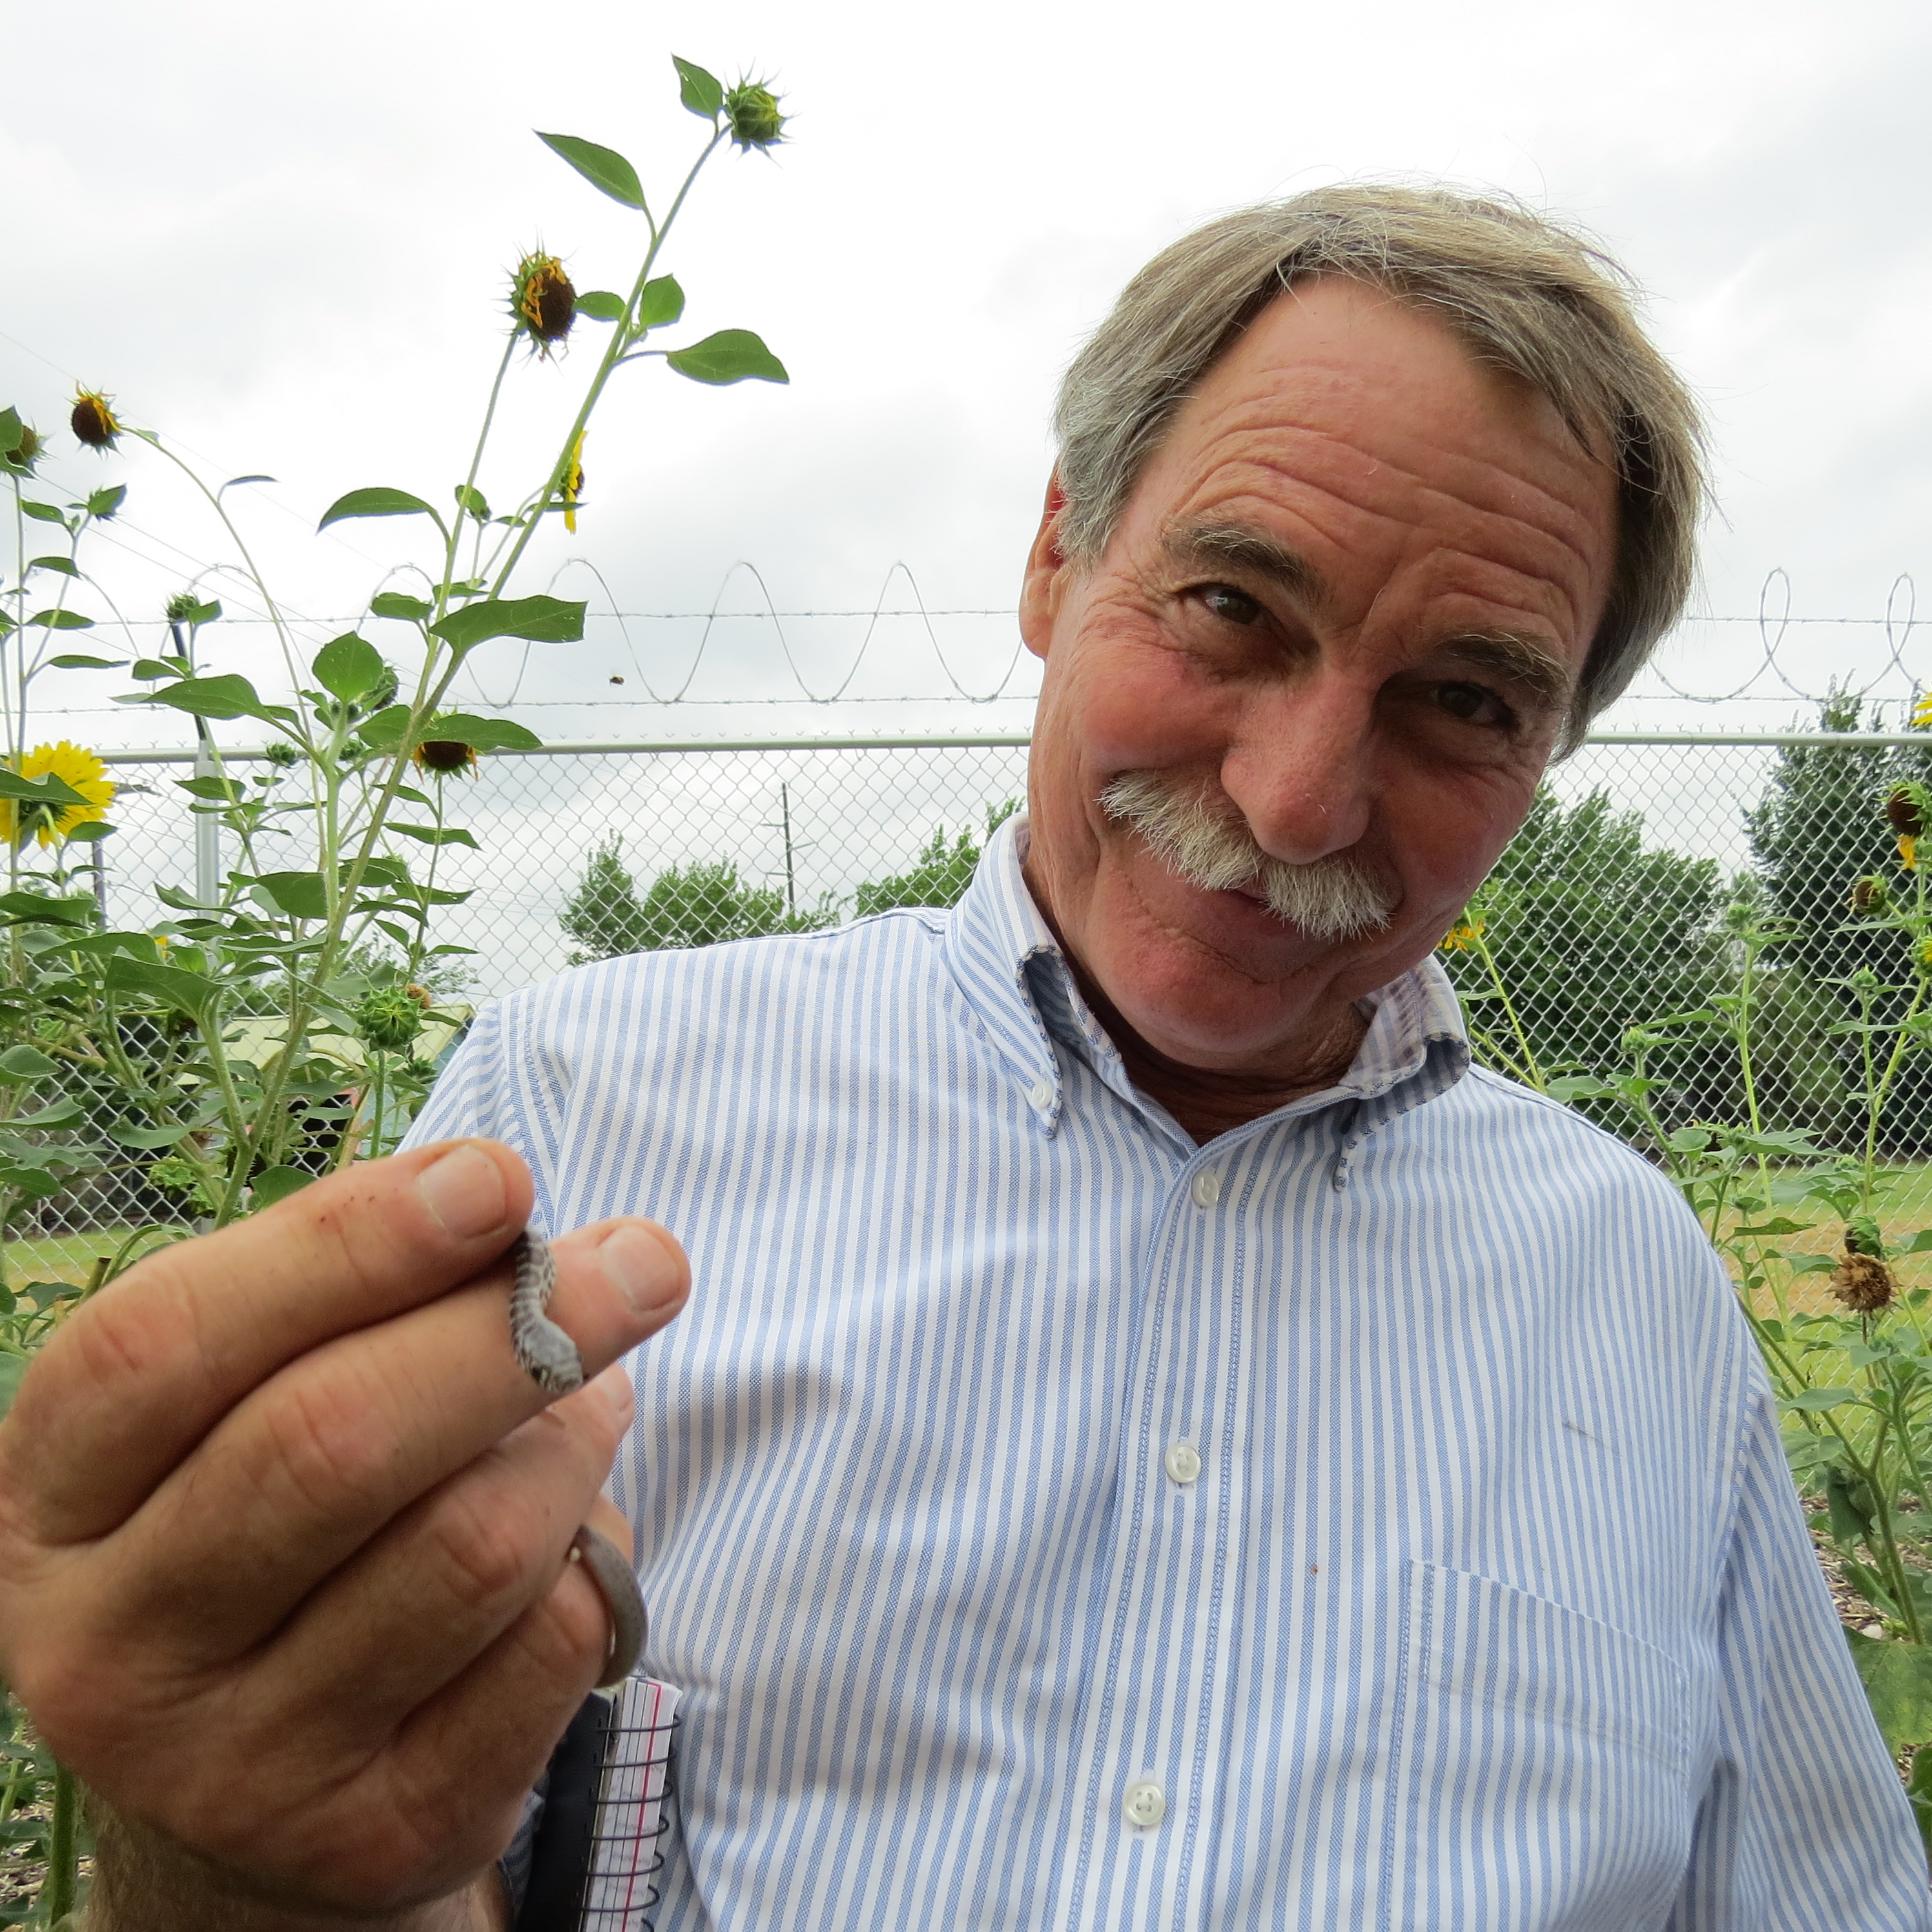
If you come to visit us at The Demonstration Garden on Joe Field Road, don’t forget to crush a leaf of lemon verbena; you will love it and I hope you also grow your own and put it to good use.   It will add joy summer and winter. No calories, no guilt!

Susan T

Noah’s Ark WaterGardens

Themed gardens are very popular now.  Gardening magazines feature articles on “Growing Your Own Salsa Garden” (tomatoes, cilantro, peppers, onions), a Marian or Biblical Garden concentrating on those plants found in the bible, and moonlight gardens featuring white/light colored plants that glow in a full moon and flowers that bloom at night.

Even a pond could have a veritable Noah’s Ark of water plants– and with Noah saving the animals during the 40 days and 40 nights of rain and flooding, what theme could be more appropriate for a water garden.   The DemonstrationGarden’s small pond contains at least two of these “Noah’s Ark” plants that are readily available in area nurseries.

Parrot Feather in Demonstration Garden Pond

So come on board the Ark and try a few of these animal themed water plants in your pond:

Horsetail Rush: This 2-3 foot spiked plant was used by Native Americans as a scouring agent as its stiff stems contain silica.  There is also a pretty variegated variety called Zebra Bulrush that has white stripes along the green spikes.  It grows to about 2-5 feet.  Both of these plants are very easy to grow and will tolerate some shade as well as full sun.

Lizard’s Tail:  The bright green foliage of this plant has fragrant, 4-6 inch spikes of fragrant white flowers that look like a lizard’s tail.  It grows well in shade and flowers in the spring.

Cardinal Flower:  A favorite of hummingbirds, its bright red flowers appear in the summer on 2-3 foot tall plants.  It prefers full sun.

Parrot's FeatherParrot’s Feather:  This beautiful feathered plant is a must for water gardens, especially those in part shade or even full sun.  Its appearance softens a pond and it provides oxygen for fish that also use its long trailing stems to hide or lay their eggs.  It can be grown in submerged pots or left to trail on top of the water.  The Demonstration Garden has a nice stand of parrot’s feather growing in its pond.    In the evening, the plant closes up and a drop of water sparkles on the end of the feathered fronds.

Chameleon Plant: Heart shaped leaves of crimson, green, yellow and cream decorate this showy plant that can be grown barely submerged in a pond.

Lousiana Iris “Black Game Cock”: Its velvety black-violet flowers with a gold crest in the center are a beautiful addition to a full sun pond.

Canna “Bengal Tiger”:  With showy large yellow and green striped leaves and large bright orange flowers, this tropical canna thrives in full sun.    

        Frog's Bit, Dallas Garden BuzzFrogbit:  This small floating plant looks similar to a miniature water lily, though it gets its name from how it resembles the chin of a frog in water.  Tiny cup shaped white flowers appear in July and August.  Be careful though, this plant can be aggressive and easily cover a pond.  Keep it thinned!!

Cattail, Dallas Garden Buzz

Cattail:  There are many species of cattails growing wild throughout the US.  Some may grow up to 6-8 feet tall.  Often the Dwarf Cattail, with a maximum height of 3 feet, is used in ponds as a background plant.  Cattails require full sun to grow well and since they spread by rapidly by creeping root stalks and seeds, it is best to grow them in containers.

Finally, during those forty days and forty nights of rain, what plant would Noah have found very useful (and which is found at our DemonstrationGarden)?   An Umbrella Palm, of course.

Umbrella Plant, Dallas Garden BuzzThis readily available plant grows 3-4 feet tall in full or partial sun.  With its long strap-like leaves that form an umbrella shape, it would probably be most appreciated by Noah and his family.

Do you have a favorite water garden “Noah’s Ark” plant to add to this list?  Let us know.

Carolyn

Pictures from our garden by Ann and thanks to Tamu Aquatic Plant ID  for Parrot’s Feather, Frogbit, and Cattail.

Rudbeckia Nitida ‘ Herbstonne’

Dallas County Master Gardeners and our visitors have been admiring a statuesque green-eyed coneflower in our garden all through July. And why shouldn’t they? Rudbeckia Nitida ‘Herbstonne’ is no slouch. It stands 4 feet tall featuring large daisy like flowers  that surround  a green cone. Even its foliage is arresting with rich green, deeply cut leaves at its base. Stunning!

Large Coneflower at the Demonstration GardenWith a good deadheading after the first bloom, it will flower all through the fall.

Looking up Through Rudbeckia HerbstonneStand and gaze at it, after  finishing garden chores, of course. You may be in line with the bees and butterflies who adore it.

Another View of Rudbeckia HerbstonneThis perennial appreciates  full sun and well drained soil in a Water Wise Garden.

Ann

To Eat or Not To Eat: That is the Question

They were grown by Thomas Jefferson at Monticello in 1812 as an arching vine on both sides of the terraces, while in Africa and Asia its edible fruit pods play an important role in native cooking.  What is this highly ornamental vine?  It is the hyacinth bean, also known as Egyptian or Indian bean.

Hyacinth Bean Vine

The hyacinth bean, Dilochos lablab/Lablab purpurea, is a very fast growing, highly ornamental vine.  Dilochos is from the Greek meaning long or elongated; purpurea means purple; and lablab is the Egyptian or Arabic word for the dull rattle of seeds inside the pod.  It was introduced to European gardens in the 1700’s and sold in America by the early 19th century.  With the hyacinth bean’s showy, long and interrupted spike-like light or dark purple flowers and beautiful one inch wide purple pods, these fast growing annual 6-20 foot twinning vines with their lush dark green foliage tinged with purple are highly recommended for use on arbors and trellises.

Here at the Garden we grow two varieties of hyacinth bean:  the more common purple variety with its black and white seeds and a white variety that has mocha and white seeds.  Each of these grows easily in full sun, in rich soil and with adequate water.  Seeds may be soaked or scarified for quicker germination.

Our Vine in Full Bloom Summer 2012

There is controversy over whether the pods and seeds are edible.  In Africa and the Far East, the flowers, pods and seeds are eaten.  However, the mature pods and dry beans contain a high amount of cyanogenic glycocides, a quite toxic substance.  Mature or dry beans must not be eaten raw.  They must be soaked overnight, then boiled in a lot of water.  Even doing this, some people are susceptible to the toxin and, in general, eating hyacinth beans is not recommended.  Rather, just enjoy the hyacinth bean as an ornamental for its lovely flowers and pods.  You won’t be disappointed.

Carolyn

Pictures by Starla and Ann

Texas Discovery Garden Visitors and Others

We had several visitors to our garden on Tuesday.  Erin and Roger from  Texas Discovery Garden  came and were welcomed by  a host of creatures and people.  We usually are greeted by the buzzing of bees but seldom notice some of the other guests that make our garden their home.   An orange wasp flitted  among the squash leaves while the ladybugs had lunch among the fennel.

visitors-ladybug and wasp

We had surprises amongst the mulch; a little toad  managed to ride in the wheel barrow and was relocated near the pond  and  a snake slithered out from the wood chips.

visitors-toad and snake

Fortunately  Roger Sanderson, Director of Horticulture at Texas Discovery Gardens, is also a herpetologist.   He was very excited to learn we found a snake while cleaning out a bed and he quickly identified it as a Yellow- Bellied Racer.  To help you identify snakes you may come across, see this  Texas Snake ID site.

Snake and Roger from Texas Discovery Gardens

The Yellow-Bellied Racer is a harmless and very fast snake.  The one we found Tuesday is very young, covered with spots and blotches.   When mature he’ll be solid blue-gray on the upper side and solid yellow on the belly.  They eat bugs and small lizards at this age, but as adults they eat anything that moves, including lizards, mice and venomous snakes.

The most common snake found in our gardens are the Rough Earth Snakes which are small (6-8” full grown) and feed on tiny insects, worms, and other invertebrates. They are essentially unmarked gray to brown snakes that are paler on the belly.  Another common snake in this area, and about the same size, is the little Texas Brown snake.  Unlike the Earth Snake, it does have faint marking down the body and a distinct black mark just behind the head on both sides.

We love all creatures great and small at our garden, but were happy to add this little snake to Roger’s collection at  Texas Discovery Gardens.

You can see our snake  and everything butterfly at this Dallas premiere organic garden!  Texas Discovery Garden is a valuable asset to Dallas. For more information about it so you can plan a visit, click here.

Written by Sue, Starla, and Ann

Pictures by Starla

Princess Caroline In Our Dallas Garden

Grasses Planted June, 2013, 2311 Joe Field Road, Dallas, Texas

June 18, 2013

In mid-June we  planted ornamental grasses between the arbor and the Mexican plum tree:

  • Pennisetum purpureum (Purple Fountain Grass)
  •  P. alopecuroides ‘Hamelin’ (Dwarf Fountain Grass)
  •  Muhlenbergia capillaris (Pink Muhly Grass)
  • variegated Liriope
  •  Princess Caroline, a Pennisetum hybrid, our favorite. 

We planted 3 1-gallon size Princess Carolines on 3 foot centers. The foliage is a lush purple with leaves that are wider than that of Purple Fountain Grass. These plants are filling in very quickly despite the heat and drought early in July. This welcome rain should really give them a growth spurt.

Same Area After One Month's Growth

July 9, 2013

This area was full of weeds, dallisgrass and nutsedge when we began to prepare it in 2012. Mulching with newspaper/shredded tree trimmings took care of most weeds; dallisgrass and nutsedge required hand digging for removal. We amended native soil with expanded shale and compost during the winter. Spring rain and warmer temps bought germination of weed seeds as well as the beautiful poppies and larkspur you’ve seen in previous posts. Since planting the new grasses, drip irrigation is now in place and weeding continues each week, especially to root out residual nutsedge. At our next opportunity, adding a 3” layer of shredded tree trimming mulch should finish this area off nicely.

Close Up View of Princess Caroline Grass

We think you will like this ornamental grass as much as we do!

To read more about  Pennisetum purpureum ‘Princess Caroline’ click here!

Susan S

A Better Mouse Trap?

     Ralph Waldo Emerson wrote: “Build a better mouse trap and the world will beat a path to your door.”  However, if the Garden’s potato experiments are any indication, maybe those tried and true methods for growing potatoes really do work the best.  Perhaps sometimes there really isn’t a better mouse trap, but it’s still fun to experiment.

The Garden’s January 25, 2013 blog “One Potato, Two Potato, Hopefully More”  described several different methods of growing potatoes, including the old time “trench” method, last year’s “trash can” method, and this year’s “potato bin” method.  Guess which method produced the most and largest potatoes?  Yes, it was the trench method used by generations of farmers to grow potatoes.

As you can see by the pictures, the potatoes grown in trenches in the Garden’s raised bed were larger and many more were harvested.

Our Potatoes Grown Trench Style

The potatoes grown in this year’s newly constructive bin where slats could be added to the side of the bin and filled with soil as the potato plants grew, did well, but produced smaller and fewer potatoes than those grown in trenches.

Smaller and Fewer Potatoes

One reason for this, DCMG Jim Dempsey hypothesized, might have been that the potatoes grown in the raised beds in trenches were on a drip system, while those in the slatted bin received water only once a week.

Never one to give up easily (and who knows, someone may really invent a better mouse trap), Jim said that next year the slatted bin will be moved to a place where it too can be on the drip system and receive more water. The experiment continues………

Do you have your own methods for growing potatoes?  And how did your potatoes do this year?  Let us know.  We would love to hear from you.

Carolyn

Pictures by Starla

Tomato Grafting Part II

Purpose:  To improve tomato production, some say as much as 30% by grafting a tasty tomato onto a hybrid which is disease resistant

Materials Needed:

  • 2 clear plastic cups, one to fit inside the other to form the healing chamber
  • New Double edge razor blade-clean and sharp, snapped in half lengthwise while in paper cover
  • New Grafting clips-match the size of the clip to the size of your tomato stalk (Jim bought clips here)
  • Rootstock and scion seedlings of matching stem size(we used Celebrity as the rootstock and Brandywine as the scion or top)

Water your plants the night before and pick a clean area indoors without direct sunlight and no fan or draft.  Tomato Seedlings Lined up for Grafting Select your seedlings. We grafted Brandywine tomatoes onto Celebrity.

Jim had 100% germination rate so we had to pick one seedling from each pot to use.  Look at the healthy roots coming out of the pot!

Tomato Seedling Ready to GraftJim suggested cutting the scion and rootstock straight across.  Remember you want matching stem size.Tomato GraftingPlace the grafting clip on the scion halfway over the cut stem, then join to the other stem so the cuts match up.

Silicon Clip on Cut Tomato Stalk

You will be able to see through the silicon clip to make sure the cut surfaces match up. Place your new grafted tomato plant in the bottom of a plastic cup, this will become the healing chamber.  Slide the smaller cup on top making sure it does not touch the leaves.

image

The plant should stay closed in the healing chamber for 3 days with no direct sunlight. Check the grafted tomato from outside.  If it wilts, open the chamber and mist or water the plant to raise the humidity level. Reclose the chamber.

4th Day-Open the healing chamber to see if the plant is moist.  Add water if needed and close.

5th Day-Make a small opening in the tunnel so some of the humidity can begin to escape.  Check frequently.  If plant wilts, close the tunnel back up, increase humidity by watering or misting and try ventilating the next day.

Don’t remove the clip. The  silicone clip will expand with the growth of the plant and eventually fall of by itself.

Let the plant grow indoors.  It will take 1-2 weeks longer to be ready to go outdoors to the tomato patch because it will have stopped growing during the healing process.

When transplanting, make the sure the graft union is above the soil line.

Thank you, Jim, for growing the plants and guiding us through the tomato grafting process!

Ann

Tomato Grafting Part 1

After working a few hours outside in our gardens we were treated to a  tomato grafting demonstration taught by Jim today.

Tomato Grafting Class at The Demonstration Garden

Tomorrow we will give step by step directions so you can tackle the concept of joining two different tomato varieties together to improve production in your fall garden.

Although it is hot, now is the time to think of  fall tomatoes.   For  information on fall tomato planting click here and refer back to tomato tips for more juicy tomato talk.

Soon you will be enjoying the fruits of your labor. Tomato Tart anyone?

Ann

Night Walks

 In Dallas, our afternoons are best spent inside under a cooling fan.  Outside, the June sun sears our gardens.  I find myself planting Mexican sunflower outside my window to catch glimpses of its brilliant orange flowers through the glass. 

But summer gives us a delightful hour to enjoy the garden.  The sun, spent from its day, sinks to the horizon, and dusky twilight beacons us to leave the dinner dishes in the sink and treat ourselves to time outside.  A breeze cools us, drifting up from the creek below the hill.  Colors of the flowers are richer without the bleaching sun’s rays.  Tomatoes have soaked up the sweetness of the day and wait to be picked and nestled in the tucked edge of a t-shirt. 

The just opened George Bush Library in Dallas is surrounded by a lovely landscape of Texas native plants.  Ann photographed this coneflower and the summer moon on the evening of the summer solstice, the longest day of the year. 

Purple Coneflower at The George W. Bush Library

 Elizabeth

Picture by Ann