The Big Tree

The Big Tree at Goose Island State Park

The Big Tree at Goose Island State Park

I visited The Big Tree this week at Goose Island State Park during my trip to the Rockport area for the Hummer Celebration.  The Big Tree is a live oak over 1,000 years old and was  named the Champion Live Oak Tree of Texas in 1969.

The “Big Tree” statistics:

  • Trunk circumference:  35 feet 1.75 inches or 10.71 meters
  • Average trunk diameter:  11 feet 2.25 inches or 3.41 meters
  • Crown spread:  89 feet or 27.1 meters
  • Height:  44 feet or 13.4 meters
  • Age:  In excess of 1,000 years

There are smaller live oaks surrounding this venerable old tree, almost as beautiful.

One of "The Baby Trees" near The Big Tree

Some of “The Baby Trees” near The Big Tree

My friend, Susan a resident of Rockport, said “I love to come here to see this tree.”  The age of it and the graceful, gnarly limbs pulled me, too, towards it. Maybe I thought of it as a survivor. A testament to standing in the face of adversity.

The tree has inspired several poems.  This is my favorite:

I have gathered sun and rain to grow green leaves,
Swaying softly in spring, rustling like applause in fall.

My limbs have shaded generations;
My roots have reached for centuries;
My children and their children’s children surround me,
Here in this peaceful part of my land.

Golden sunlight diamonds have glinted on the ground around me.
Cold fingers of ice have touched my heartwood.
Dust-dry days of sandstorms have scoured my skin.
Torrents of rain, driven by gales have rushed at me,
And I have swayed, but stayed unbroken.
Silver moonlight has kept me company many a night.

Yet through all the seasons, sorrows, bitterness, and beauty,
All of the history I have withstood and witnessed,
There has been one thing I could not do.

I could not grow green dollars, or silver, or gold.

Will you help me, standing here before me?
Then we may both grow old together,
As old friends should,
One of flesh, one of wood.

by Mary Hoekstra, Rockport

One day the trees we have planted at The Raincatcher’s Garden of Midway Hills will also be as inspiring!

Ann

Hummer Celebration Pictures from last year here.

Take a look at Raincatcher’s Garden Trees.


ITCHING IN THE BLUEBONNET FIELD

Bluebonnets and Indian Paintbrush

Bluebonnets and Indian Paintbrush

I start itching when I think of wildflowers. I guess I was slow as a kid in linking cause and effect– wildflowers and chiggers– together. I would merrily gather an armload of Indian blanket and pink evening primrose in the field next door, and next thing I knew, I was covered with red dots that itched for a week. When we went traipsing through the fields in Ennis last spring, I didn’t sit in a bluebonnet patch for a picture. We just smiled—standing up.

You can’t help but grin when you see Texas wildflowers. Former first lady Laura Bush, who’s our neighbor at the Raincatcher’s Garden, says, “Spring is my favorite time of year in Texas…The bluebonnets and Indian paintbrush that dot roadsides are more than just beautiful, they are indigenous symbols of our state.”

Well, it’s the season to dot roadsides. For us, that’s Midway Road. And we’re throwing not dotting.

The Raincatcher’s Garden borders on busy Midway Road, a six-lane artery running north-south through North Dallas. Next spring, about 20 feet of that boundary will be ablaze with “Texas-Oklahoma Native Roadside Mix” from Native American Seeds in tiny Junction, Texas. Texas bluebonnet, Indian blanket, greenthread, plain and lanceleaf coreopsis, purple coneflower, Mexican hat, winecup and Indian paintbrush plus a few more are in the mix.

Looking Across Midway Road of The Raincatcher's Garden, Wildflowers Srping 2016!

Looking Across Midway Road of The Raincatcher’s Garden, Wildflowers Spring 2016!

Planting in the fall gives seeds a chance to sprout or break seed dormancy. Some seeds need a chilling period (cold stratification). Others have a hard seed coat that needs to be worn down (scarification) before they can germinate. Following nature’s schedule gives seeds a chance to be ready for spring’s warm temperatures and rain.

The first step to spring wildflowers is to simply mow the existing vegetation as close to the ground as possible. Think scalping, but in the fall. Then take a sturdy metal rake, and pull aside the thatch for the compost pile. You want to have bare spots. Again using the rake, lightly till the surface of the soil no deeper than one inch. Any deeper, and you’ll disturb dormant weed seeds which could sprout. Smooth the area, again using your rake, and remove any leaf litter or debris.

Rustle around in the garage and find an adjustable, hand-carried mechanical seeder. Some species have small seeds that are hard to distribute evenly; paintbrush and bluebell seeds look like fairy dust. To scatter the seed, mix one part seed with four parts damp masonry sand, coffee grounds, perlite, potting soil or other carrier. Broadcast half of your seed/sand mixture in one direction. Refill your spreader and sow the other half in a direction perpendicular to the first sowing.

Happy seeds must get cozy with the dirt. The soil helps the seeds retain moisture for germination. The seed should either rest on the ground or at most be gently tamped down with a light stomp. Any more than 1/8” deep, and the seed may not have the energy to push through the dirt. Some of the seeds will be visible.

Opinions differ as to watering the seed. Some experts leave water up to the fall rains. Others, like butterfly expert Geyata Ajilvsgi, lay in soaker hoses. At the Raincatcher’s Garden, we’re going to try a little of both. Our new sprinkler system will be set to water the first few weeks to keep the newly planted soil from completely drying out, as suggested by the Lady Bird Johnson Wildflower Center. As it gets cooler in the fall, the time between waterings can be longer.

We’re also going to plant some wildflowers outside of the sprinkler spray, and see if the fall rains are sufficient for growth. Wait until at least 50 percent of your wildflowers (of each species) have dropped their seeds before mowing in the spring. Use the highest setting on your lawnmower when mowing to keep from damaging emerging seedlings.

The Raincatcher’s Garden is getting some help planting wildflower seeds for next spring. Fourteen students in the Episcopal School of Dallas primer class have learned the story of Miss Rumphius, whose grandfather traveled the world and retired by the seashore. He asked his granddaughter, Alice (Miss Rumphius), to also travel and settle by the sea—and had one more request. He asked her to do something to make the world more beautiful.

Miss Rumphius gathered lupine seeds and scattered them along the Maine coast, as our visiting students will do with wildflowers along our roadside planting. They have mixed wildflower seeds with clay into little balls and will throw them on our wildflower area. Former first lady Lady Bird Johnson, who worked tirelessly to preserve America’s natural landscapes, would be thrilled.

Elizabeth

Pictures by Ann


Dallas Morning News Talks Trees at The Raincatcher’s Garden

If there’s a spot in your yard that could use some shade, it’s time to think about planting trees.

Fall and winter are the best time to plant ornamental and fruit trees, arborists say.

“October, November, December — it’s the optimal time,” says Steve Houser, a certified arborist and a leader in the Dallas Citizen Forester Program.

Late-year planting allows roots to get established “before the summer blast furnace,” adds Eric Larner, an urban forestry specialist for Dallas County Master Gardeners.

“Our main planting season is probably November through March,” says Larner, 73, of Carrollton.

Larner helped select five trees planted in the master gardeners’ Raincatcher’s Garden at Midway Hills Christian Church. The garden, which includes a butterfly garden, flowers and vegetables, is designed to show the public what works.

The gardeners planted three oaks — a chinquapin (quercus muehlenbergii), Mexican white oak (quercus polymorpha) and Lacey (quercus glaucoides) — a cedar elm (ulmus crassifolia) and ginkgo (ginkgo biloba).

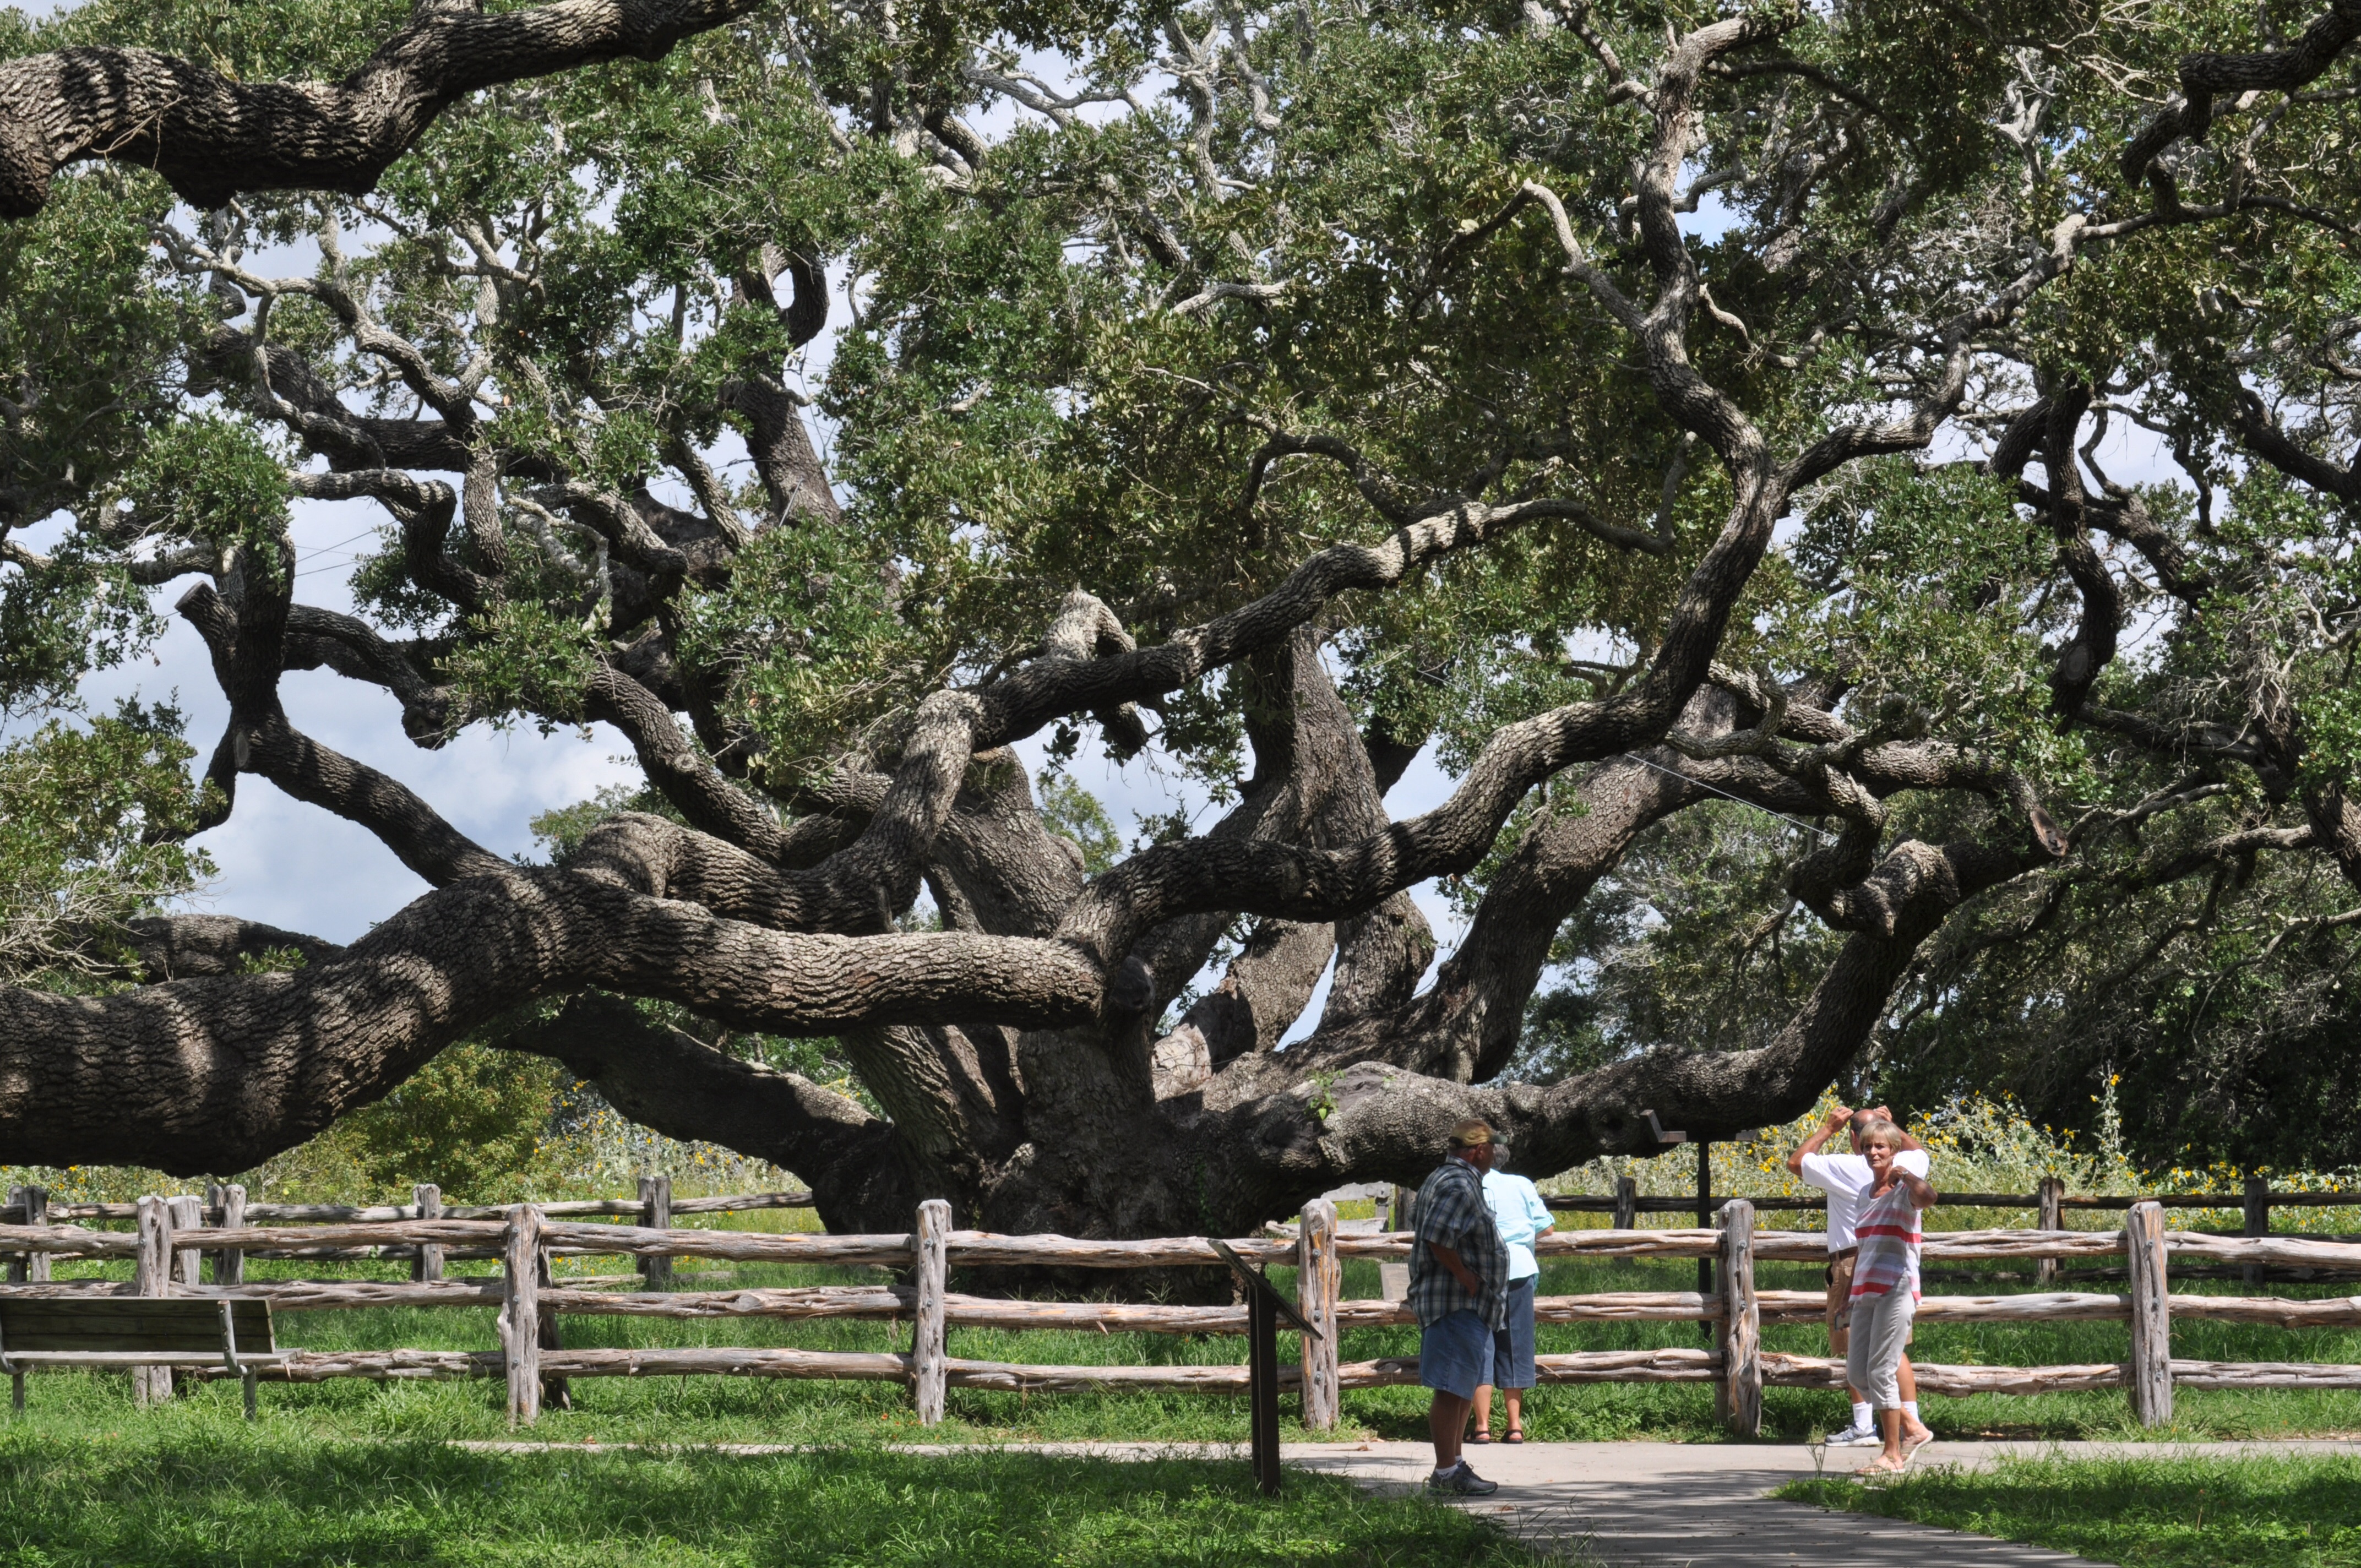
Notice that a live oak and red oak, two of the most popular trees in Texas, were not included.

“We need to get away from live oak and red oak,” Houser says. They are particularly susceptible to oak wilt, a disease that kills a tree, then spreads through the roots to kill other oaks nearby. Cedar elms are reliable, adaptable shade trees that are drought tolerant and turn golden yellow in the fall.

Larner says a ginkgo is part of the mix to add something a little unusual.

“The ginkgo is becoming more popular because it is drought tolerant and more likely to have fall color,” Larner says.

A ginkgo warning: Be sure it’s a male tree. Females produce stinky fruit, Larner says. “I don’t think retailers are selling females, but you need to check.”

When it comes to shade trees, probably the bigger the better. Trees with a dirt root ball wrapped in burlap are the best, but they are also more expensive, Larner says.

A container tree from a local big-box store can be fine, if it’s carefully selected and planted. If possible, ease a tree out of the container at the store to see if the roots are somewhat vertical or look more like a woven basket.

If the roots are wrapped around the root ball, they will need to be pulled out and even cut to keep them from strangling the tree after it’s planted.

The same guidelines apply to fruit trees, says Larry Stein, a specialist with Texas AgriLife Extension Service. Except he likes to plant even later.

“If I had my choice, I’d plant in the winter,” he says. January and February are his favorite time. Bare-root trees, those whose roots are usually wrapped with little or no soil, are more likely to be available. “They are cheaper,” Stein says, and you can see whether the roots are healthy. Often they are found at feed or farm supply stores.

Container-grown trees are more readily available, he says, and will do well if planted carefully. Ideally, fruit trees should be 3 to 4 feet tall. If they are taller, it’s best to trim the central trunk at the top. Side limbs should also be pruned, Stein says. Peaches, pears, plums and other fruits do well in Texas. Apples can grow but are subject to cotton root rot, Stein says.

Homeowners interested in the more unusual can try persimmons. The key, the arborists say, is to pick a tree and plant. The shade, and maybe fruit, will be well worth it.

Karel Holloway is a Terrell freelance writer.


Why plant a tree?


Trees provide shade.


They help clean air.


They can lower utility bills.


Roots hold soil in place.


Trees add value to property.


Choose the right tree


Decide what kind of tree you want. Will it primarily provide shade? Screening from an unwanted view? Fall color? Edible fruit?


Pick the right spot. Is there room for the size tree wanted? Remember to think about how far the tree will reach when it’s fully grown.


Will it interfere with driveways, walkways or the home’s foundation?


Will the selected tree interfere with power lines when it is full size?


Think about the amount of shade it will provide. Will it shade the home’s windows? When it’s full size, will it provide too much shade for grass or flowers to grow?


Does it have undesirable characteristics? Is there unwanted fruit? An unpleasant smell?


How to plant a tree


Select the proper site with appropriate soil type. Eric Larner, a Dallas urban tree specialist, says he ran into solid rock just a few inches down when helping plant at the master gardeners’ demonstration garden. The planters dug through the rock and planted. The tree didn’t do well, Larner says.


Measure the root ball and dig a hole 2 to 3 times the ball’s diameter.


The hole should not be too deep. The top of the root ball should be level with the ground.


If the hole is too deep, backfill with dirt taken from the hole. Steve Houser, a certified arborist, says it’s better to plant a tree too high than too far into the ground.


Remove the tree from the container. Make sure girdling roots are pulled or trimmed.


Place the tree in the hole and fill in with removed dirt. Fertilizer is not needed. Some compost can be mixed with the fill dirt, if desired. Larner says to be sure to stomp the dirt down so the tree won’t settle too much later.


Use a slow-running hose to thoroughly water the tree.


Put mulch around the newly planted tree, pulling it away from the trunk.


Protect the trunk with a purchased protector or slit the side of a 2-liter plastic bottle and place it around the trunk.


Water as necessary, depending on how dry the soil is. Houser says just poke your finger in the ground to see whether it’s damp a couple of inches down. Water if it’s dry.


SOURCE: Dallas Morning News research

More information about our tree selection here.

Berm and Tree Planting Video.

How to Plant a Bare Root Tree Video.


https://www.facebook.com/dialog/share?app_id=375853655843043&href=http%3a%2f%2fshare.d-news.co%2fGh5kheK&display=popup&redirect_uri=https://socialize.dallasnews.com/GS/bookmark.aspx?close=true

Touch-Me-Not or Sensitive Plant, Mimosa pudica

Do  you ever experience going back in time?   Ok, not time travel per say, but something reminding you of a place, a person,  an event, a smell, a plant,  a food  and you go back  to a simpler time

Most recently,  it was the smell and taste of a peach cobbler.  This time  going back to my grandmother’s kitchen and her orchard where we played in the red sandy soil for hours on end.

All of a sudden you are transported to that moment, the memory washes over you, and you smile at the wonder, the beauty, the remembrance. What takes you back?

The Touch-Me-Not Plant and It's Pretty Pink Flower

The Touch-Me-Not Plant and It’s Pretty Pink Flower

For me,  the touch- me- not plant  found in the field took me back to my first introduction of the magic of the leaves closing up when touched. I was a child again: amazed, mesmerized, and in awe of the wonders of this world.


Take the trip back:  treasure it, enjoy it,  relive it; because soon enough the reality of today will be present.

Starla


Peach Jalapeño Salsa Dog

Just in Time for Labor Day Weekend!

hot dog and peach jalapeno salsa

Ingredients:

2 large ripe peaches, quartered

1 jalapeño pepper, cut in half and seeded

1 lime, juiced

1 tablespoon chopped cilantro

1 pinch kosher salt

1 package Hebrew National hot dogs

1 package potato hot dog buns

Directions:

  1. In a high speed blender or a food processor add peach quarters, jalapeño pepper, lime juice, cilantro and salt.
  2. Puree quickly (less than 30 seconds) to create a chunky salsa puree. Set aside while hot dogs cook.
  3. Grill or boil hot dogs, add to a bun and top with salsa.

Linda


Goodbye Summer and Recipes

We’ve tested and tasted, savored and enjoyed but now it’s time to say farewell.  Our memories have been sweetened with the most delightful flavors of summer; juicy, plump blackberries, tantalizing tomatoes and the star of the show – those luscious, versatile peaches (many would agree, perhaps, summer’s finest fruit).  Yes, we would take them through every season if nature allowed.  But, we must let go and only dream about the spring and summer yet to come.

From the Raincatcher’s Garden: We wish you and your family a restful, and pleasure filled Labor Day weekend.  Join us on our seasonal garden journey by subscribing to Dallas Garden Buzz.

blackberries in carton


Blackberry Brie Bites

Ingredients:

1 tube refrigerated crescent rolls (Pillsbury 8 oz.)

1 round Brie Cheese (8 oz.)

¼ cup blackberry jelly (Smuckers Spreadable Fruit)

24 fresh blackberries

24 large toothpicks, optional

Directions:

  1. Separate the crescent rolls into 4 rectangles. Press the seams together and cut into

6 even squares. Press into 24 mini muffin tins.

  1. Cut the rind off the Brie cheese. Cut into 24 small squares. Place on square into each crescent lined tin. Spoon a small amount of blackberry jelly on top of each cheese square. Fold the tips of the crescent rolls over, if desired. Bake at 350 degrees F for 12-15 minutes. Remove from the oven and top with a fresh blackberry on a toothpick. Serve immediately.

Yield: Makes 24 crescent cups.


Tomatoes for recipe

Gorgonzola-Tomato Salad

Ingredients:

Gorgonzola Tomatoes4 ounces Gorgonzola cheese

¼ cup minced fresh parsley

3 tablespoon minced shallot

2 tablespoons minced fresh basil

6 medium tomatoes, thinly sliced

⅓ cup olive oil

2 tablespoons fresh lemon juice

2 teaspoons Dijon mustard

Salt and freshly ground pepper to taste


Directions:

  1. Freeze cheese 30 minutes or until firm. Grate cheese into a small bowl; add parsley shallot, and basil, stirring gently to combine. Arrange tomato slices on a large serving platter. Sprinkle cheese mixture over tomato slices.
  2. Combine olive oil, lemon juice, mustard, and salt and pepper to taste, beating well with a wire whisk. Drizzle dressing mixture over salad.

Yield: 6 servings

Linda

Peach recipe tomorrow!


Want To Try A Different Vegetable?

Now here’s a Jeopardy question that might have stumped even the best contestant:

Answer: A subtropical vine that has beautiful white fringed, lacy flowers that have a sweet perfume, leaves that when crushed smell like “hot buttered popcorn,” and edible fruit that can grow up to three feet or more long and looks like a creature.

Question: What is Snake Gourd?

Snake Gourd Growing at Hope Garden

Snake Gourd Growing at Hope Garden

Snake Gourd (genus Trichosanthes, which is Greek for “hair flower”) is an edible gourd grown throughout India, Australia and Insular and Mainland Southeast Asia. Because it loves hot, humid climates, it is a good plant to grow in our hot, humid Dallas summers. Though most snake gourds can grow to enormous lengths, there is a shorter variety, called Snake Gourd India Short which grows only to about four to six inches.


All true edible snake gourds, Trichosanthes anguina or T. cucumerina, get soft when ripe and usually disintegrate on the vine, unlike many mature gourds that form a hard shell. They are eaten when very immature, while the fruit is tender and the seeds are still soft.   The mature fruit turns bright orange when ripe and has seeds surrounded by a bright red pulp. The mature fruit often breaks open spilling the contents, which look like big clots of blood (hence the name “anguina”). The red pulp is sweet to the taste and considered a delicacy by Southeast Asian children.

Snake gourd seeds can be planted in full sun in late spring after the soil is warm. The seeds have a hard coat and need to be soaked overnight. Though the vines can sprawl on the ground, they do best when grown on a sturdy trellis. Trellised snake gourds, especially those with stones tied to the blossom end, tend to be straighter than the curved gourds that are left to grow on the ground. The fruit of the India Short variety is picked just before it turns from moist to dry feeling. The longer varieties are harvested when they are about 16-18 inches. With a taste reminiscent to cucumbers and texture similar to zuchinni squash, Snake Gourd can be fried, stuffed or boiled.   It is also good in soups and stir-fry. Snake Gourd is often used in Indian dishes and there are many recipes using it on the internet.

Finding edible snake gourd seeds is somewhat difficult. I recently tried to order on Ebay seeds of Snake Gourd India Short from a grower in India. However the seeds were confiscated at US Customs. There are however several seed companies that sell the edible long variety, so check on the internet. However, just be sure that you are ordering edible Snake Gourds, either Trichosanthes anguina or T. cucumerina. There is another ornamental, hard shelled variety that is used in crafts that is readily found in seed racks even in our big box stores. Though they would be fun to grow, they are not edible.

Carolyn

Butterflies at The Raincatcher’s Garden

After many months of planning and work, our hopes are being fulfilled.  Butterflies are visiting The Raincatcher’s Garden and more are sure to come!

Pipevine Swallowtail on Lantana 'Miss Huff'

Pipevine Swallowtail on Lantana ‘Miss Huff’

The Pipevine Swallowtail is identifiable by the iridescent blue color on its upper side and the band of bright orange spots on its underside. Like the Monarch, this swallowtail is poisonous to predators, since its  caterpillars feed on native species of pipevine.

Gulf Fritillary on Mexican Sunflower 'Torch'

Gulf Fritillary on Mexican Sunflower ‘Torch’

The Gulf Fritillary is easily recognized by its bright orange upper side and flashy silver markings on the underside. The caterpillars that become Gulf Fritillary butterflies feed on the Passion Vine which we have growing over our Arbor.

Purple Coneflower 'Bravado'

Purple Coneflower ‘Bravado’

This variety of coneflower has large and profuse blooms. It is a host plant for several butterflies and a nectar source.

Black Eyed Susan 'Goldstrum' with Little Bluestem in the Background

Black Eyed Susan ‘Goldstrum’ with Little Bluestem in the Background

Little Bluestem grass is a host for a good number of skippers.  Black eyed Susans are also nectar and host plants.


To learn more about the planning and planting of our butterfly garden, read:

Butterfly Plants: I Love You But It’s Time to Leave

Dallas Butterflies

Browse the Butterfly/Hummingbird Plant List in our sidebar for excellent reference material.

Ann

Pictures by Starla


Linda’s Pond

I found a little oasis last week even though the temperature was 97 degrees.  My friend and Master Gardener, Linda, has a beautiful little pond outside her kitchen doors.

Linda's Pond

Linda’s Pond

Funny thing, this is a garden of greens relying on shape and texture rather than the usual riotous August blooming flowers. Note: no periwinkles!

Linda's Japenese Maple at the Pone

The garden is built of Holly Fern, Japanese Maple, Liriope,  Crinum, small fig ivy and the rounded leaves of Leopard Plant. Linda’s Leopard Plant, Farfugium japonicum ‘Giganteum’, thrives next to the water.

Cookbook August 1 2015 077

Koi darted about. What originally drew me outside was seeing one of the Koi leap into the air.

Koi at Linda's

Linda told me a story of a Koi who jumped out of the pond and landed at the foot of a snail.

Linda's pond snail

Luckily she was there and scooped him up and back into the pond. My only question was why would anyone leave this little oasis?

Ann

Pictures by Ann

Other plants along Linda’s pond: Yaupon Holly and Little Gem Magnolia for background color, Star Jasmine on the fence, Hostas, and ‘White by the Gate’ Camellia in the beds and of course a few herbs: pineapple sage, lemon verbena and basil.

Compost vs Mulch, What’s the Difference?

Sometimes, as anyone learning a new language can tell you, even words that have different dictionary meanings can take on new meanings. For gardeners the terms compost and mulch are two terms that are sometimes used interchangeably.. The difference between the compost and mulch can be quite confusing, especially for the novice gardener, since their uses can overlap. Yet, for the sake of your plant’s and soil’s health, there are differences.

Technically speaking, compost is organic matter that has been decomposed, while mulch is a layer of organic or inorganic matter placed on top of the soil as a protective cover. A commenter, RobertZ6, on gardenweb.com defined compost as a ‘What’, while mulch is a ‘Where.’

So what are some of the main functions of the two and how do they differ:

Compost: Compost is a biologically active material resulting from decomposition of organic matter. Bacteria, fungi, soil insects and others help with this decomposition. In general, there are two different methods of making compost: 1) the “fast” method consisting of the ratio of two parts brown/dry material to one part green/juicy material, plus moisture, plus aeration/turning the pile; and 2) the “slow” method where leaves, grass, vegetable refuse, etc. are allowed to build up in a pile and slowly over time decomposition takes place and compost results.

Jane and Cindy at Work Making Compost-Fast Method!

Jane and Cindy at Work Making Compost-Fast Method!

Compost is often considered to be a soil conditioner, rather than a fertilizer since the actually nutrient value of compost can be so variable. Though the fertilizing component of compost is small, www.planetnatural.com says that “compost can aid plants in many ways quite independent of its nutrient content. Because it improves soil structure, adds beneficial microbes, and boosts cation exchange capacity (CEC), compost improves the mobility of air, water and nutrients in the soil, all of which make nutrients more readily available to plants.” Compost that is fully decomposed/”finished” is called humus. It is dark brown, crumbly, with no distinguishable features, and has a sweet, pleasant smell.

Mulch: Mulch can be either organic or inorganic and is spread over the top of the soil to cover it. Examples of organic mulch include leaves, straw, and wood chips. Inorganic mulches include rubber, gravel, and landscape fabric. The purposes of mulch include suppressing weeds, moderating soil temperature, conserving water, maintaining a porous surface, and helping to prevent erosion. The use of organic mulch can improve the soil structure as it gradually decomposes over time.

Chopped Up Native Tree Trimmings and Leaves Can Be Used as Mulch

Chopped Up Native Tree Trimmings and Leaves Can Be Used as Mulch

So… where does the confusion in terms and usage for some gardeners lie? Two main questions come to mind:

1) Can compost can be used as mulch?   The answer to this question is “yes.” It is possible to add a layer of only compost to the top of the soil and use it as mulch. In fact, in the case of using organic mulch such as wood chips in a bed, the layer of wood chips closest to the soil will gradually break down into compost over time. Eventually it will be necessary to add more mulch to a bed or mulched pathway to account for this. One of the Master Gardeners says that she uses her unfinished, not completely decomposed, compost as mulch in her beds. Placing a 1-3 inch layer of this unfinished compost on top of the soil as mulch would enable the mulch to break down quicker into compost. Earthworms will gradually move the finished compost down into the soil.

Many gardeners however never have enough finished (or even unfinished) compost to use pure compost as mulch on top of the soil. Plus the cost of purchasing bags of compost to do this would be prohibitive for many. Therefore most gardeners choose to work their finished compost into the soil and top dress the soil with mulch.

2) Can mulch (for example shredded wood chips) be tilled into the soil? The answer to this is both yes and no.

No: Though it might seem as if this would “cut out the middle man” (i.e. the need to make finished compost), in general it is usually not recommended to incorporate shredded wood chips, or even un-composted leaves, into your soil.

To understand why, it is necessary to know a little about the way that decomposition of organic matter takes place and also the nutrients that plants need. To grossly over-simplify a very complex subject, plants need three primary nutrients (nitrogen (N), phosphorus (P), and potassium (K) plus thirteen secondary and micronutrients nutrients such as magnesium (Mg) and iron (Fe) to grow well. Most soils contain at least some of these nutrients. However many soils in Dallas County have a deficiency in nitrogen. A soil test can confirm whether this is true on your property.

This deficit of nitrogen in many Dallas County soils is important because in order to decompose organic material, the bacteria and fungi, which are the first organisms responsible for decomposition, also need nitrogen to feed on in order to live. When a large amount of un-decomposed material, such as wood chips, is incorporated into the soil, there is an increase in the number of bacteria and fungi needed to break it down. Since the bacteria and fungi need nitrogen as part of their diet, these microbes will start using up what is present in the soil. Since Dallas County soils are often deficit in nitrogen, sometimes not enough nitrogen is left in the soil to feed both this increase in soil microbes and the plants. This in turn can leave plants starved of nitrogen, one of their essential nutrients. Plants that are nitrogen deficient often have pale green or yellow leaves and exhibit poor growth.

              Yes: On the other hand, it is possible that the answer to the question of whether mulch can be tilled into the soil, can be answered “yes.” Though not generally recommended, one can till in mulch, even shredded wood chips or live oak leaves which do not readily decompose, into the soil if certain factors (time and/or supplemental nitrogen) are taken into consideration:

Time: If enough time is available to let a bed lie fallow/unplanted for a season or even one or two years, over time the mulch will gradually decompose into compost.  This can be compared to the “slow” method of making compost.

Supplemental nitrogen: An article in www.motherearthnews.com states that in an apple orchard, it was found that “a high-fiber diet of wood materials is exactly what many soils need. Rotted bits of wood persist as organic matter for a long time, enhancing the soil’s ability to retain nutrients and moisture, which results in bigger, better crops.” However a very high nitrogen source, in that case blood meal, 12-0-0, was also added at the same time as the apple trees were planted. The addition of supplemental nitrogen offset the bacteria’s and fungi’s taking it from the soil and provided nitrogen to the plants.

There is an ancient gardening technique called hugelkultur (which in German means “mound culture”) that makes use of using woody material, even logs, to make beds. According to those who use this technique, these raised beds retain moisture (supposedly needing only very infrequent watering,) improve soil fertility, and improve drainage. In this technique a mound of logs and twigs is built up, and finished compost, manure, kitchen scraps, etc. are packed into the spaces between the woody materials. A layer of top soil is placed on top of the mound and planted. There are several articles and videos on the web showing how to construct a hugelkultur bed.

A few years ago, several community gardens and individuals became interested in trying hugelkultur in the Dallas area. If you know of someone who has tried it, please share their results. We gardeners all learn from one another.

Though most of this article presents an extremely over-simplified explanation of the differences between compost and mulch and why it is important for your plant’s and soil’s health, hopefully the reasoning behind what is taking place will help you to understand the difference and help you grow the healthiest plants possible.

Carolyn

Pictures by Starla