Tag Archives: Herbs to Grow and Use in Dallas

Let’s Picnic!

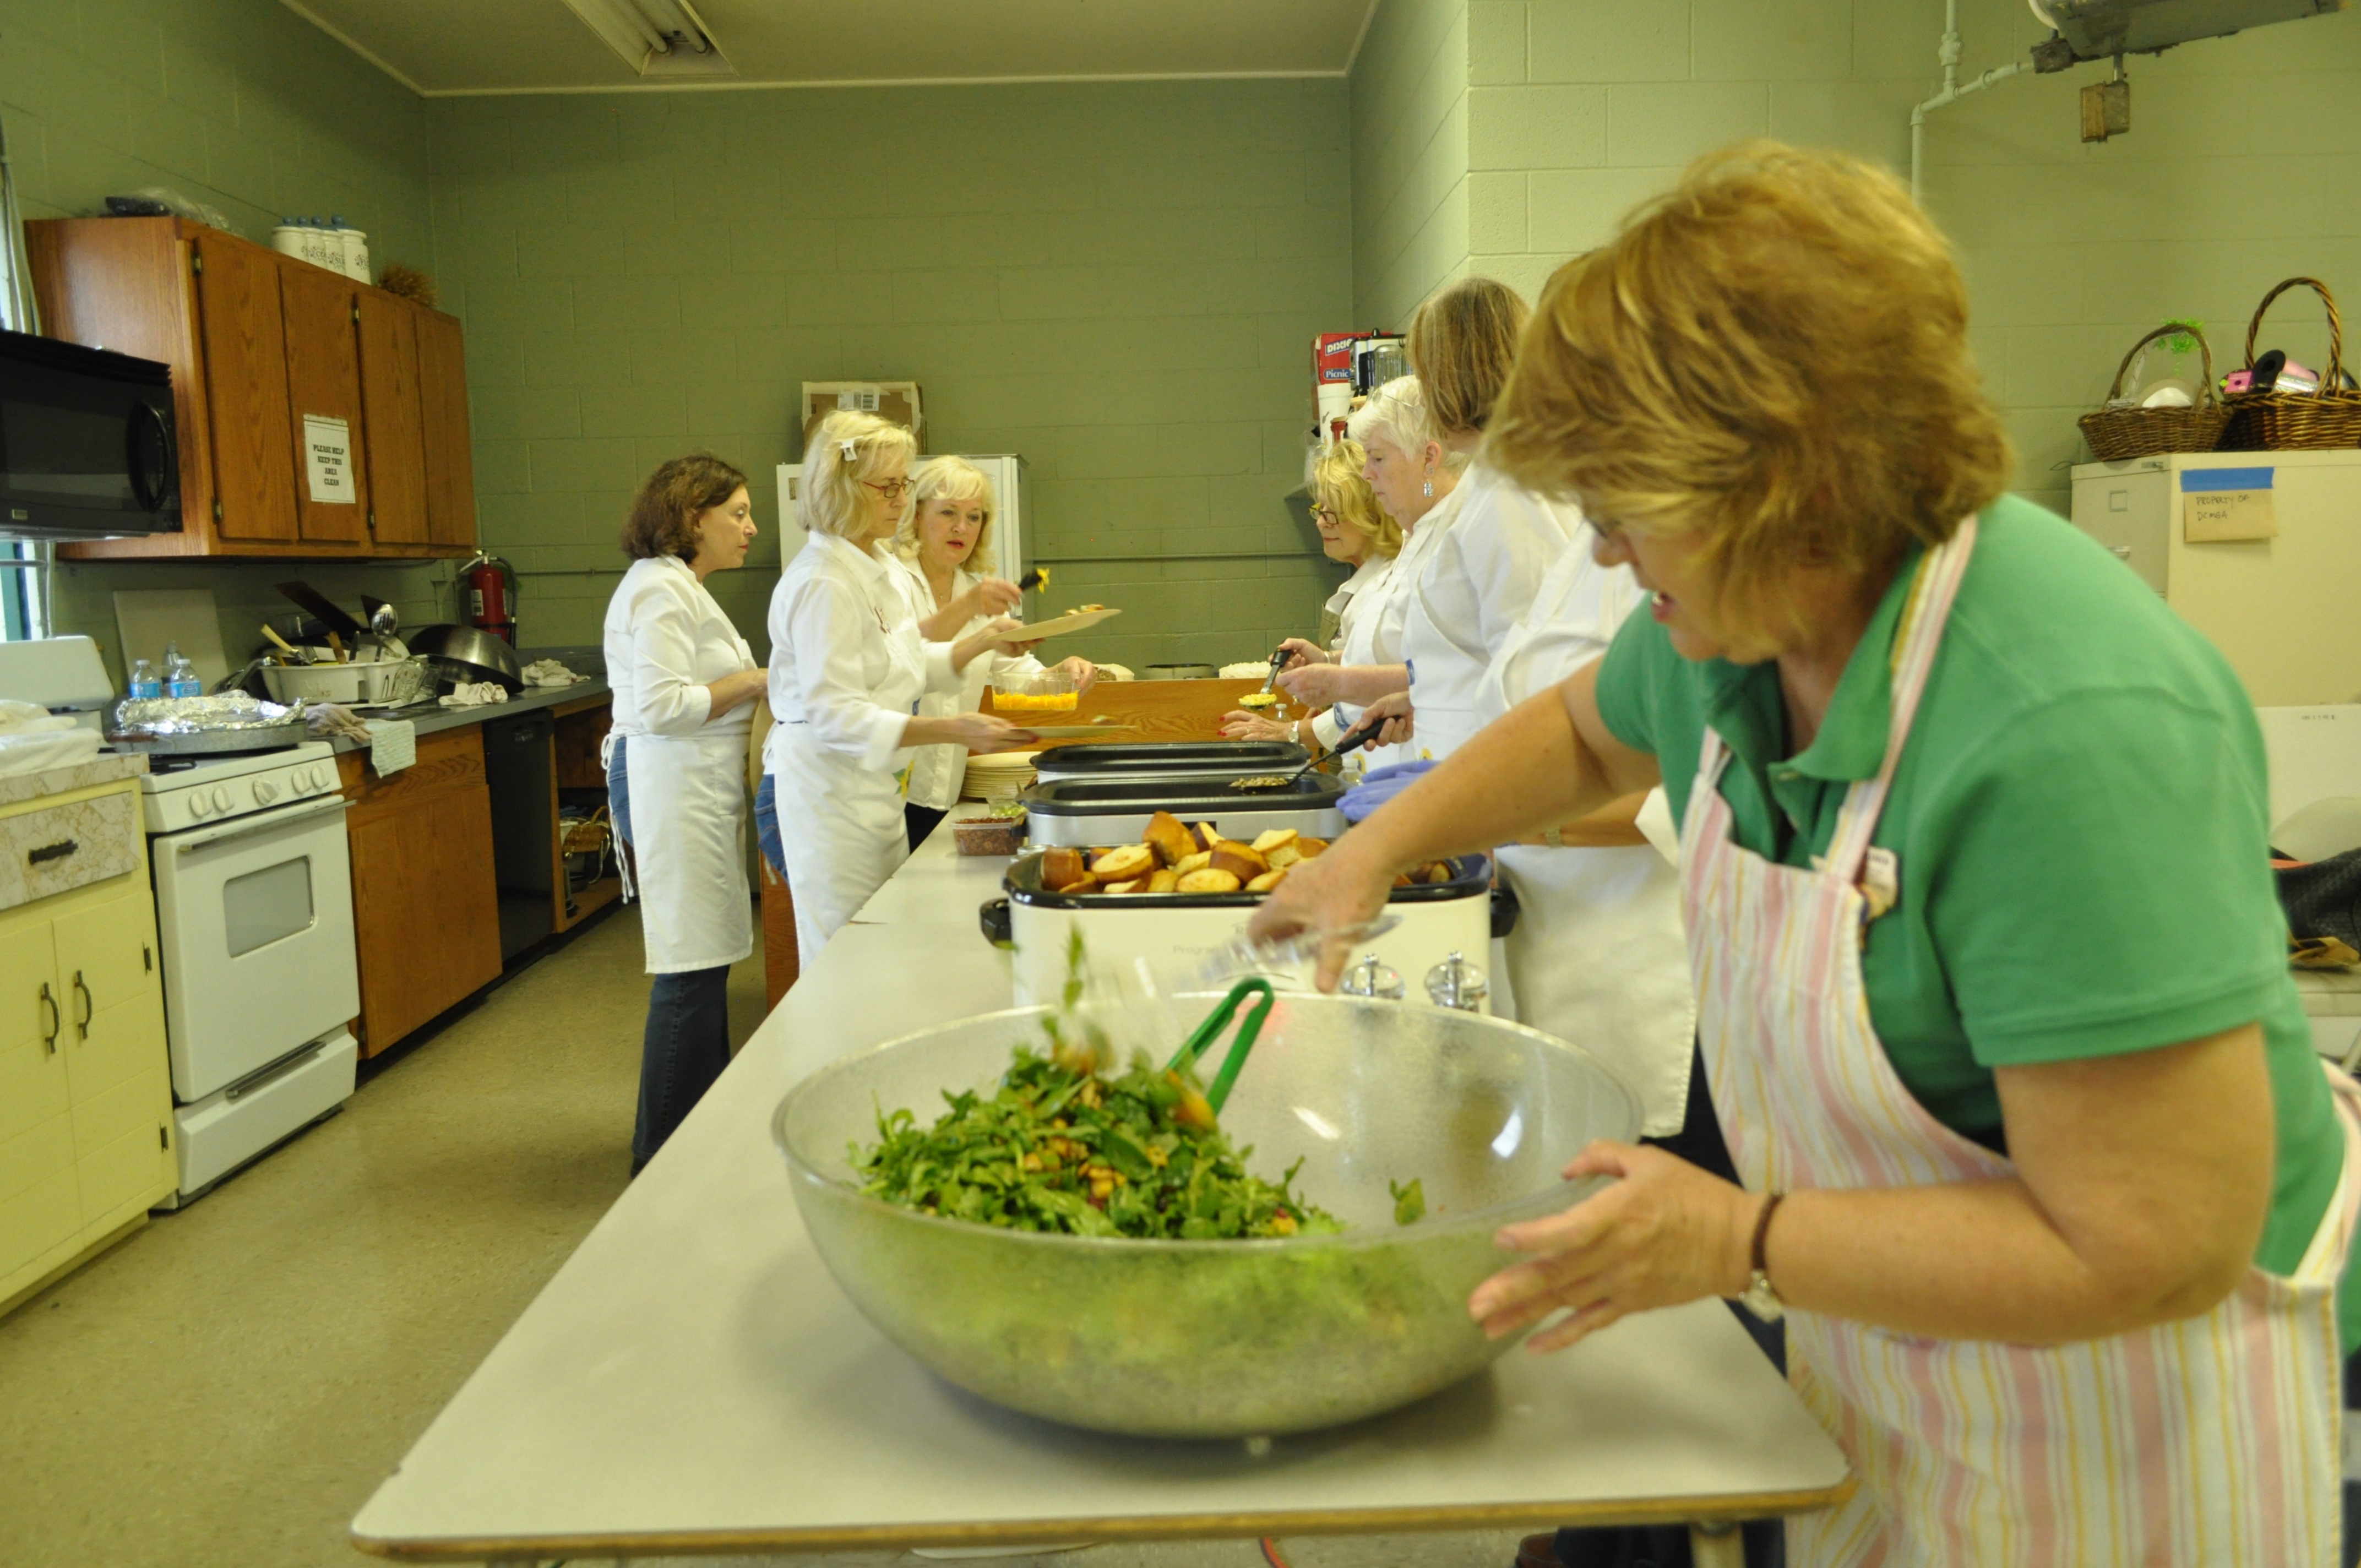
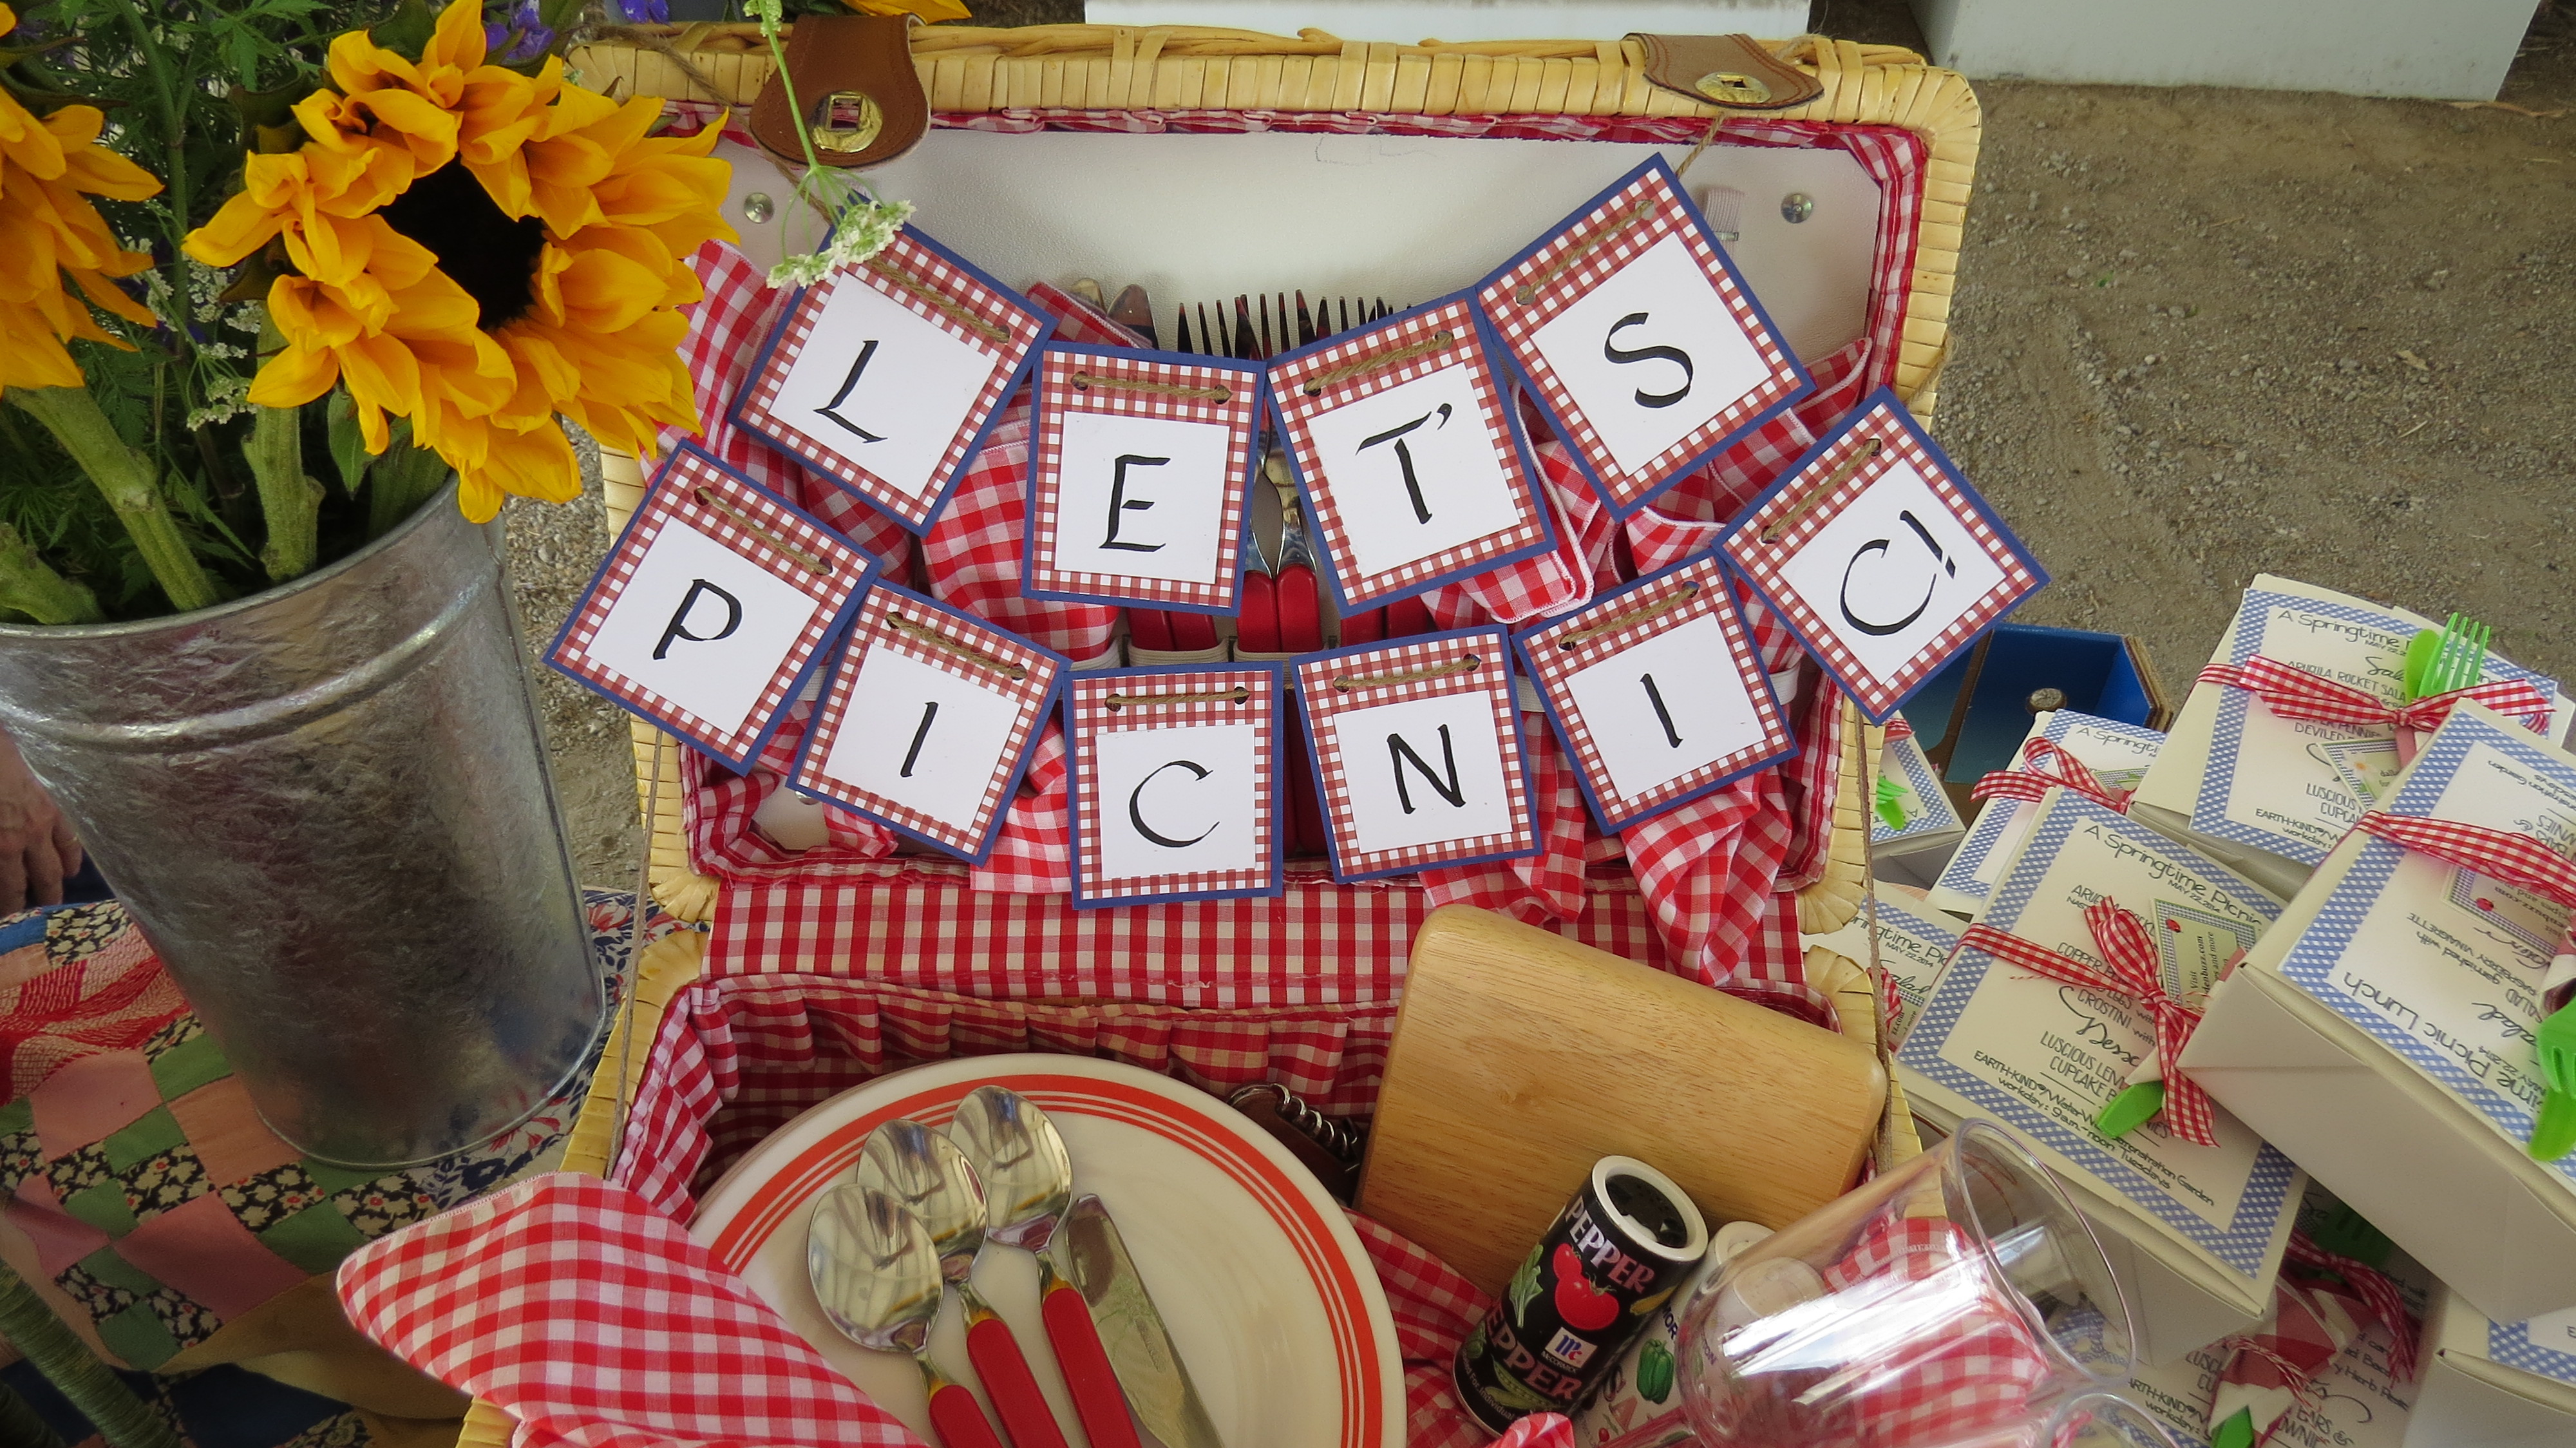
Before Christmas, the poem says, young children dream of sugarplums. Our Linda must have visions of gingham checks.  At the May 22 Master Gardener meeting, red gingham ribbon tied white picnic lunch boxes topped with blue gingham bordered menus, nestled by larger red gingham napkins.  Picnic tables were piled high with gingham quilts and vintage picnic baskets. An open picnic basket crowned the decorations, all ready for a party and filled—you guessed it—with red gingham napkins and red and white plates.

picnic basket close up


Master Gardeners visiting the Demonstration Garden were in for a treat.  Our Annette pulled out all her teacher skills and fascinated us with the world of earthworms.  How-to’s were flying right and left: we learned how to raise little wigglies in the laundry room, what to feed them, and how to sift out worm castings.

Sue and Michelle signed autographs after their unforgettable demonstration of how worms get close and friendly.

picnic-Michele and Sue cropped


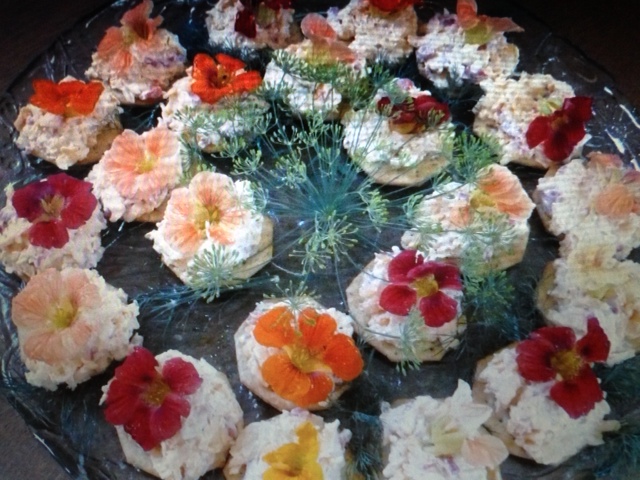
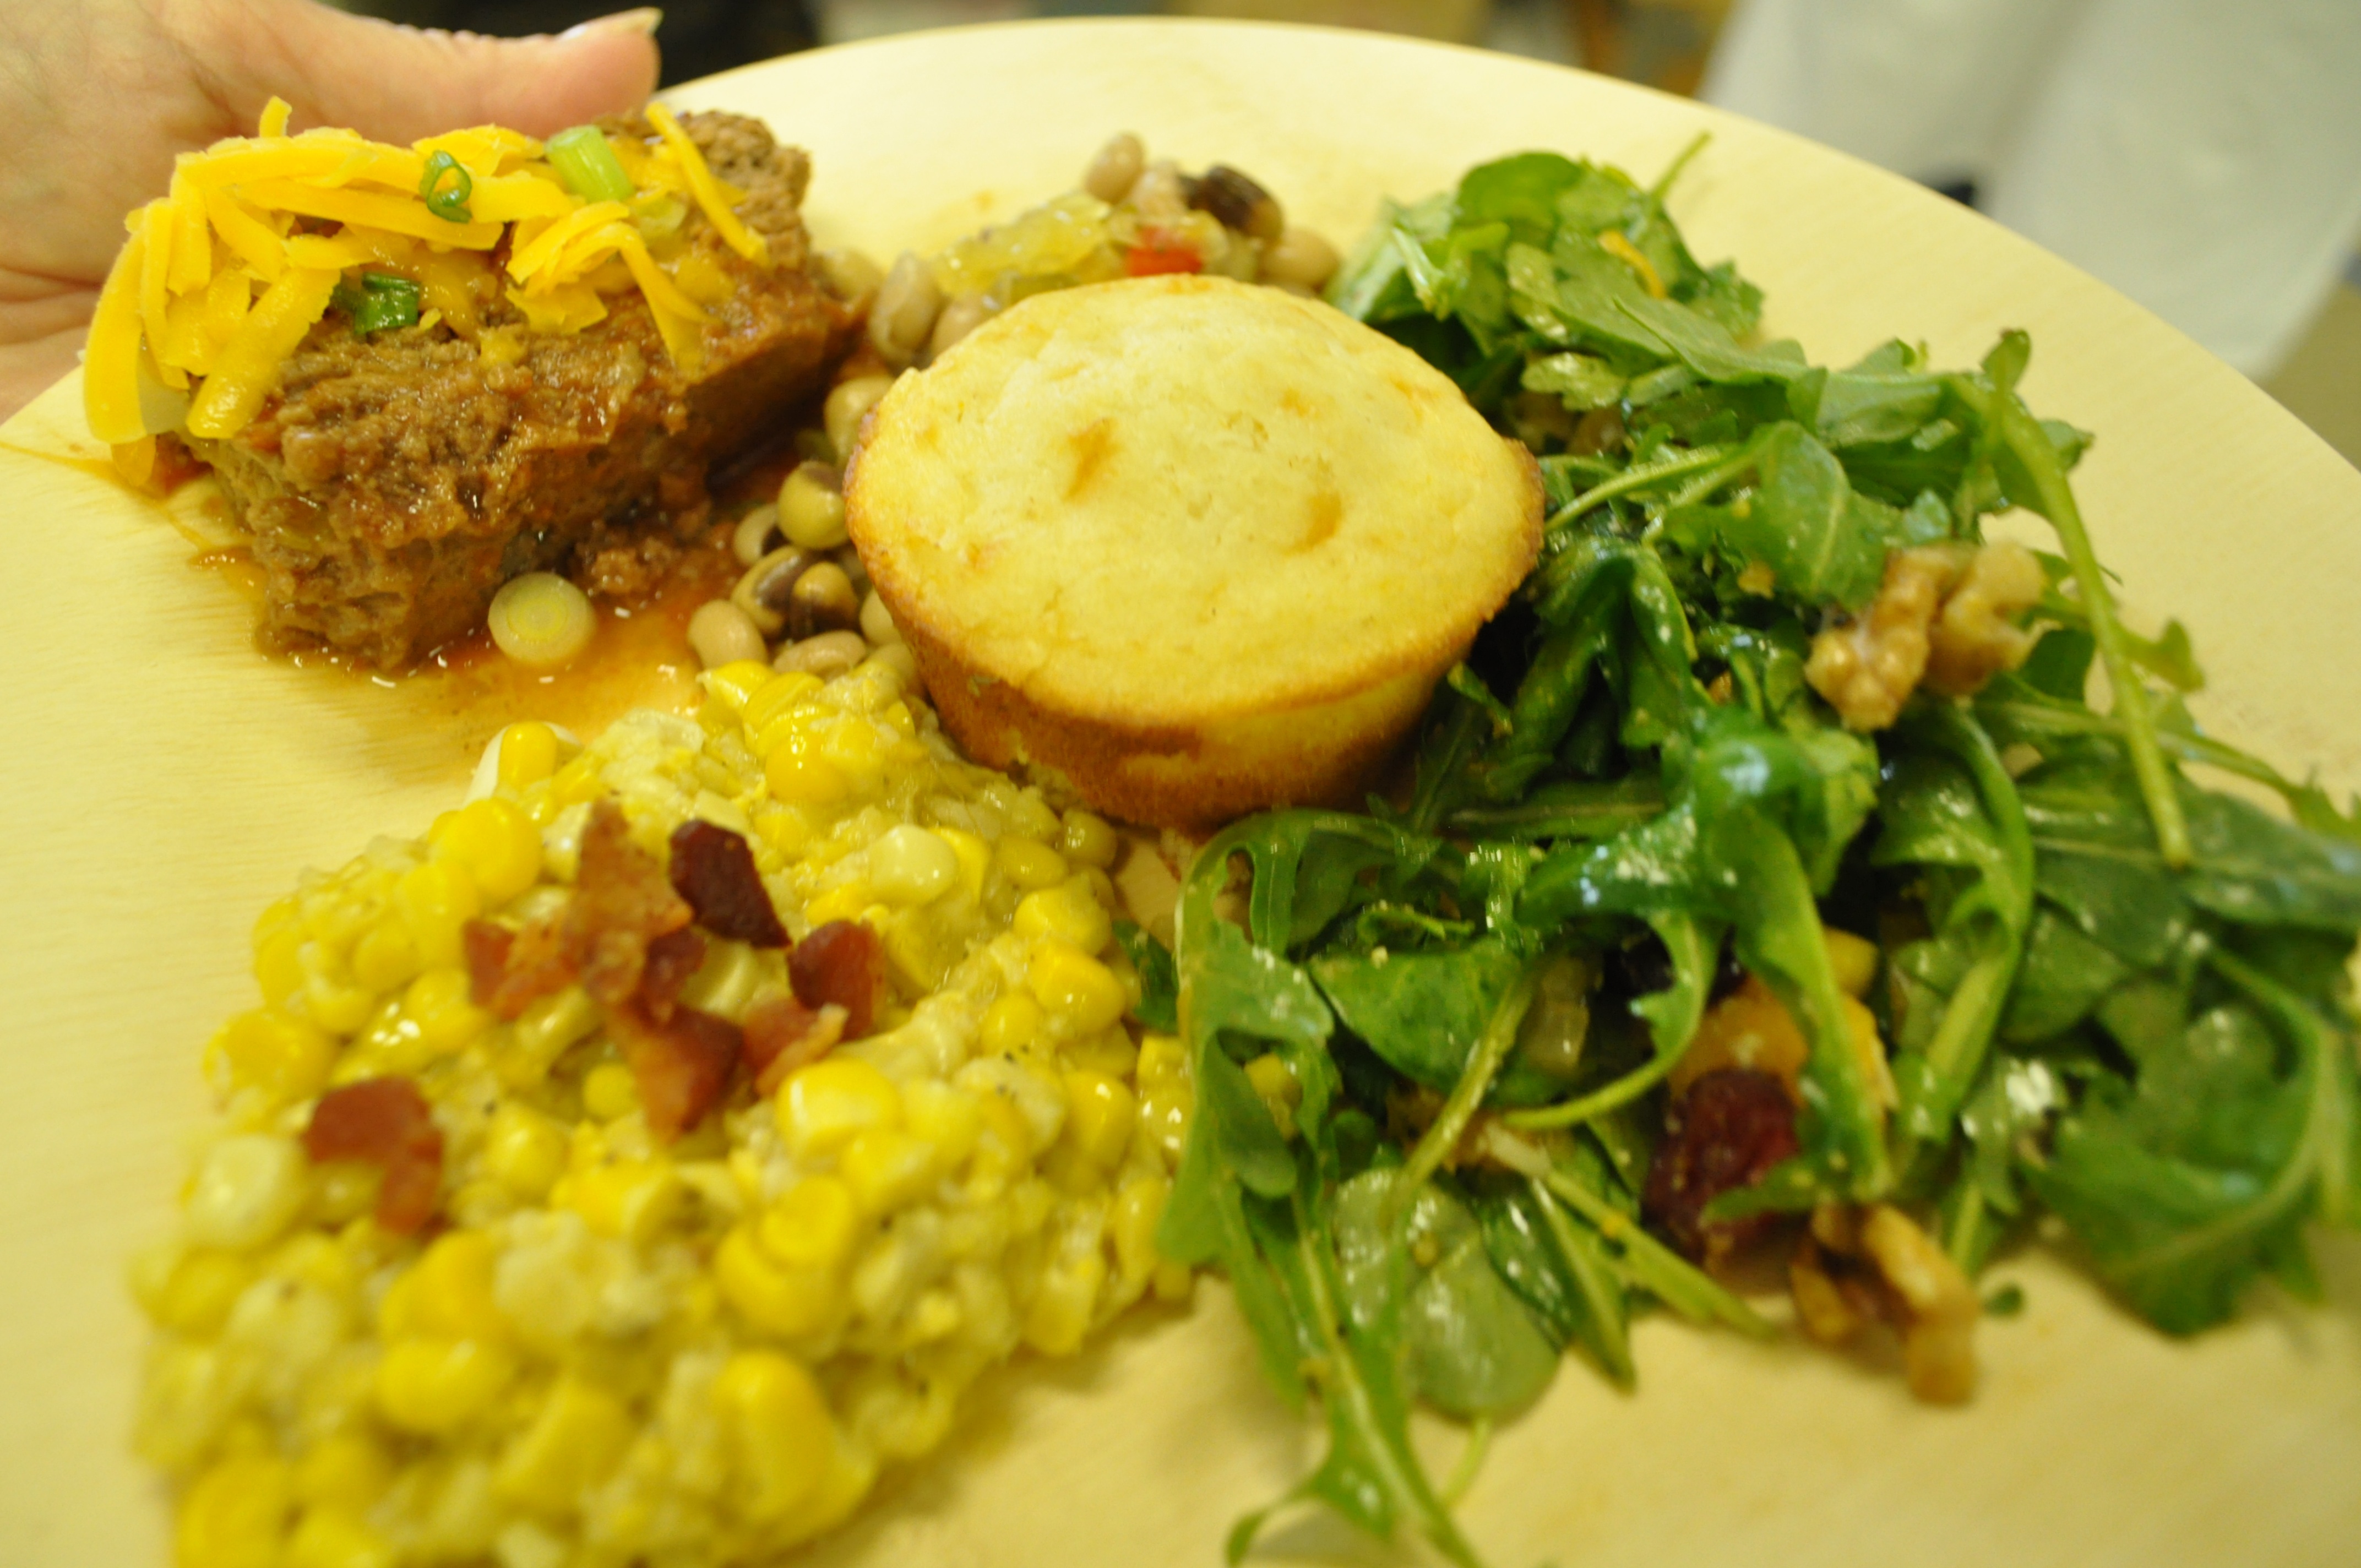
Guests opened their picnic lunches to find a carefully packed feast wrapped in ladybug cellophane.  They enjoyed Arugula Rocket Salad with Nasturtium blossoms and Raspberry Vinaigrette, Copper Pennies, deviled eggs with candied bacon, crostini with Every Herb Pesto, Lemon Bars and Cupcake Brownies.   What a picture perfect day for a picnic.  Come back soon, fellow Master Gardeners!

Elizabeth

picnic-boxed lunch

Recipes

Salad with Nasturtiums and Raspberry Vinaigrette

Raspberry Vinaigrette


Ingredients:

¼ cup raspberries

2 tablespoons freshly squeezed lemon juice

2 tablespoons raspberry or red-wine vinegar

½ teaspoon sugar

6 tablespoons olive oil

Salt and freshly ground black pepper


Directions:

1.  Using a wooden spoon, push raspberries through a handheld wire strainer to puree.

2.  In a medium bowl, whisk together 2 tablespoons raspberry puree, lemon juice, vinegar, and sugar.

3.  In a slow but steady stream, whisk in olive oil until emulsified.  Season with salt and pepper.


Vinaigrette can be made 1 day in advance and stored in an airtight container in the refrigerator.

Yield:  Makes about ¾ cup

Adapted from Martha Stewart


Salad

6 large handfuls of mixed greens, including wild rocket arugula, herb salad mix, etc.

6 nasturtium blossoms


Toss mixed greens with the vinaigrette.  Strew the blossoms over and serve immediately.  (Options:  may also toss with fresh blueberries and/or raspberries)

Picnic-deviled eggs


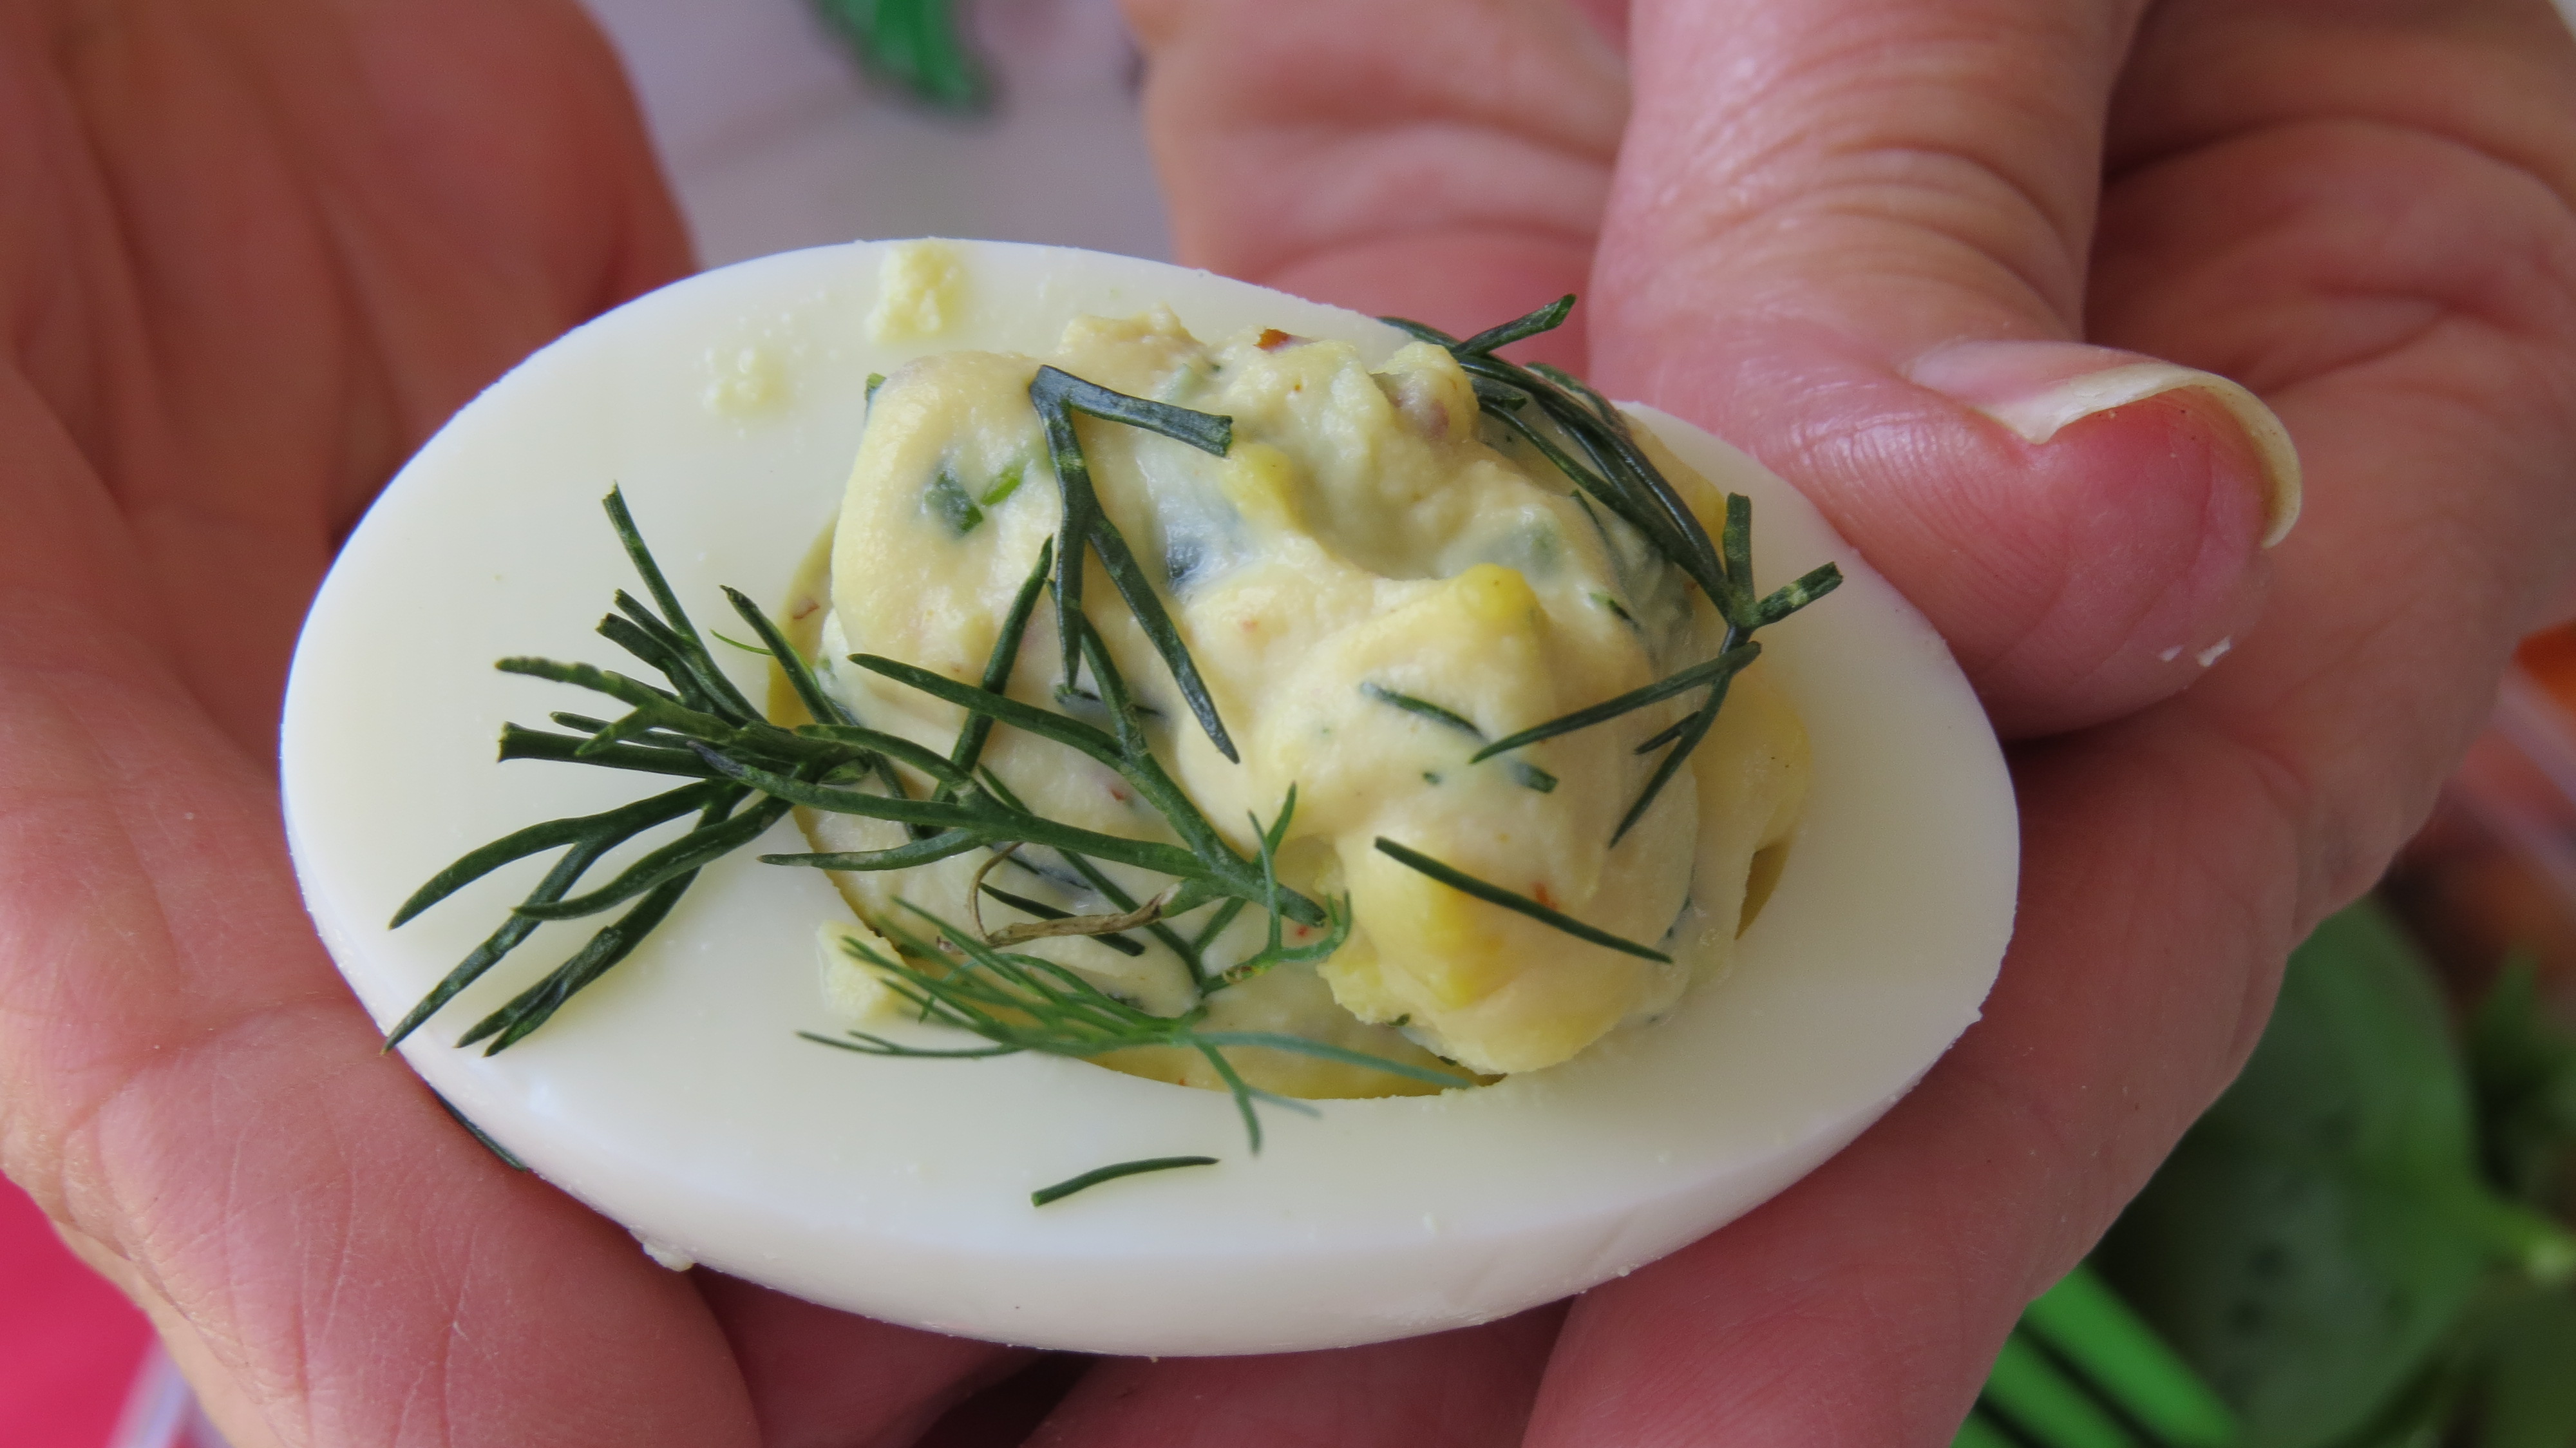
Deviled Eggs with Candied Bacon


Ingredients: 

1 ½ tablespoons light brown sugar

Cayenne pepper

Pinch ground cinnamon

1/8 pound thick-cut bacon (about 3 strips)

8 large eggs, straight from the refrigerator

¼ to ½ cup mayonnaise, or as much as desired

2 teaspoons whole grain mustard

1 tablespoon finely chopped fresh dill, plus more for garnish

1 tablespoon cider vinegar

1 teaspoon Worcestershire sauce

2 scallions, minced

½ teaspoon kosher salt

Paprika, for garnish


Directions:

1.  Preheat the oven to 350 degrees F.

2.  In a small bowl, mix together the brown sugar, a pinch of cayenne and the cinnamon.  Place the bacon on a wire rack set over a rimmed baking sheet.  Sprinkle each slice of bacon with some of the spiced sugar and bake, about 10 minutes.  Flip the bacon, sprinkle with the remaining spiced sugar and continue to cook until crispy, about 20 more minutes.  Remove the bacon from the oven and allow to cool.  When the bacon is cool, mince it and set aside, reserving a quarter of it for garnishing the eggs.

2.  Put the cold eggs in the bottom of a medium sauce pan and cover with cold water.  Bring water to a boil and remove the pan from the heat.  Cover the pan with a lid and let stand for 12 minutes.  Drain the eggs and rinse with cold water.  Let the eggs cool a bit and then peel when they are still warm (eggs are much easier to peel when they are warm).  After they are peeled, you can then store them covered, in the fridge.

3.  Mix together the mayonnaise, mustard, dill, cider vinegar, Worcestershire sauce, ¼ teaspoon cayenne, the scallions and the minced bacon in a medium mixing bowl.  Season with the salt.

4.  Slice the eggs in half lengthwise.  Gently remove the yolks by pressing your thumb against the back of the yolk to pop it out of the white.  Add the yolk to the bowl with the mayonnaise mixture.  Mash together, using a fork, until smooth.

5.  Put the filling in a re-sealable bag.  Cut one end off and pipe the filling into the egg whites.  Sprinkle with the paprika, extra bacon bits and dill before serving.


Yield:  6 to 8 servings.
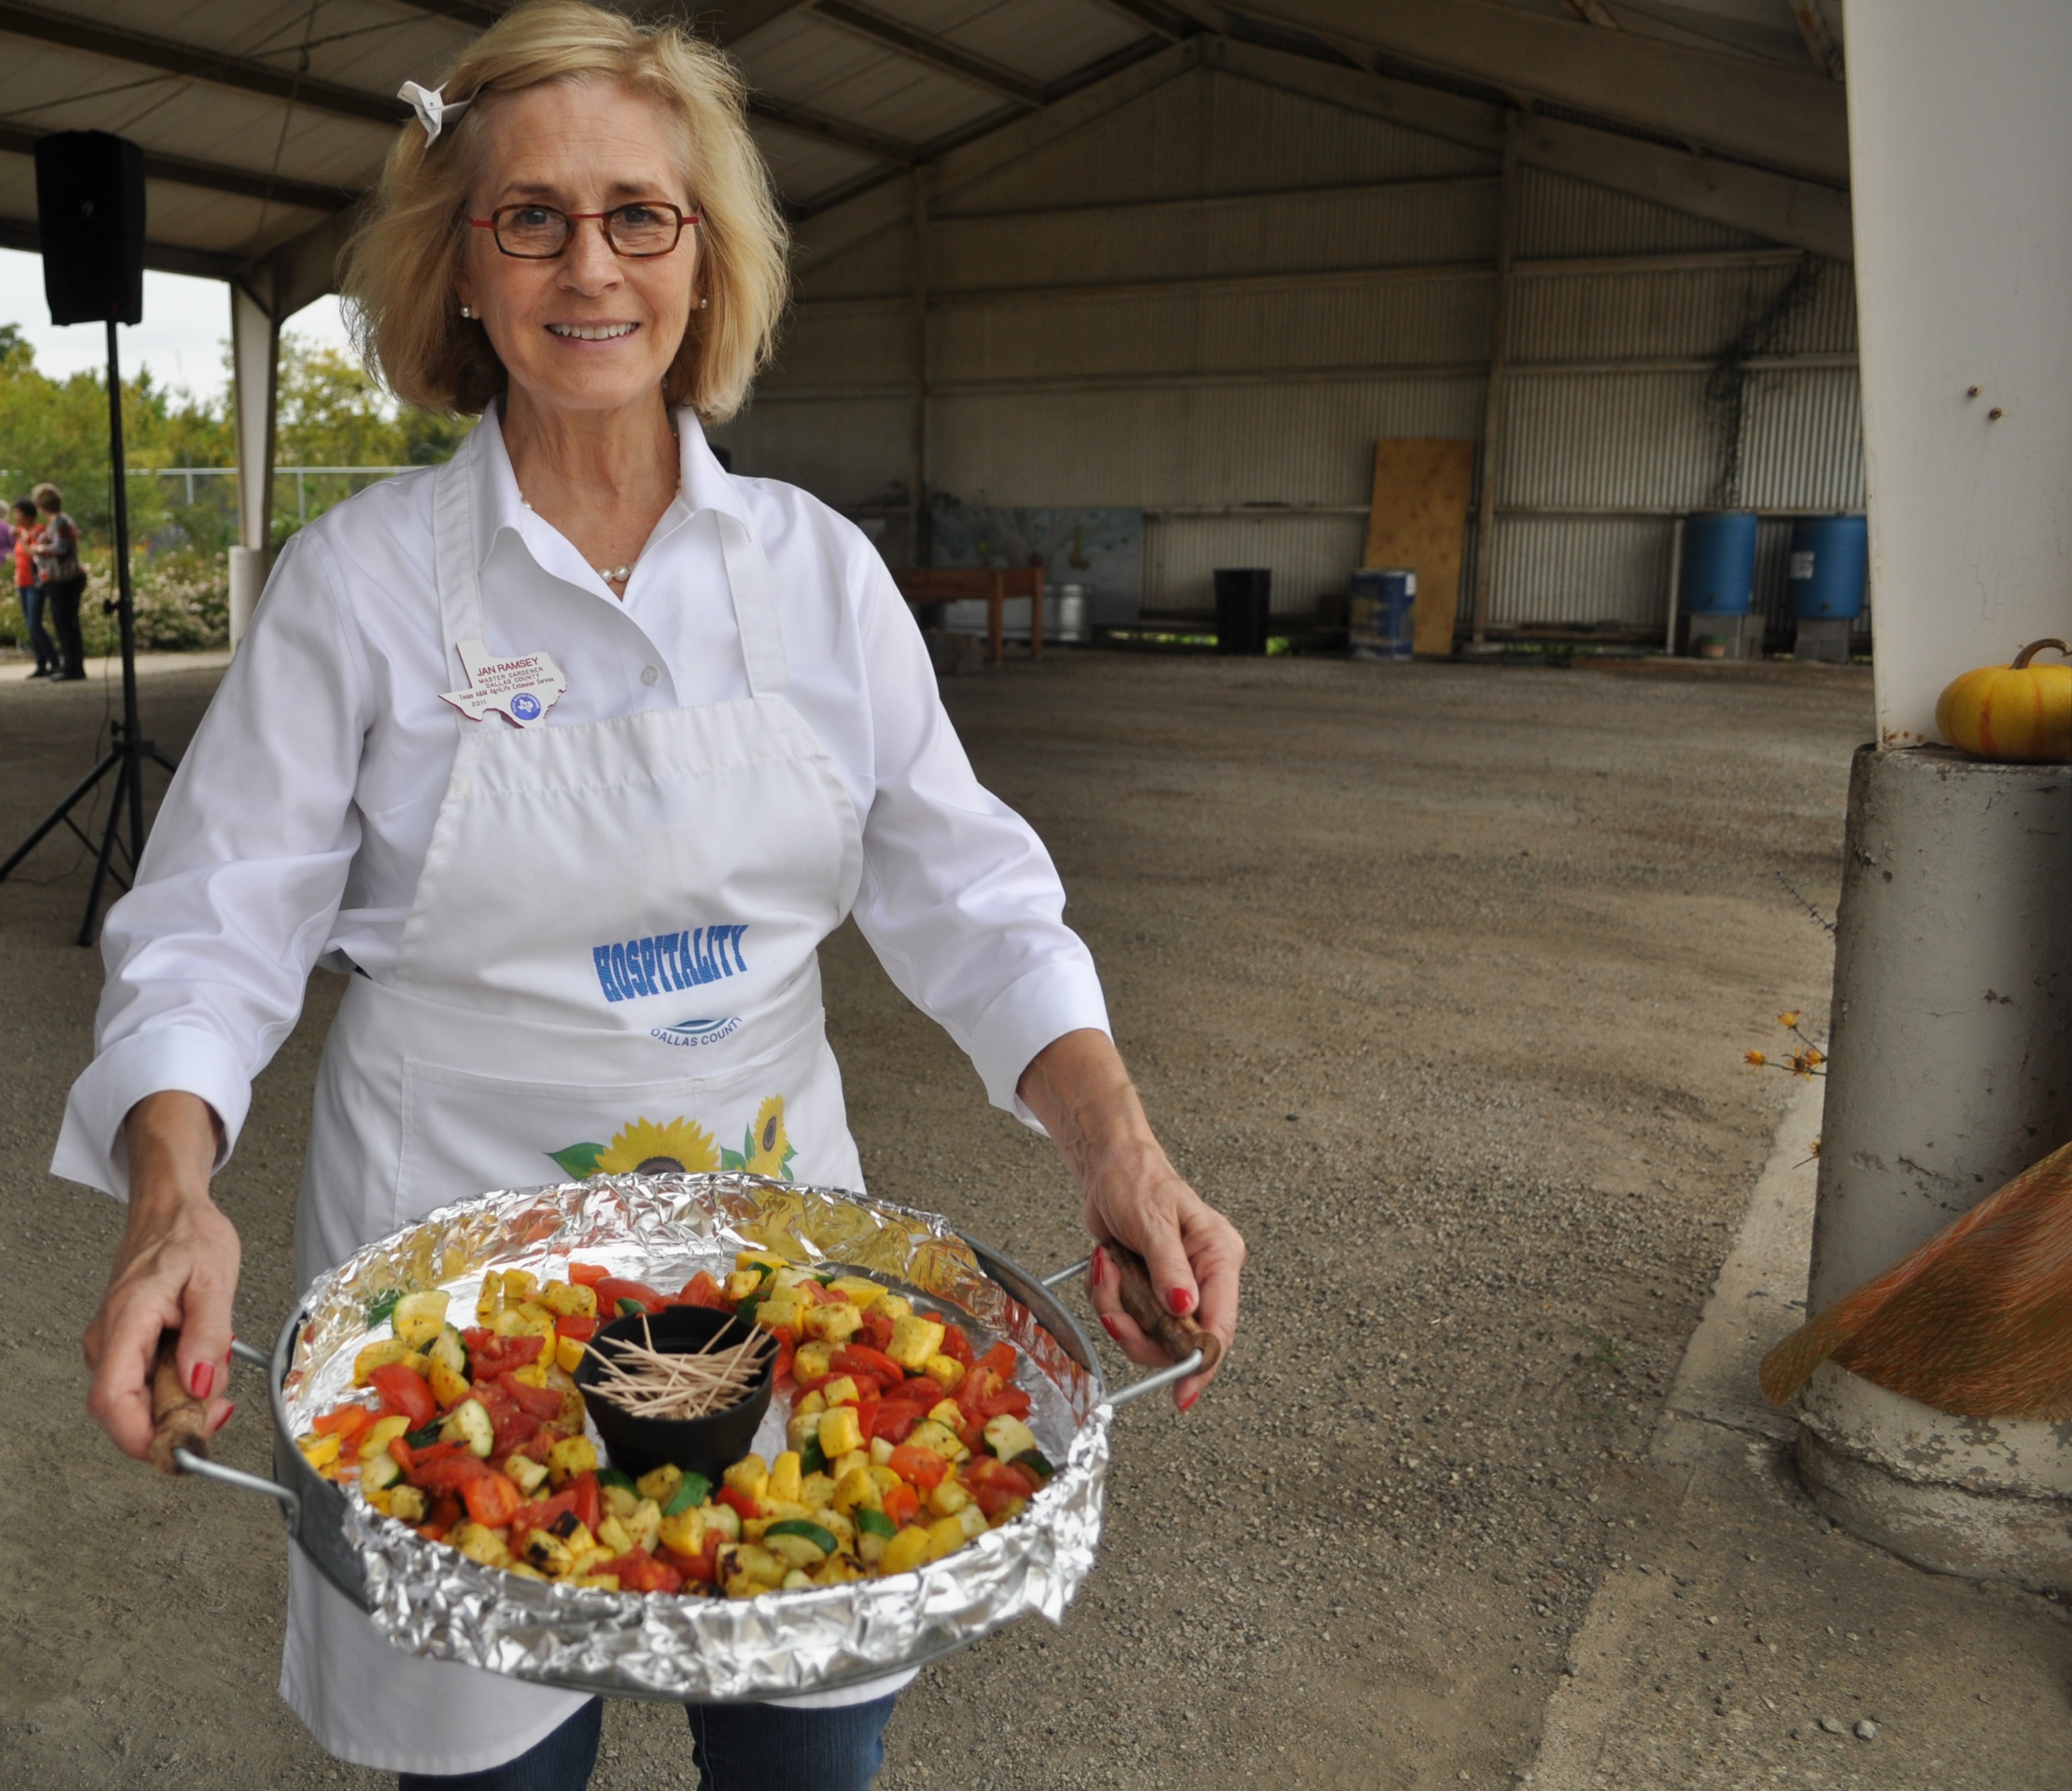
picnic-marinated carrots


Marinated Carrots


For any kind of summer backyard gathering, Grandmother always served these.


Ingredients: 

¾ cup sugar

½ cup vegetable oil

½ cup vinegar

1 Tablespoon Worcestershire sauce

1 Tablespoon prepared mustard

Salt and pepper, to taste

2 lb. bag precut and peeled baby carrots

1 small red onion, sliced into rings

1 green bell pepper, chopped

1 (15 ounce) can tomato soup

Directions:

1. Simmer carrots in water to cover for 5 to 7 minutes or until crisp tender.

2. Drain into a large strainer.  Immerse strainer in ice water to cover carrots.

3. Drain briefly then remove to a large bowl.

4.  Combine first seven ingredients and pour over carrots.

5.  Add sliced onion rings, green pepper and tomato soup.

6.  Refrigerate overnight.

Yield:  8 to 10 servings
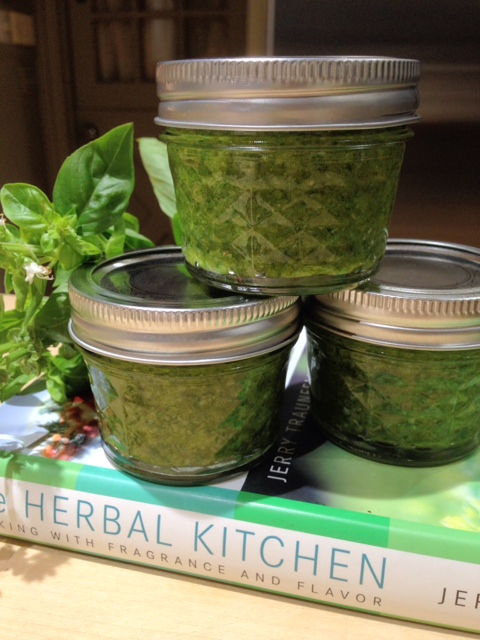
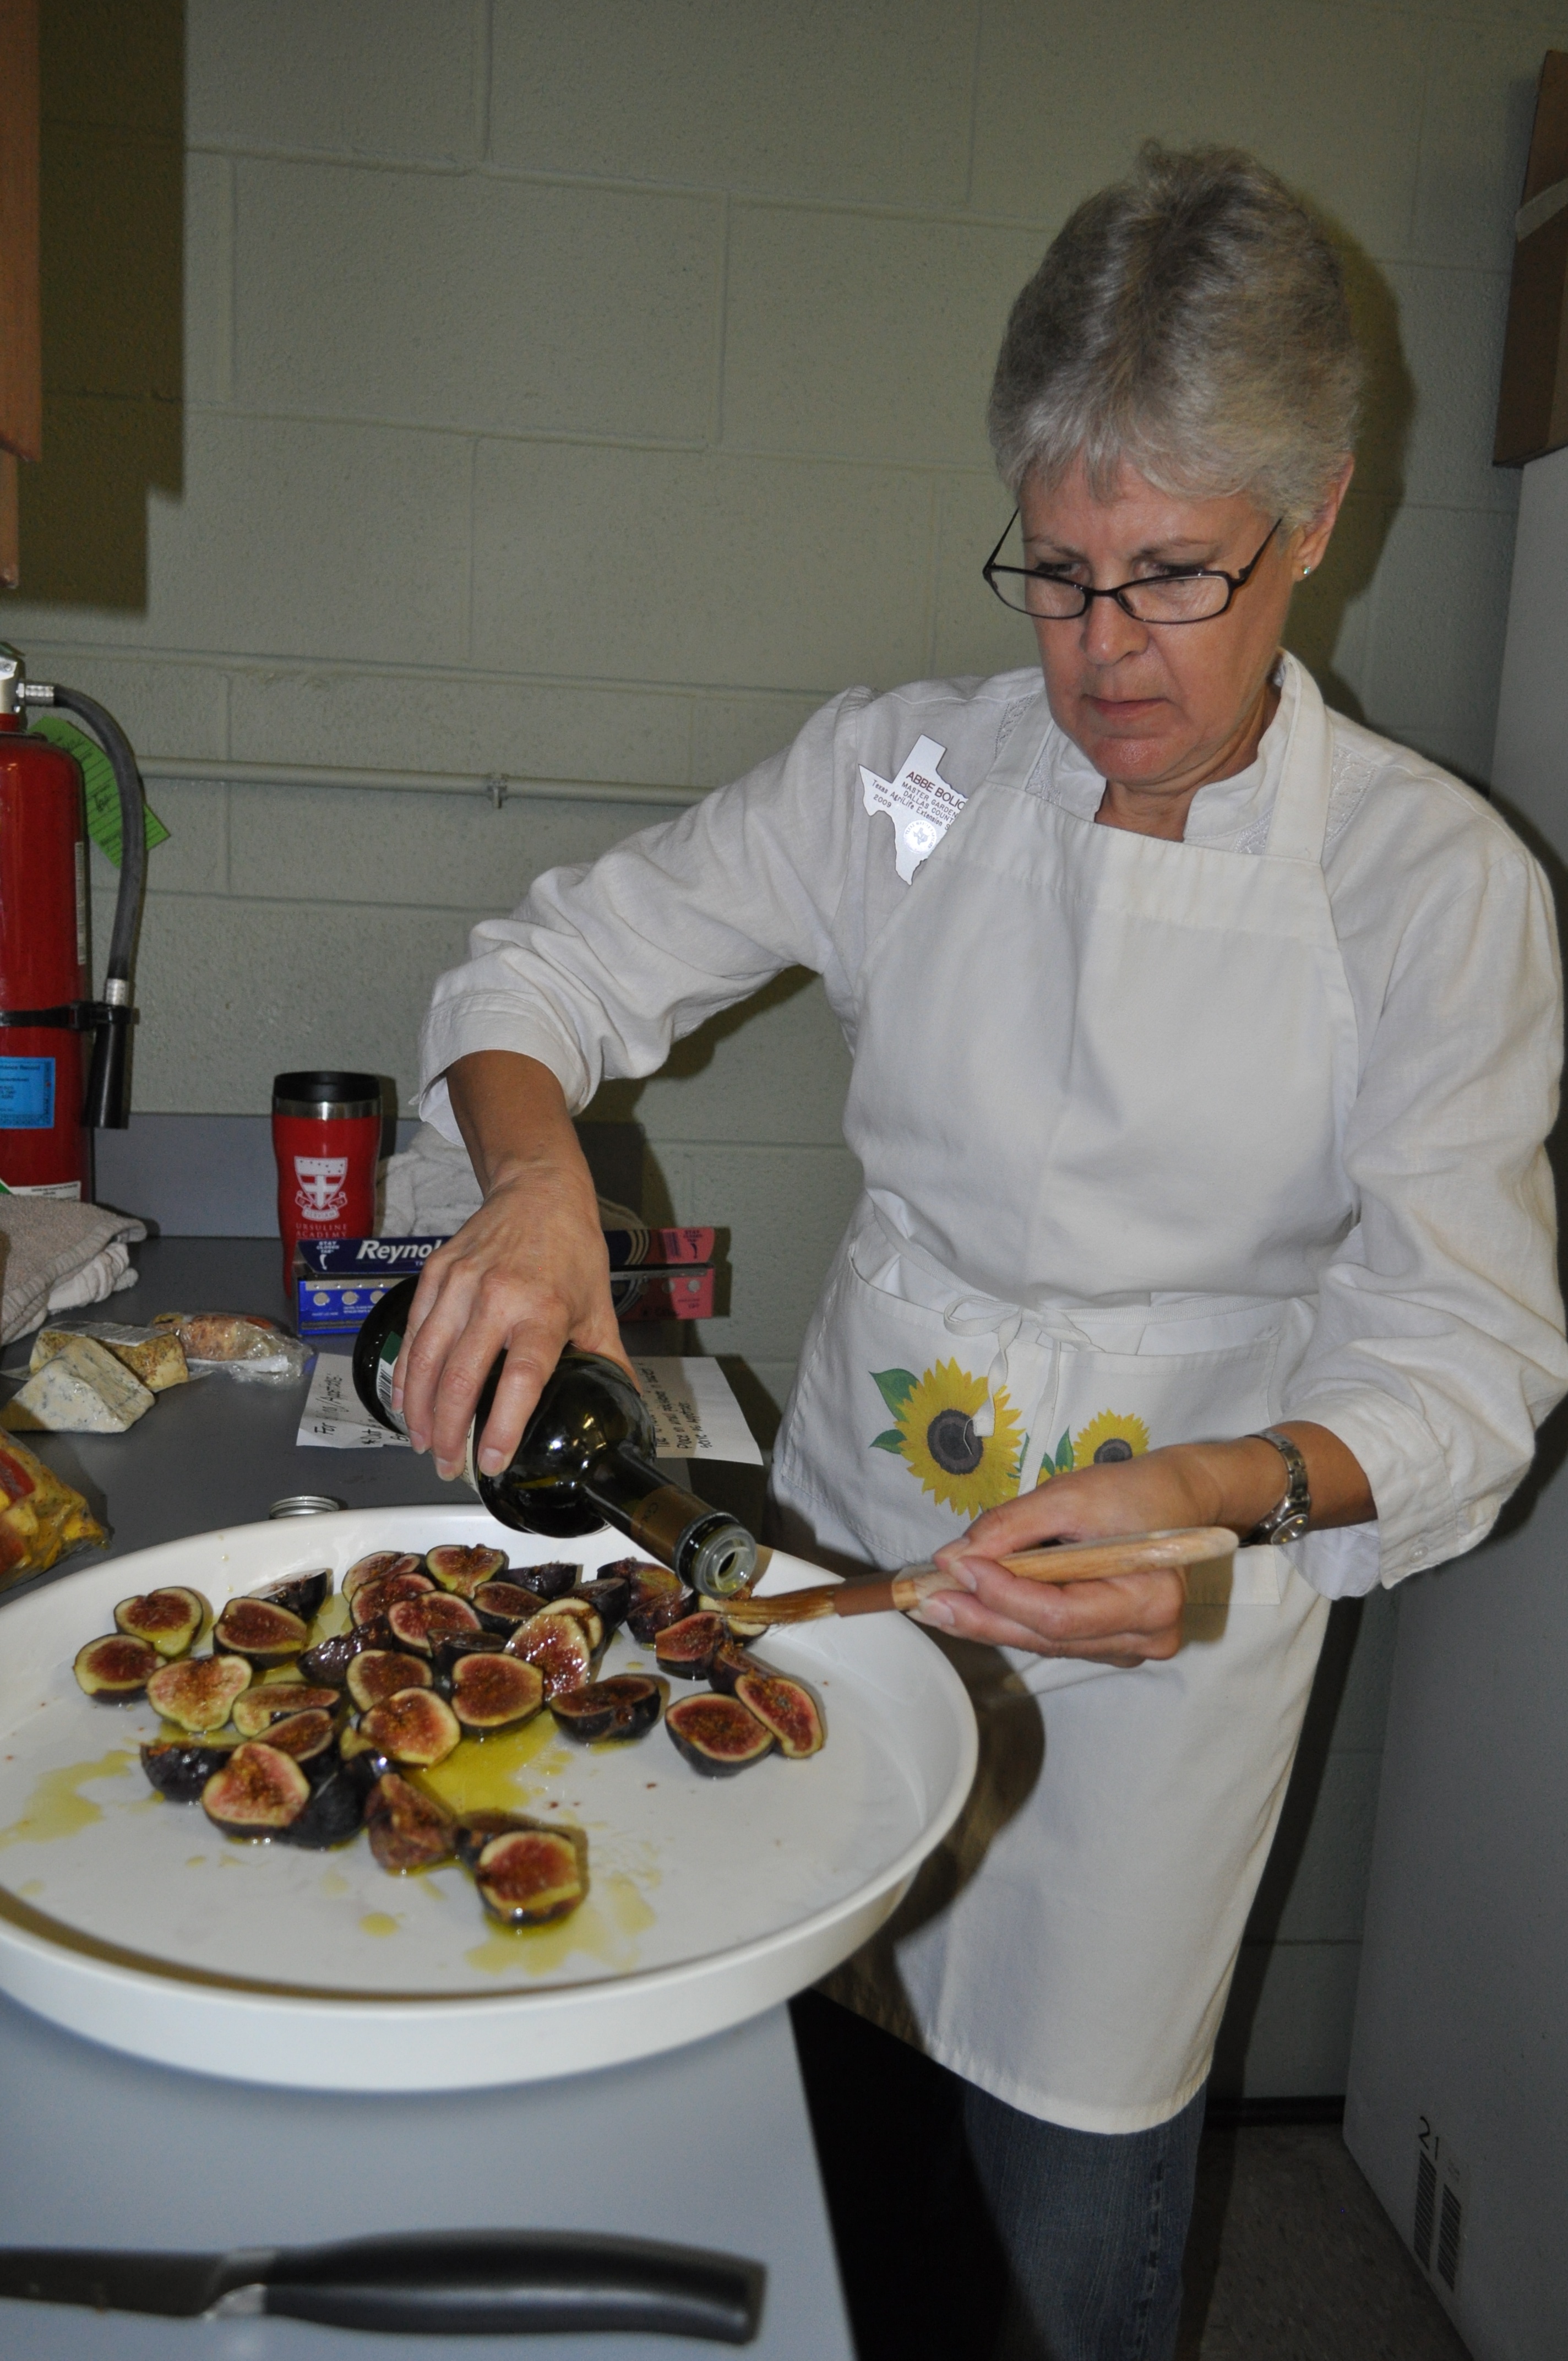
 

Every Herb Pesto


Ingredients:

½ cup Marcona almonds, toasted

2 cloves garlic, peeled

1 cup fresh spinach leaves

½ cup grated Parmesan

½ cup fresh cilantro leaves

½ cup fresh parsley leaves

¼ cup basil leaves

¼ cup fresh tarragon leaves

1/8 cup fresh mint leaves

1/16 cup fresh chervil leaves

2 tablespoons chopped fresh chives

Zest of lemon

Juice of 1 lemon

¾ cup canola oil

¼ cup extra-virgin olive oil

Kosher salt and freshly cracked black pepper

Garlic-rubbed crostini, optional

Heirloom tomatoes, chopped, optional


Directions:

1.  Blend the almonds and garlic in a food processor until fine.  Add the spinach, cheese, herbs, lemon zest and lemon juice to the food processor.  Blend the herbs just enough so they are mixed, about 3 seconds.  Add the canola oil and olive oil while the food processor is on a low setting. Season with salt and pepper.  Blend to desired consistency.

2.  Transfer the pesto to a serving bowl.  Place the chopped tomatoes on top of the crostini if using and top with pesto.  Any leftover pesto should be placed in a bowl and covered with plastic wrap.  Press the plastic wrap right on top of the pesto and refrigerate.


Yield:  About 2 cups.


Luscious Lemon Bars


Position a rack in the center of the oven.  Preheat the oven to 325°.  Line a 13 x 9-inch baking pan with a sling made of parchment paper or foil.

Sift into the bowl of a food processor fitted with a metal blade:

1 ½ cups all-purpose flour

¼ cup powdered sugar


Sprinkle over the top:

12 Tbl. (1 ½ sticks) cold unsalted butter, cut into 12 pieces

Pulse until the mixture resembles coarse sand.


Pour the crust mixture into the pan and press to an even thickness with the bottom of a measuring cup.  Bake until golden brown, 20 to 30 minutes.  Set aside to cool slightly.  Reduce the oven temperature to 300° F.


Whisk together until well combined:

6 large eggs

3 cups sugar


Stir in:

Grated zest of 1 lemon

1 cup plus 2 tablespoons fresh lemon juice (about 5 lemons)


Sift over the top and stir in until well blended and smooth:

½ cup all-purpose flour


Pour the batter over the baked crust.  Bake until set, about 35 minutes.  Remove the pan to a rack to cool completely before cutting into bars.


Just before serving sift with:

Powdered sugar


The Joy of Cooking (1997 edition)


Cupcake Brownies


A “go to” recipe for chocolate lovers!


Ingredients: 

2 sticks butter

4 ounces semisweet chocolate

4 eggs

1 ¾ cups sugar

1 teaspoon vanilla

1 cup flour

1 cup chopped walnuts or pecans


Directions:

1.  Melt butter and chocolate together in a fairly large pan.  Remove pan from stove and let mixture cool a few minutes.  Add remainder of ingredients and mix together by hand.

2.  Spoon batter into foil-lined cupcake pans (use either regular-sized pans or the mini cupcake pans – just be sure to use the foil cupcake pan liners).  Fill cups ½ full.

3.  Bake at 325 degrees F for about 20 to 30 minutes (adjusting time if using mini pans).  Let cool.

4.  If desired, spread a little of your favorite chocolate confectioners’ sugar frosting on each cupcake.

5.  May be wrapped well and frozen.


Yield:  About 2 dozen regular size brownies, or 3 ½ to 4 dozen mini brownies.

picnic lunch balckberry tea

Blackberry Iced Tea


Ingredients:

3 cups fresh or frozen blackberries, thawed

1 cup sugar

1 tablespoon chopped fresh mint

Pinch of baking soda

4 cups boiling water

3 family-size tea bags

2 ½ cups cold water or sparkling water

Garnishes: fresh blackberries, fresh mint sprigs


Directions: 

1.  Combine 3 cups blackberries and sugar in large container.  Crush blackberries with wooden spoon.  Add chopped mint and baking soda.  Set aside.

2.  Pour 4 cups boiling water over tea bags; cover and let stand 3 minutes.  Discard tea bags.

3.  Pour tea over blackberry mixture; let stand at room temperature 1 hour.  Pour tea through a wire-mesh strainer into a large pitcher, discarding solids.  Add 2 ½ cups cold water, stirring until sugar dissolves.  Cover and chill until ready to serve.  Garnish, if desired.

Yield:  about 7 cups

Recipes by Linda

Pictures by Starla

Two Recipes Using Nasturtiums

Nasturuims as garnish

Herbed Cream Cheese Appetizer

Ingredients:

1 (8-ounce) package cream cheese, softened

2 Tablespoons chopped fresh basil

2 Tablespoons chopped fresh cilantro

2 Tablespoons chopped fresh tarragon

3-4 cloves minced fresh garlic

Directions:

1.  Mix herbs with cream cheese by hand until blended.

2.  Spread mixture over your favorite crackers.

3.  Garnish each cracker with a nasturtium blossom.

Alternately:  Core a zucchini.  Fill center with cream cheese mixture.  Slice and serve on a cracker.  Garnish with a nasturtium blossom.

Nasturtium Mayonnaise

This recipe is the perfect compliment to chilled summer salmon, or any fish, fresh off the grill.  Also makes a great spread for tea sandwiches, or any sandwich needing some zip.

 Ingredients:

1 cup mayonnaise

¼ teaspoon finely minced garlic

2 teaspoons coarsely chopped capers

1/3 teaspoon grated lemon peel

2 teaspoons chopped nasturtium leaves

Directions:

Combine all ingredients.  Keep chilled until ready to use.

Nasturtium, Tropaeolum majus

It is said that Monet was rather fond of them and planted them in the border of the pathway that led to the front door of his home in Giverny.  With enchanting names like “Empress of India”, “Whirlybird”, “Alaska”, “Peach Melba” and “Butter Cream”, no wonder Nasturtiums are so welcomed in the garden.   They just seem to add a touch of old-fashioned charm.

Above: Beautiful fall nasturtiums at Shelburne Farm in Vermont

Above: Beautiful fall nasturtiums at Shelburne Farm in Vermont

Nothing signals spring’s arrival more dramatically than the first bunch of jeweled toned nasturtiums perched on the shelf at your local garden center. If you are looking for decorative, even water lily pad- like foliage, with a wave of brightly-colored blossoms that are tasty to boot, then head for the nasturtiums.  You may be familiar with the varieties that have deep green leaves, but there are now a number of variegated, almost speckled ones, as well.

Above: Lily pads in the garden? No, more fall Nasturtiums from Vermont!

Above: Lily pads in the garden?
No, more fall Nasturtiums from Vermont!

Ideally, nasturtiums like to be in full sun, with moist, well drained soil. However, most varieties can survive when grown in partial sun. These carefree little dazzlers don’t seem to be bothered much by snails, other insects or diseases.  Enjoy them from March until sometime around late June when they succumb to our extreme Texas heat.

You’ll typically find two different kinds of nasturtiums: dwarf bush type and trailing.  The dwarf types are much more commonly available, and are useful as 10- to 12-inch tall colorful borders and for mass plantings.  The trailing variety will cascade dramatically down walls or hanging baskets.  Nasturtiums make a lovely addition to the herb garden with a multitude of culinary benefits.

There is nothing more intriguing than the tissue paper like profusion of blossoms that nasturtiums produce.   Although the blossoms appear delicate, they are actually very durable and make for vibrant and long-lasting garnishes.  Use the blossoms either whole or chopped to decorate creamy soups, salads, butters, cakes and platters.  Their sweet, peppery taste (both in the leaves and in the flowers) adds to the enjoyment.

Above: Organic nasturtium blossoms bundled  up and for sale at the Aspen, Colorado Summer market

Above: Organic nasturtium blossoms bundled up and for sale at the Aspen, Colorado Summer market

Nasturtiums are natives to the cool highlands of mountains extending from Mexico to central Argentina and Chile. The conquistadors brought these brightly colored plants back to Spain in the 1500’s. The Indians of Peru used the leaves as a tea to treat coughs, colds and the flu, as well as menstrual and respiratory difficulties.   Being high in vitamin C, nasturtiums act as a natural antibiotic, once used topically as a poultice for minor cuts and scratches.


Take advantage of the many decorative ways to use nasturtium flowers for your next gathering.  However, don’t be surprised; some people will turn up their noses to a beautiful flower sitting atop a cracker spread with herb-flavored cream cheese.  Others will fully embrace the opportunity to sample such a tasty little gem.  If we could only extend our growing season nasturtiums might grace our tables more often.  Oh, dreaded Texas summers, why do you leave us so little time to enjoy this beloved plant?

Linda

Tip: Texas AgriLife Extension Service recommends planting nasturtium seeds about the time of the average last frost. They are usually planted where they can be allowed to mature, since young seedlings can be difficult to transplant.


Basil Harvest

Today at the garden we harvested buckets full of sweet basil.  With winter’s chill at our doorstep it’s the perfect time to fill our freezers with basil pesto. Basil Harvest

 Here is  Classic Pesto hidden in our Tomato Tart Recipe!

Basil ready for the freezer

Before bedtime and  the freeze tomorrow, review

 Basic Facts About Basil Here!

Sweet Dreams, I will be dreaming about basil and hope you will, too!

Linda

Skillet Fried Corn

 Grandmother insisted on Silver Queen corn, always cooked it in a cast iron skillet and, yes, added 1 stick of butter.  Changes are not welcome here!Skillet Corn

Ingredients:

12 ears of corn, preferably super sweet “Silver Queen”

8 slices bacon

½ cup (1 stick) butter

2 to 4 tablespoons sugar, depending on the sweetness of the corn

2 teaspoons salt

½ teaspoon pepper

Harvest Lunch Including Skillet Fried Corn served on a bamboo plate.

Harvest Lunch Including Skillet Fried Corn served on a bamboo plate.

Directions:

1. Cut the kernels from the cobs into a large bowl.  Scrape off the remaining pulp and juice with a knife adding to the corn kernels.

2. Cook the bacon in a large cast iron skillet until crisp.  Remove to paper towels to drain; crumble.  Remove all but ¼ cup of the bacon drippings from the skillet.

3. Add the corn, butter, sugar, salt and pepper to the skillet.  Cook over medium heat for 20 minutes, stirring frequently.

4. Spoon mixture into a serving dish and top with the crumbled bacon.

Yield: 12 servings

Linda

Tomorrow we will post the Harvest Lunch dessert recipes.

For all the Harvest Lunch Recipes and others, go to Garden Recipes.

Roasted Butternut Squash Salad with Warm Cider Vinaigrette

Last Tuesday, you would have found Dallas County Master Gardeners on Joe Field Road busy preparing our first and (will be repeated) ” farm to table” lunch.

image

Craving just the right salad for your own fall feast? Here is our recipe for roasted butternut squash salad with the,oh so good, warm vinaigrette.

Ingredients:

1 (1 ½-pound) butternut squash, peeled and ¾-inch diced

Good olive oil

1 tablespoon pure maple syrup

Kosher salt and freshly ground black pepper

3 tablespoons dried cranberries

¾ cup apple cider or apple juice

2 tablespoons cider vinegar

2 tablespoons minced shallots

2 teaspoons Dijon mustard

4 ounces baby arugula, washed and spun dry

¼ cup walnut halves, lightly toasted

¾ cup freshly grated Parmesan cheese

image

Directions:

1. Preheat the oven to 400 degrees.

2. Place the squash on a sheet pan.  Add 2 tablespoon olive oil, the maple syrup, 1 teaspoon salt and ½ teaspoon pepper and toss.

3. Roast the squash for 15 to 20 minutes, turning once, until tender.  Add the cranberries to the pan for the last 5 minutes.

4. While the squash is roasting, combine the apple cider, vinegar, and shallots in a small saucepan and bring to a boil over medium-high heat.  Cook for 6 to 8 minutes, until the cider is reduced to about ¼ cup.  Off the heat, whisk in the mustard, ½ cup olive oil, 1 teaspoon salt and ½ teaspoon pepper.

5. Place the arugula in a large salad bowl and add the roasted squash mixture, the walnuts, and the grated Parmesan.  Spoon just enough vinaigrette over the salad to moisten, and toss well.  Sprinkle with salt and pepper and serve immediately.

Yield: 4 to 6 servings Adapted from Barefoot Contessa

Linda

A Mess of Peas with Spicy Chow Chow

A “Mess of Peas”

imageIngredients:

1 quart water

1 (8- to 10-ounce) smoked ham hock

8 cups fresh field peas

4 to 6 hot peppers in vinegar, drained

1 teaspoon sugar

1 teaspoon salt

1 teaspoon pepper

Directions:

1. Bring 1 quart water and smoked ham hock to a boil in a large Dutch oven over medium-high heat.  Reduce heat to low, and simmer 30 minutes.

2. Stir in peas and remaining ingredients; cover and simmer 25 to 30 minutes or until peas are done.

Yield: 10 to 12 servings

ChowChow

image

Ingredients:

5 green bell peppers

5 red bell peppers

2 large green tomatoes

2 large onions

½ small cabbage

¼ cup pickling salt

3 cups sugar

2 cups white vinegar (5% acidity)

1 cup water

1 tablespoon mustard seeds

1 ½ teaspoons celery seeds

¾ teaspoon turmeric

Directions:

1. Chop first 5 ingredients.

2. Stir together chopped vegetables and salt in a large Dutch oven.  Cover and chill 8 hours.  Rinse and drain; return mixture to Dutch oven.  Stir in sugar and remaining ingredients.  Bring to a boil; reduce heat, and simmer 3 minutes.

3. Pack hot mixture into hot jars, filling to ½ inch from top.  Remove air bubbles; wipe jar rims.  Cover at once with metal lids, and screw on bands.

4. Process in boiling-water bath 15 minutes.

Yield: 5 ½ pints

Linda

Harvest Lunch Grilled Vegetables

image

Grilling these fresh vegetables couldn’t be easier!

Ingredients:

Fresh vegetables of your choice (zucchini, onions, tomatoes, yellow squash, red peppers, and green peppers)

Olive oil

1 (1 ounce) packet dry Italian dressing mix

Directions:

1.  Wash and dry all your vegetables.  Cut into large bite-size pieces.

2.  Take two pieces of heavy-duty aluminum foil that are each about 20” long.

Lay one on top of the other perpendicularly, so that they make an “X”.

3.  Fold up all the edges so that you create a little “bowl” shape.

4.  Place chopped vegetables in the aluminum foil bowl and spread them out.  Try to have just a single layer of vegetables, if possible; or make 2 or 3 “bowls” so that all the vegetables are evenly cooked.

5.  Drizzle the vegetables with olive oil (just a couple of tablespoons, depending on how many vegetables you use) and pour the powdered dressing mix on top of the vegetables.  Mix all together until the vegetables are evenly covered with oil and dressing mix.

6.  Place the foil bowl of vegetables on a grill on medium heat.  Grill for 10-15 minutes

(depending on how “crunchy” you like them to be), stirring occasionally to make sure they are all cooking evenly.

7.  Remove from grill when finished and enjoy!

Linda

Grilled Figs with Thyme Honey and Gorgonzola Toasts

image

In his book, The Herbfarm Cookbook, Jerry Traunfeld says that “in summer and autumn when fresh figs are readily available, they become ambrosial when grilled and drizzled with honey infused with thyme.  Serve them as an appetizer before dinner or a fruit-and-cheese course to end the meal.

Ingredients: 

  • ¼ cup mild or medium-strength honey, such as clover or blackberry
  • 6 3-inch sprigs fresh English thyme or lemon thyme
  • 12 large ripe figs
  • 2 teaspoons extra-virgin olive oil, plus more for brushing
  • 2 teaspoons fresh thyme leaves
  • 1 best-quality artisan-style baguette
  • 6 ounces Gorgonzola cheese, at room temperature

image Directions:  1.  Thyme honey.  Bring the honey to a simmer in a small saucepan and add the thyme sprigs.  Let sit off the heat for 15 minutes or more while grilling the figs and bread. image 2.  Grilling the figs.  Start a charcoal fire in an outdoor grill or preheat a gas grill.  (I used a stove top grill pan and it worked fine).  Cut the figs in half and toss them in a small bowl with 2 teaspoons olive oil and the thyme leaves.  Adjust the grill rack 4 inches from the fire.  When the charcoal is ashed over and glowing or the gas grill is medium-hot, grill the figs quickly until they are heated through but not collapsed, 1 to 2 minutes on each side.  Transfer them to a platter.

3.  Toasts.  Cut 24 ½-inch-thick slices from the bread and brush both sides lightly with olive oil.  Toast the bread on both sides on the grill away from direct heat.  Spread the cheese on the toasts and top them with the figs.

4.  Serving.  Remove the thyme sprigs from the honey with a fork and discard them, then drizzle the warm thyme honey over the figs and toasts.  Serve at once.

Yield:  8 to 12 servings (These can also be grilled inside on a stove top grill pan;  fun to prepare in front of your guests).

Note: We simplified the recipe somewhat by serving the grilled figs spread with Gorgonzola cheese then drizzled with honey. We eliminated the “toasts” because of our full menu.

Linda

Pumpkin Cheese Ball

A “sure to delight” treat for festive gatherings.

Pumpkin Cheese Ball

 Ingredients:

2 (8-ounce) blocks extra-sharp Cheddar cheese, shredded

1 (8-ounce) package cream cheese, softened

1 (8-ounce) container chive-and-onion cream cheese, softened

2 teaspoons paprika

½ teaspoon ground red pepper

1 broccoli stalk

Red and green apple wedges

Directions:

1. Combine first 5 ingredients in a medium bowl until blended.  Cover and chill 4 hours or until mixture is firm enough to be shaped.

2.  Shape mixture into a ball to resemble a pumpkin.  Smooth entire outer surface with a frosting spatula or table knife.  Make vertical grooves in ball, if desired, using fingertips.

3. Cut florets from broccoli stalk, and reserve for another use.  Cut stalk to resemble a pumpkin stem, and press into top of cheese ball.  Serve cheese ball with apple wedges.

Yield:  Makes 16 Appetizer Servings

*Note: To make ahead, wrap cheese ball in plastic wrap without stalk, and store in refrigerator up to 2 days.  Attach stalk before serving.

Linda

Adapted from Southern Living Annual Recipes