Sometimes, as anyone learning a new language can tell you, even words that have different dictionary meanings can take on new meanings. For gardeners the terms compost and mulch are two terms that are sometimes used interchangeably.. The difference between the compost and mulch can be quite confusing, especially for the novice gardener, since their uses can overlap. Yet, for the sake of your plant’s and soil’s health, there are differences.
Technically speaking, compost is organic matter that has been decomposed, while mulch is a layer of organic or inorganic matter placed on top of the soil as a protective cover. A commenter, RobertZ6, on gardenweb.com defined compost as a ‘What’, while mulch is a ‘Where.’
So what are some of the main functions of the two and how do they differ:
Compost: Compost is a biologically active material resulting from decomposition of organic matter. Bacteria, fungi, soil insects and others help with this decomposition. In general, there are two different methods of making compost: 1) the “fast” method consisting of the ratio of two parts brown/dry material to one part green/juicy material, plus moisture, plus aeration/turning the pile; and 2) the “slow” method where leaves, grass, vegetable refuse, etc. are allowed to build up in a pile and slowly over time decomposition takes place and compost results.

Jane and Cindy at Work Making Compost-Fast Method!
Compost is often considered to be a soil conditioner, rather than a fertilizer since the actually nutrient value of compost can be so variable. Though the fertilizing component of compost is small, www.planetnatural.com says that “compost can aid plants in many ways quite independent of its nutrient content. Because it improves soil structure, adds beneficial microbes, and boosts cation exchange capacity (CEC), compost improves the mobility of air, water and nutrients in the soil, all of which make nutrients more readily available to plants.” Compost that is fully decomposed/”finished” is called humus. It is dark brown, crumbly, with no distinguishable features, and has a sweet, pleasant smell.
Mulch: Mulch can be either organic or inorganic and is spread over the top of the soil to cover it. Examples of organic mulch include leaves, straw, and wood chips. Inorganic mulches include rubber, gravel, and landscape fabric. The purposes of mulch include suppressing weeds, moderating soil temperature, conserving water, maintaining a porous surface, and helping to prevent erosion. The use of organic mulch can improve the soil structure as it gradually decomposes over time.

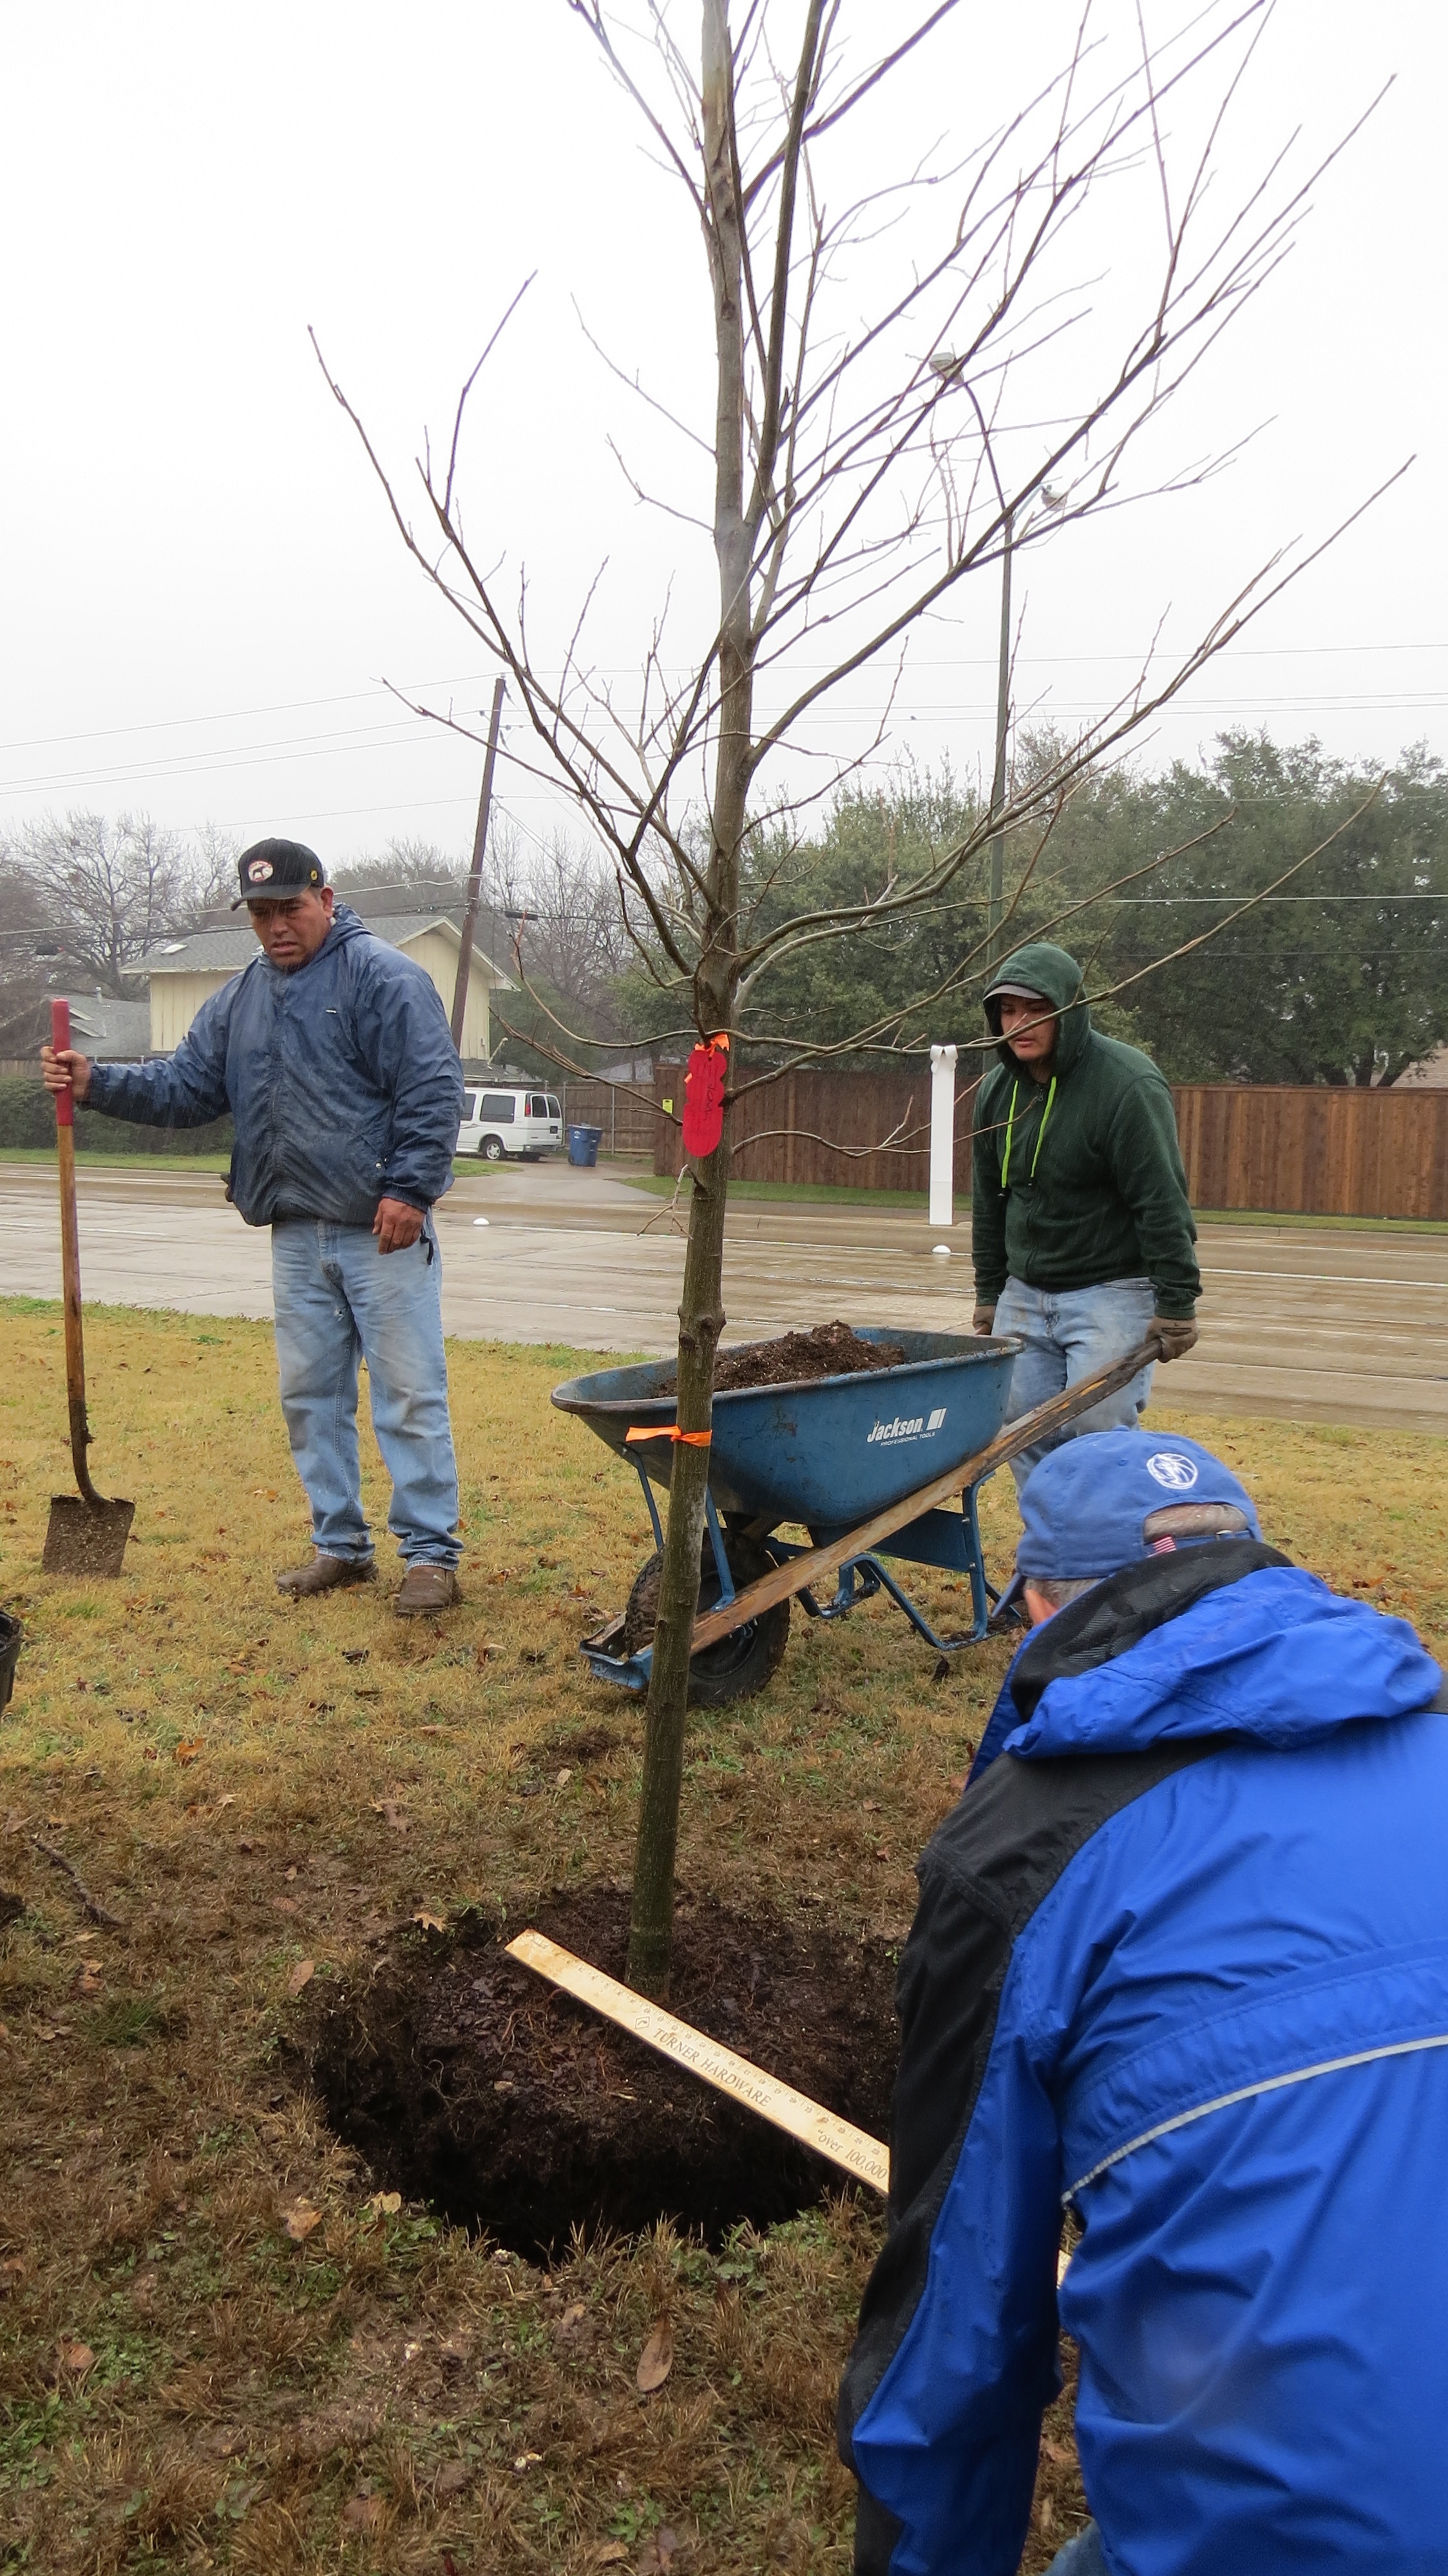
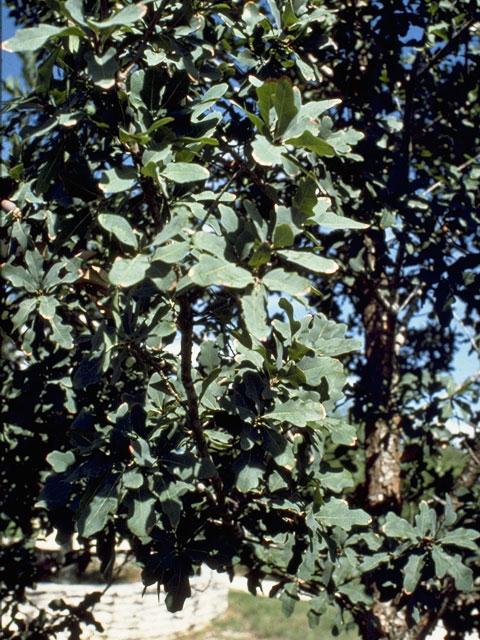
Chopped Up Native Tree Trimmings and Leaves Can Be Used as Mulch
So… where does the confusion in terms and usage for some gardeners lie? Two main questions come to mind:
1) Can compost can be used as mulch? The answer to this question is “yes.” It is possible to add a layer of only compost to the top of the soil and use it as mulch. In fact, in the case of using organic mulch such as wood chips in a bed, the layer of wood chips closest to the soil will gradually break down into compost over time. Eventually it will be necessary to add more mulch to a bed or mulched pathway to account for this. One of the Master Gardeners says that she uses her unfinished, not completely decomposed, compost as mulch in her beds. Placing a 1-3 inch layer of this unfinished compost on top of the soil as mulch would enable the mulch to break down quicker into compost. Earthworms will gradually move the finished compost down into the soil.
Many gardeners however never have enough finished (or even unfinished) compost to use pure compost as mulch on top of the soil. Plus the cost of purchasing bags of compost to do this would be prohibitive for many. Therefore most gardeners choose to work their finished compost into the soil and top dress the soil with mulch.
2) Can mulch (for example shredded wood chips) be tilled into the soil? The answer to this is both yes and no.
No: Though it might seem as if this would “cut out the middle man” (i.e. the need to make finished compost), in general it is usually not recommended to incorporate shredded wood chips, or even un-composted leaves, into your soil.
To understand why, it is necessary to know a little about the way that decomposition of organic matter takes place and also the nutrients that plants need. To grossly over-simplify a very complex subject, plants need three primary nutrients (nitrogen (N), phosphorus (P), and potassium (K) plus thirteen secondary and micronutrients nutrients such as magnesium (Mg) and iron (Fe) to grow well. Most soils contain at least some of these nutrients. However many soils in Dallas County have a deficiency in nitrogen. A soil test can confirm whether this is true on your property.
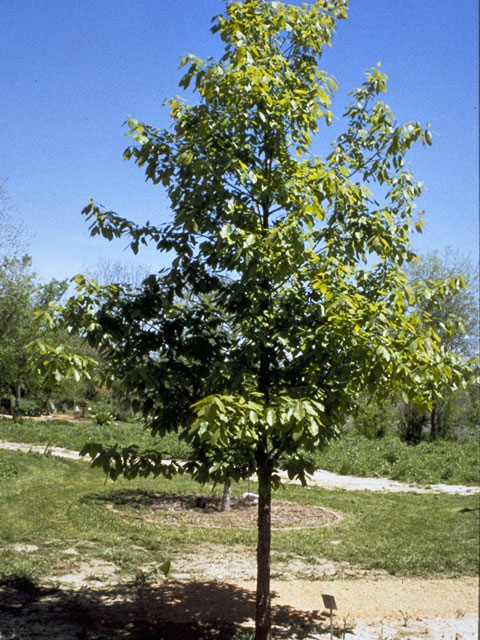
This deficit of nitrogen in many Dallas County soils is important because in order to decompose organic material, the bacteria and fungi, which are the first organisms responsible for decomposition, also need nitrogen to feed on in order to live. When a large amount of un-decomposed material, such as wood chips, is incorporated into the soil, there is an increase in the number of bacteria and fungi needed to break it down. Since the bacteria and fungi need nitrogen as part of their diet, these microbes will start using up what is present in the soil. Since Dallas County soils are often deficit in nitrogen, sometimes not enough nitrogen is left in the soil to feed both this increase in soil microbes and the plants. This in turn can leave plants starved of nitrogen, one of their essential nutrients. Plants that are nitrogen deficient often have pale green or yellow leaves and exhibit poor growth.
Yes: On the other hand, it is possible that the answer to the question of whether mulch can be tilled into the soil, can be answered “yes.” Though not generally recommended, one can till in mulch, even shredded wood chips or live oak leaves which do not readily decompose, into the soil if certain factors (time and/or supplemental nitrogen) are taken into consideration:
Time: If enough time is available to let a bed lie fallow/unplanted for a season or even one or two years, over time the mulch will gradually decompose into compost. This can be compared to the “slow” method of making compost.
Supplemental nitrogen: An article in www.motherearthnews.com states that in an apple orchard, it was found that “a high-fiber diet of wood materials is exactly what many soils need. Rotted bits of wood persist as organic matter for a long time, enhancing the soil’s ability to retain nutrients and moisture, which results in bigger, better crops.” However a very high nitrogen source, in that case blood meal, 12-0-0, was also added at the same time as the apple trees were planted. The addition of supplemental nitrogen offset the bacteria’s and fungi’s taking it from the soil and provided nitrogen to the plants.
There is an ancient gardening technique called hugelkultur (which in German means “mound culture”) that makes use of using woody material, even logs, to make beds. According to those who use this technique, these raised beds retain moisture (supposedly needing only very infrequent watering,) improve soil fertility, and improve drainage. In this technique a mound of logs and twigs is built up, and finished compost, manure, kitchen scraps, etc. are packed into the spaces between the woody materials. A layer of top soil is placed on top of the mound and planted. There are several articles and videos on the web showing how to construct a hugelkultur bed.
A few years ago, several community gardens and individuals became interested in trying hugelkultur in the Dallas area. If you know of someone who has tried it, please share their results. We gardeners all learn from one another.
Though most of this article presents an extremely over-simplified explanation of the differences between compost and mulch and why it is important for your plant’s and soil’s health, hopefully the reasoning behind what is taking place will help you to understand the difference and help you grow the healthiest plants possible.
Carolyn
Pictures by Starla


