Most of the instructions for growing cinnamon basil in your garden mention things like, dig a generous amount of compost or well-rotted manure into the soil before planting. Other sources suggest that it prefers rich, loamy soil.

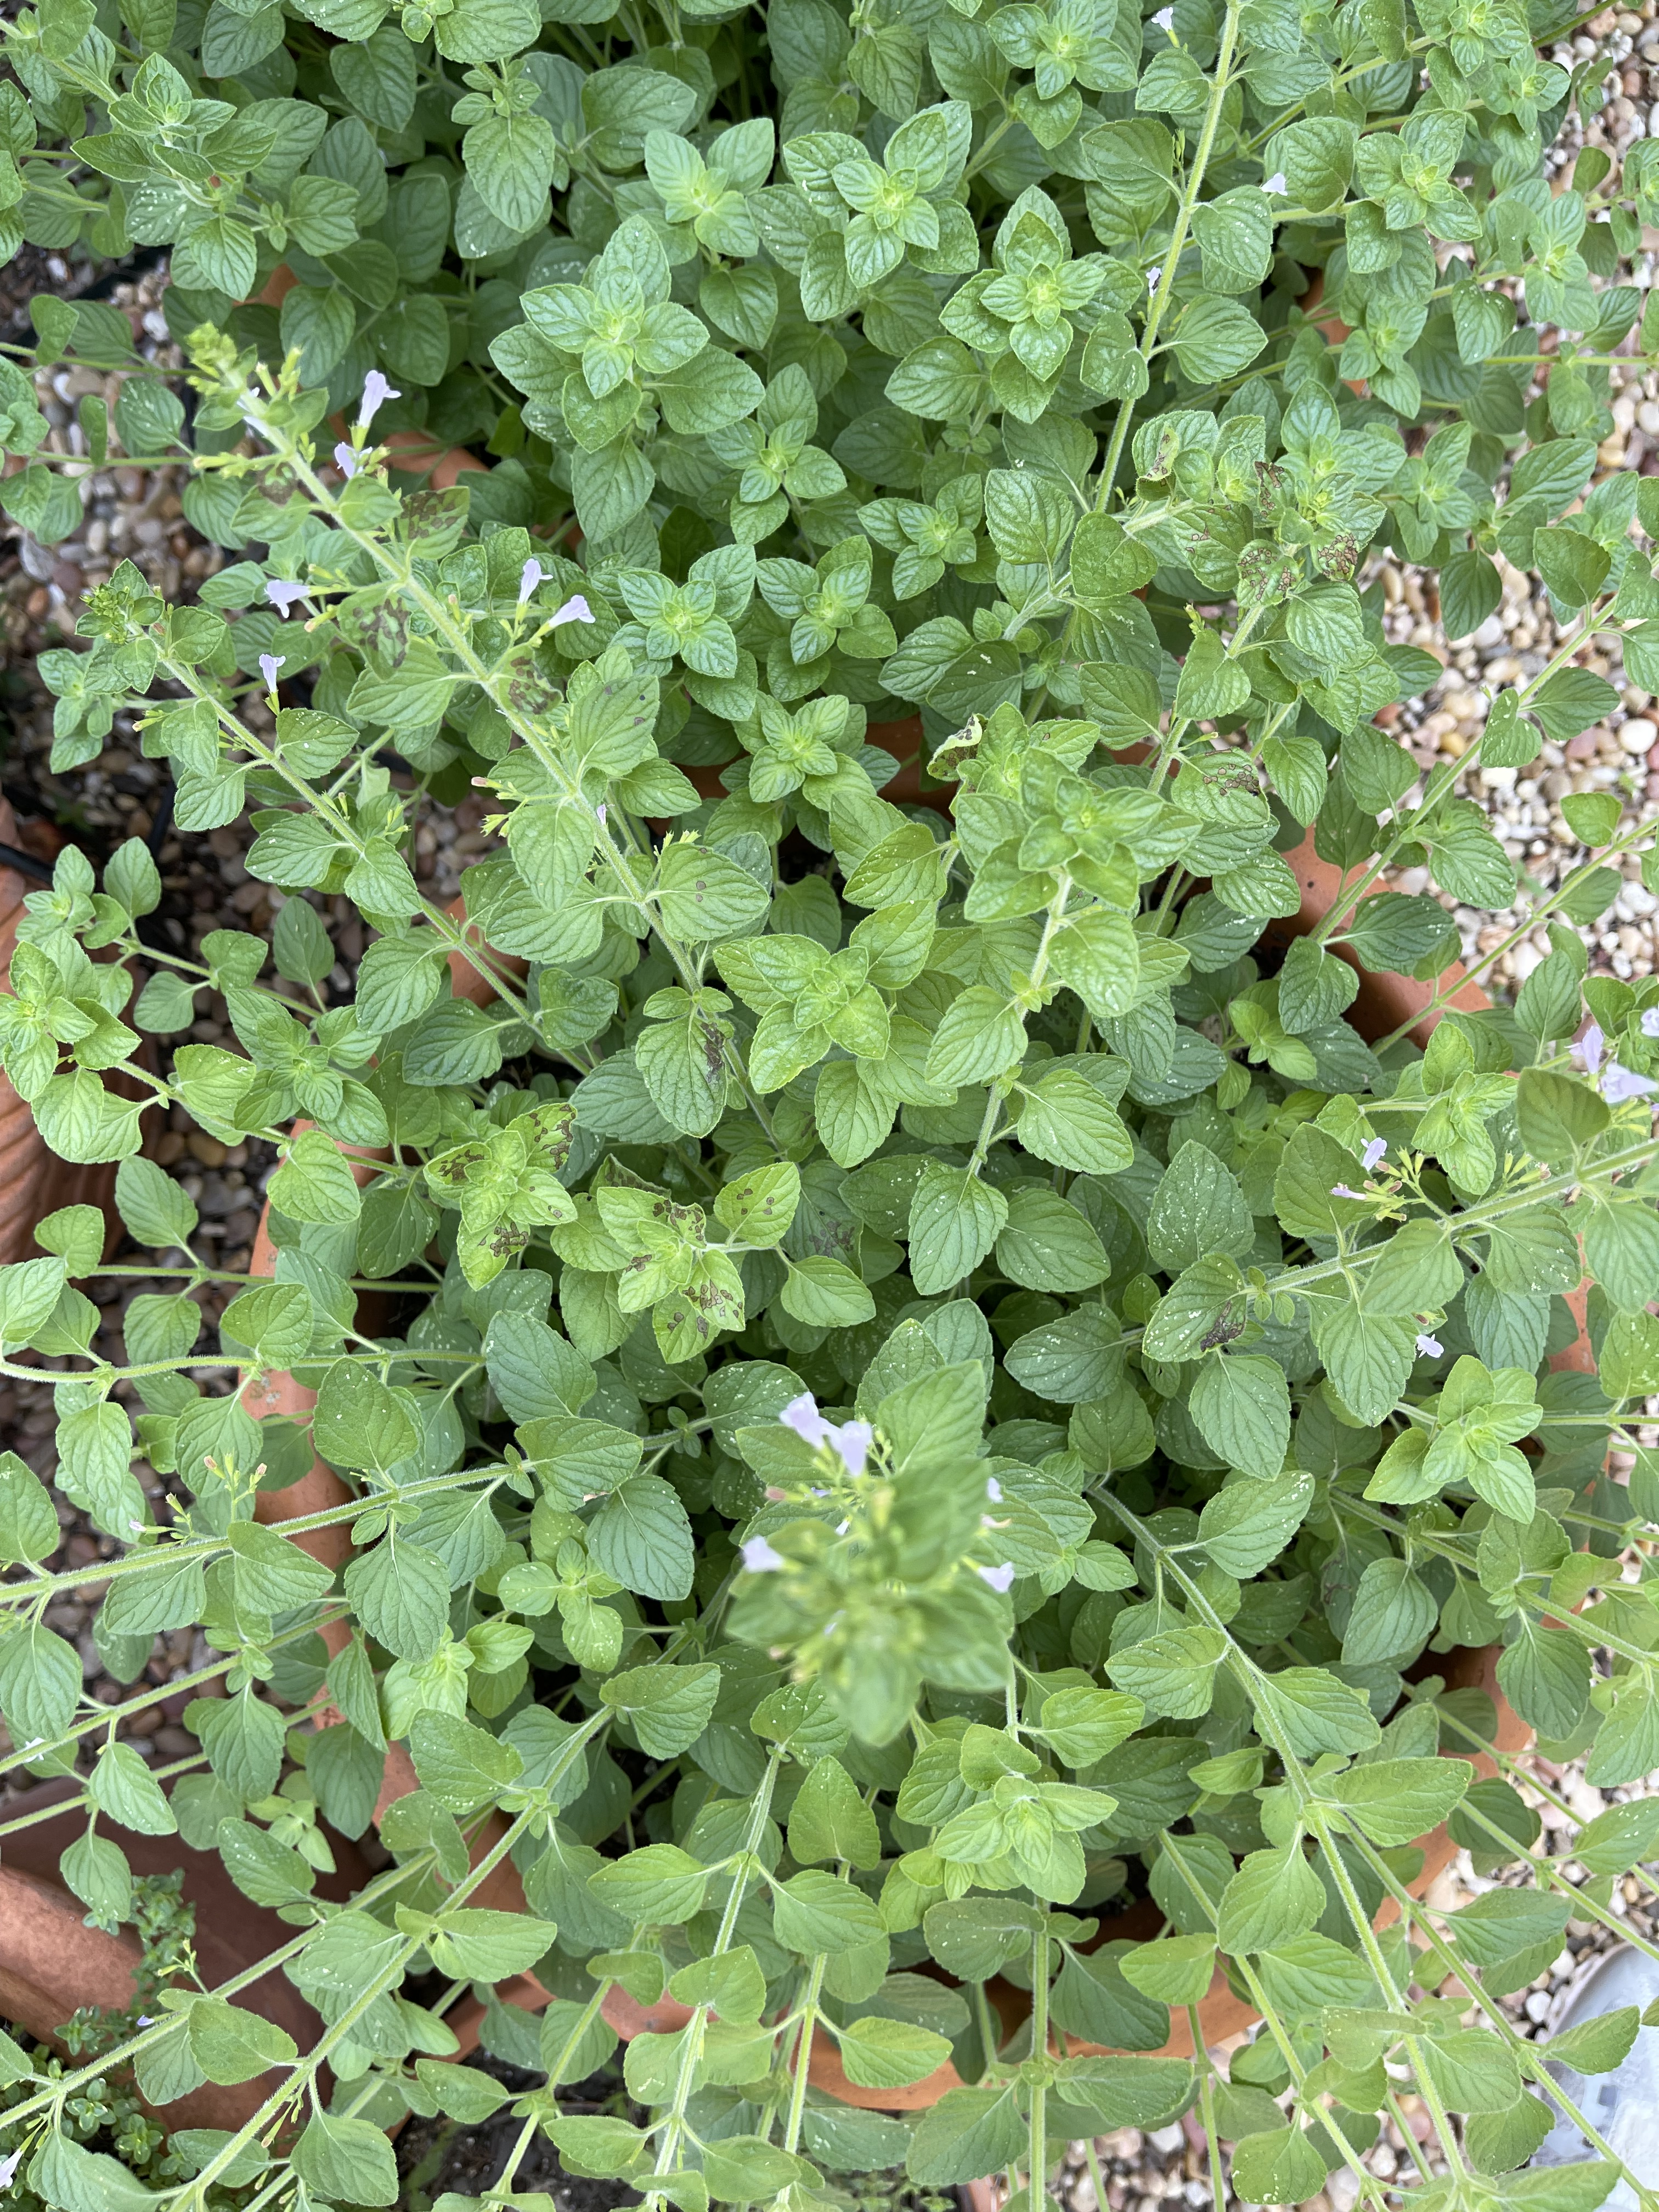
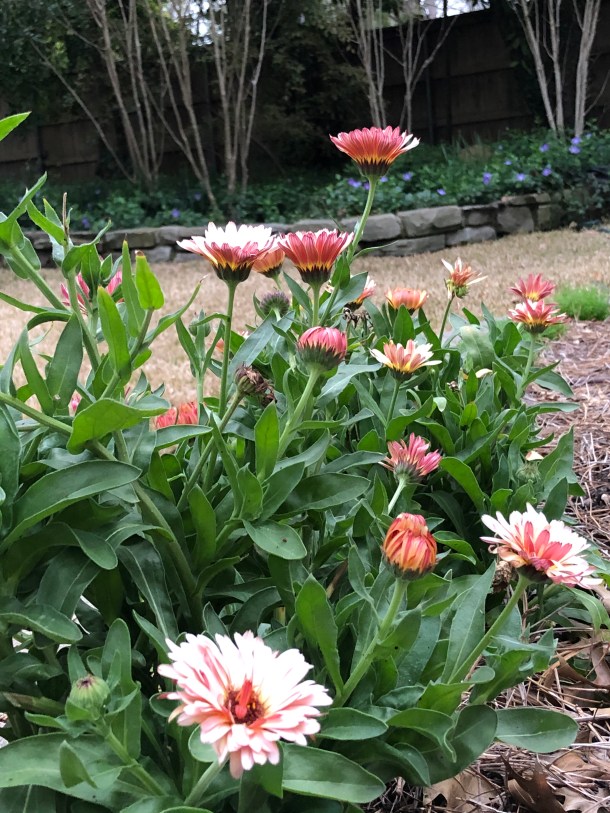
Cinnamon Basil thriving in Linda’s gravel drive
That leaves me somewhat perplexed. For the fifth year in a row, a patch of robust, healthy cinnamon basil plants are once again growing in our gravel driveway. And, it continues to multiply with each passing year.
If you happen to be intrigued, here a few things to know about this very aromatic and easy-to-grow herb that has much to offer.
Cinnamon Basil is from the mint family, Lamiaceaea. Its slightly serrated, dark green, shiny leaves with reddish-purple veins can resemble certain types of mint. Cinnamon basil plants contain cinnamate, a compound that gives the herb its spicy aroma and cinnamon-like flavor.
If left alone, cinnamon basil will surprise you with its true beauty. From July to late September, lavender spiked blooms are in full display creating a picture-perfect experience not to be missed. But if you feel inclined to grow full, bushier plants, snip the tips as soon as they appear any time during the growing season. Expect your plants to eventually reach about three feet.
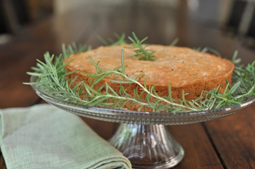
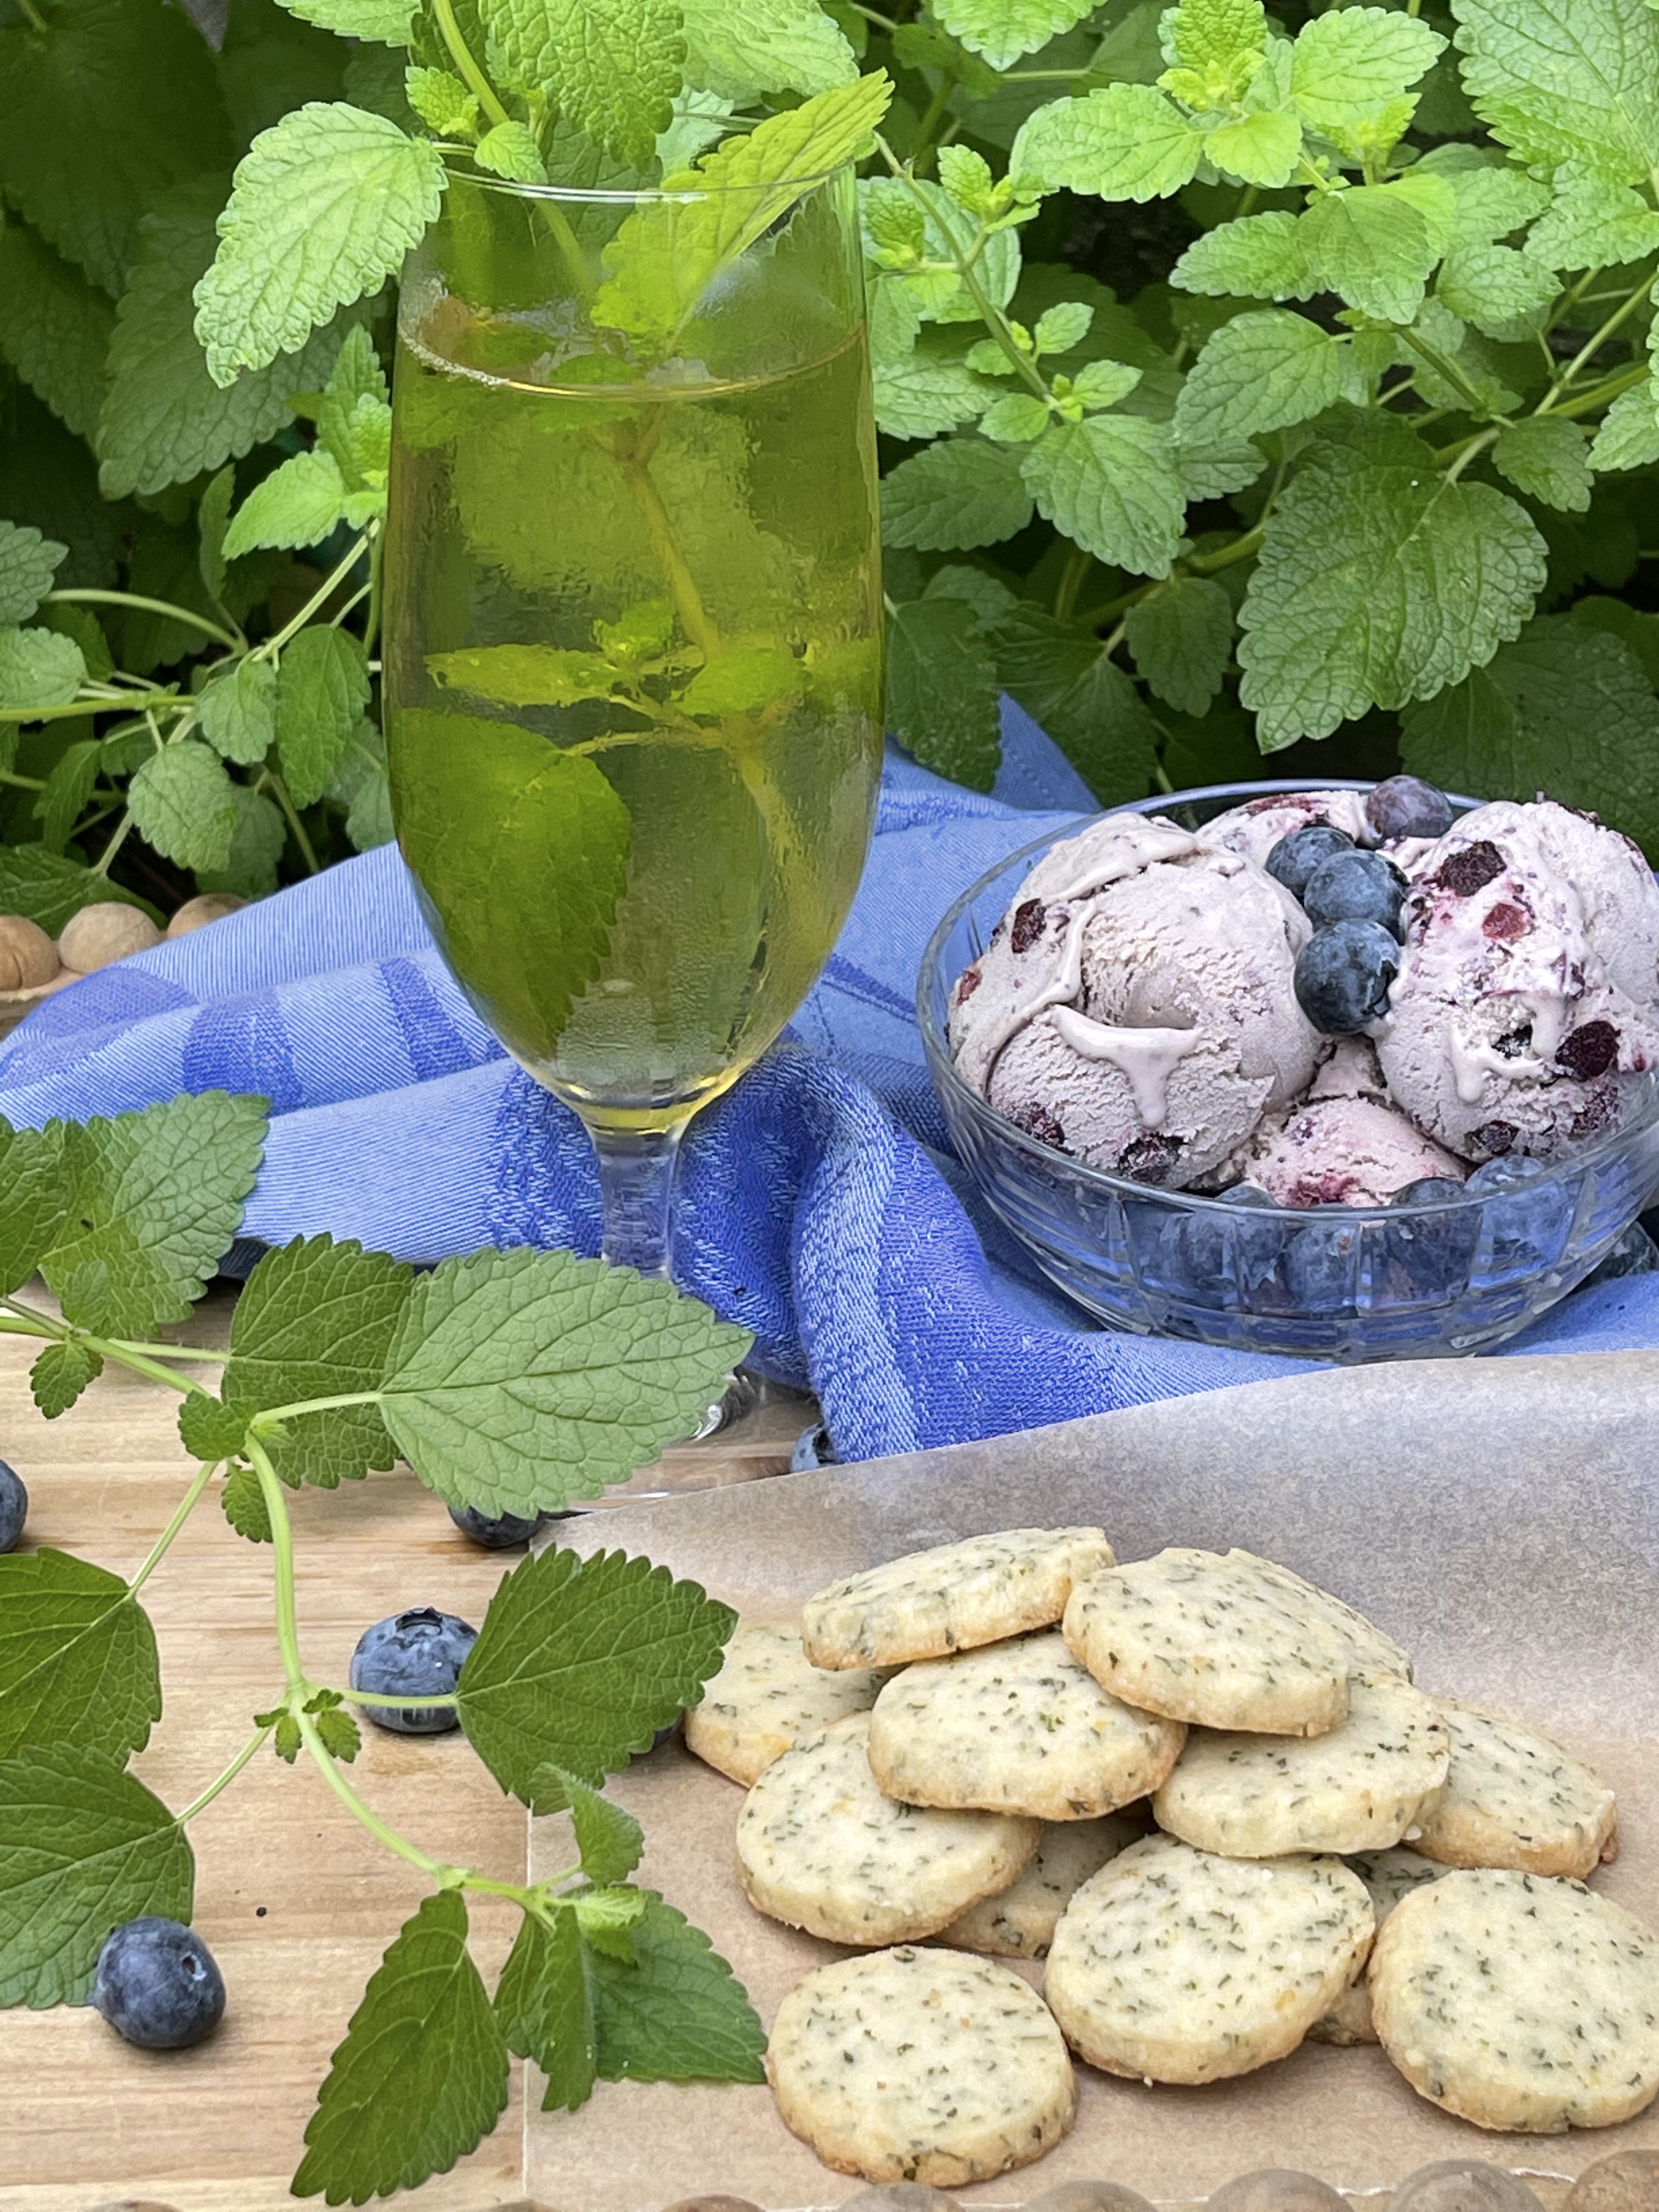
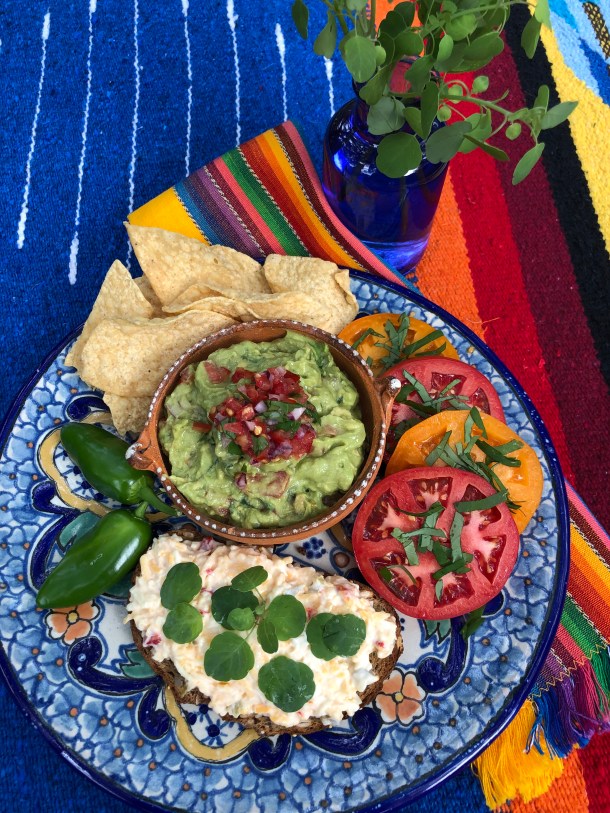
Cinnamon basil will thrive in well-drained soil (or gravel) receiving about 6 to 8 hours of bright sunlight per day. Harvest the leaves often and use in two of our favorite recipes, Cinnamon Basil Ice Cream and Cinnamon Basil Swirl Cake. Consider using it as an attractive garnish or to flavor hot drinks or other dishes.

Cinnamon basil in an arrangement of complimentary colors by Linda
In addition to its culinary uses, cinnamon basil makes a stunning addition to floral arrangements. While beautiful as a stand-alone plant, it compliments flowers in the lavender and pink or blue color range. I especially enjoy using it with blue hydrangeas, purple calyx, tulips and roses. Cinnamon basil will please you with its gentle, fragrant scent each time you enter the room.
(Little known fact: Cinnamon basil was taken into space by the Space Shuttle Endeavor during STS-118 and grown in an experiment in low Earth orbit on the International Space Station).
Linda Alexander
The recipe for Cinnamon Basil Cake is below. If you would like to the recipe for Cinnamon Basil Ice Cream, ask for it in the comment section.
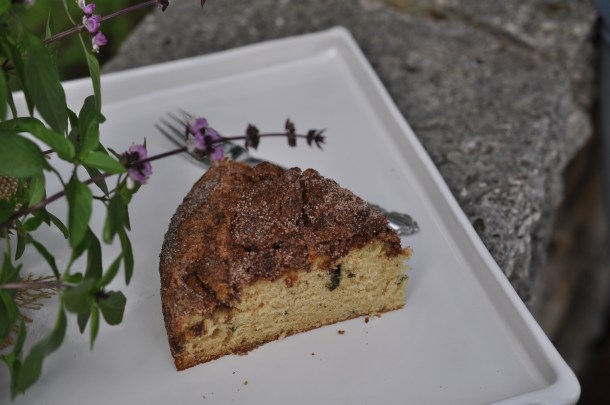
Cinnamon Basil Swirl Cake
Cinnamon basil is loved by master gardeners. It reseeds freely and has a delicate purple blossom. You’ll be captivated by its cinnamon-like aroma and taste.
Ingredients for Cake:
2 tablespoons minced cinnamon basil leaves
1½ cups all-purpose flour
1 teaspoon baking powder
⅛ teaspoon coarse salt
6 tablespoons unsalted butter, softened
¾ cup sugar
2 eggs
2 teaspoons vanilla extract
1 cup sour cream
1 teaspoon baking soda
Ingredients for Swirl:
⅓ cup sugar
2 tablespoons (packed) light brown sugar
2 teaspoons ground cinnamon
Directions:
1. Preheat oven to 350˚F. Grease a 10-inch spring form pan.
2. In a small bowl, whisk together cinnamon basil leaves, flour, baking powder and salt; set aside.
3. In a large bowl, beat butter and sugar on high speed until light and fluffy. Beat in eggs, 1 at a time until fluffy and well blended. Beat in vanilla.
4. In a small bowl, whisk together sour cream and baking soda until smooth. With mixer on low speed, beat half the flour mixture into the butter mixture just until blended. Beat in sour cream mixture, then remaining flour, beating just until blended. Spread into prepared pan.
5. Make swirl. In a small bowl, whisk together sugar, brown sugar and cinnamon. Sprinkle evenly over batter; swirl into batter with the tip of a knife, being careful not to touch the knife to base of the pan.
6. Bake cake for 40-45 minutes, until a toothpick inserted in the center comes out clean. Cool completely (or nearly so) on a wire rack before removing pan side and slicing. Serve warm or at room temperature.
Yield: 8-12 servings
Special Offer:
Linda is digging up cinnamon basil and potting it in 4 inch pots to share. She will leave it for pick-up on the table in the edible landscape of The Raincatcher’s garden. 12 pots will be there, one per person. Come after noon today, Tuesday, July 21 to pick up one for your garden.
We have written quite a bit about basil. Type in basil in our search box and spend the afternoon reading about how to grow it, how to cook with it, and learn about all the many varieties.