It’s nice to have something blooming in February and it’s nice to have friends like Texas Discovery Garden.
We had all gathered around our Winter honeysuckle to inhale its lovely scent and had questions about this plant.

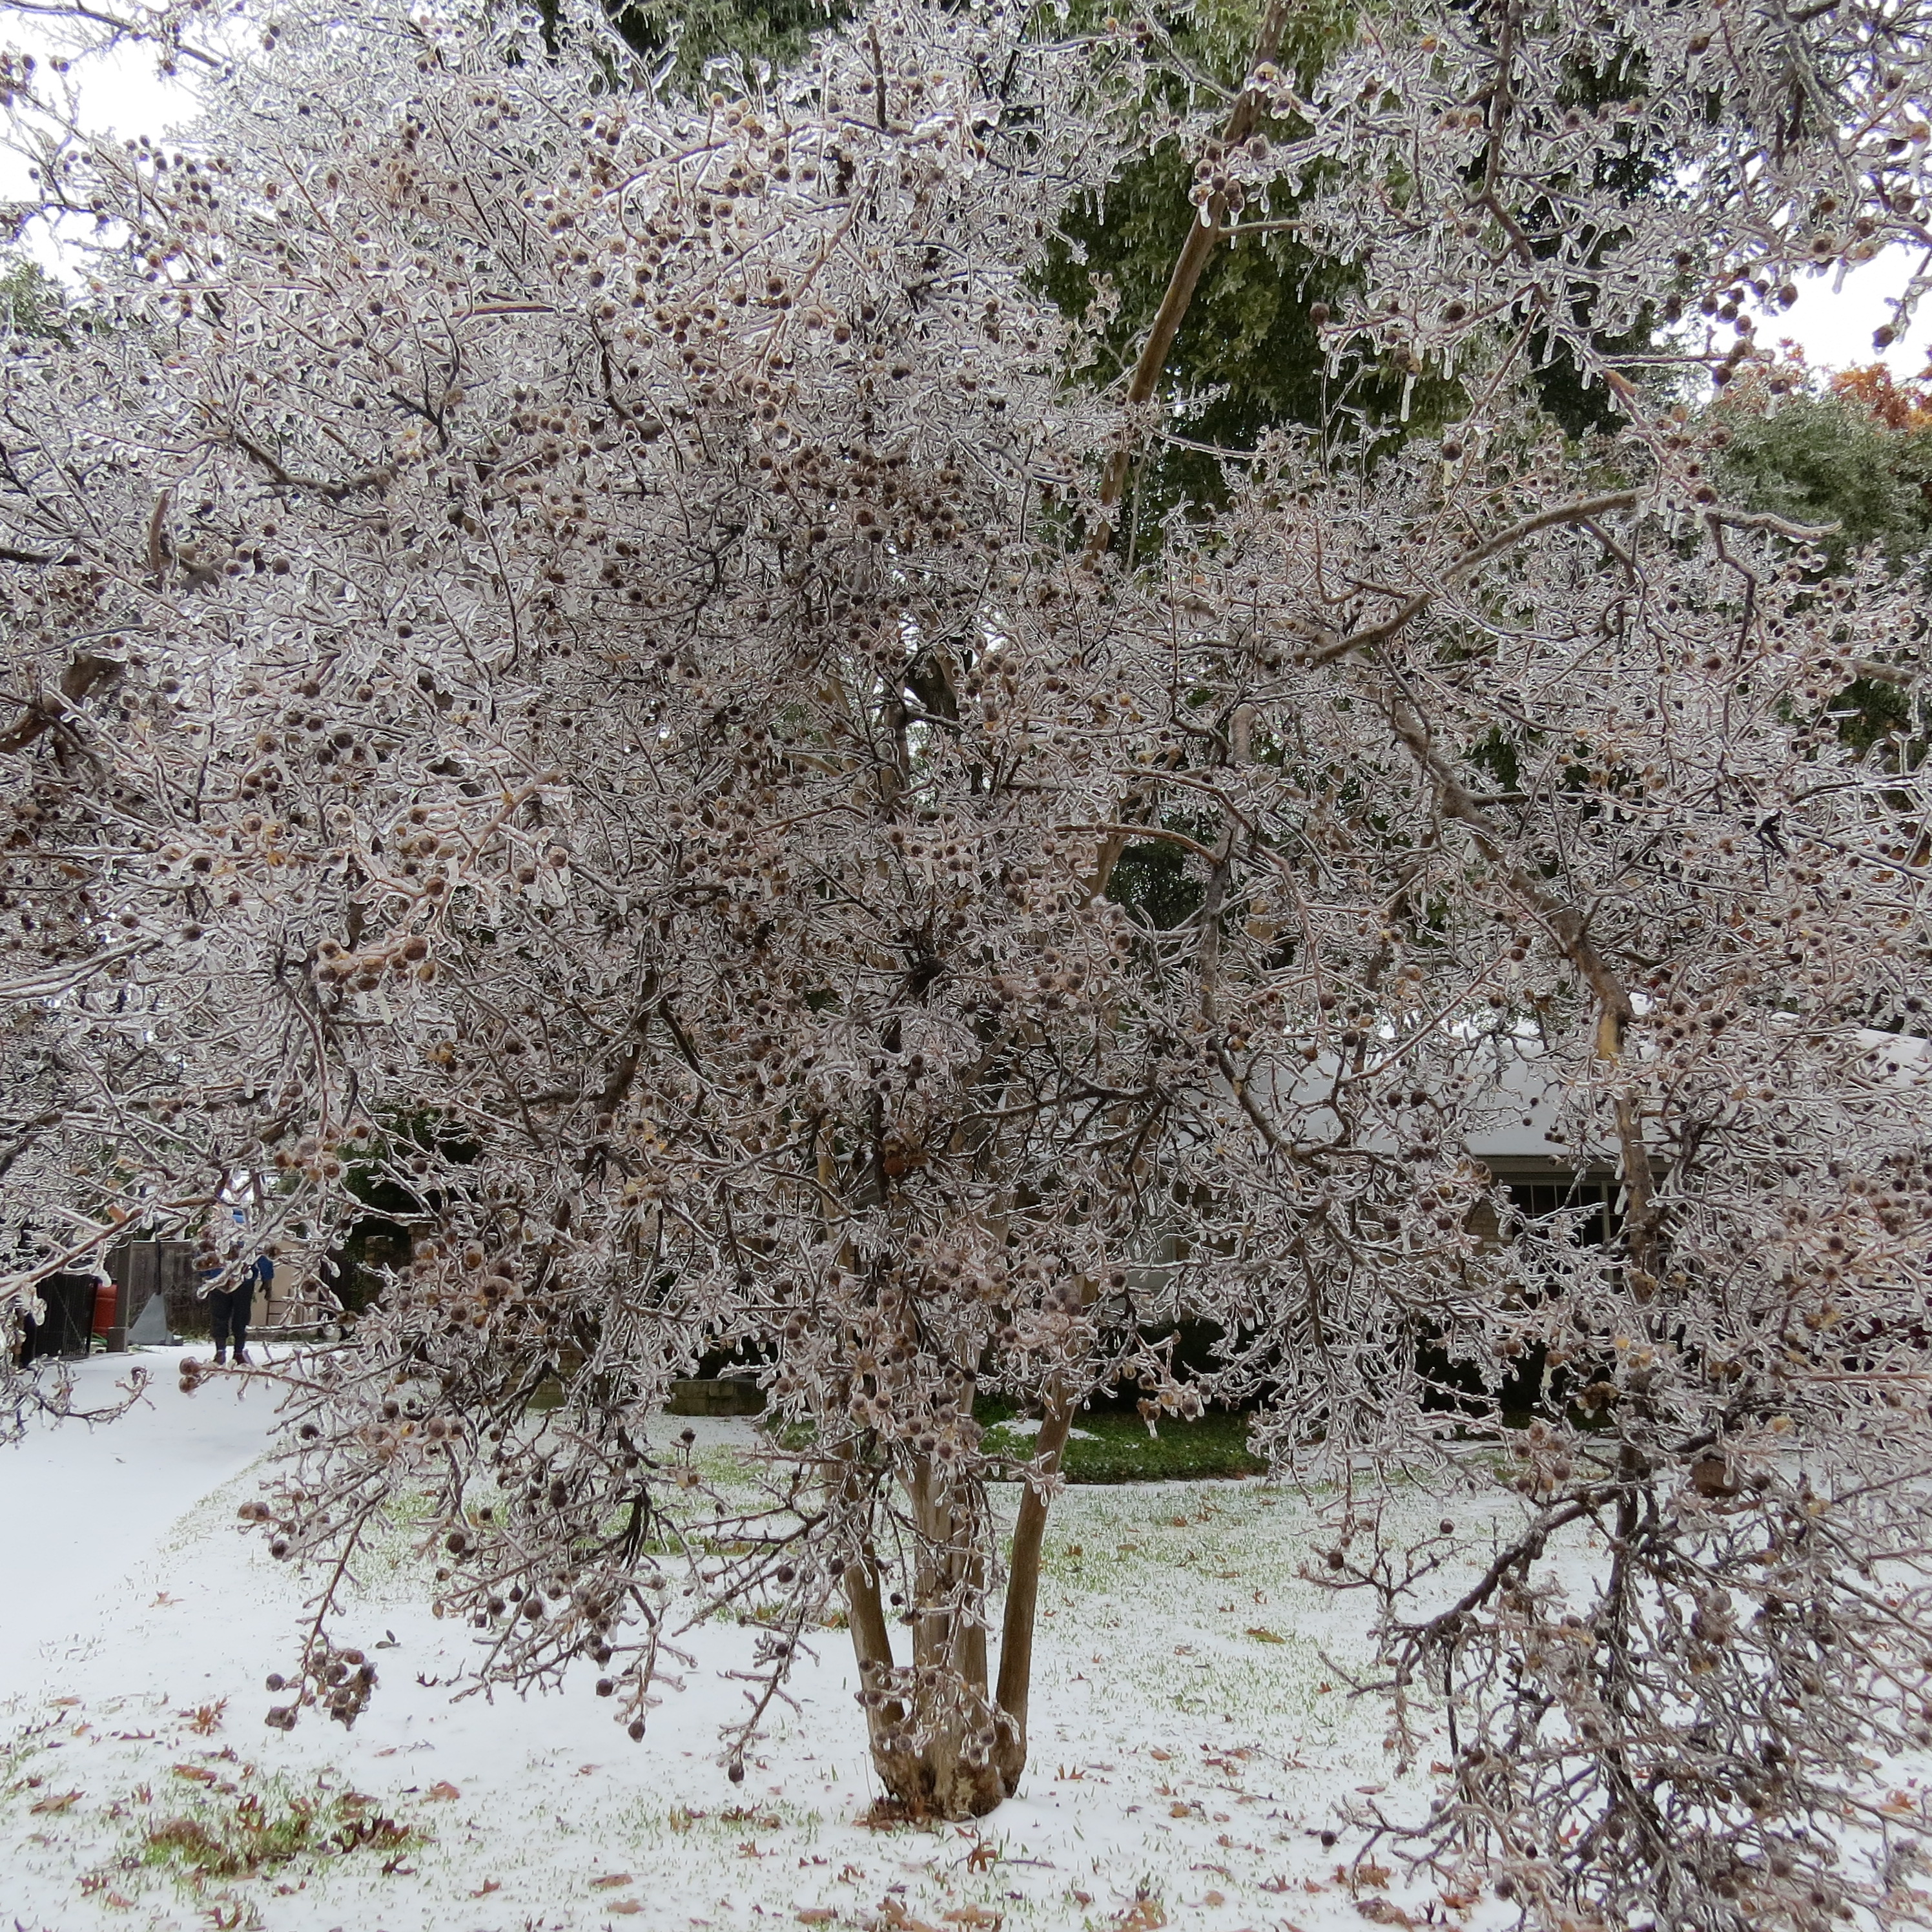
Winter Honeysuckle Blooming Late January through February at the Demonstration Garden on Joe Field Road
Roger, featured in another of our posts, answered:
Ann,
Roseann had forwarded me your e-mail yesterday and I hadn’t realized until then that ours too is in bloom now! I had gone out to check on it and never got back to respond.
As you already know it’s a non-native (E. China)so might be discouraged by some purists for planting. Although it is listed as “invasive” by some sources, most gardeners would disagree, as it doesn’t produce many berries and only suckers for a short distance from the bush. Perhaps in the moist woods of eastern U.S. it might escape cultivation, but doubtful here in our fairly dry habitat. Probably it has received a bad rap from its many relatives – like the highly invasive Japanese Honeysuckle which is a VINE or Amur Honeysuckle, a bush that used to be fairly invasive in this area.
Anyone that would rather not try it, might try the native White Honeysuckle (Lonicera alba) that has very similar leaves and not quite so bush-like. I’m not sure of its bloom time, but it probably doesn’t produce the profusion of strong scented flowers this early in the season like the Winter (or Fragrant) Honeysuckle.
As a landscape plant, it apparently is not picky as to soil type and is relatively drought tolerant. It does have some other distinct benefits for a North Texas landscape. The flowers this early in the season do provide a rare nectar source for bees and butterflies that venture out on warm days during the winter months (Question Marks, Goatweeds, and Mourning Cloaks are local butterflies that overwinter here as adults). It is supposed to be an excellent bird attracting bush according to some sources for the berries. But since ours rarely fruits, it is often the flowers that attract the birds! They apparently eat the flowers for the nectar and spit out the petals. One interesting comment I read is that it is sometimes referred to as “Pouting Flower” as the paired flowers face in opposite directions!
Thanks for asking about this! I needed to write something for my weekly “In The Garden…” part of TDG’s blog, so I’ll just copy what I wrote to you! Naturally, Roger
Roger Sanderson
Director of Horticulture
Texas Discovery Gardens
at Fair Park
3601 Martin Luther King Jr Blvd
Dallas, Texas 75210
P.O. Box 152537
Dallas, Texas 75315
P (214) 428-7476 ext. 210
F (214) 428-5338
RSanderson@TexasDiscoveryGardens.org
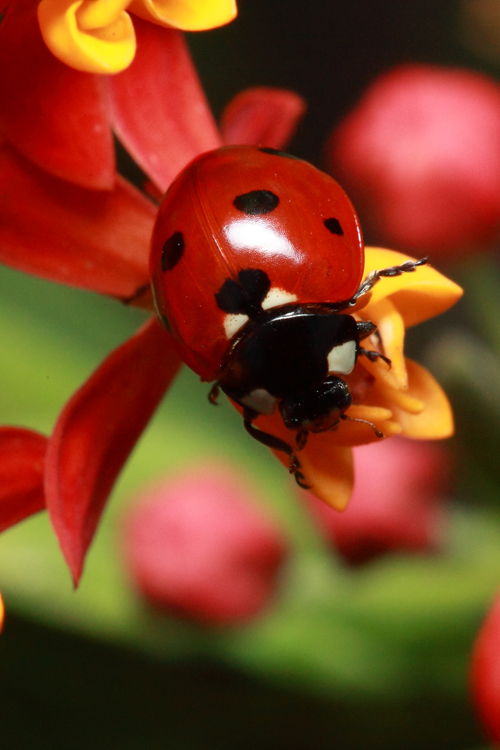
The butterflies are back!
Picture by Starla