Treat Seeds With Loving Hands
It’s that time again when a gardener’s mailbox is filled with tempting seed catalogues; and the dreary winter days of January and February give rise to dreams of spring’s colorful flowers and bountiful vegetable gardens. For those gardeners who want to save money, or may be interested in trying a new variety of plant not found in local nurseries, or who enjoy the educational challenge of growing plants from seed, January and February are the times to start sowing your seeds indoors.
So what are some critical pointers to follow when starting plants from seeds? Perhaps a mnemonic phrase will help. As any botany student recalls, two ways to remember the classification of plants from Kingdom to Species are: “King Phillip Came Over For Good Spaghetti” or “King Phillip Came Over From Gloria Spain.”
To remember the important considerations when germinating seeds, perhaps the mnemonic, Treat Seeds With Loving Hands will help.

Treat Seeds With Loving Hands
T = Timing : The back of all seed packets contains a lot of information about the plant: how deep to plant it, days to harvest, etc. It also usually gives a general recommendation on when it is safe to plant the seeds outside (after the last frost, for example). Therefore, if you desire to get a head start on growing plants from seeds, most flower and vegetable plants require about four to eight weeks of growing time before transplanting successfully into the garden. Counting back from when the seeds are recommended to be planted outside will give one the approximate time to start seedlings indoors.
S = Soil : A soilless medium in which to start seeds is a must. Garden centers sell seed starting mixtures that are sterile, light, and drain well. You can also find recipes on the internet to make your own mixture. However, the important thing to remember is to not use ordinary garden soil to start your seedlings. Not only does it often not drain well, but it harbors pathogens that can infect the seedlings. “Damping Off,” a common fungal disease, is bane of any gardener germinating seedlings indoors. The use of a soilless, sterile growing medium may help prevent this.

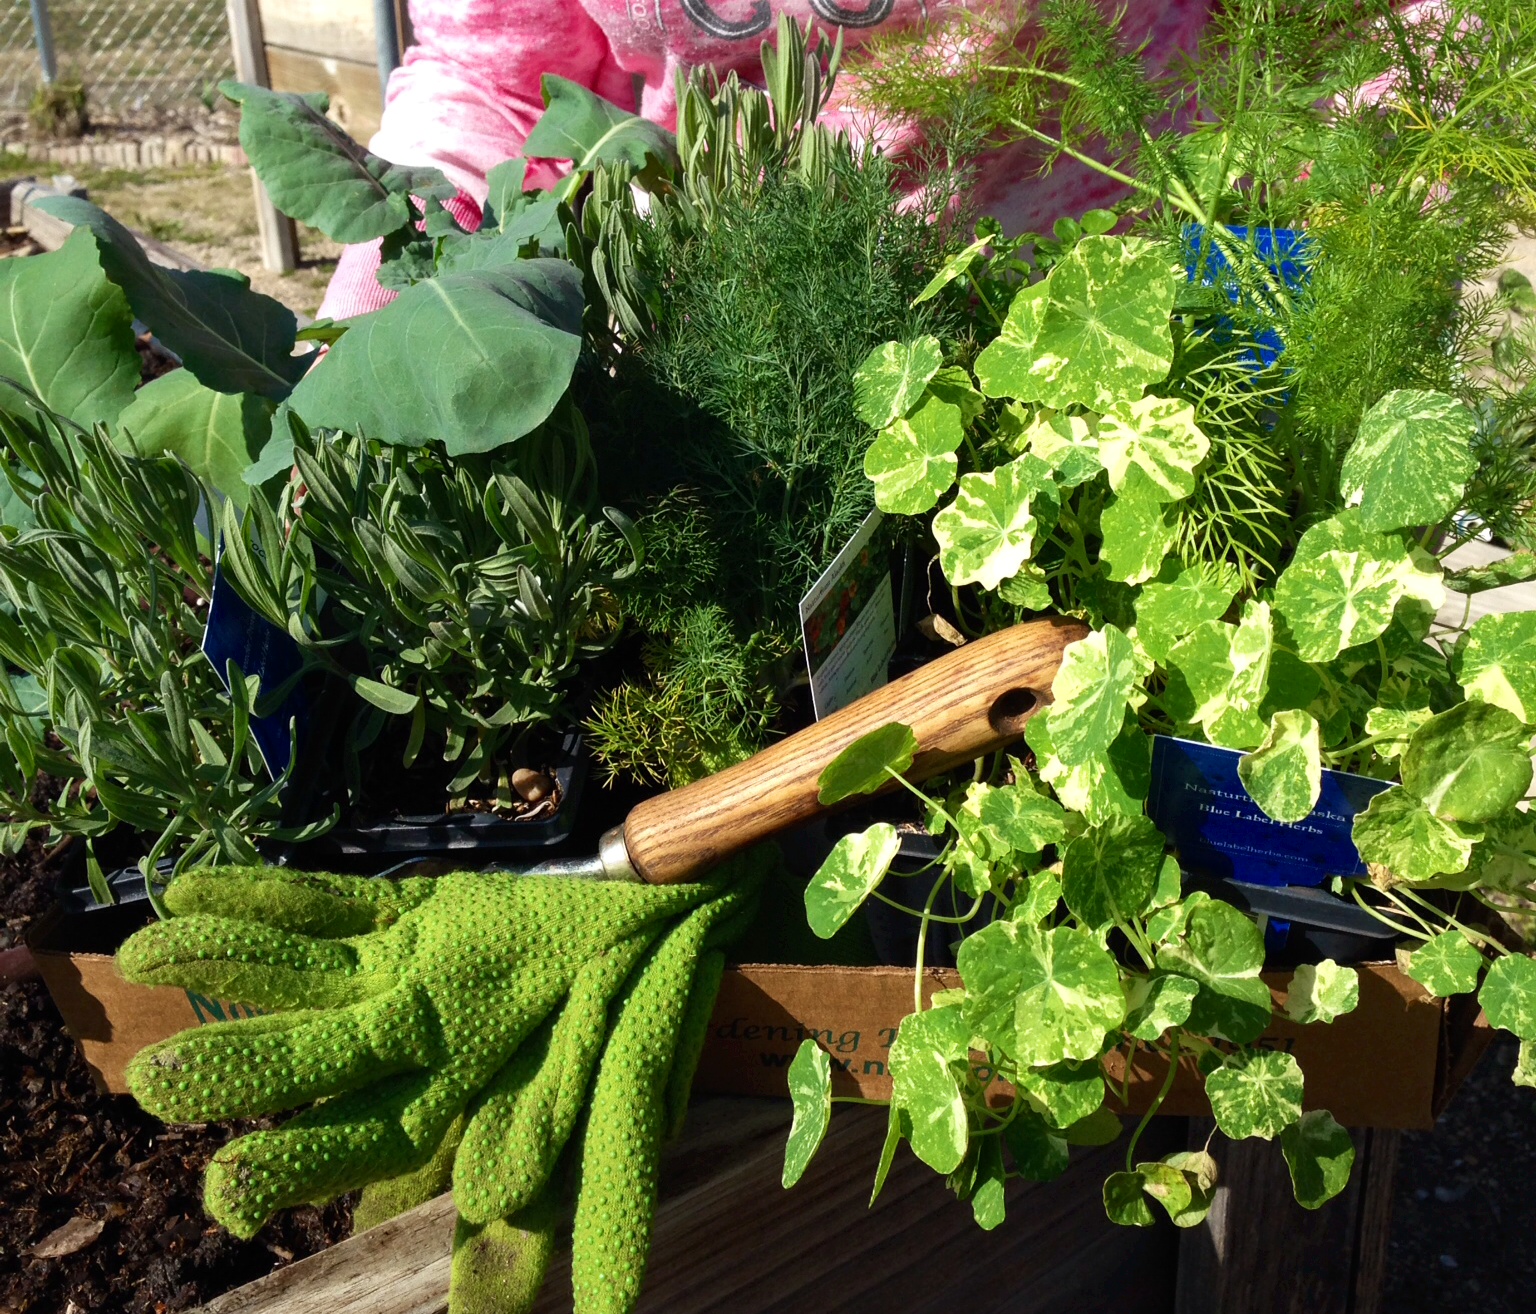
Above: Michele using soil mix for seed starting
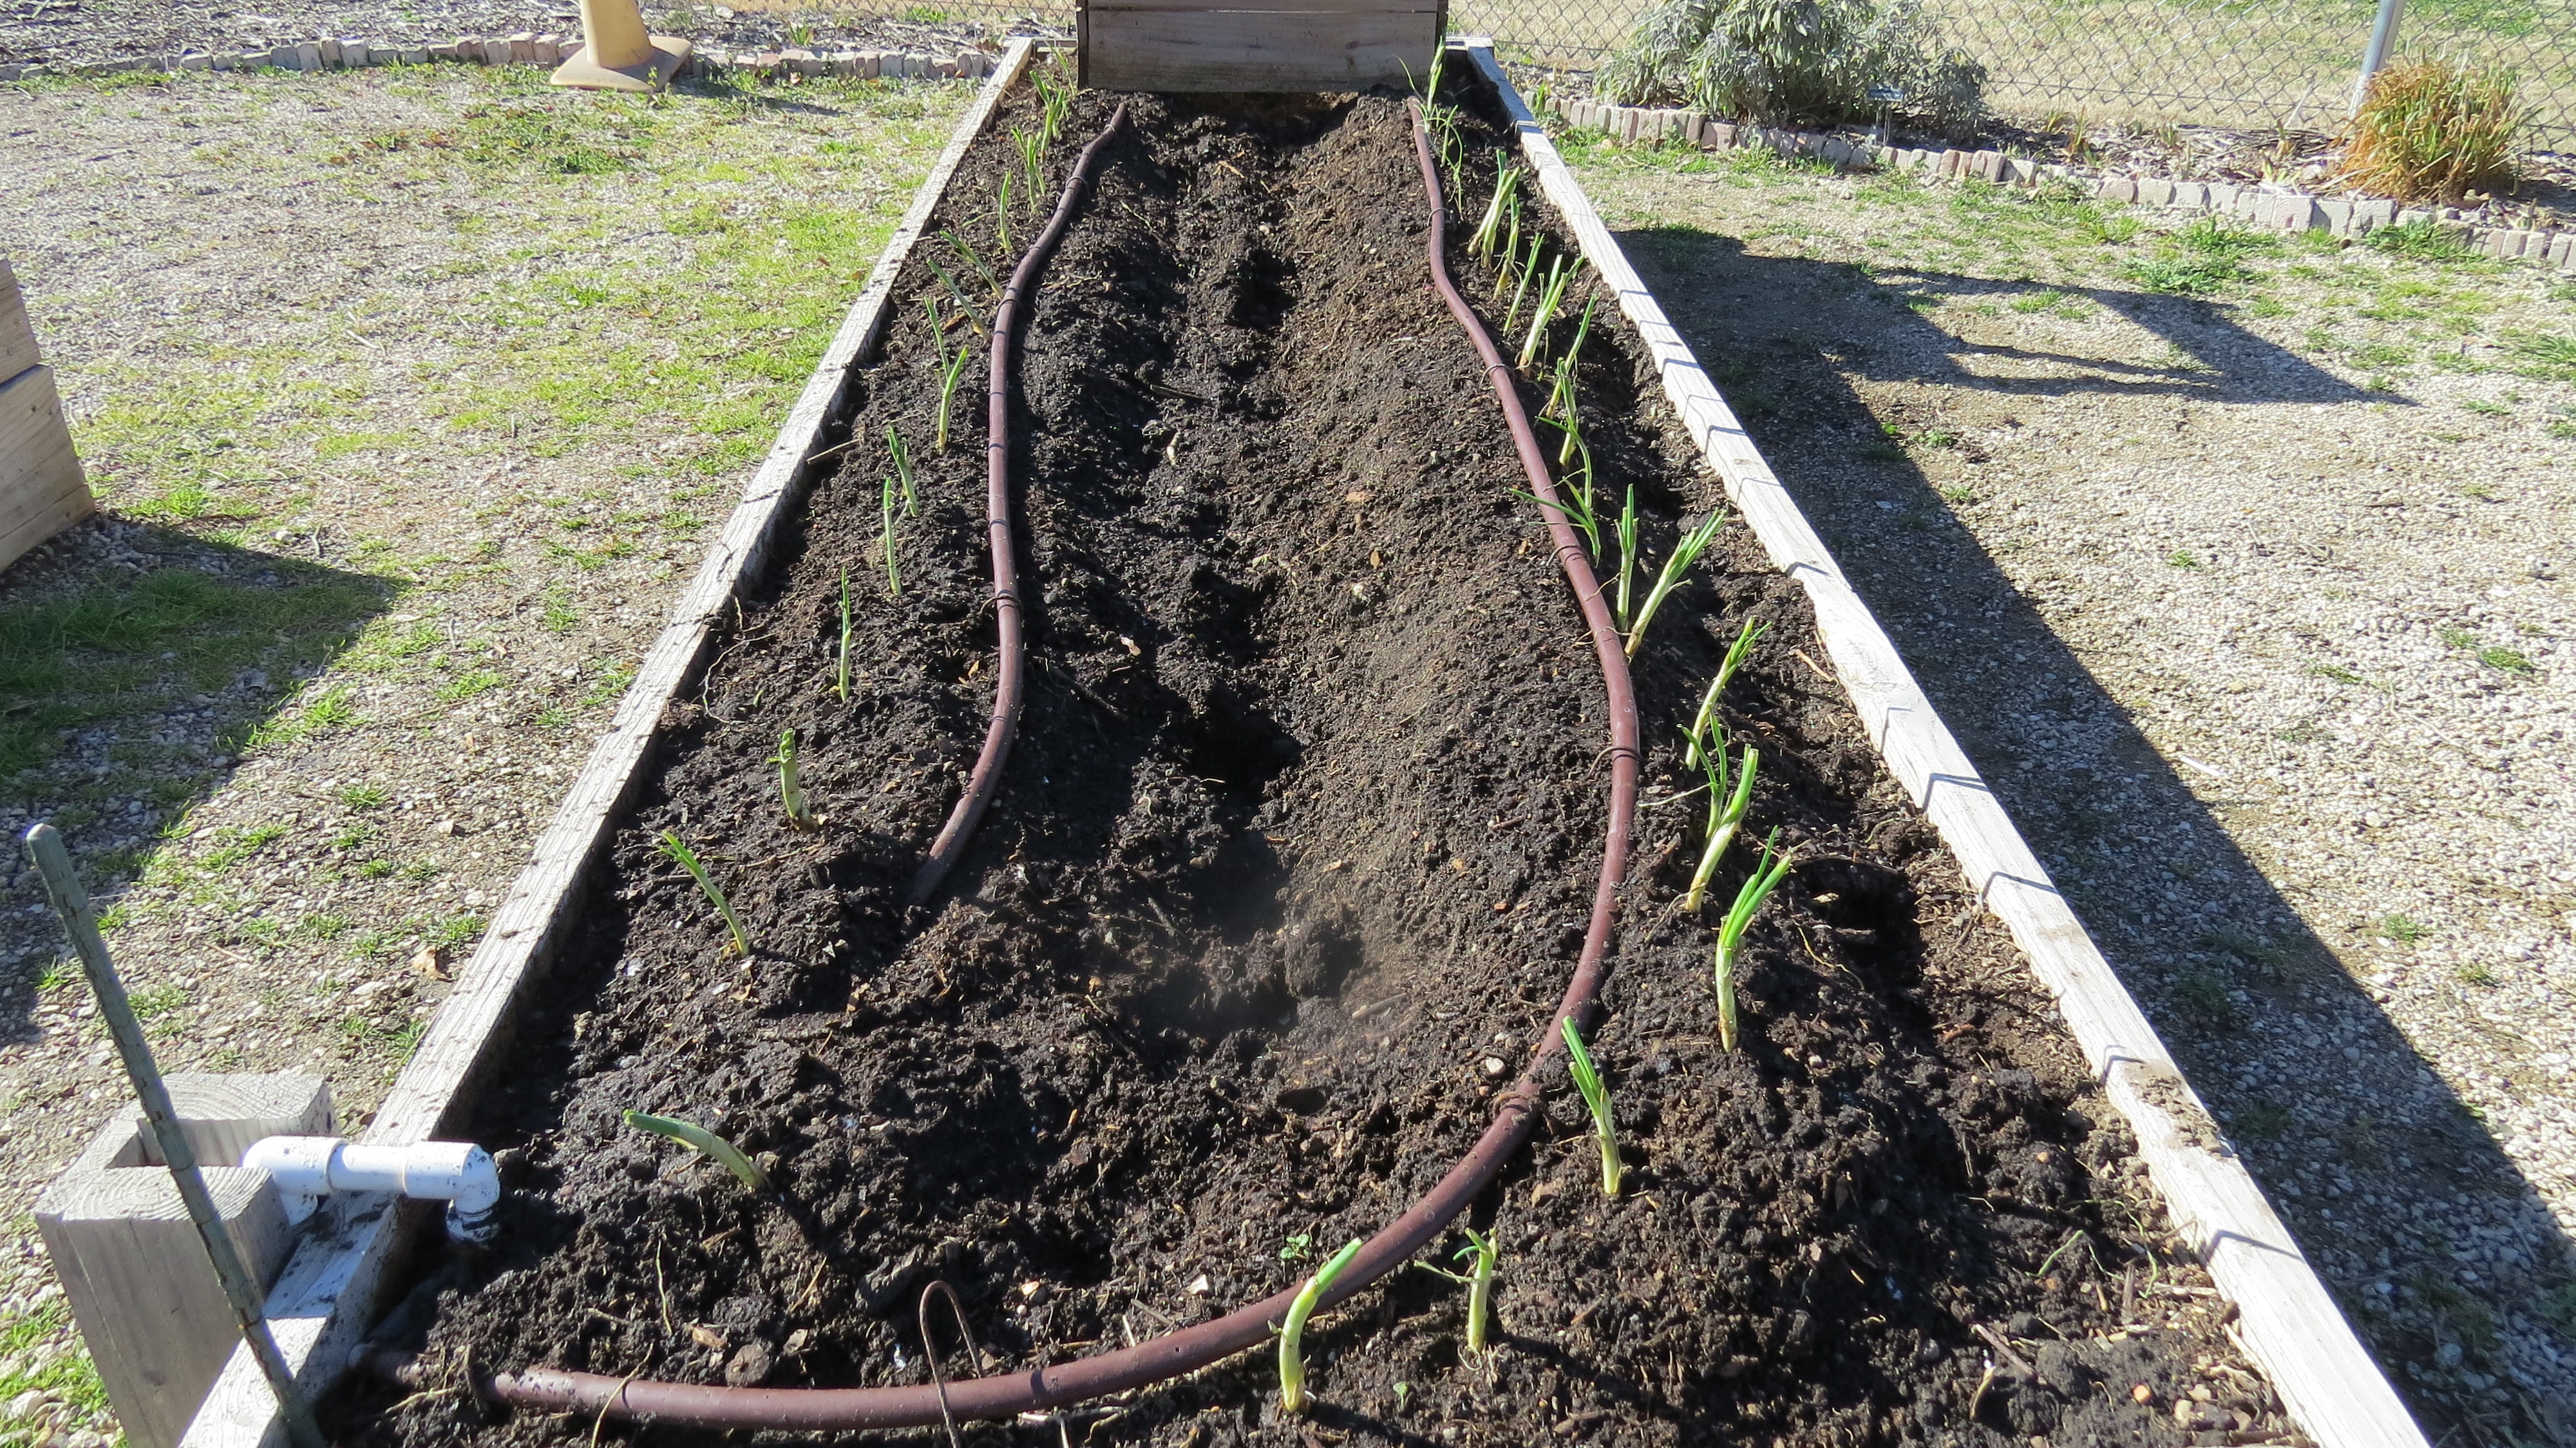
W = Water : Just a realtors talk about the importance of “location, location, location,” “drainage, drainage, drainage” should be the motto of gardeners. Seeds may be started in any type of containers, from commercially available seed starting kits to recycled plastic containers. Just remember, if you are recycling old pots or plastic containers, that they must have adequate drainage holes and they should be sterilized in a dilute mixture of water and bleach. After the seeds are planting to the correct depth in the soilless medium, very gently water them to thoroughly wet the soil (a spray bottle works well for this), cover with plastic, then place the containers in a warm place (some people put them on top of the refrigerator). As soon as the seeds germinate, remove the plastic cover and move to a light source. Keep the soil damp, but do not over water as this may encourage diseases.
L = Light : Along with drainage, light is the most critical part of growing successful, bushy transplants. Growing plants on a window sill that gets only a few hours of direct sunlight will often result in failure or, at best, spindly plants. In general, seedlings need 16-18 hours of light a day to grow into lush, healthy transplants. Greenhouses with supplemental lighting and heat can be used, or you can purchase commercially made light stands. There are also many instructions on the internet and magazines on how to make do-it-yourself light stands.
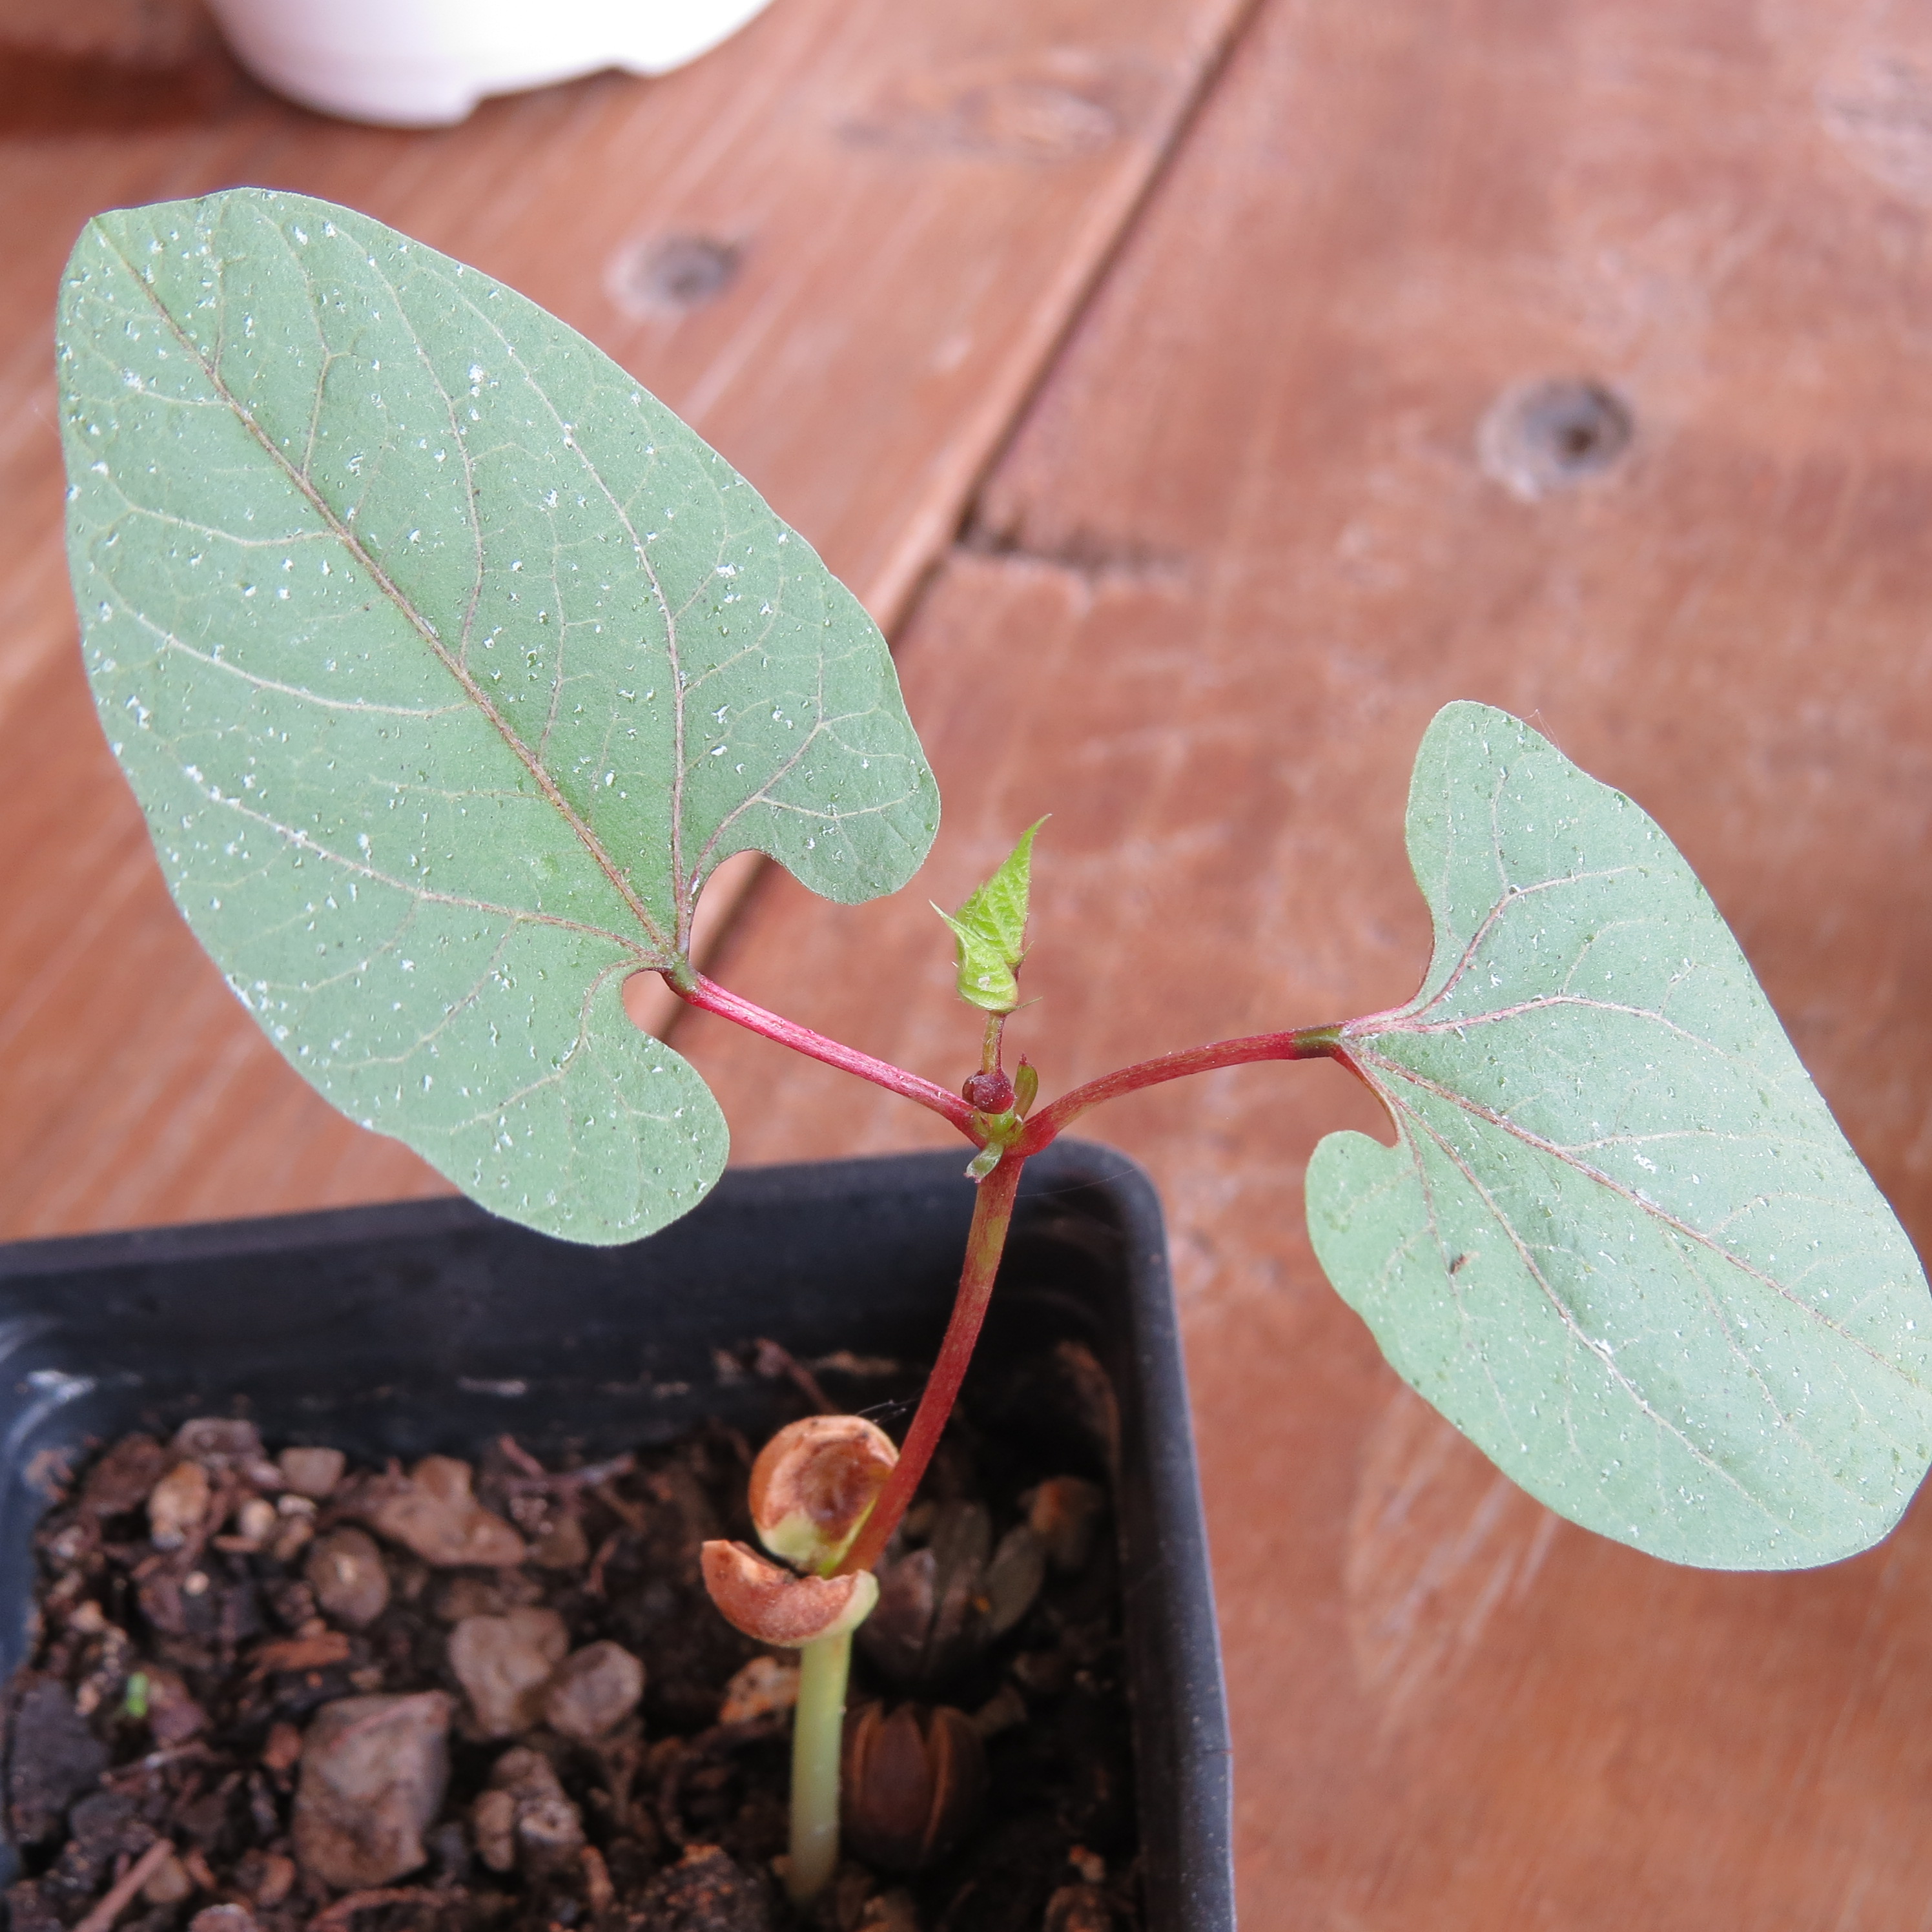
H = Hardening Off : As the little seedlings outgrow their pots, keep moving them into gradually larger pots using potting soil as the mixture. If the potting soil does not contain fertilizer, a little slow release fertilizer, either synthetic or organic, can be added to the soil. Since the plants have been “babied” indoors, gradually start introducing them to the outside temperatures and conditions about one to two weeks before transplanting them to the garden. Start hardening them off in a protected, shaded area and gradually leave them outside for longer times. Depending on the weather, they may need to be moved in and out of the house until the correct time to plant them in the garden. If you remember to Treat Seeds With Loving Hands, your transplants should be off to a successful start. Happy Seeding !!
Carolyn
Pictures by Starla
More Seed Saving Information Here:
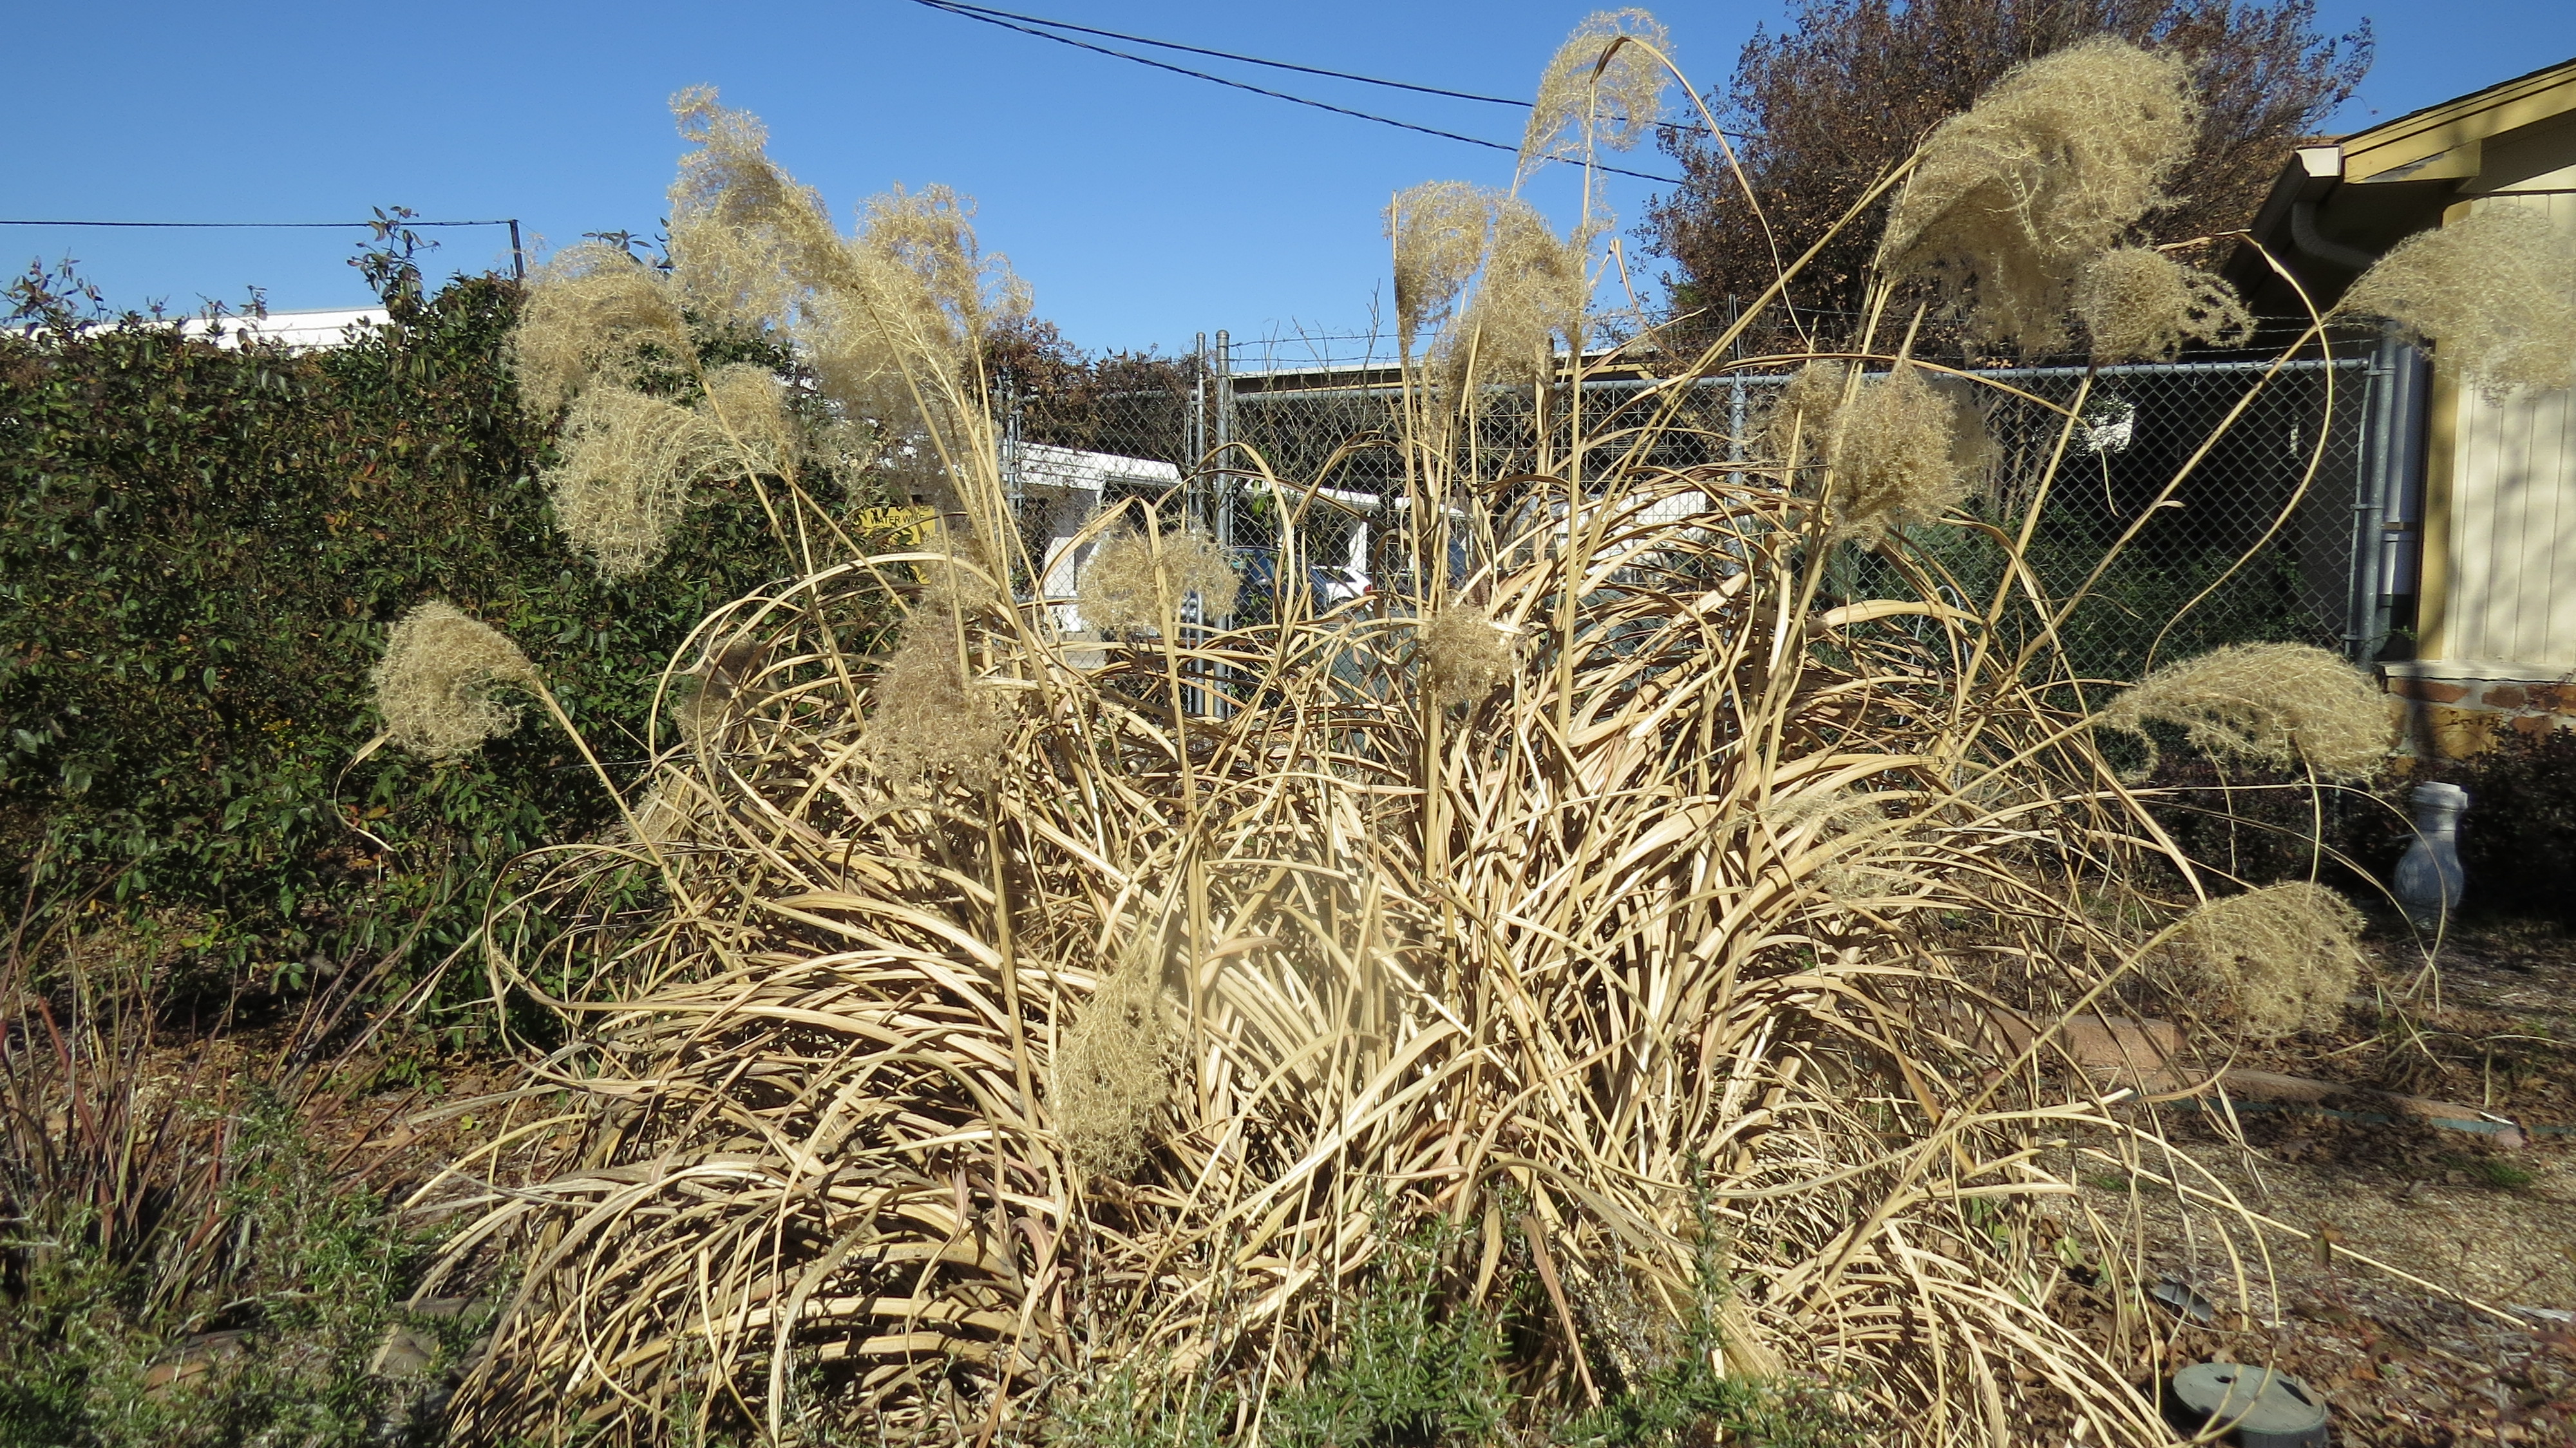
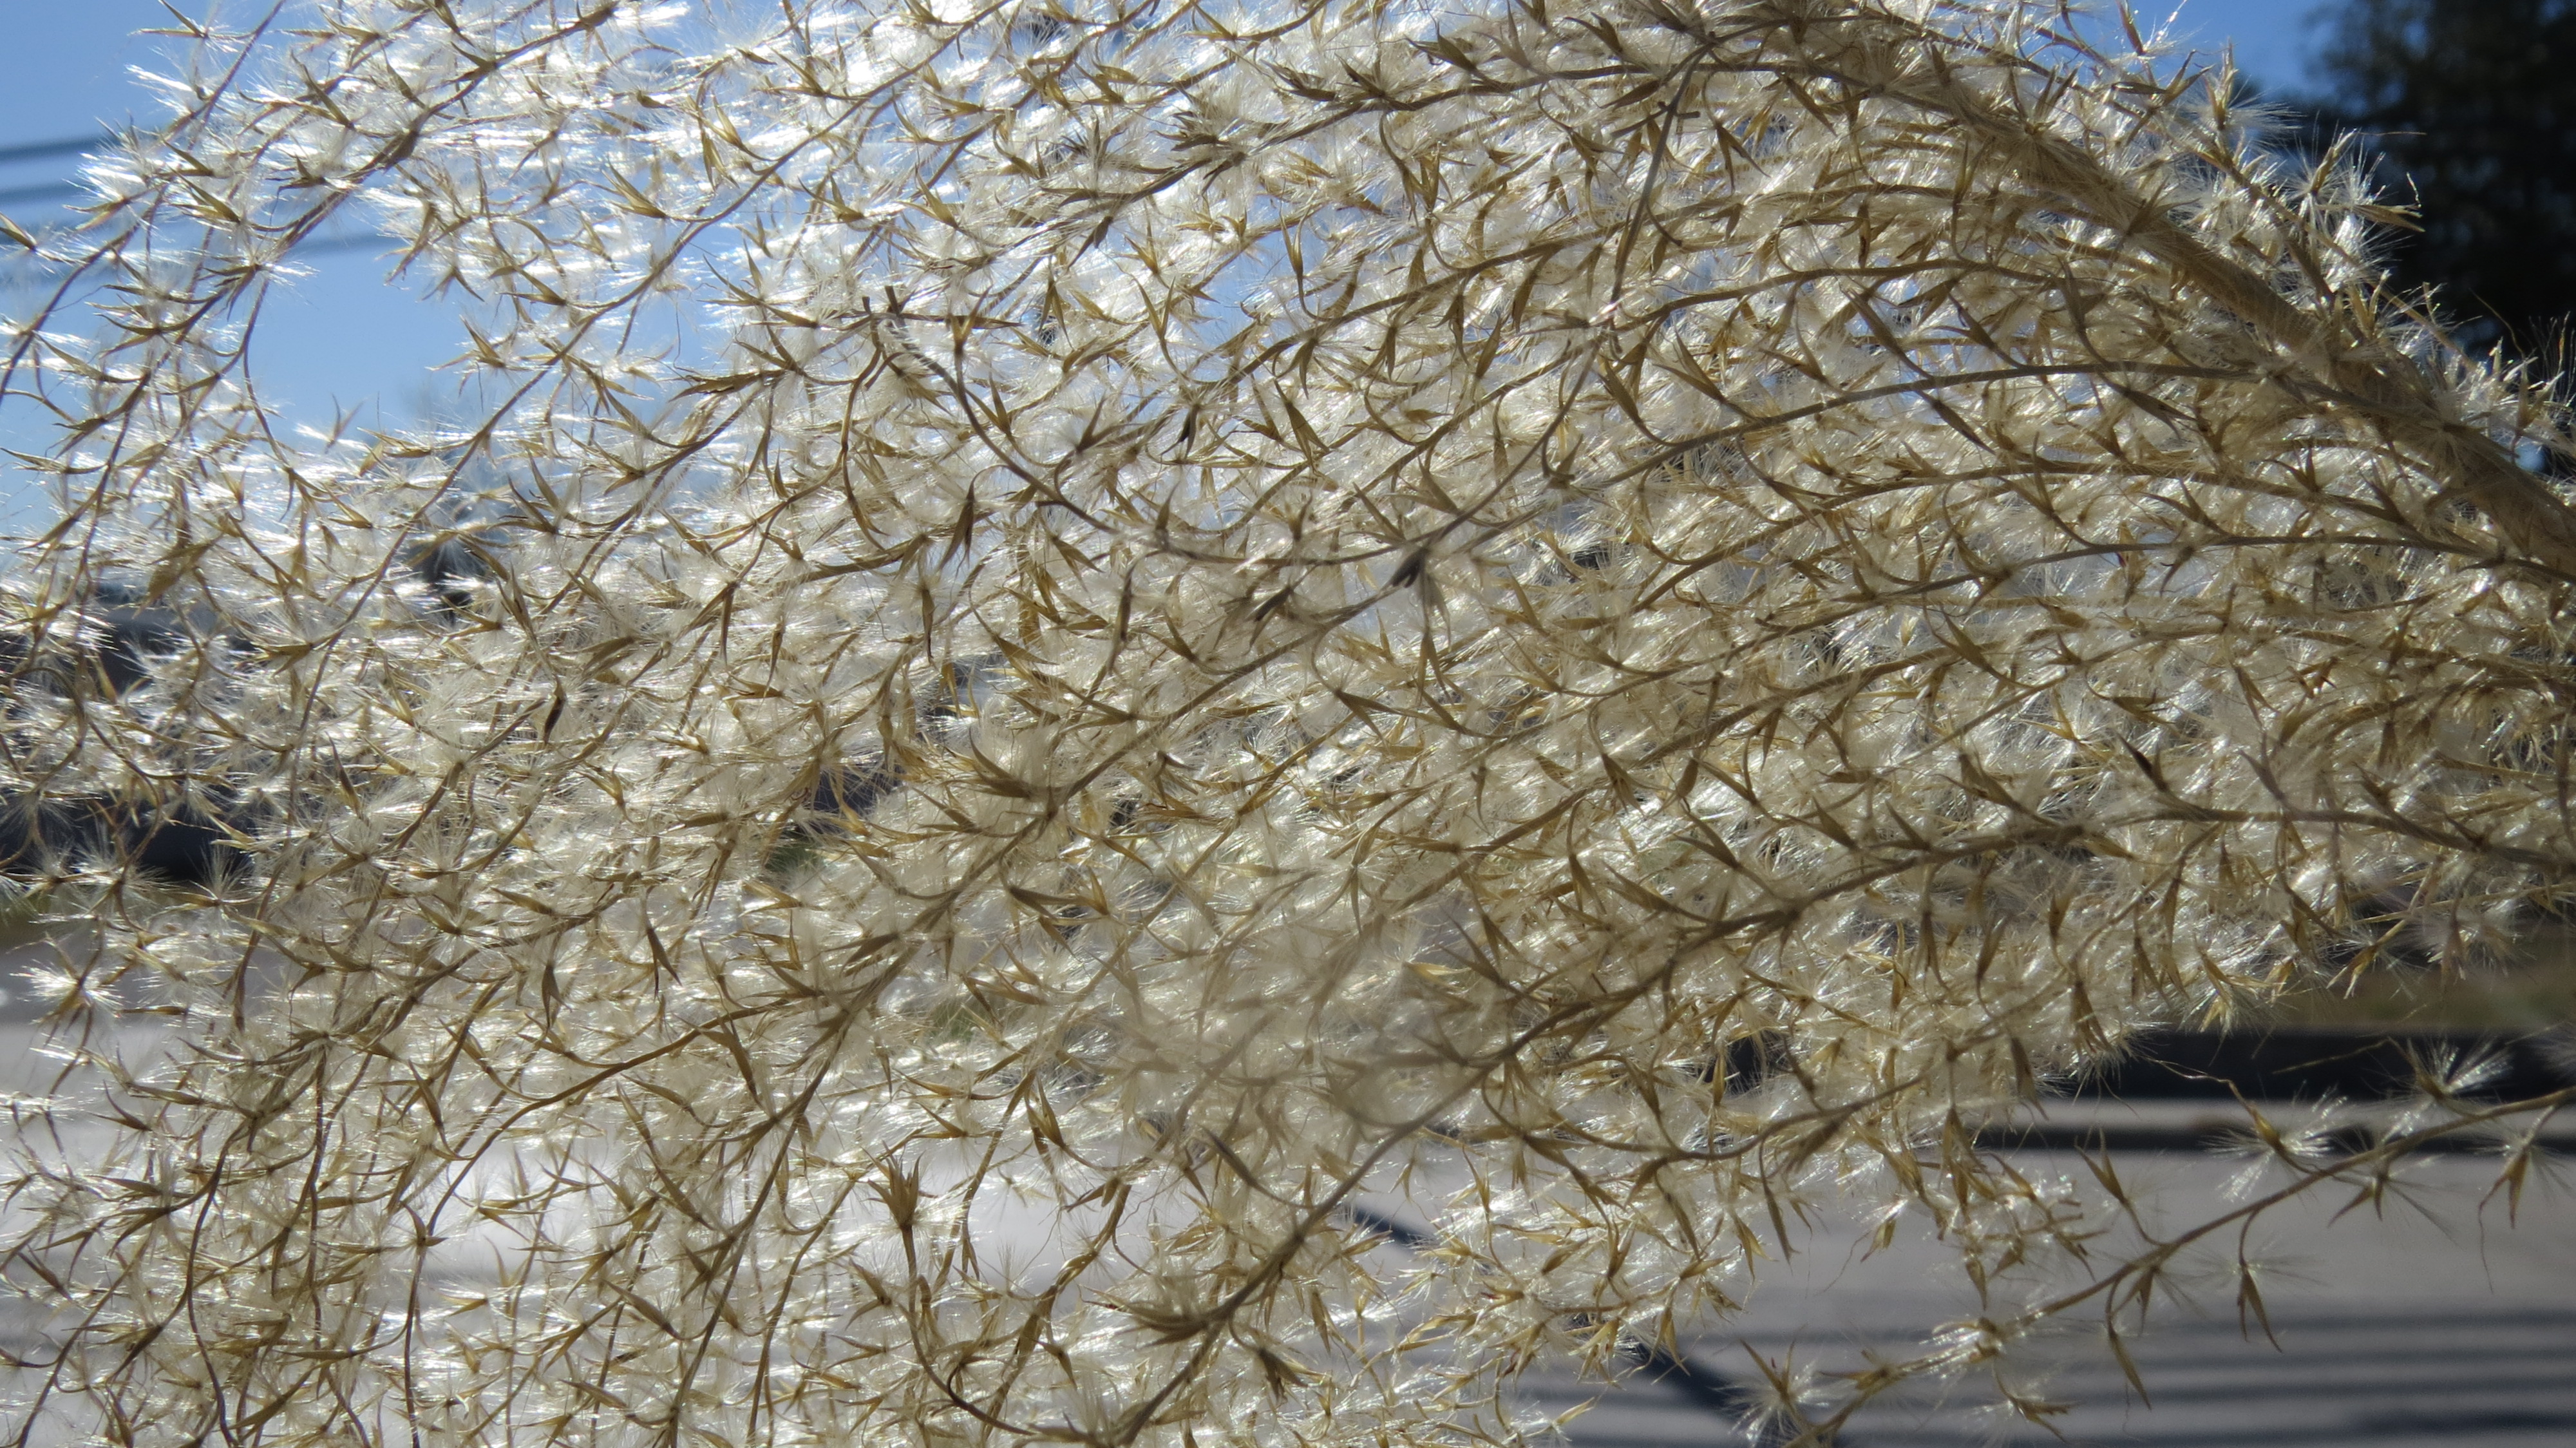
Separating the Seeds From the Chaff
Seed Saving: It’s a Good Thing