WaterWise Tour Saturday, June 6th, 9am-3pm

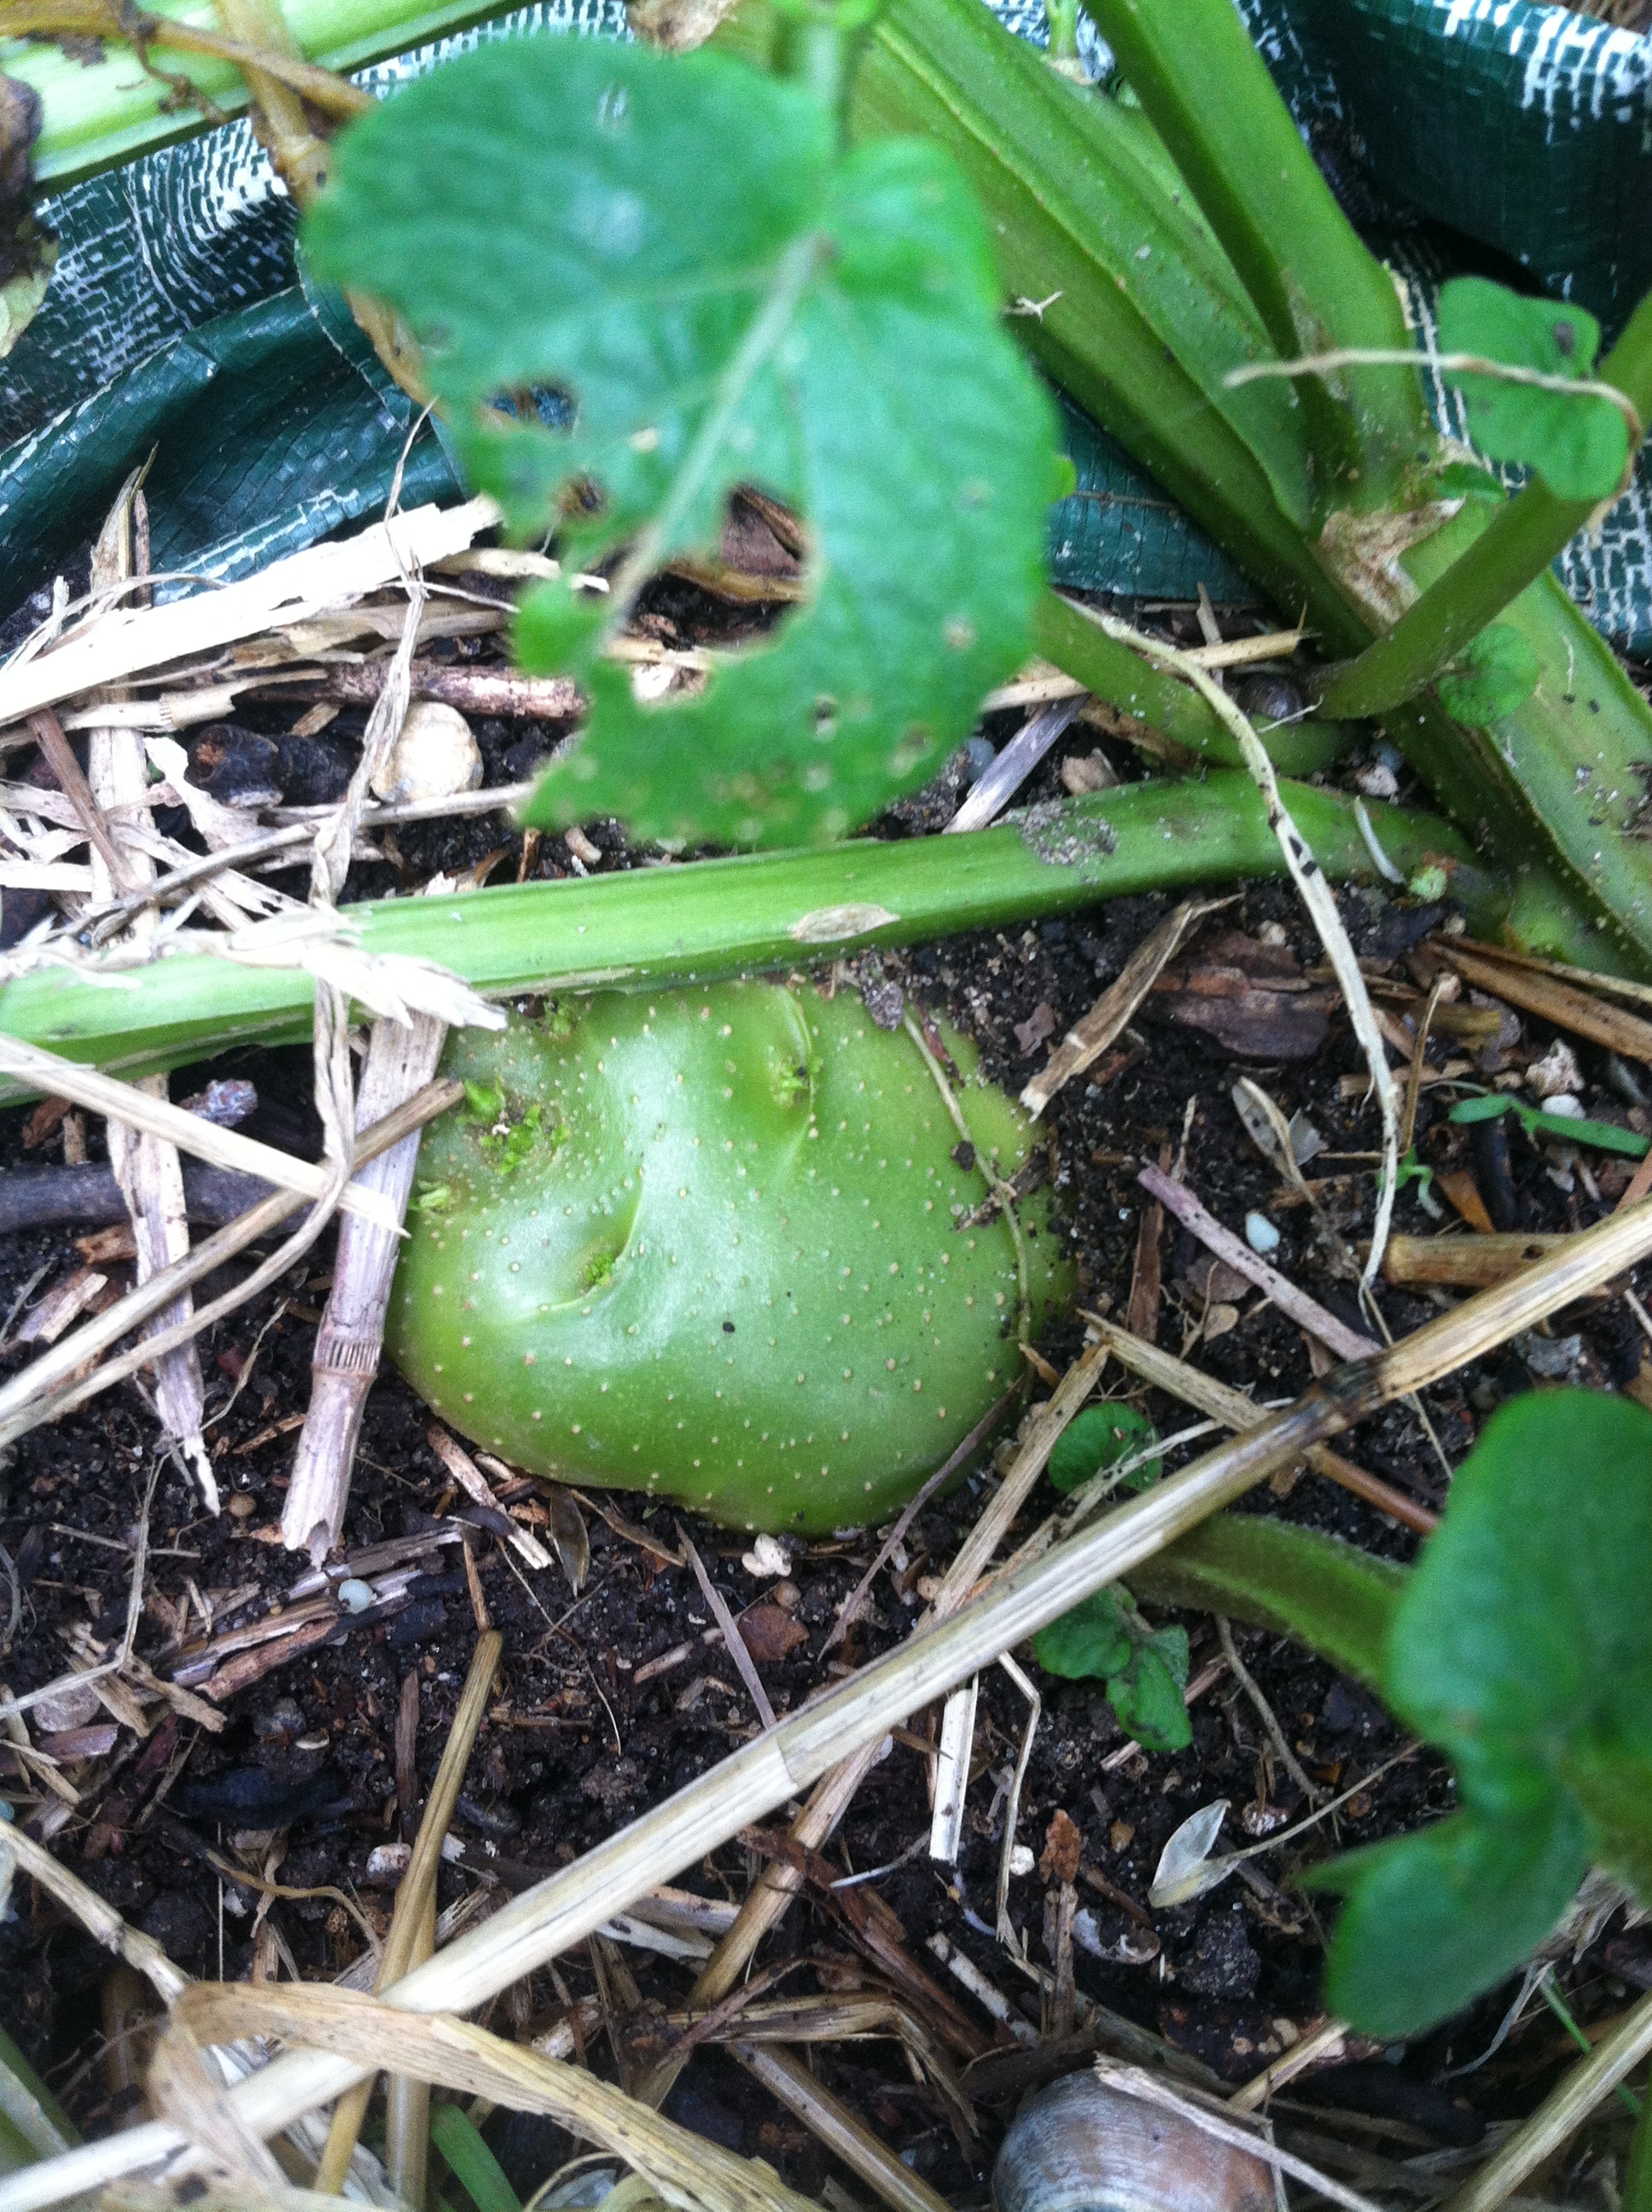
We have been blessed with rain this year and now out of drought, so why do we need to be  WaterWise?  As one Texas rancher said “Texas is a continuous drought with intermittent floods.” Already you see gardens drying out and sprinklers being turned back on.

Dallas residents must practice the principles of WaterWise Gardening. So here’s your chance to see and learn.

Saturday, June 6th  get out the door before 9am to experience the many WaterWise Gardens in Dallas.  The self guided, free  tour is sponsored by City of Dallas Water Utilities, City of Dallas Parks & Recreation, Texas A&M AgriLife Extension Service and the Dallas County Master Gardeners. Tour Headquarters are set up in 3 Dallas  locations with gardening classes taught by Master Gardeners at each location.

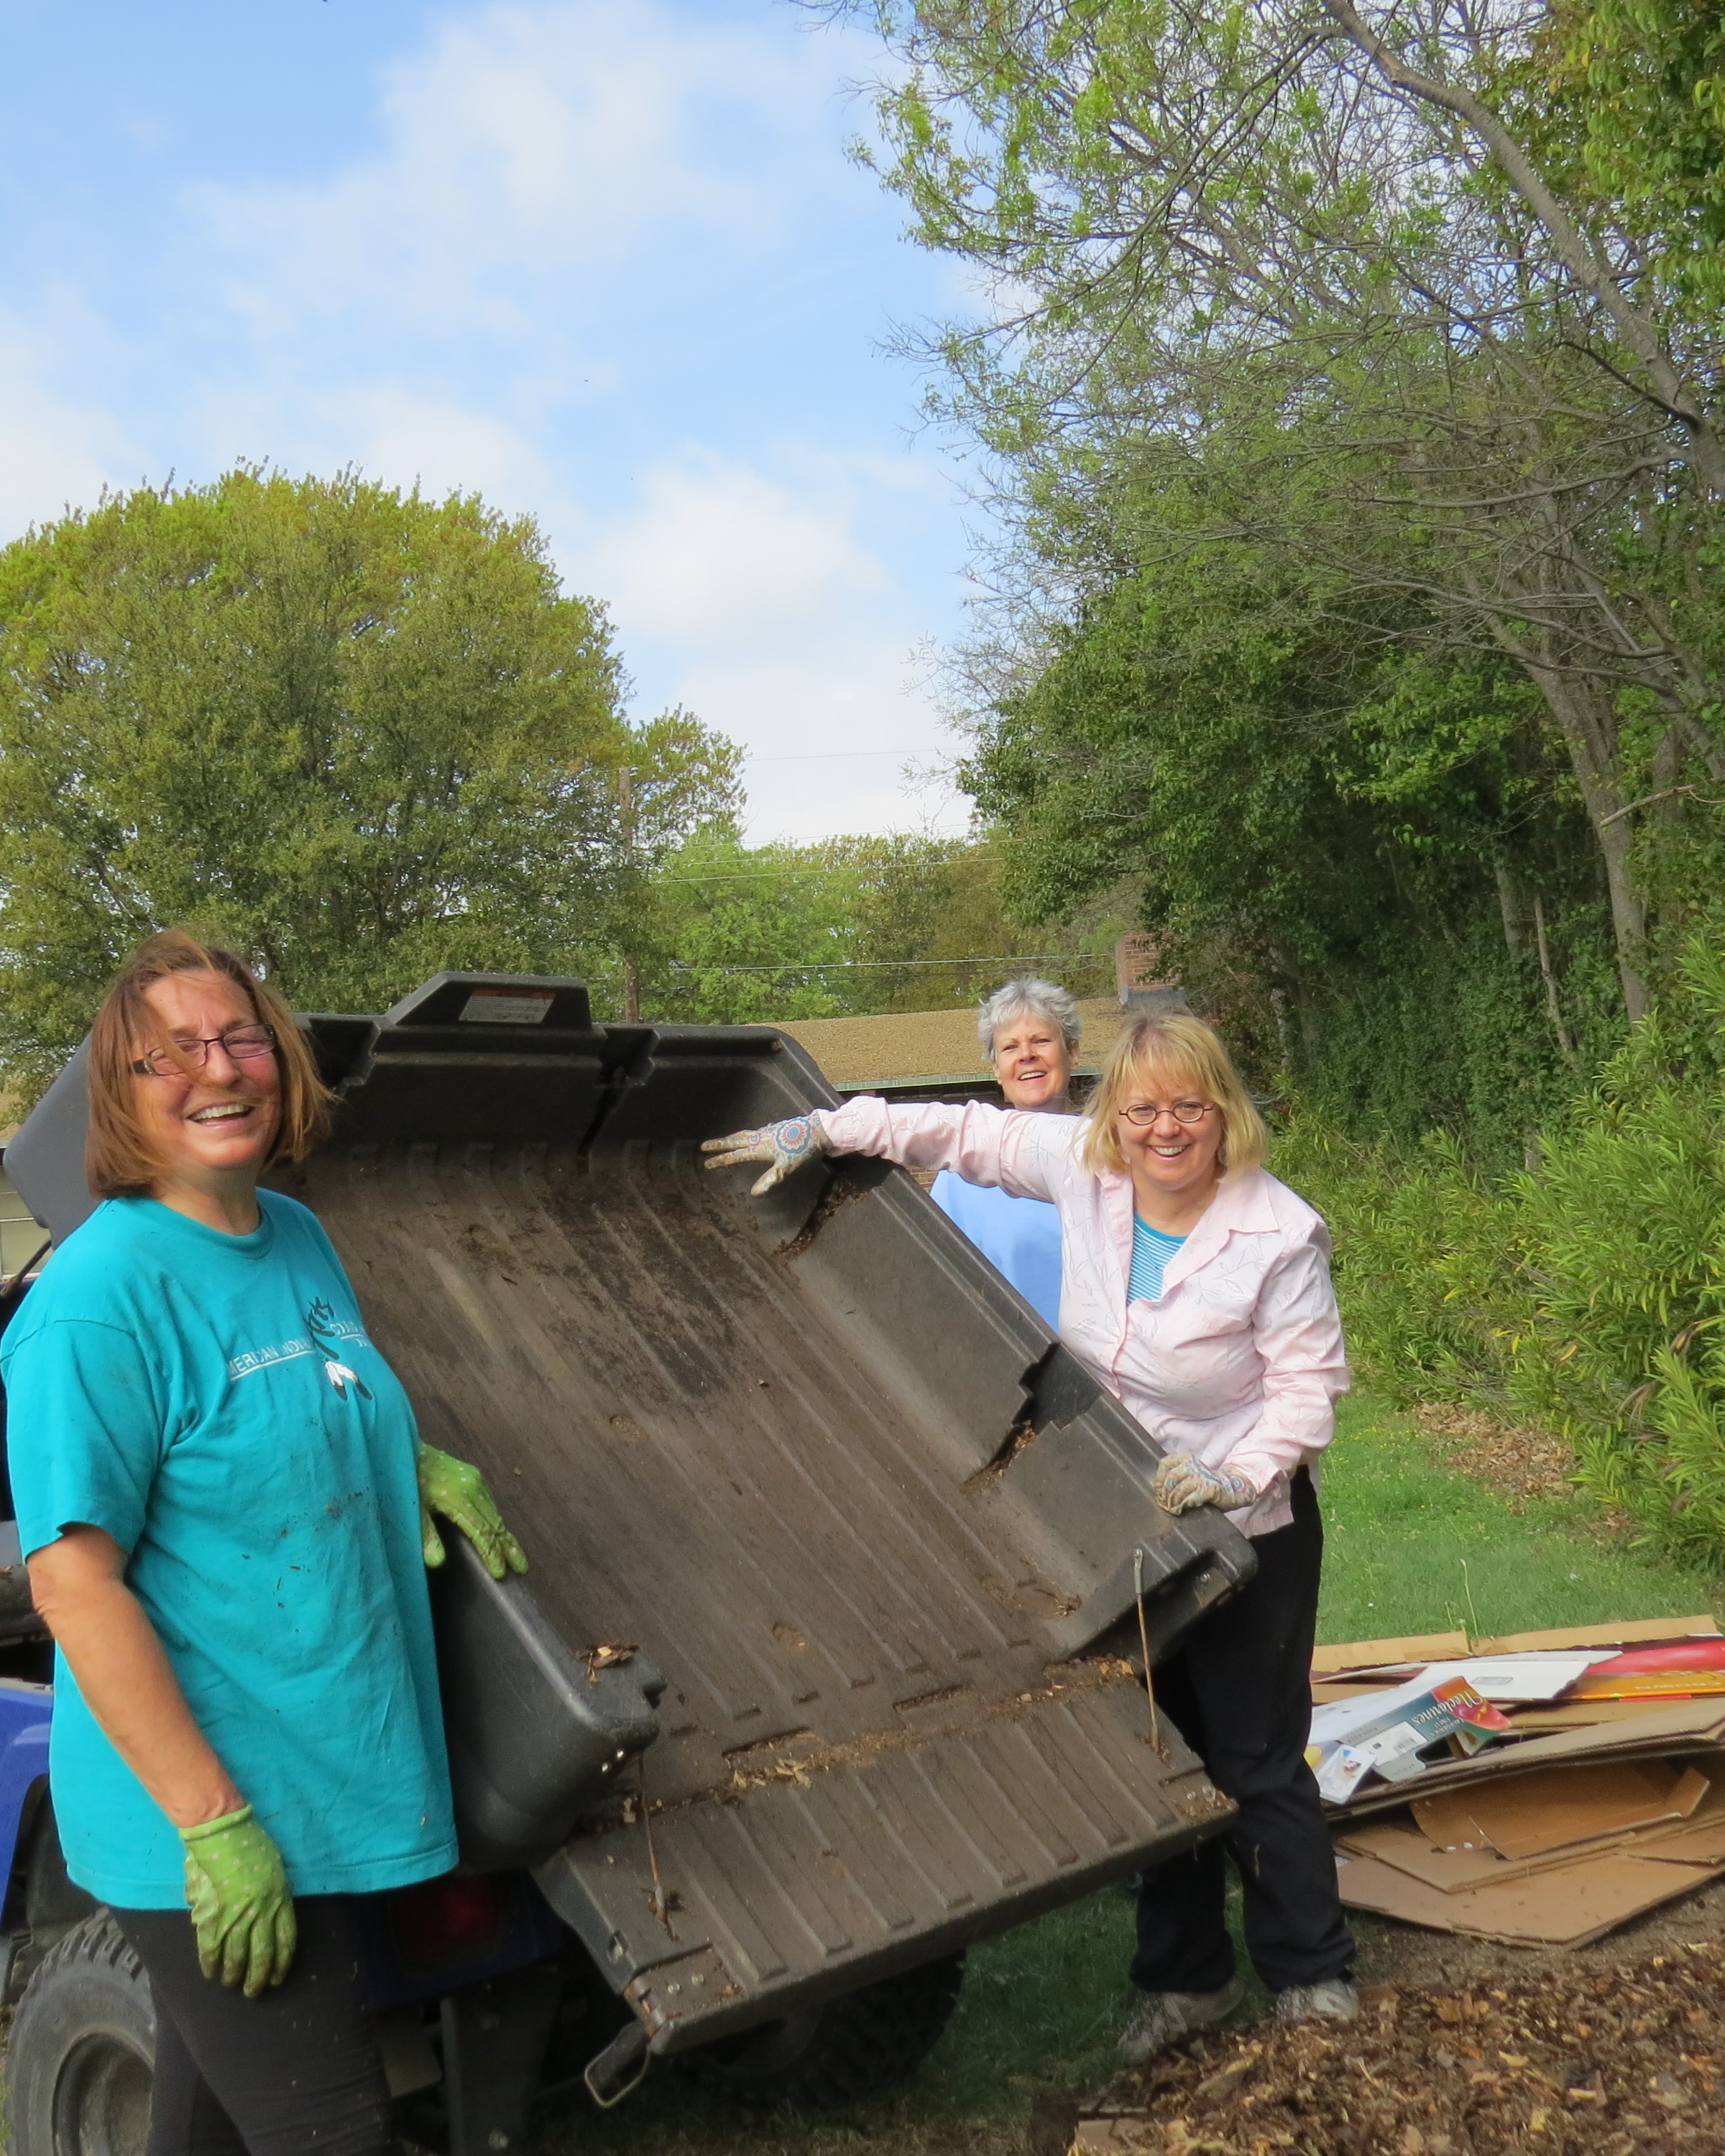
These are some of the best gardening experts in our town!

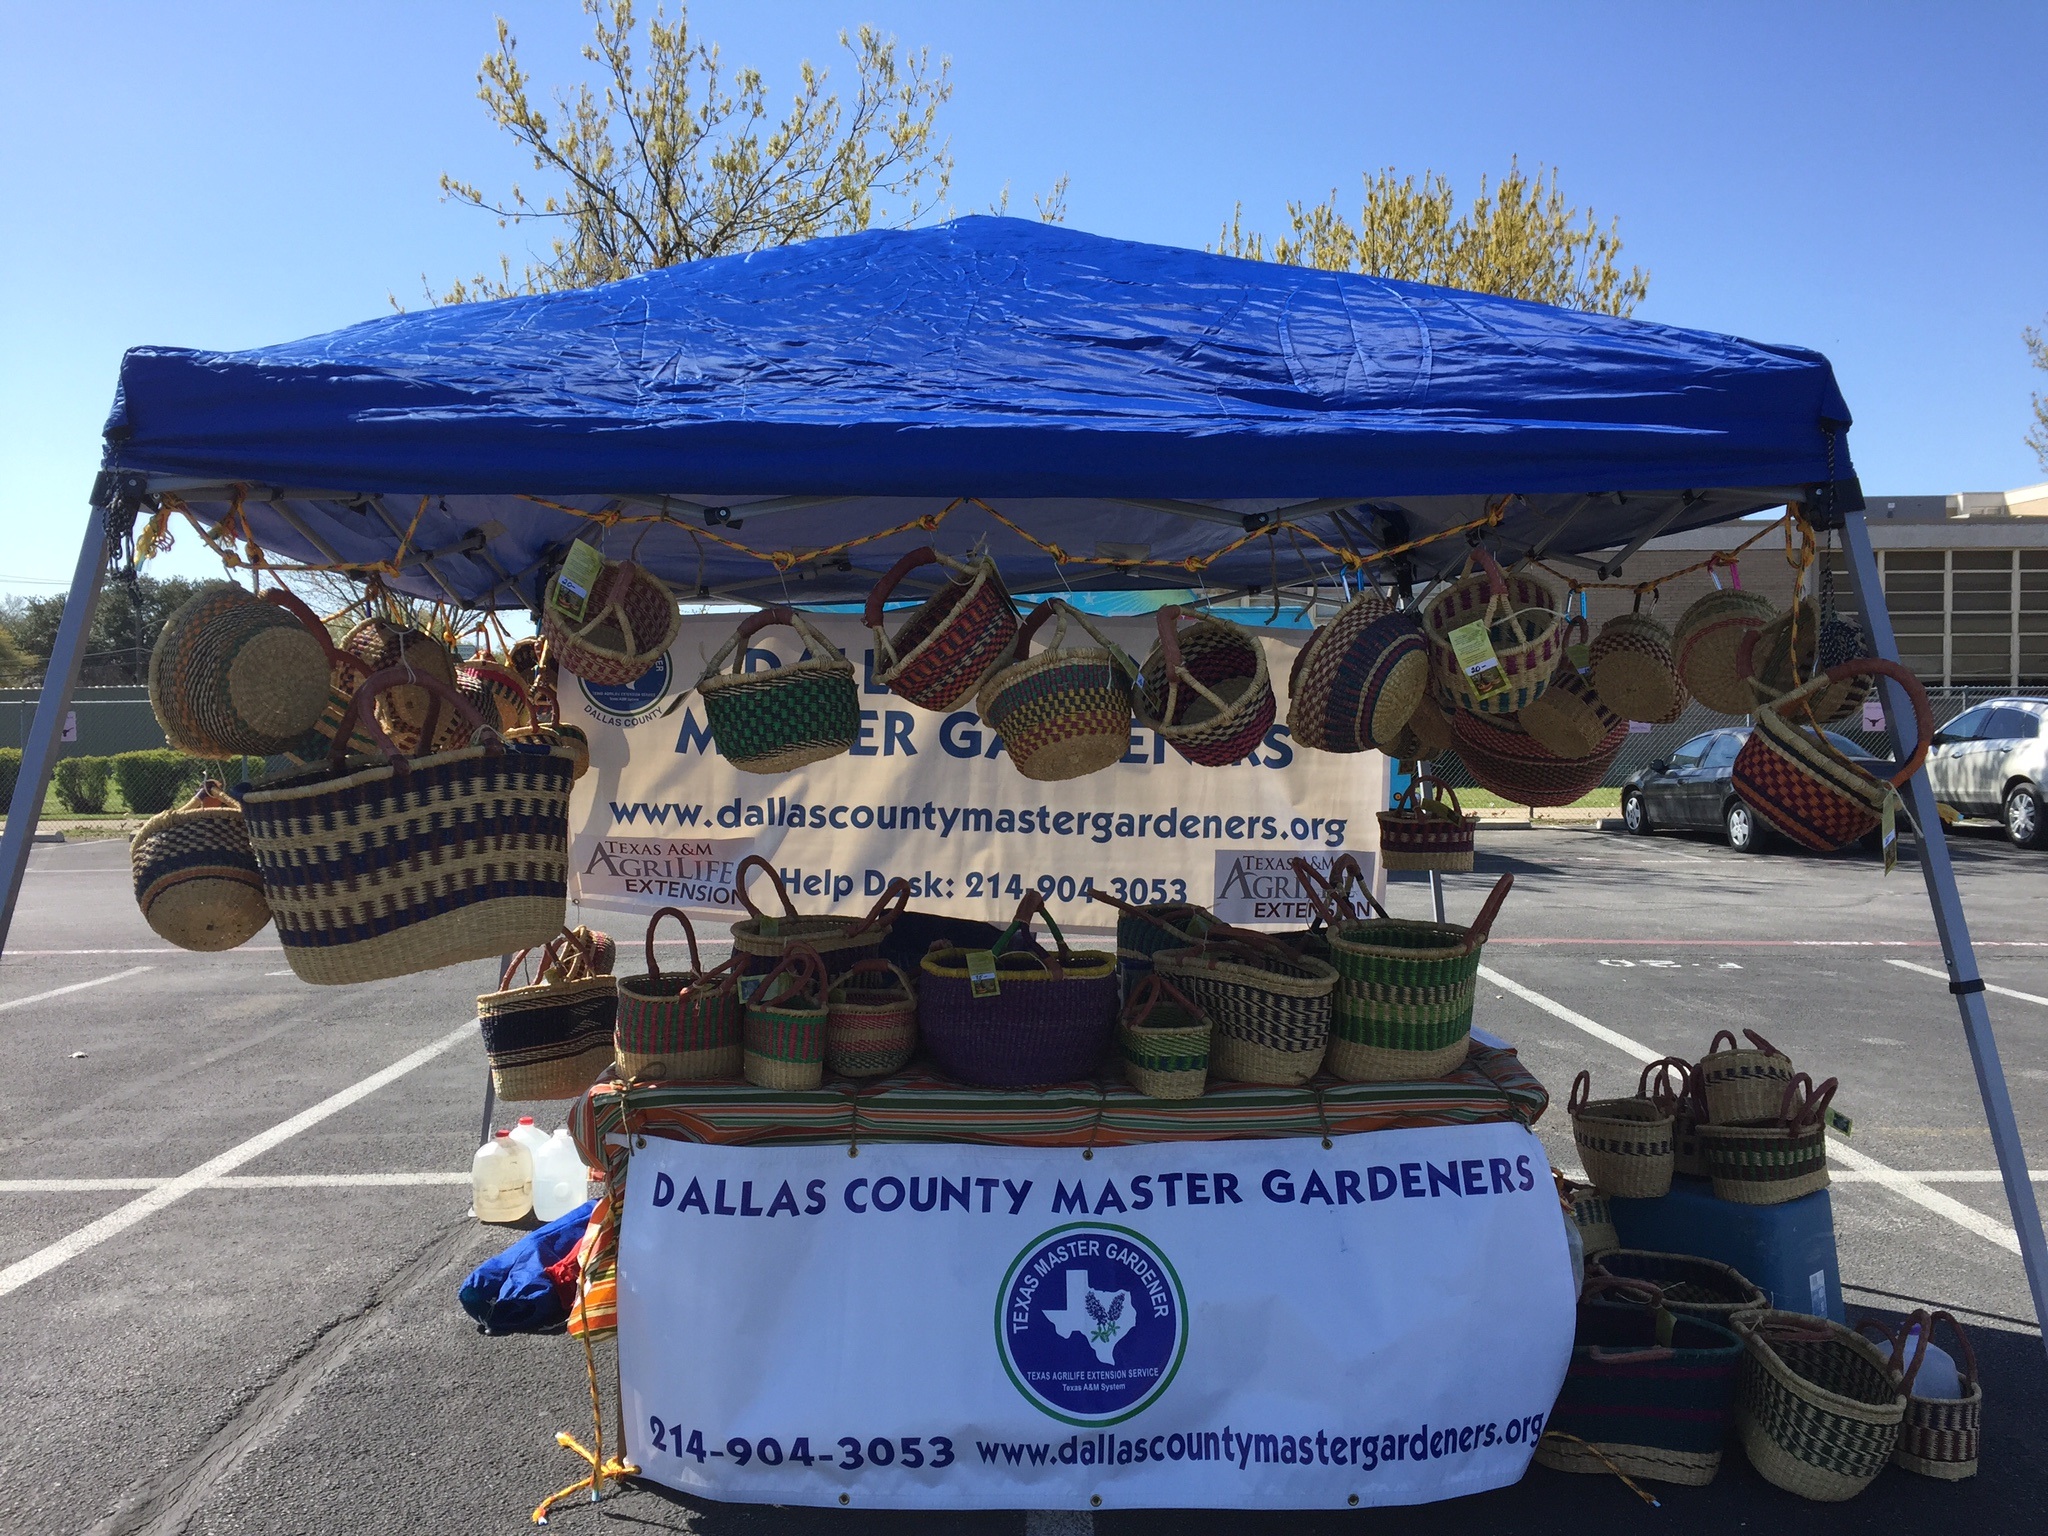
Along with the free classes, 19 gardens are on tour and 7 demonstration gardens. The Raincatcher’s Garden will be fully staffed.  Stop by and see us, we hope we are #1 on your list.

Go to savedallaswater.com for a tour map.

 Classes 

Central Tour Headquarters
City of Dallas – White Rock Pump Station, 2900 White Rock Road, Dallas, TX 75214

9:00 a.m. – WaterWise Gardening – Chrissy Cortez-Mathis
10:00 a.m. – Why, Where & How of Planting Your Landscape Tree – Eric Larner
11:00 a.m. – Redesigning Your Landscape – Judy Fender
12:00 p.m. – Best Trees for Your Landscape – Eric Larner
1:00 p.m. – Landscaping for the Shade – Judy Fender
2:00 p.m. – WaterWise Gardening – Judy Fender

North Tour Headquarters
Texas A&M AgriLife Research and Extension Center – 17360 Coit Road, Dallas, TX 75252

9:00 a.m. – WaterWise Gardening – C.A. Hiscock
10:00 a.m. – Plant Propagation – Roseann Ferguson
11:00 a.m. – Soil Preparation – C.A. Hiscock

South Tour Headquarters
City of Dallas – Kidd Springs Recreation Center – 711 W. Canty Street, Dallas, TX 75208

English
9:00 a.m. – Plants That Like to Grow Here – Kevin Burns
10:00 a.m. – Vegetable Gardening – John Hunt
11:00 a.m. – Lawn Care for Weed Owners – John Hunt
12:00 p.m. – Plants That Like to Grow Here – Kevin Burns

Bilingual (English-Español)
1:00 p.m. – Plant Propagation/Propagación de Plantas – Judy Meagher

NOTE: Dallas County Master Gardeners will be available from 9:00 a.m. to 1:00 p.m. to answer your gardening/landscaping questions in English or Spanish.

NOTA: Los Jardineros Maestros del Condado de Dallas estarán disponible de 9:00 a.m. a 1:00 p.m. para responder a sus preguntas de jardinería/paisajismo en inglés o español.

 9 a.m.-3 p.m. June 6. Free. 214-670-3155

Ann

Quote by: Pete Bonds, president of the Texas and Southwestern Cattle Raisers Association

Fried “Green Potatoes?”

 If you are a southerner, you probably know that unripe, green tomatoes, when fried or made into chutney, can be a culinary delight.  However, green potatoes?  AVOID THEM!!


Neon Green Potato from Carolyn's Garden, Not Photo Shopped! Beware, Even Green Tinged Potatoes Should not be Eaten.

Neon Green Potato from Carolyn’s Garden, Not Photo Shopped! Beware, Even Green Tinged Potatoes Should not be Eaten.

Now is the time that many vegetable gardeners are harvesting the potatoes that they planted in late January-February.  If, as recommended, you have been hilling up soil against the stem of the potato or kept adding soil and compost to a potato bin, the odds are good that you will not find any “green” potatoes.  However, if the ever-growing bunches of potatoes have managed to heave themselves out of the ground and are exposed to sunlight or if the potatoes have been exposed to extremes of heat or cold — beware.  Those greenish potatoes can be potentially deadly.   In fact, even potatoes brought from the store, if not properly stored in a cool, dry, dark place, can develop a greenish tint if exposed to too much light.

The greenish hue that can be found on potatoes exposed to light is actually chlorophyll.  Not a bad thing, you say, because we eat chlorophyll in many leafy greens.  However in the potato, the presence of chlorophyll also indicates the presence of solanine, a glycoalkaloid poison found in species of nightshade.  This bitter nerve toxin crystalline alkaloid is part of the plant’s defense against insects, disease, and predators.  It is found primarily in the stems and leaves of potatoes but can also be found on any green spots on the skin of a potato and on buds.

Solanine interferes with the body’s ability to transmit impulses between cells.  Ingested in large enough quantities, it can cause vomiting, diarrhea, headaches and even paralysis of the central nervous system.  Though an average adult would have to eat a very large quantity of green tinged potatoes (which are often quite bitter, a good warning sign) to have neurological damage, children may be more susceptible to ill effects.  In general, it is probably best to throw away any potatoes that have green eyes, sprouts, or greenish skins.

As B. Rosie Lerner, Extension Consumer Horticulturist at Purdue University says: “The next time you see a green potato, be thankful for that color change.  It’s warning you of the presence of toxic solanine.”

Carolyn

Picture by Carolyn

More info about potatoes :

Vegetable Planting in January

One Potato, Two Potato, Hopefully More


More May Recipes


Heirloom Tomato Tart with Black Pepper Crust

Heirloom Tomato Tart with Black Pepper Crust

Black- Pepper Tartlet Crusts

Ingredients:

2 ¼ cups all-purpose flour

½ teaspoon salt

½ teaspoon ground black pepper

1 cup unsalted butter

¾ cup sour cream

Directions:

In the work bowl of a food processor, combine flour, salt, and pepper; pulse to combine. Add butter, and pulse until crumbled.  Add sour cream, and pulse until mixture comes together.  Remove mixture and form into a disk; wrap with plastic wrap, and refrigerate until firm, at least 2 hours.

  1. Preheat oven to 350°.
  2. On a lightly floured surface, roll dough to 1/8-inch thickness. Cut 6 (5-inch) rounds from dough.  Place a round in bottom and up sides of each of 6 (4-inch) tartlet pans.  Line tartlet crusts with parchment paper to cover bottoms and sides, and top with pie weights.  Bake for 15 minutes. Remove from oven; cool slightly.  Remove pie weights and parchment paper.  Return to oven, and bake for an additional 10 minutes, or until lightly browned.  Remove from oven, and cool.

Pesto

Ingredients:

3 cups fresh basil leaves

3 tablespoons fresh oregano leaves

3 tablespoons fresh lemon juice

3 garlic cloves, peeled

¼ cup grated fresh Asiago cheese

¼ cup toasted pine nuts

½ teaspoon coarse salt

½ teaspoon ground black pepper

⅓ cup olive oil

Directions:

  1. In the work bowl of a food processor, combine basil, oregano, lemon juice, garlic, cheese, and pine nuts; pulse until smooth, scraping down sides of bowl as necessary. Add salt, pepper, and olive oil; pulse until smooth.  Prepared pesto can be stored, refrigerated in an airtight container, for up to 3 days.

Linda

The black pepper crust and pesto recipes are part of the Heirloom Tomato and Goat Cheese Tartlet recipe on the previous post.


May Recipes from the Master Gardener Meeting

Linda, Evelyn, and Judy and Tarts

Linda, Evelyn, and Judy and Tarts

Heirloom-Tomato-And Goat-Cheese Tartlets

Ingredients:

Black-Pepper Crusts (see below)

Pesto (see below)

3 cups heirloom tomatoes, cut in half

1 teaspoon sea salt

½ teaspoon ground black pepper

1 (4-ounce) package goat-cheese crumbles

Garnish: fresh oregano and microbasil

Directions:

  1. Preheat oven to 400°.
  2. Line a baking sheet with parchment paper, and place prepared Black-Pepper Tartlet Crusts on baking sheet. Spoon about 3 tablespoons Pesto into bottom of each crust. Fill each tartlet with tomatoes, and season evenly with salt and pepper.  Sprinkle cheese over tomatoes, and bake for 15 minutes, or until cheese is slightly browned.
  3. Garnish with oregano and microbasil, if desired. Serve immediately.

Black- Pepper Tartlet Crusts

Ingredients:

2 ¼ cups all-purpose flour

½ teaspoon salt

½ teaspoon ground black pepper

1 cup unsalted butter

¾ cup sour cream

Directions:

In the work bowl of a food processor, combine flour, salt, and pepper; pulse to combine. Add butter, and pulse until crumbled.  Add sour cream, and pulse until mixture comes together.  Remove mixture and form into a disk; wrap with plastic wrap, and refrigerate until firm, at least 2 hours.

  1. Preheat oven to 350°.
  2. On a lightly floured surface, roll dough to 1/8-inch thickness. Cut 6 (5-inch) rounds from dough.  Place a round in bottom and up sides of each of 6 (4-inch) tartlet pans.  Line tartlet crusts with parchment paper to cover bottoms and sides, and top with pie weights.  Bake for 15 minutes. Remove from oven; cool slightly.  Remove pie weights and parchment paper.  Return to oven, and bake for an additional 10 minutes, or until lightly browned.  Remove from oven, and cool.

Pesto

Ingredients:

3 cups fresh basil leaves

3 tablespoons fresh oregano leaves

3 tablespoons fresh lemon juice

3 garlic cloves, peeled

¼ cup grated fresh Asiago cheese

¼ cup toasted pine nuts

½ teaspoon coarse salt

½ teaspoon ground black pepper

⅓ cup olive oil

Directions:

  1. In the work bowl of a food processor, combine basil, oregano, lemon juice, garlic, cheese, and pine nuts; pulse until smooth, scraping down sides of bowl as necessary. Add salt, pepper, and olive oil; pulse until smooth.  Prepared pesto can be stored, refrigerated in an airtight container, for up to 3 days
Lettuce Prep for Butterhead Lettuce Salad

Lettuce Prep for Butterhead Lettuce Salad

Butterhead Lettuce and Spring Vegetable Salad

Ingredients:

5 teaspoons white balsamic vinegar

3 tablespoons extra-virgin olive oil

Coarse salt and ground pepper

2 heads butterhead lettuce, washed and dried

6 radishes, trimmed and thinly sliced

1 large carrot, peeled and cut into thin strips

2 ounces alfalfa sprouts

Jane with Sprouts!

Jane with Sprouts!

Directions:

  1. In a large bowl, whisk together vinegar and oil; season with salt and pepper.
  2. Tear lettuce into bite-size pieces and add to bowl along with radishes and carrots. Toss; season with salt and pepper.
  3. Divide salad equally among four plates and top each with sprouts. Serve immediately.

Yield: 4 servings

Asparagus Ready to Eat

Asparagus Ready to Eat

Parmesan Asparagus Roll-Ups with Lemon Dipping Sauce

Ingredients:

1 package phyllo dough

½ – 1 cup Parmesan cheese

1 stick butter, melted

30 asparagus spears, washed, woody ends cut and dried

Lemon Dipping Sauce

Directions:

Take pastry out of box and unfold one package of sheets. Cover sheets with a just barely damp paper towel when not using.

  1. Remove one sheet of phyllo and put on a work surface. Brush the entire sheet with butter; put another sheet of phyllo on top, brush second sheet with butter.
  2. Cut pastry sheets into six even strips, cutting from one short end to another.
  3. Sprinkle each phyllo strip with Parmesan cheese.
  4. Wind one phyllo strip around each asparagus in a spiral manner starting at the base.
  5. Repeat with phyllo until all the asparagus is rolled up.
  6. Brush the tops of the phyllo dough with butter and sprinkle with Parmesan.
  7. Put the asparagus on 2 parchment lined baking sheets and bake at 350° for 15-20 minutes, until the phyllo is light golden brown.

Lemon Dipping Sauce

Ingredients:

½ cup sour cream

½ cup mayonnaise

3 tablespoons freshly squeezed lemon juice

1 tablespoon Dijon mustard

1 garlic clove, pressed

1 teaspoon lemon zest

Dash of hot sauce, salt and pepper to taste

Directions:

Put all ingredient s in a bowl and mix well. Serve with asparagus.  Chill if not using right away.

Linda

May 2015 Master Gardener Meeting 036

And what about those Blackberry Pie Bars? Click here!


Dallas County Gardener’s May Meeting

Did you know that anyone can attend a Dallas County Master Gardener meeting? Tomorrow we are hosting the May meeting at our new garden with the purpose of talking to our membership and friends about the progress of The Raincatcher’s Garden of Midway Hills.

Come so you can hear from our exciting array of speakers: Elizabeth, Eric, Lisa, and Susan. Learn from them, education is the purpose of our garden. We will be sharing detailed plant information tomorrow and on this blog through hand outs created by Elizabeth.   Take a look at our garden plans and tour The Raincatcher’s Garden to understand the height and depth of what we are trying to do on about an acre of land in North Dallas.

Dallas County Master Gardener May Meeting

11:30 a.m. Thursday, May 28

11001 Midway Rd., Dallas 75229

 Program

An Introduction to the New  Raincatcher’s Garden of Midway Hills

Tours will be offered before and after the general meeting.

 Buds, Bricks & Baskets

African Free Trade Baskets, Leather Handles! Reasonable Prices! We have Fallen in Love with These!

African Free Trade Baskets, Leather Handles! Reasonable Prices! We have Fallen in Love with These!

The Baskets are ideal for gifts or gathering produce from your garden.

Oregano, Phlox, Tomato Starts, Fig Trees, Cast Iron, Coneflower, Great Prices!

Oregano, Phlox, Tomato Starts, Fig Trees, Cast Iron, Coneflower, Turk’s Cap- Great Prices!

Fill up your card with homegrown plants from our member’s own gardens. We have tables of little starts you’ve just got to take home at Sarah’s “cheap” prices.  Plants will be priced from $1 to $5, with a few special items priced a tiny bit more.  Plan on filling up your cart!  Yesterday it was hard for me to pass by the phlox I saw from Susan’s garden!

Bricks make the perfect contribution to the new garden.

Honor a loved one, recognize the special person that introduced them to gardening, or remember a friend or family member with a personalized brick.  The bricks will serve as part of the entry to the Raincatcher’s Garden under the newly reassembled arbor.  Bricks are priced at $50 for a 4”x 8” size or $125 for an 8” x 8” brick.  Orders will be taken at the May 28 meeting with installation later this year. If you would like to participate and can’t come to the meeting, leave a comment and we will contact you.

Cash, checks or credit cards accepted.

A note about our lunch sales: Thank you to the 98 who purchased box lunches to enjoy during the meeting.

To accommodate feeding almost 100 people we had to stay firm with our reservation deadline. Oh, the planning that goes into an assembly of cooks like we have had the last few days! Hope any who missed the deadline for lunches will understand. We will have more events this summer. Subscribe to Dallas Garden Buzz, to get the details first!

Confession: I didn’t sign up for lunch in time, but you can be sure I will be first in line for a fig tree!!

Ann


Friend or Foe?

Being a master gardener means –sharing   gardening wisdom—sometimes thats easy:”No you really should not order grass seed from the Sunday supplement magazine.”

But other times  its not so easy.  And that brings up the question of the moment:  “Is this bug good or bad”  Or worse,  “friend or foe”?

Ladybug, The Gardener's Friend, Known for Eating Aphids

Ladybug, The Gardener’s Friend, Known for Eating Aphids


First ask your questioner “what makes a bug ‘good?”  Of course–they eat “bad” bugs–everyone knows that.  But this is the thing  insects are most often specialized  in is their eating.  You, for example, might have a great wish to eat ice cream–but if there is no ice cream–carrot sticks or even–chocolate cake–might do.  Most insects are not like that.  They eat what they have, over a very long time period,   been designed to eat.

So, that means if you want the so-called good bugs in you garden–what do you also need in your garden??  Oh no–its bad bugs!!!  Yes its true  and its the only way.  You really must rethink the whole situation.

Red Wasp, a Beneficial Insect, Not a Foe

Red Wasp, a Beneficial Insect, Not a Foe


Balance is what the garden needs. That isn’t something that happens overnight or even stays that way once its achieved.  Remember playing on a seesaw?  It took awhile to get the perfect balance–and then someone jumped  off!!  Thats how it can seem.

But with healthy soil,  a diversity of plants, as many native as possible, and reasonable maintenance  you will have some amazing experiences of natures ability to make  what first seem like problems into beauty.  Oh yes–watching ladybug larvae eating aphids –well its beautiful in its on way.  The wasps that eat some monarch larvae also eat those caterpillars that love the broccoli.


So, When you are asked “friend or foe?”  Well ask you questioner to pull up a chair–it may take awhile.

Susan

Pictures by Starla


Cardboard for Weed Control

At our old garden, we faced the  problem of all other gardens: weed invasion. At our new garden, we are making a concentrated effort to try to reduce the problem of weeds. You may have seen some of our Master Gardeners carrying cardboard from trash picks ups, we even get calls from friends donating “nice cardboard.”

Lisa Hauling Cardboard to The Raincatcher's Garden

Lisa Hauling Cardboard to The Raincatcher’s Garden

We prefer the plain brown stuff, stripped of packing labels and any plastic and broken down please.

We lay it down, overlapping seams, with 3-6 inches of mulch on top. Several layers of cardboard is permissible and  more mulch equals less weeds.  Some say to water the cardboard to make it more pliable. Of course, during this rainy year we have not had to do that.

Cardboard Peeking Out From Under Mulch, More Mulch to be Added

Cardboard Peeking Out From Under Mulch, More Mulch to be Added

And here’s a word about our mulch selection: you can see our mulch looks organic.  We use chopped up tree trimmings, not purchased mulch.  If you are buying mulch (we prefer free), don’t buy the colored mulch that has dye added.

Mulch Close-Up

Mulch Close-Up

Besides cardboard and mulch, what do you need?  Willing labor!

Thank You Judy, Abbe, and Michele!

Thank You Judy, Abbe, and Michele!

Our most recent mulch drop off came from Dallas Arborilogical Services. More is needed to build our beautiful, weed free garden. For drop off information, call the Dallas County Master Gardener hotline, 214 904 3053 and say The Raincatcher’s Garden sent you.

Ann

Pictures by Starla

BUTTERFLY PLANTS: I LOVE YOU, BUT IT’S TIME TO LEAVE


Variegated Fritillary on Salvia

Variegated Fritillary on Salvia

My side yard has a new unwanted hedge of plants in pots.  These are plants that should be planted in the new butterfly plot at the Raincatcher’s Garden of Midway Hills.  They are not. They sit in pots.  At my house.

The plants have been living in my side yard for two weeks.  They remind me of adult children who move back in for “just a few months, Mom,” and a year later you’re still sharing the washer with their yoga pants.

Using the butterfly garden plan, I made a list of plants required for that garden.   We needed almost 200 plants.

Plant sales are a little cheaper, but you have to know what you’re doing:

Get there early.  I am convinced most shoppers get up at 4:30 a.m. to line up two hours before the doors open.  If you’re pulling in the parking lot with your coffee in a to-go cup about 10:30, it’s not worth the drive.  The shelves are bare at that point.

Plant sales are the closest thing Dallas has to a crowded New York subway.  You’ve got to elbow your way to native-this and hard-to-find that  (saying ‘excuse me’ after each grab—this is, after all, The South).  My genteel mother would have been appalled.

Don’t kid yourself. A tiny old Prius will not be big enough for the drive back with your new acquisitions. You’ll have to beg your patient friend Judy-with-a-truck to pick up all the leftover purchases the next day.

Which brings us to why I have about 200 Plants In A Pot in my side yard, and why I know each of them intimately.

North Texas has been in a severe drought for six years.

I purchased the plants two weeks ago.  Six hours after I unloaded them to my side yard, I hauled them back into the garage because of impending “damaging 60 mph winds, hail, and possible tornadoes.” Out into the sun. Thirty minutes later, back into the garage. This has gone on for days. The plants are confused.  I am exhausted.

Last week I emptied 5 inches of rain from the rain gauge. It is too muddy to till the site for the new butterfly garden.  It is too wet to even think of planting.

The forecast is for 85 degrees and sunny today.  Severe thunderstorms are predicted for tomorrow.

Elizabeth

To read more about our Butterfly Garden Plans click here.

Picture by Starla

First Field Trip at The Raincatcher’s Garden of Midway Hills

West Dallas Community School fifth graders came to our new gardens last week. Composting, Butterflies, Vermiculture, and Herbs were the subjects of the day!

The Wonder of Worms, Nature's Composters in the Palm of Your Hand

The Wonder of Worms, Nature’s Composters in the Palm of Your Hand

How to “host” butterflies in your garden, how to provide nectar sources, these were some of  the topics in butterfly class.

Jane and Judy Teaching West Dallas 5th Graders

Jane and Judy Teaching West Dallas 5th Graders All About Butterflies

“Along with milk and vegetables, kids need a steady diet of rocks and worms. Rocks need skipping, holes need digging, water needs splashing, and bugs and frogs and slimy stuff need finding.”  *

Linda teaching the science of herbs!

Linda Teaching the Science of Herbs

Our free, garden field trips provide this type of outdoor learning experience.  Science is taught in a hands on, interesting way. For more information about our school field trips, please click here.

West Dallas Community School, we are so glad you are back!

Ann

Pictures by Starla

*Quote  by Go RVing!


Hardy Amaryllis

Our dear friends Evelyn and the late Harold Womble, have shared Hardy Amaryllis bulbs with us at the Demonstration Garden on Joe Field Road and now at Midway Hills.  Their home is graced with a  large bed of these bulbs that have multiplied over the years and ended up in their son’s gardens and friend’s gardens. Their original bulbs came from Evelyn’s family home place in Brownwood.

Evelyn, Hardy Amaryllis and Daffodils, All Blooming!

Evelyn, Hardy Amaryllis and Daffodils, All Blooming!

Hippeastrum x johnsonii, the St. Joseph’s lily, blooms in early April in Dallas. The bright red blooms, trumpet shaped, are striped with white. The strap like foliage lasts late into the year and looks tropical.

Because the bulb perennializes so well it is often called the finest amaryllis for southern gardens.

Hardy Amaryllis and daffodils 2015

In Perennial Garden Color, Dr Bill C. Welch calls the bulbs “living antiques because they are tangible symbols of success for generations of Southern gardeners.  Many have been lovingly handed down among the families that contribute cultural diversity and richness to our gardens.”

We will now have our own supply of “living antiques” thanks to Harold and Evelyn.

Ann

Pictures by Starla